Repair sequence
Work from top to bottom. Stop when the failure is resolved, verify it with a small test and record the successful setup.
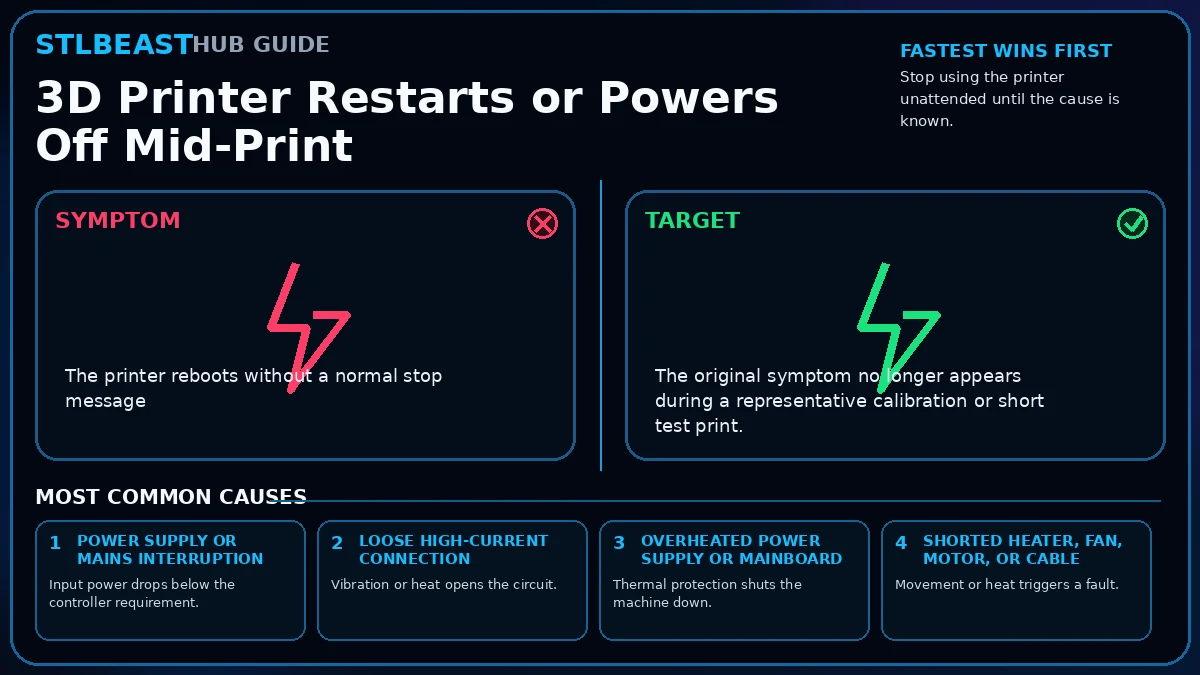
- Stop using the printer unattended until the cause is known.
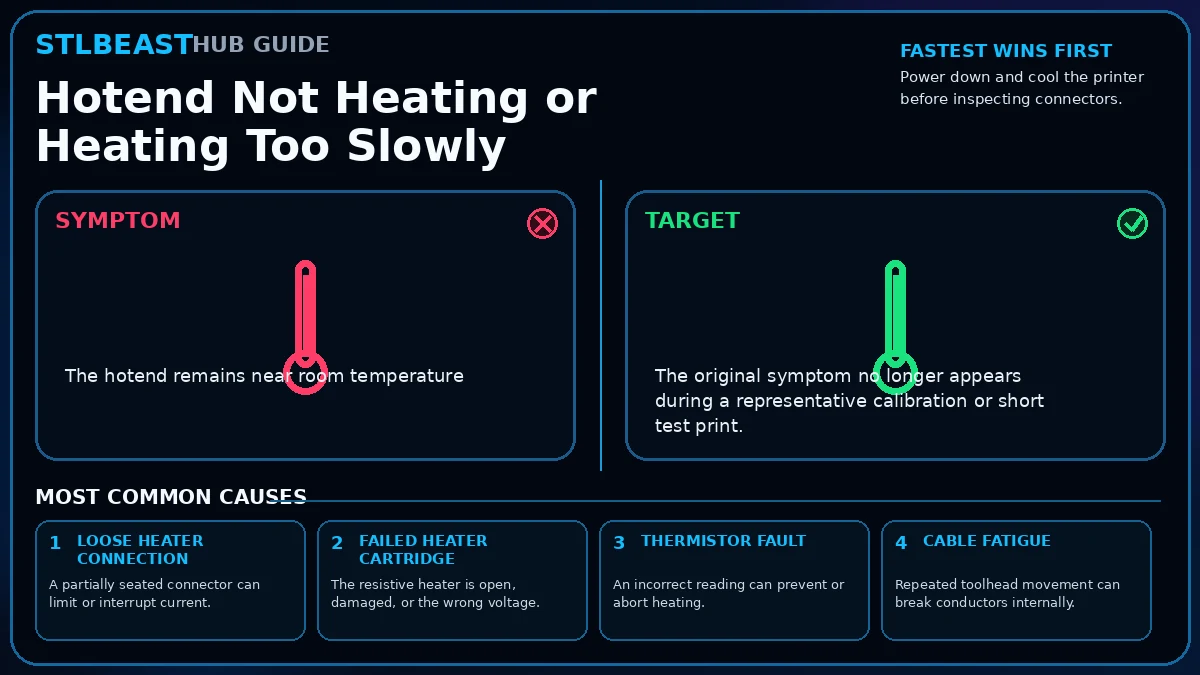
- Inspect the mains lead, switch, inlet, supply connectors, heater connectors, and visible wiring with power disconnected.
- Confirm the supply voltage selector and rated input are correct for your region.
- Check electronics and power-supply fans are clear and working.
- Try a known-good storage device and freshly exported small G-code file.
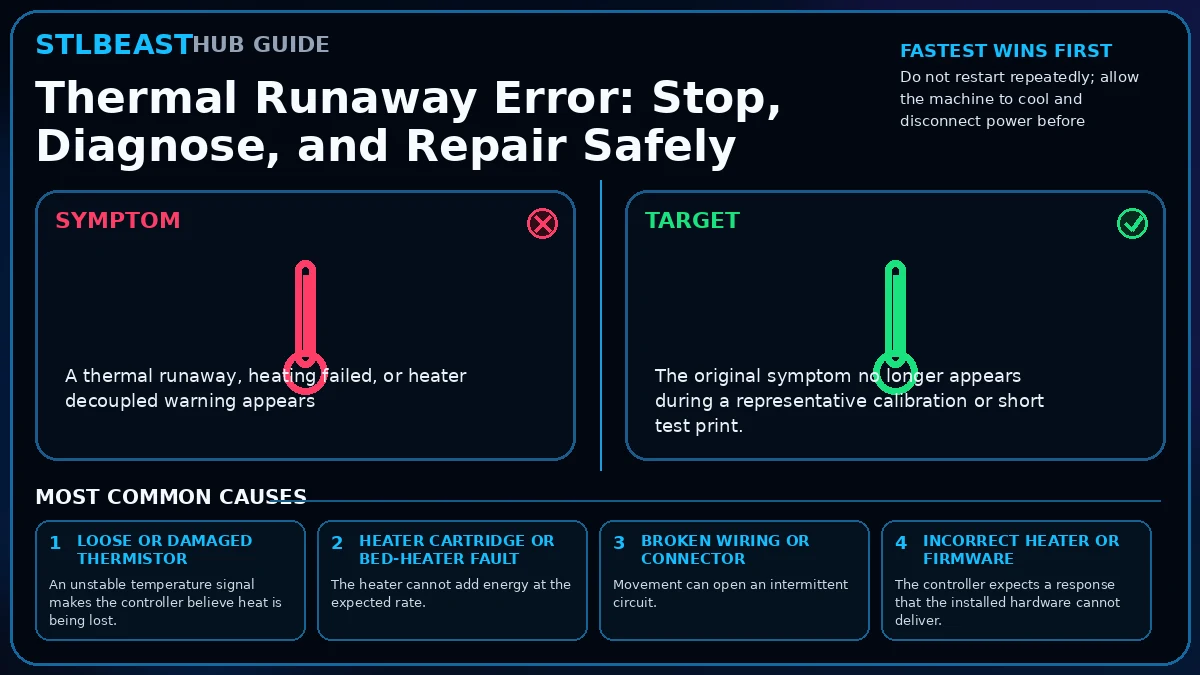
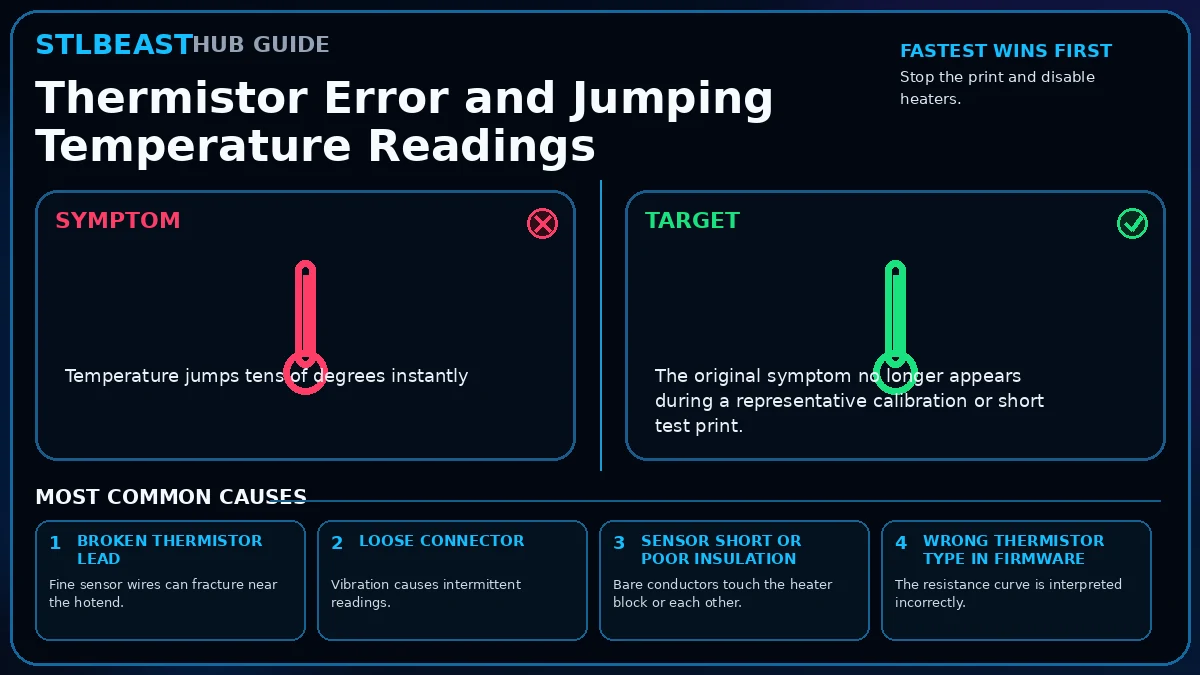
- Observe whether failure aligns with bed heat, hotend heat, rapid motion, or a specific cable position.
- Use manufacturer diagnostics or qualified service for electrical measurements.
- After repair, complete a supervised stress test before long prints.
Safety and accuracyStay within the printer, material, resin, hotend, build-surface, electrical, ventilation, and personal-protection limits published by the manufacturers. Stop immediately for heater errors, smoke, electrical damage, severe binding, uncontrolled motion, or resin exposure.