Match what you see
Use the search field or symptom families to identify the closest visible failure.
Search by the visible defect, printer family, material, slicer or setting. Every repair path starts with the safest high-probability checks and ends with a verification test.
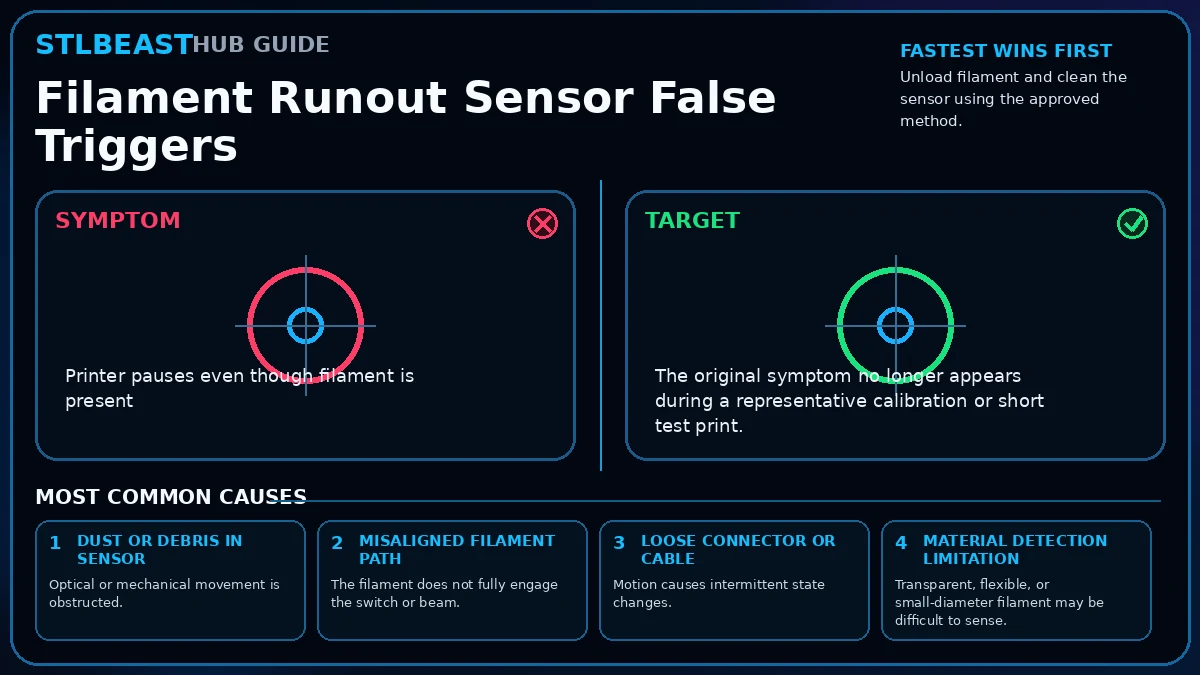
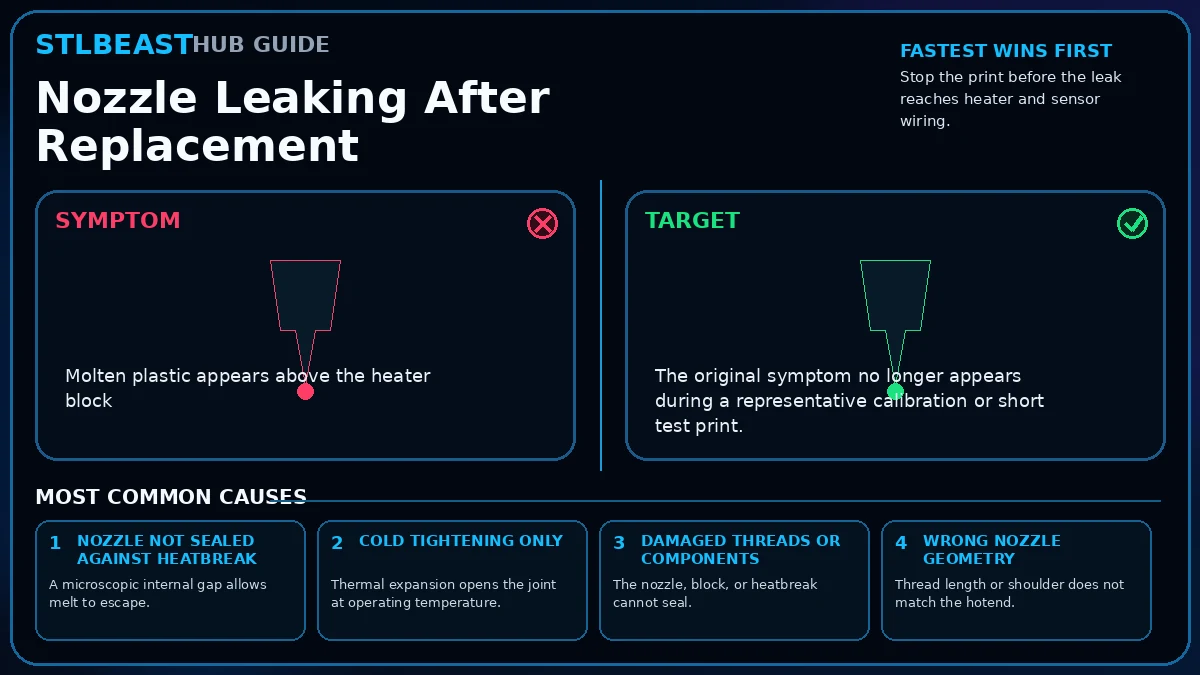
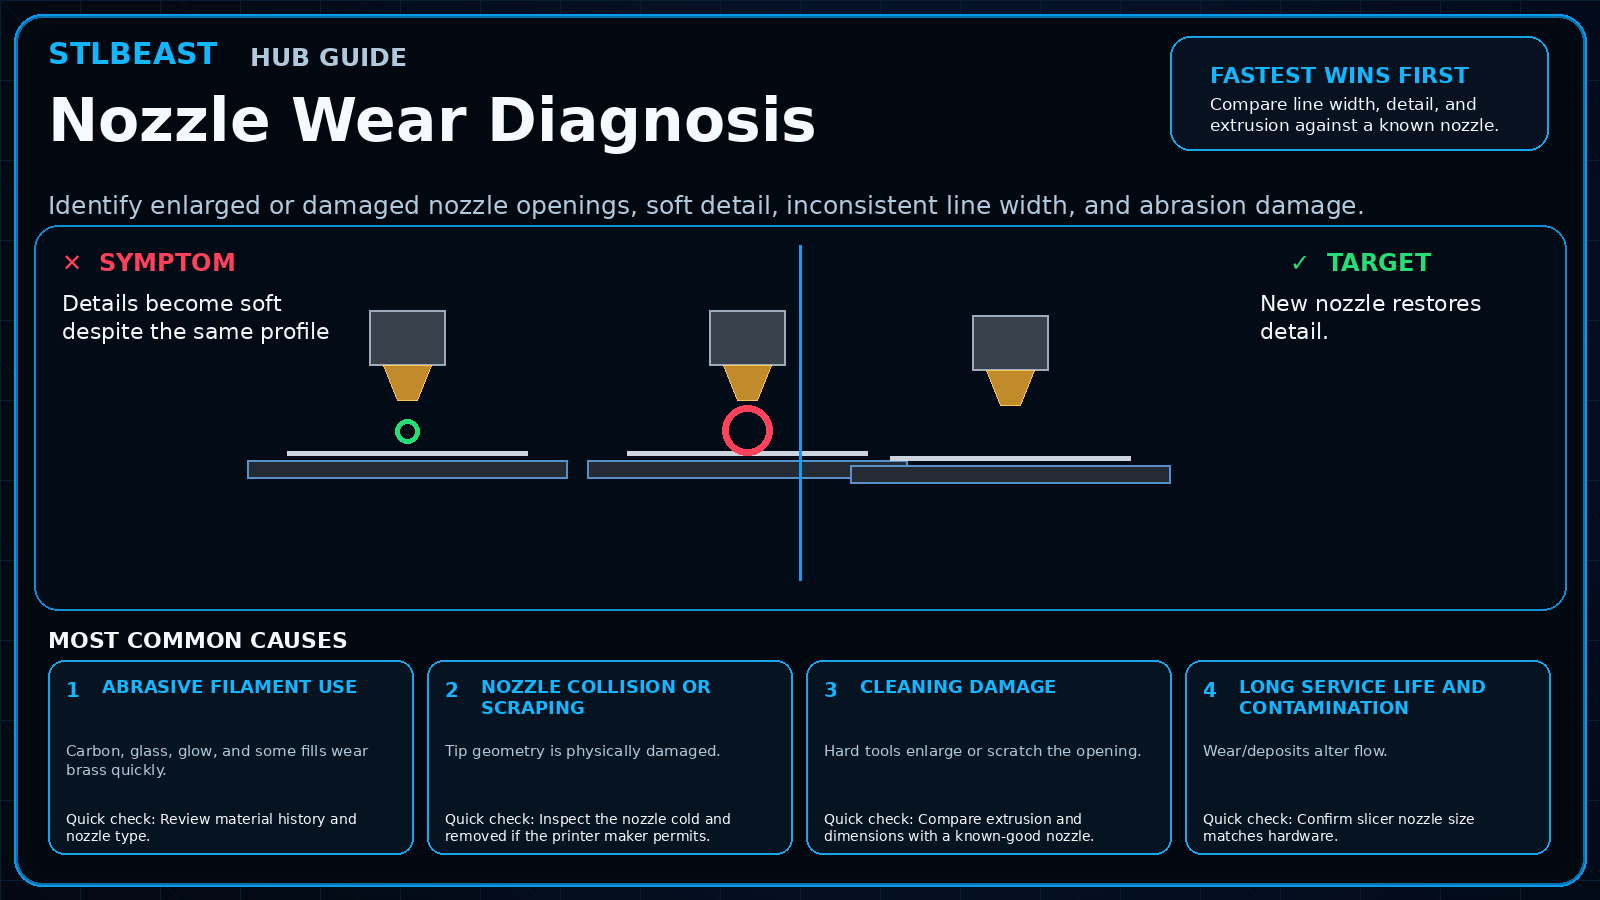
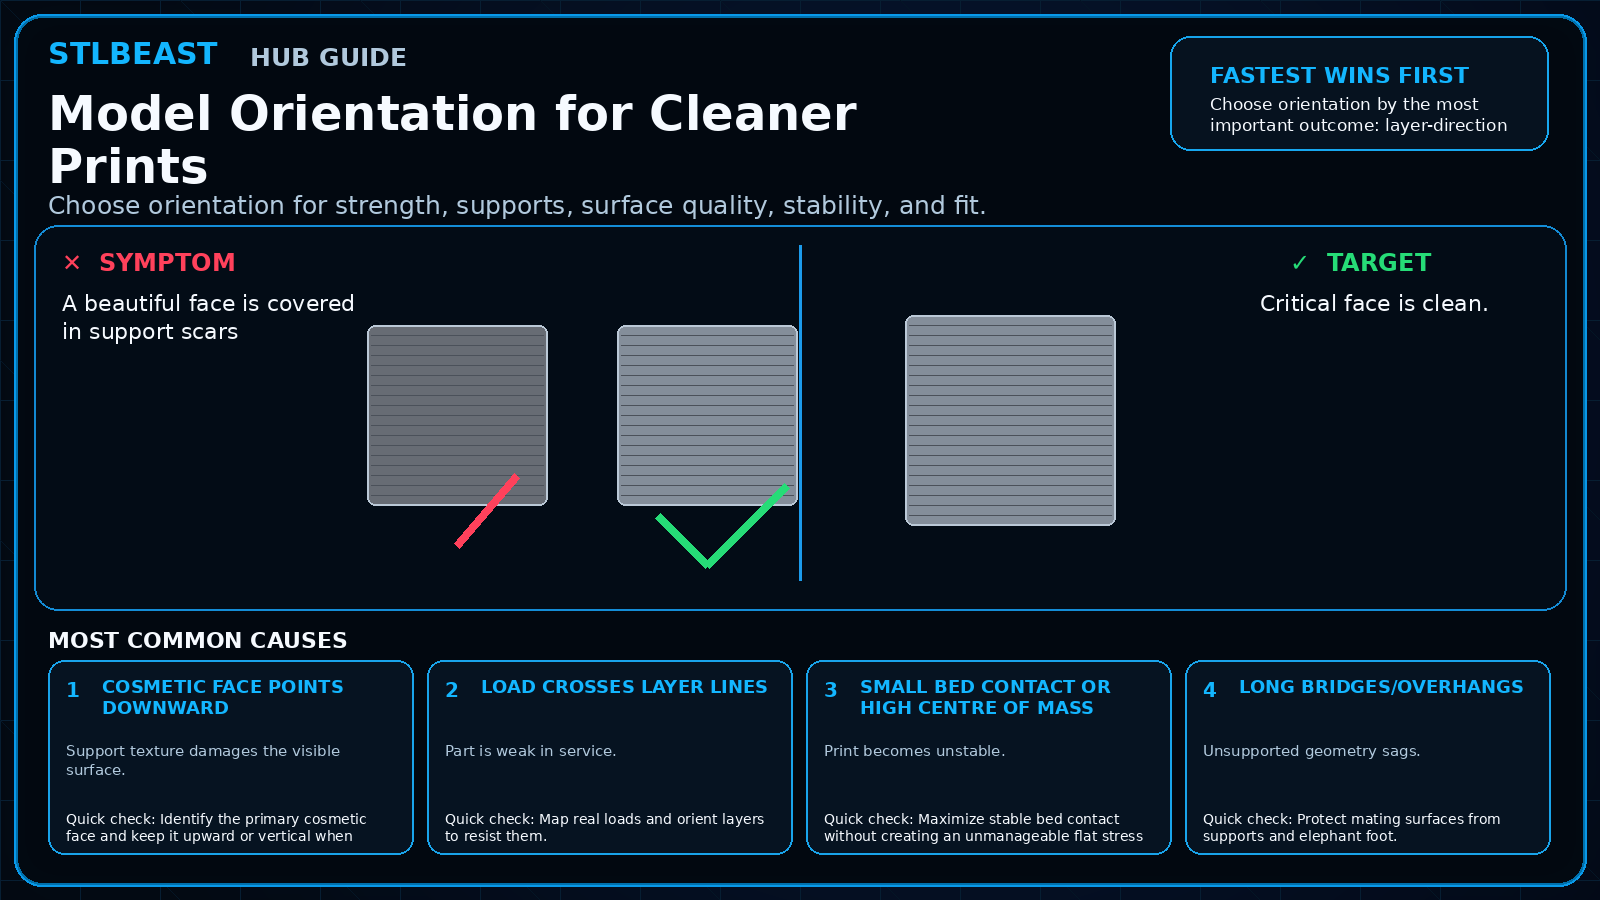
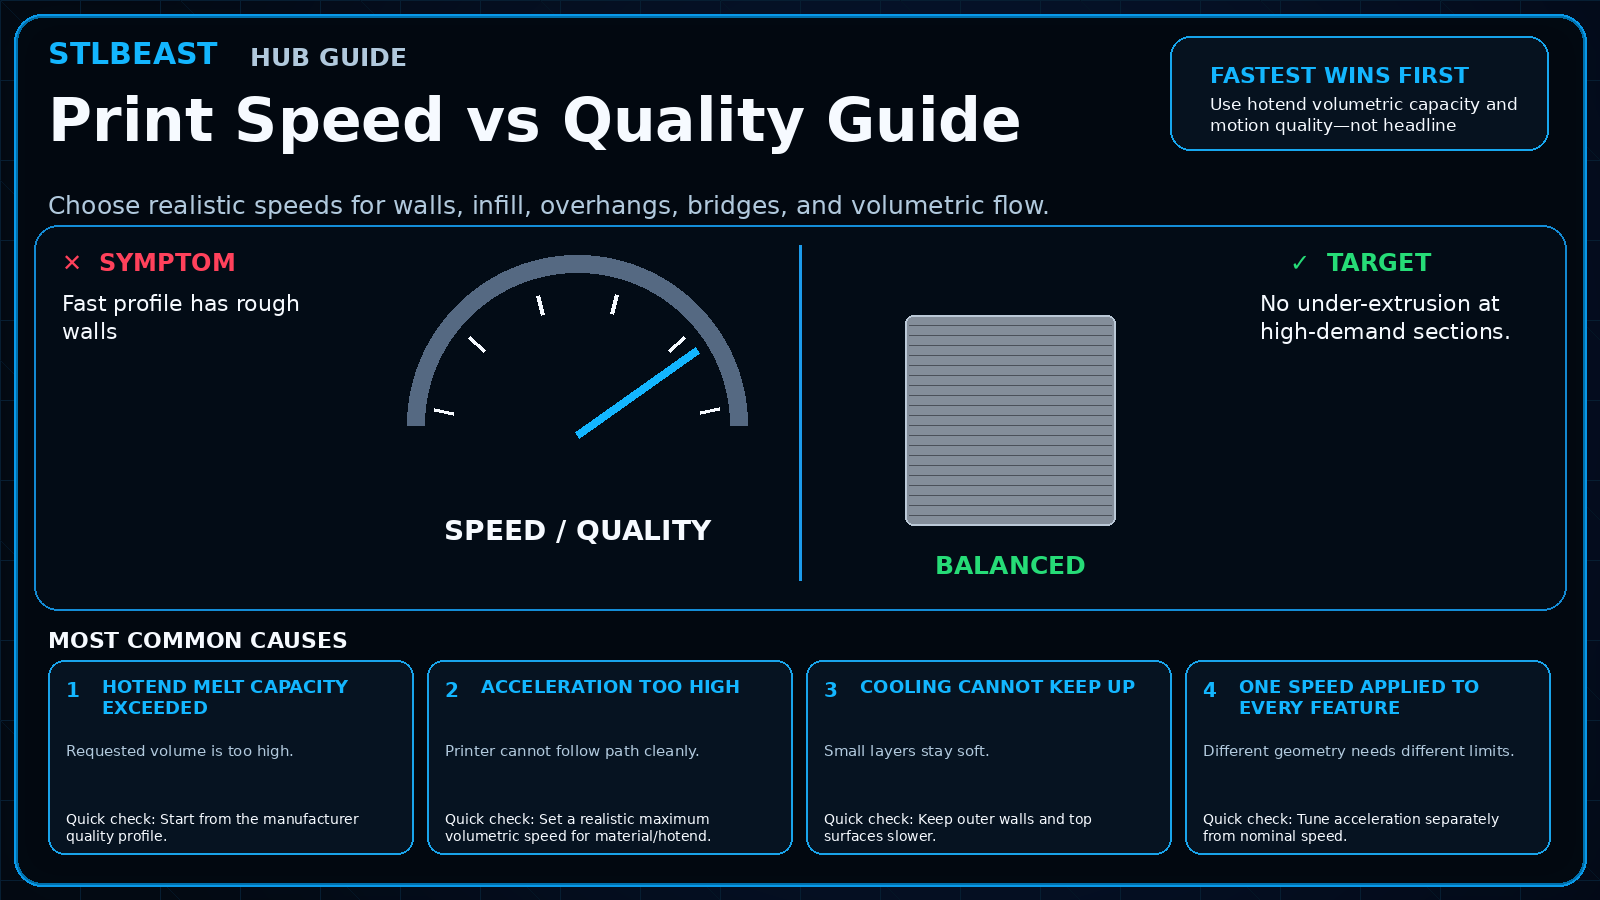
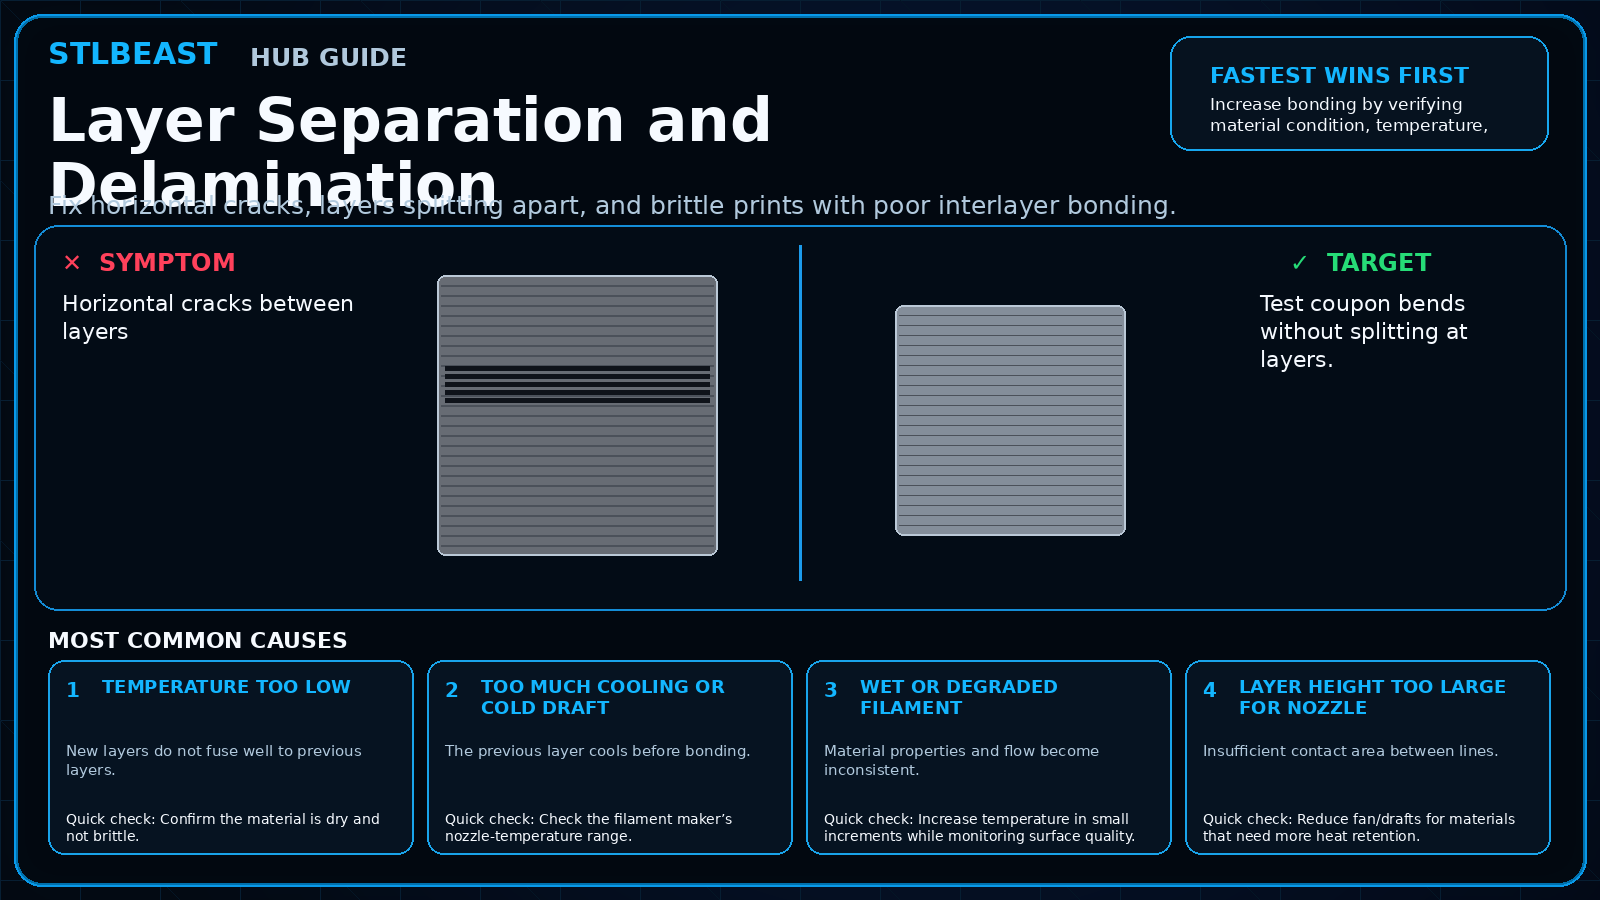
These premium guide maps demonstrate the consistent visual system being applied across the Hub: visible symptom, target result, ranked checks, success criteria and common causes.
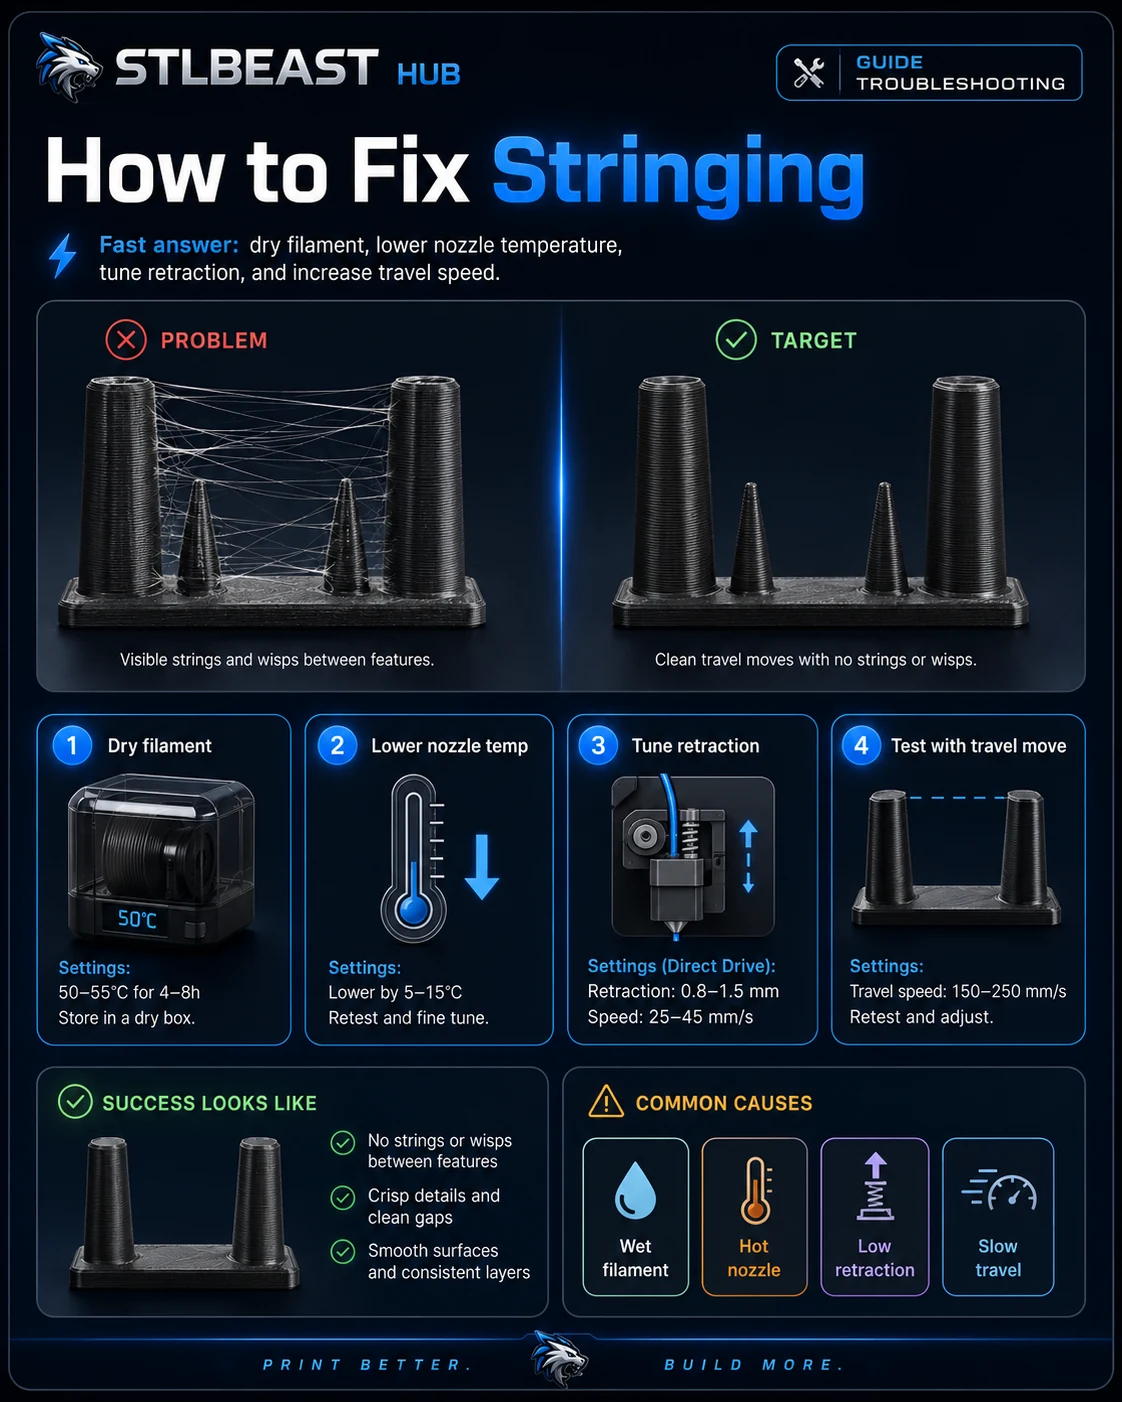
Drying, temperature, retraction and travel in the correct order.
Open visual guide →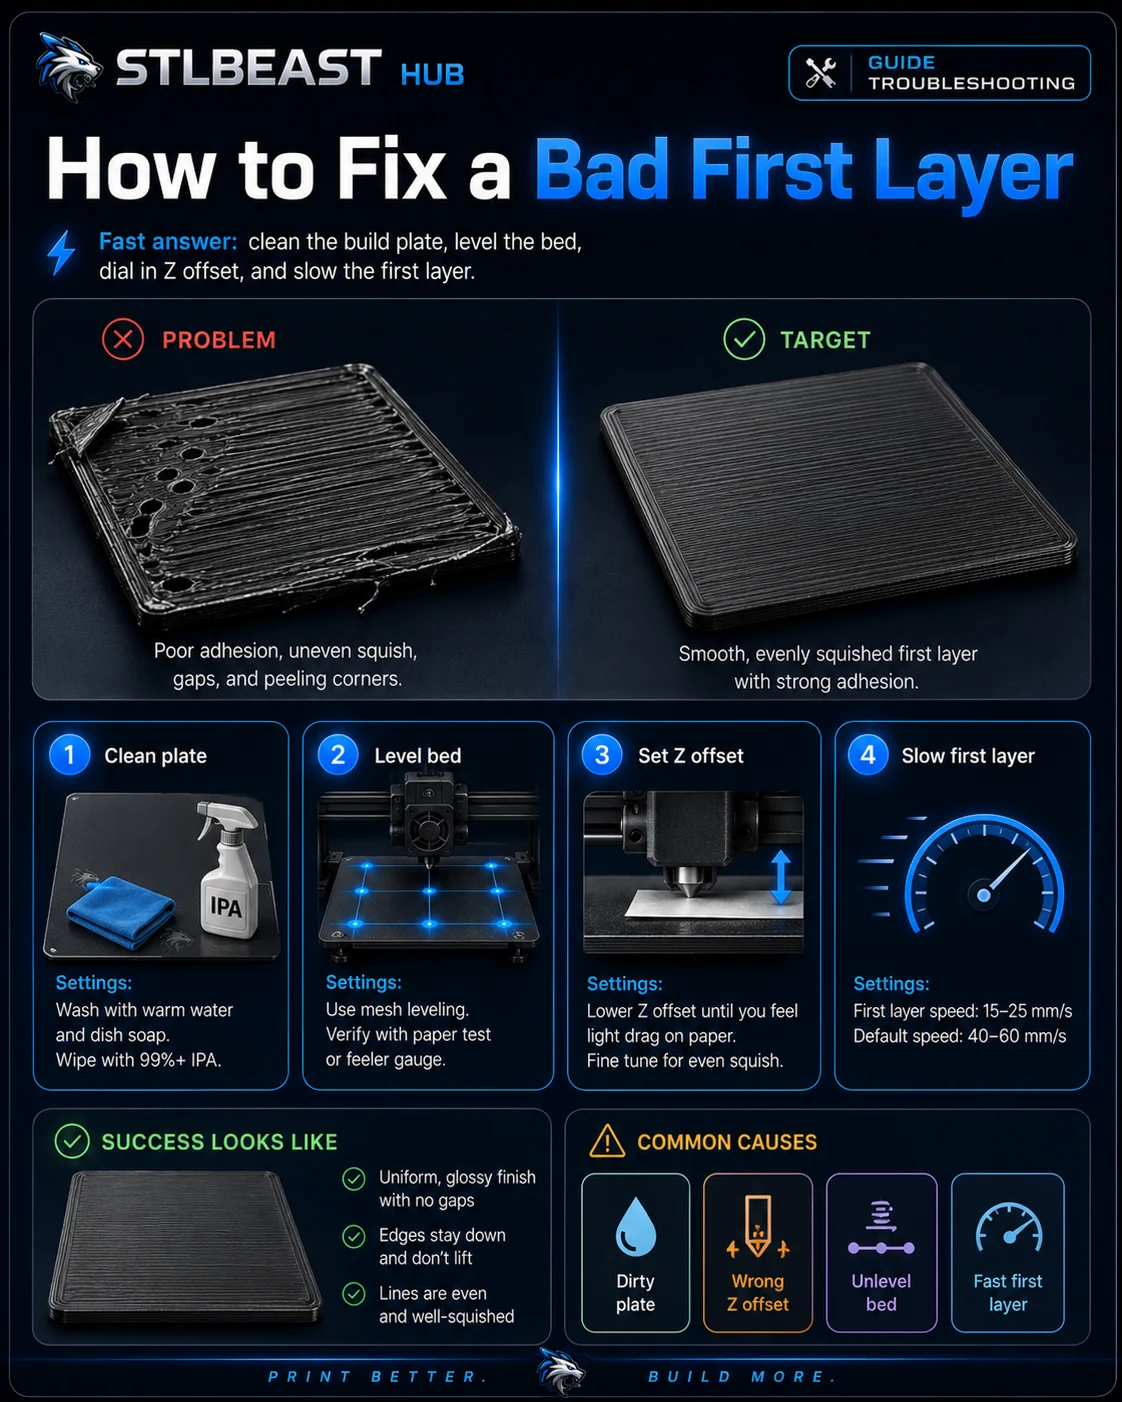
Plate cleaning, leveling, Z offset and first-layer speed.
Open visual guide →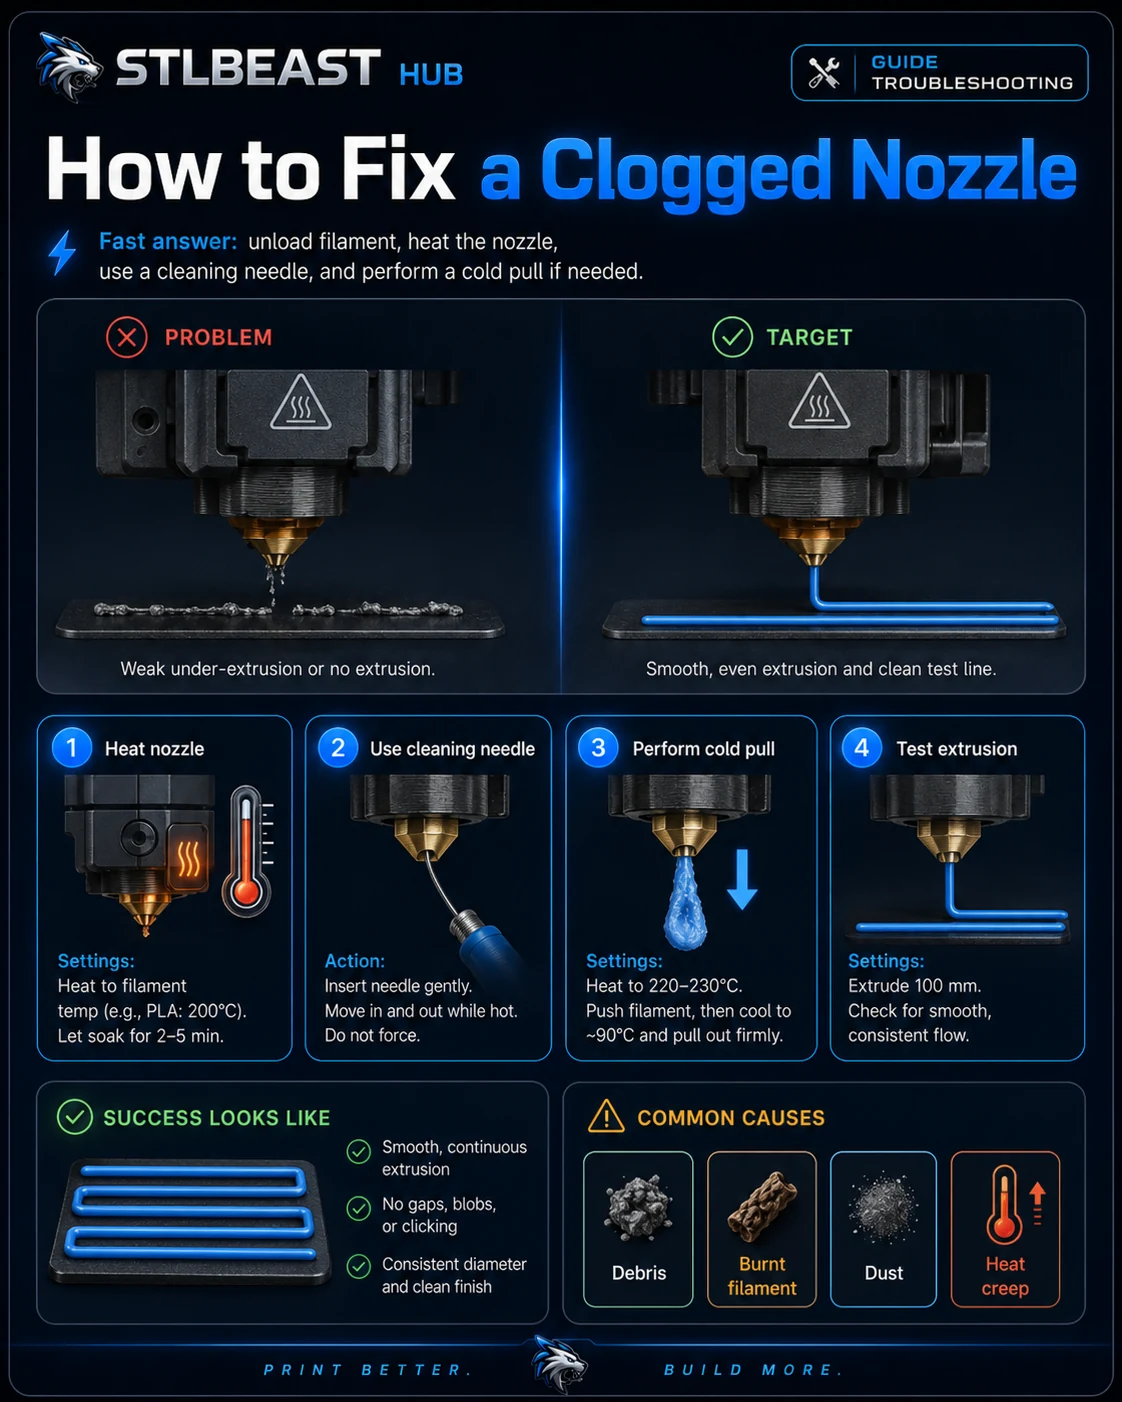
Heat, clean, cold pull and test extrusion without guessing.
Open visual guide →Use the library when a print is not sticking, stringing between features, shifting layers, under-extruding, warping, producing rough support surfaces or failing in the slicer. Each guide begins with a plain-language diagnosis and a visual comparison so visitors can confirm that they are solving the correct problem.
The repair steps are ranked from the safest and most likely check to more advanced adjustments. Printer, material and slicer context remains available in the full guide, while Quick Fix mode keeps the first checks and verification test easy to follow on a phone beside the printer.
Settings shown in STLBEAST guides are starting ranges rather than universal profiles. Make one controlled change at a time, test a small representative model and keep the adjustment only when the target result improves.
Use the search field or symptom families to identify the closest visible failure.
Work from the most likely, safest cause before changing slicer values.
Run a small controlled test and keep only the change that improved the result.
Cleanliness, Z offset, plate temperature and first-layer flow.
Surface qualityTemperature, moisture, retraction and travel checks in safe order.
ExtrusionClogs, feed resistance, temperature, speed and calibration.
SupportsInterface spacing, density, cooling and contact geometry.
Try a shorter symptom, remove the printer model, or search the full Hub.
Open full searchRanked troubleshooting paths, controlled checks and verification steps.
 Bed Leveling & Probes
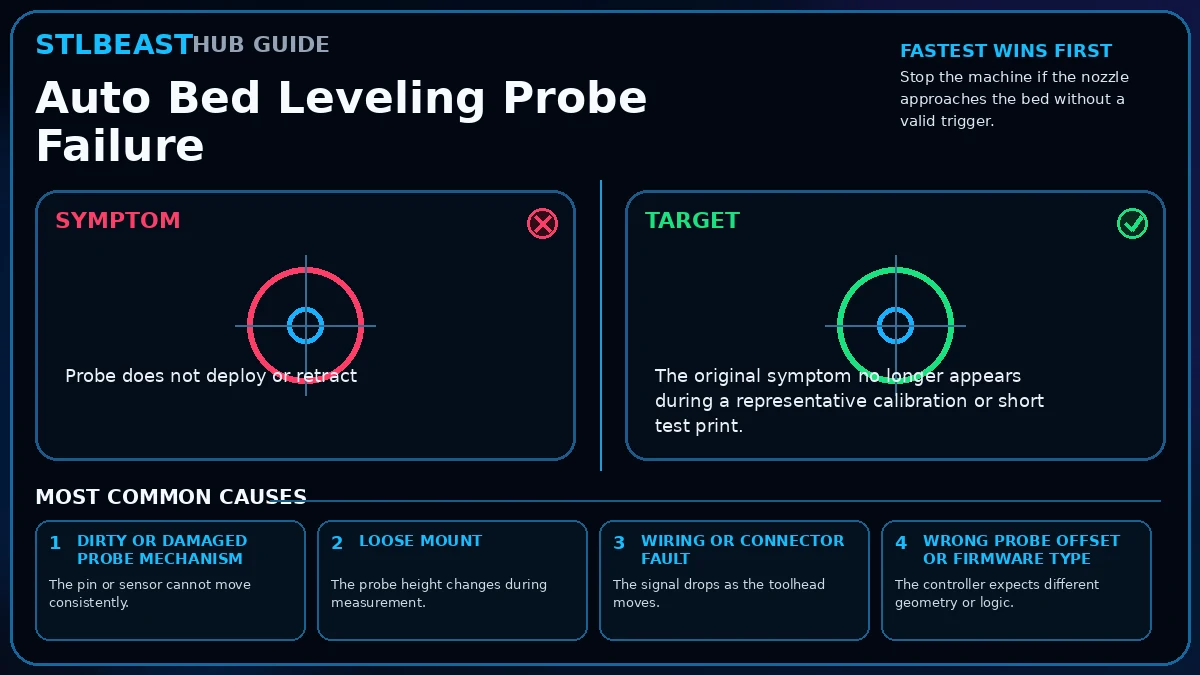
Probe does not deploy or retract. Start by checking Dirty or damaged probe mechanism. Inspect probe mounting, deployment, wiring, nozzle cleanliness, bed surface,…
Open repair path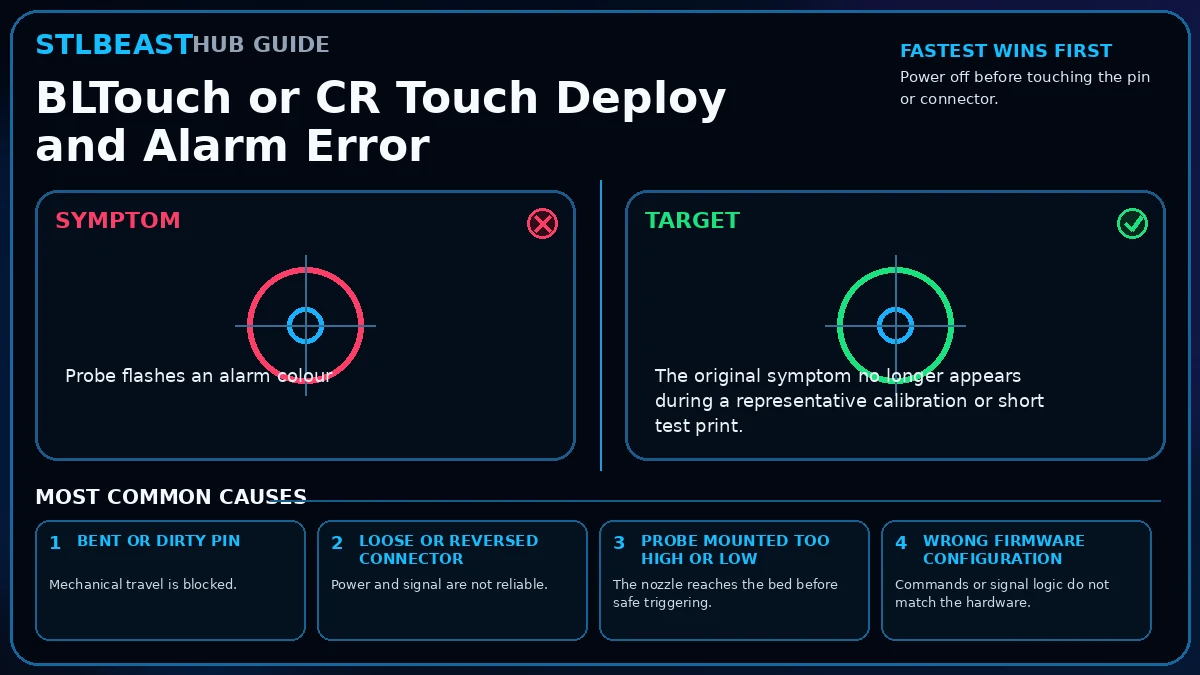 Bed Leveling & Probes
Probe flashes an alarm colour. Start by checking Bent or dirty pin. Clean the pin, verify free movement, inspect the mount and wiring, run the built-in self-test, and…
Open repair path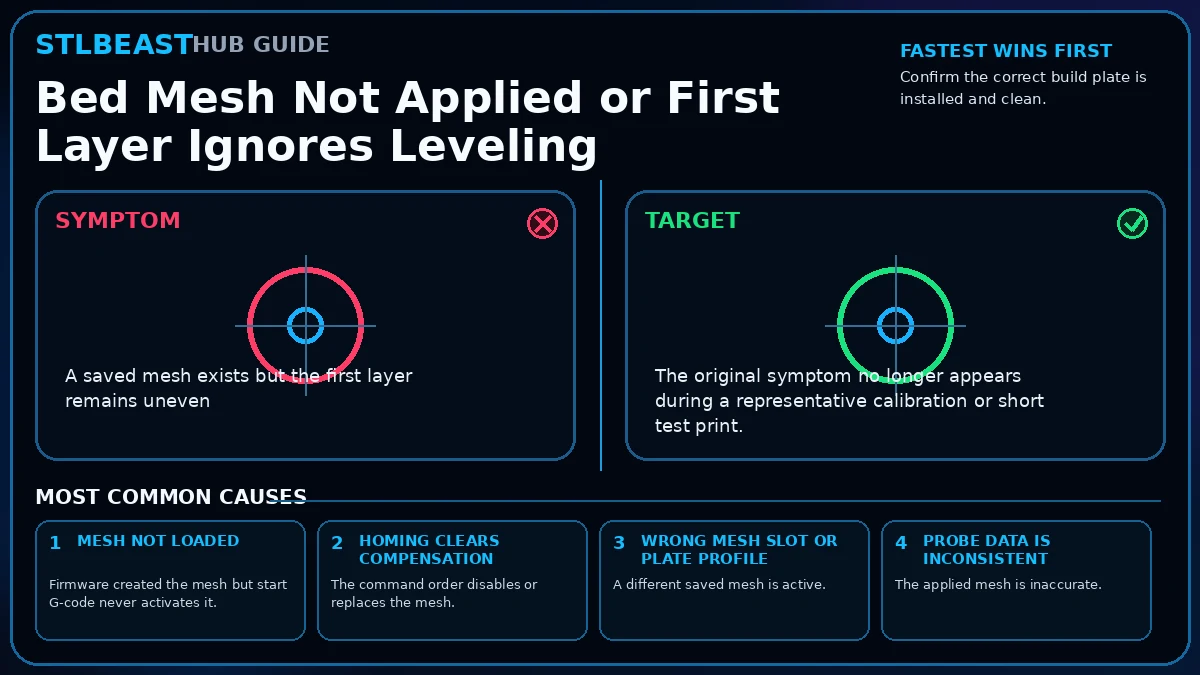 Bed Leveling & Probes
A saved mesh exists but the first layer remains uneven. Start by checking Mesh not loaded. Confirm the mesh was saved, the correct profile is loaded after homing,…
Open repair path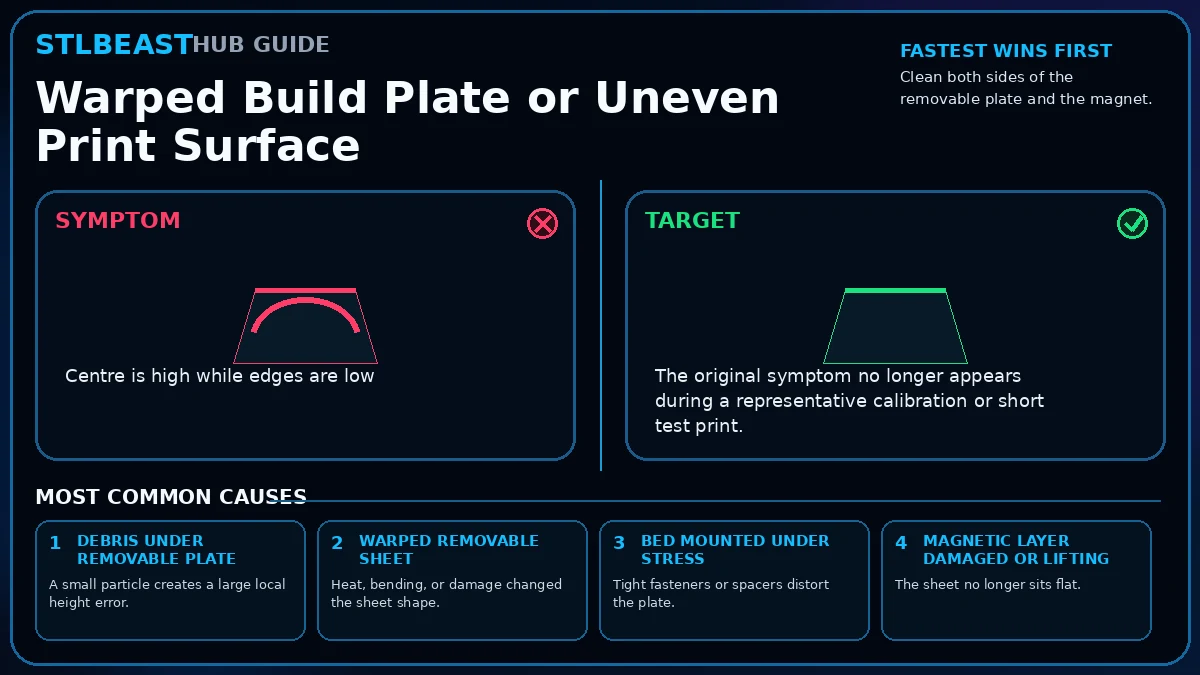 Bed Leveling & Probes
Centre is high while edges are low. Start by checking Debris under removable plate. Separate removable-sheet, bed, magnet, mounting, and mesh errors; reseat…
Open repair pathRanked troubleshooting paths, controlled checks and verification steps.
 Calibration
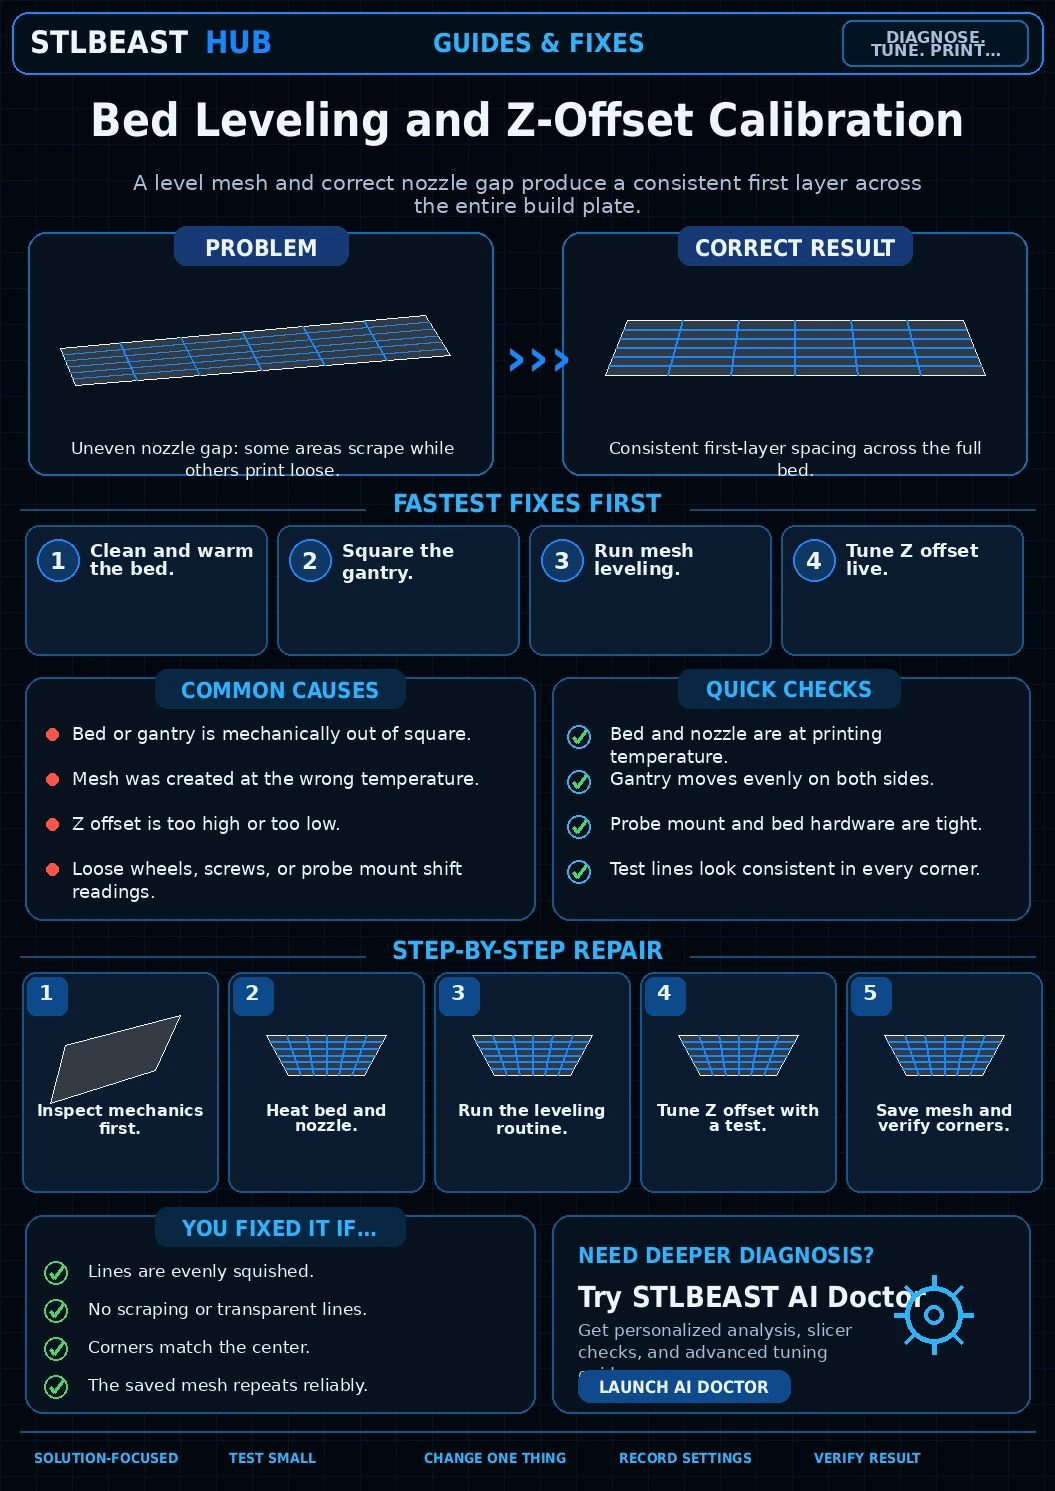
One side is always too close. Start by checking Mechanical gantry/bed misalignment. Level the machine mechanically first, probe or mesh the bed second, and tune Z…
Open repair path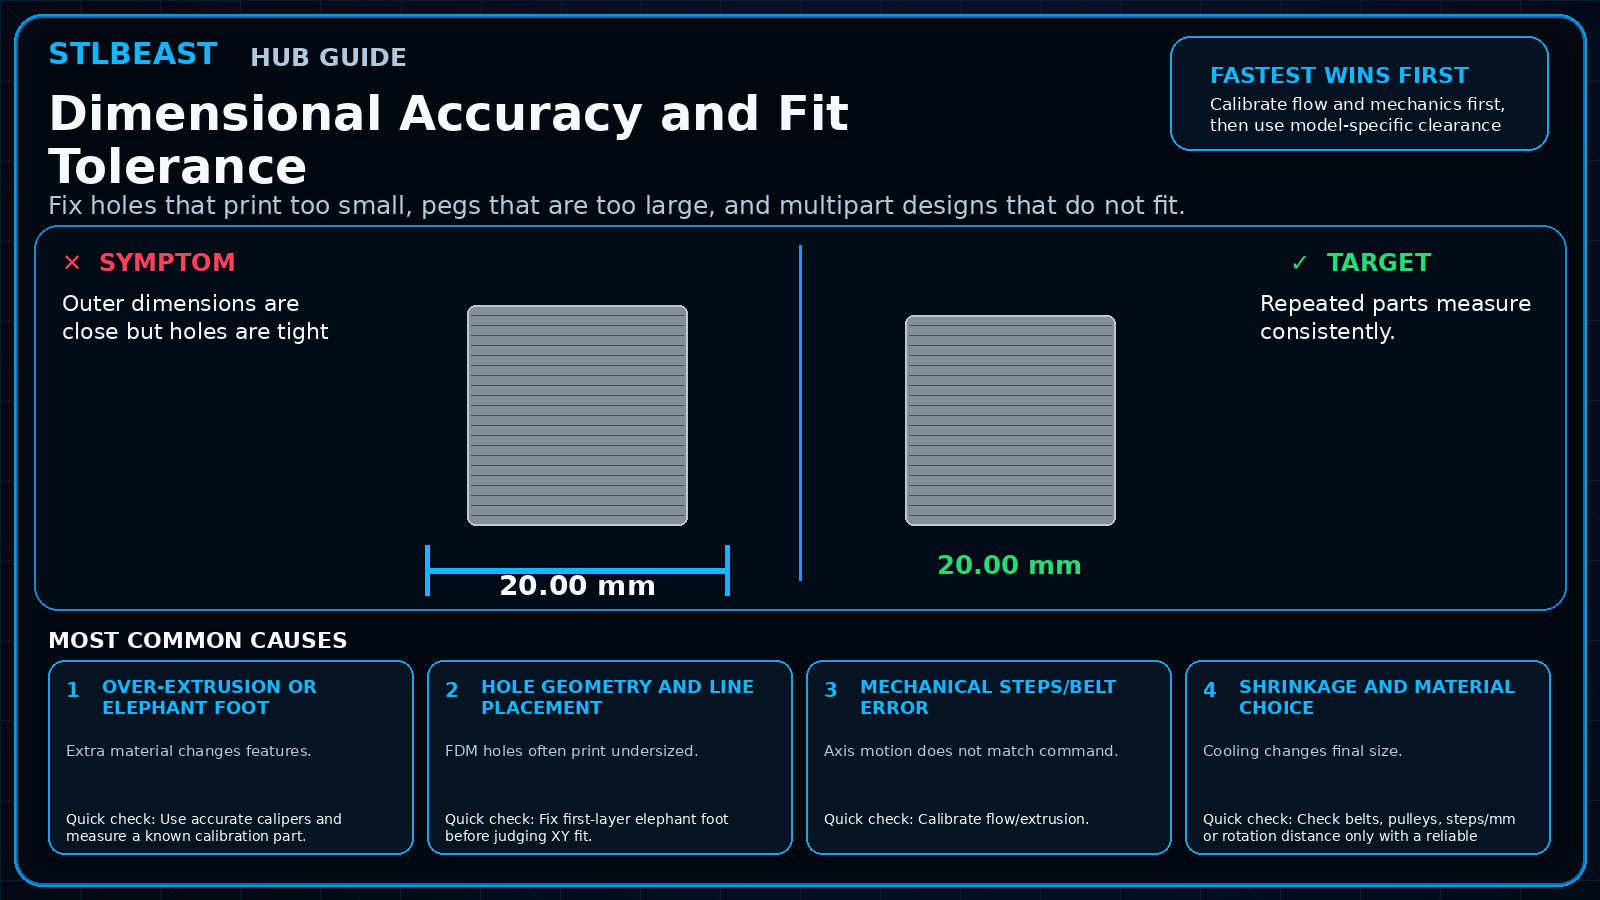 Calibration
Outer dimensions are close but holes are tight. Start by checking Over-extrusion or elephant foot. Calibrate flow and mechanics first, then use model-specific…
Open repair path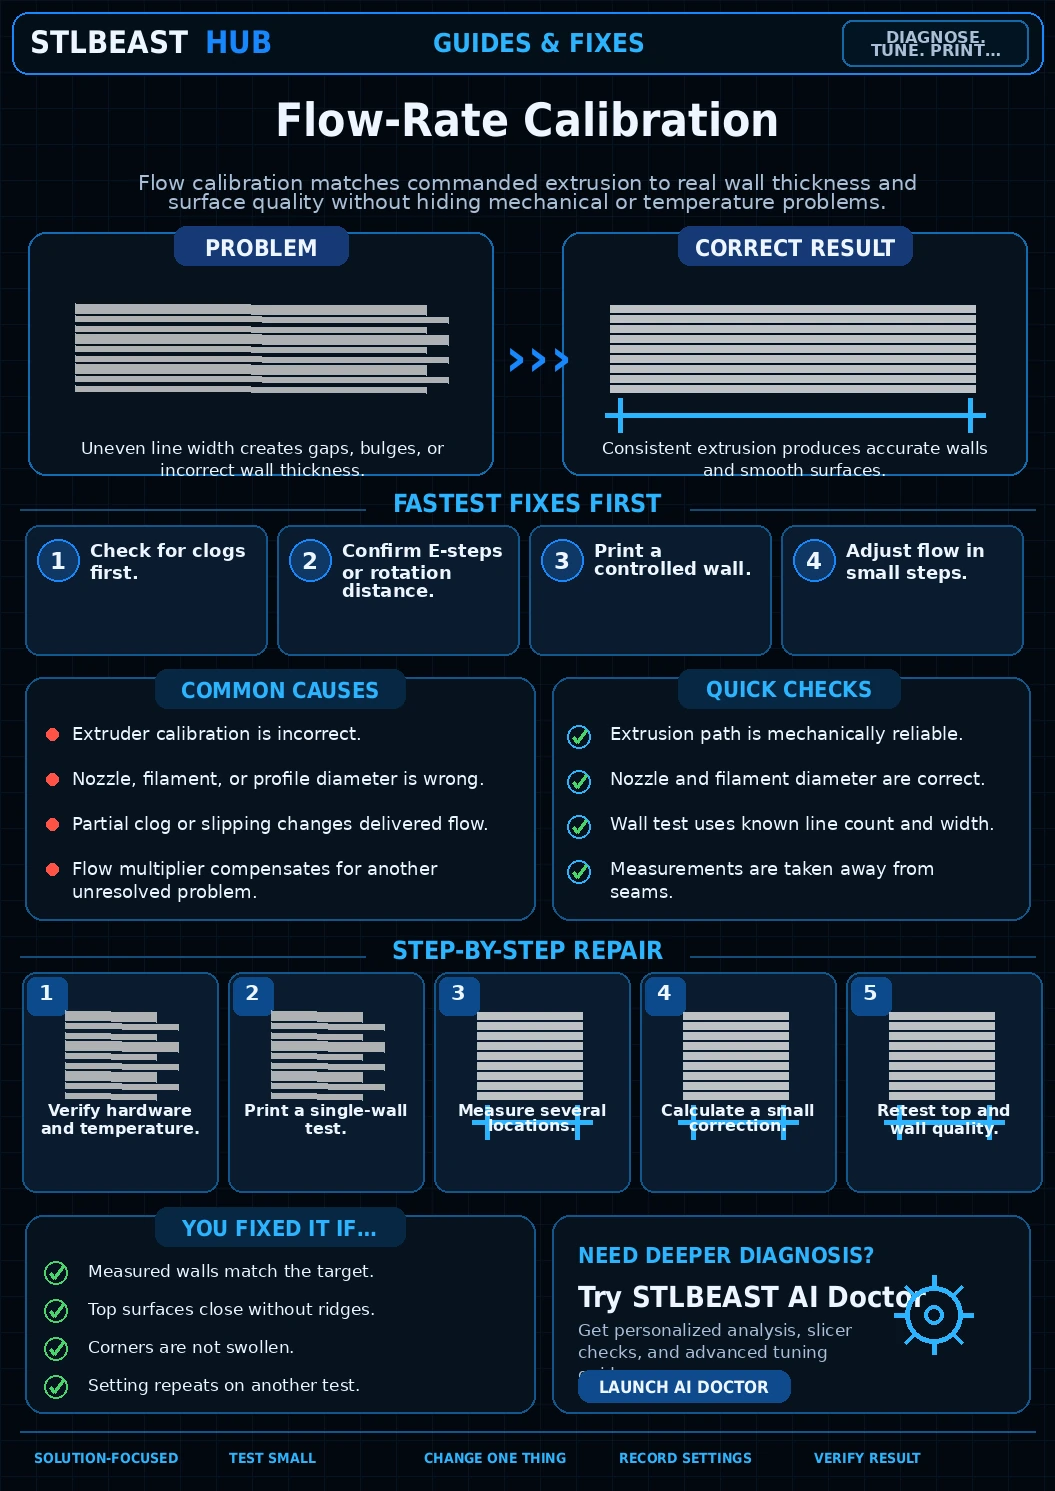 Calibration
Walls measure too thick or thin. Start by checking Default profile not matched to filament. Calibrate flow only after the nozzle, filament path, temperature, and…
Open repair path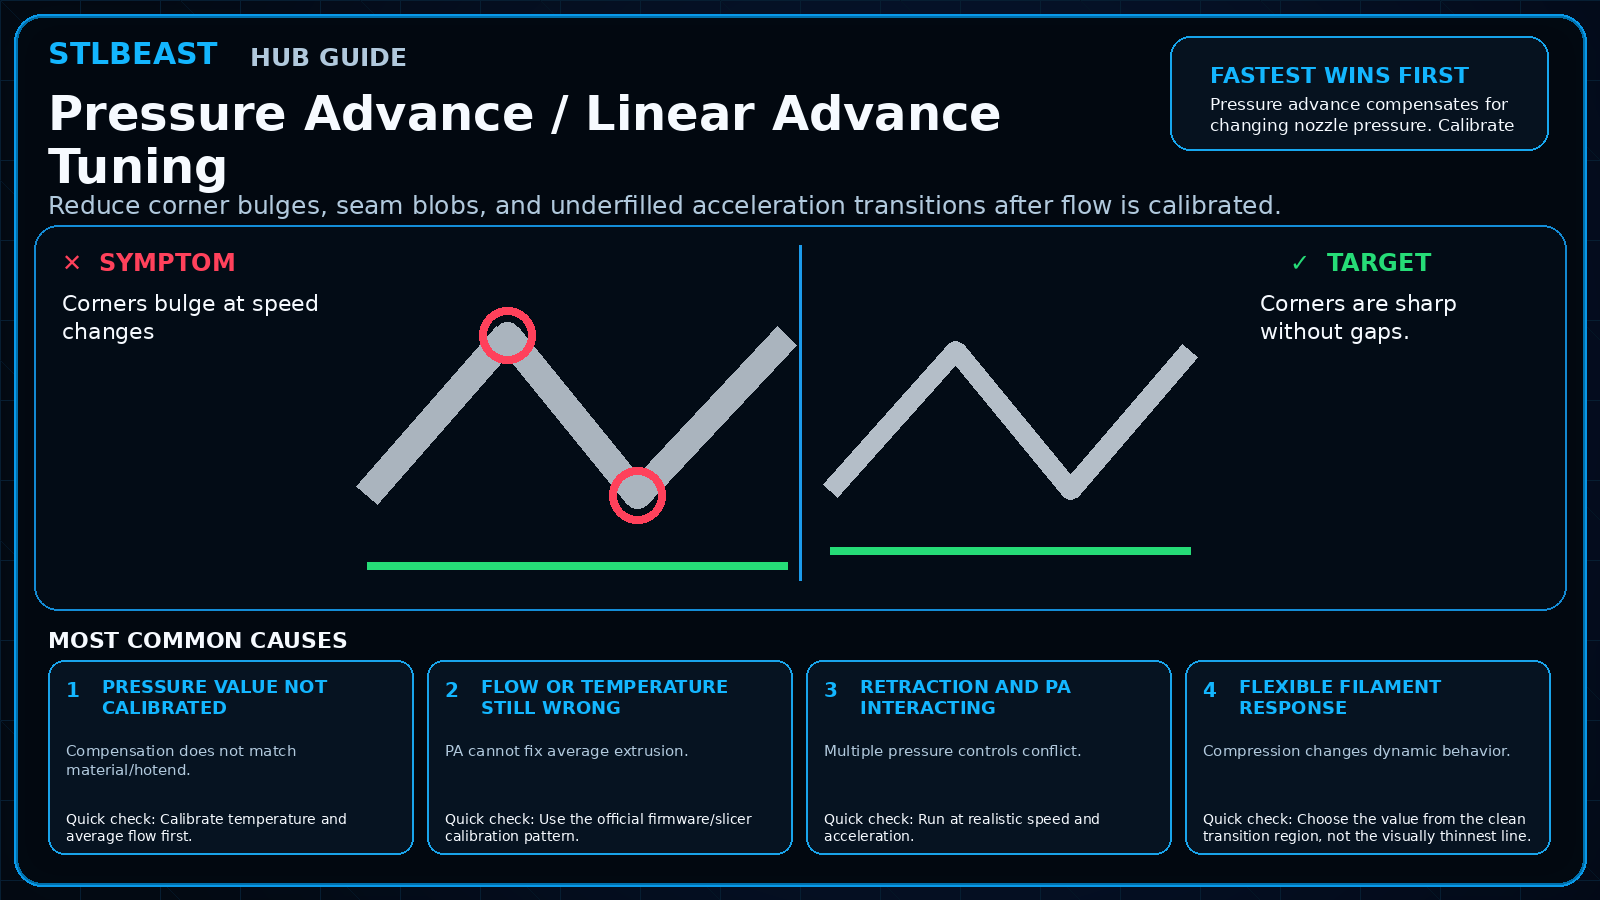 Calibration
Corners bulge at speed changes. Start by checking Pressure value not calibrated. Pressure advance compensates for changing nozzle pressure. Calibrate it after…
Open repair path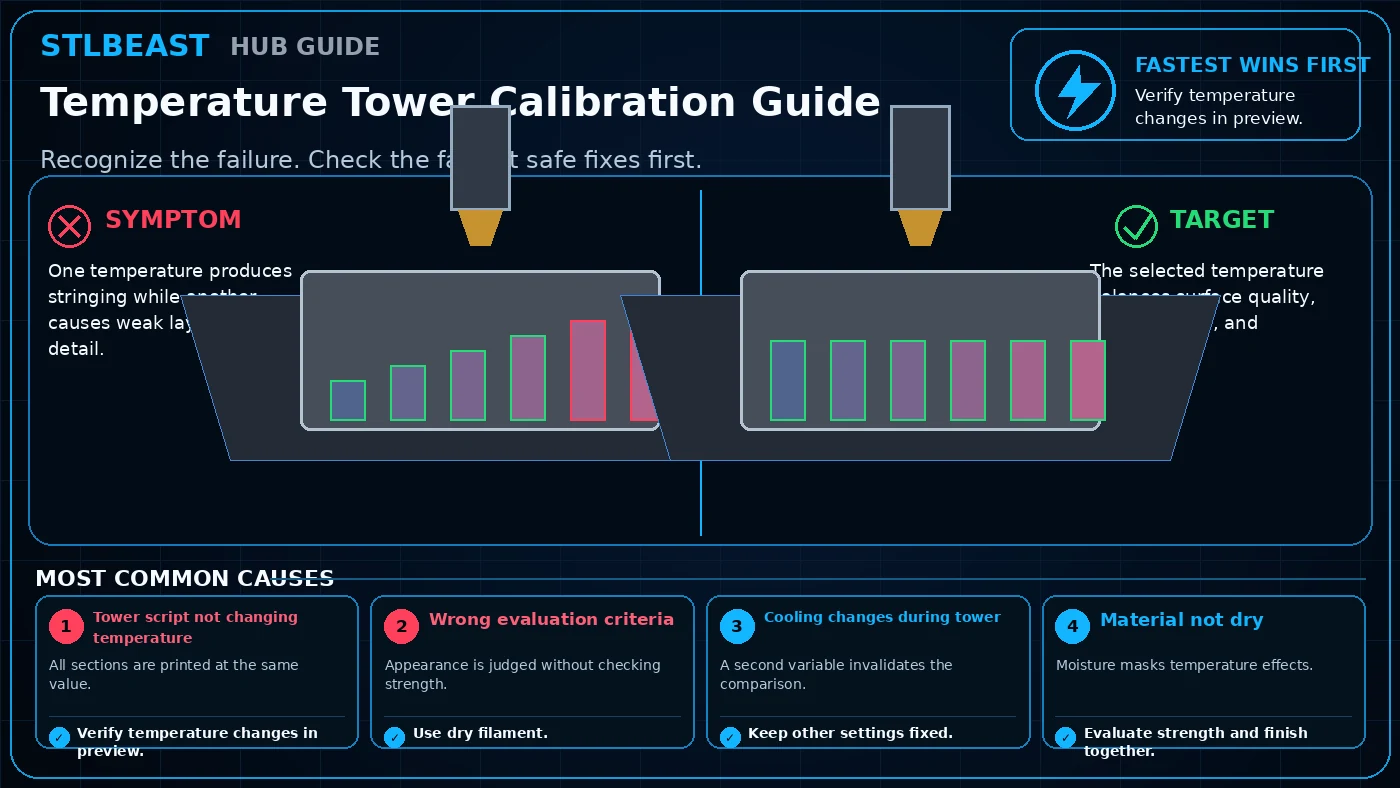 Calibration
One temperature produces stringing while another causes weak layers or poor detail. Start by checking Tower script not changing temperature. Start with verify…
Open repair path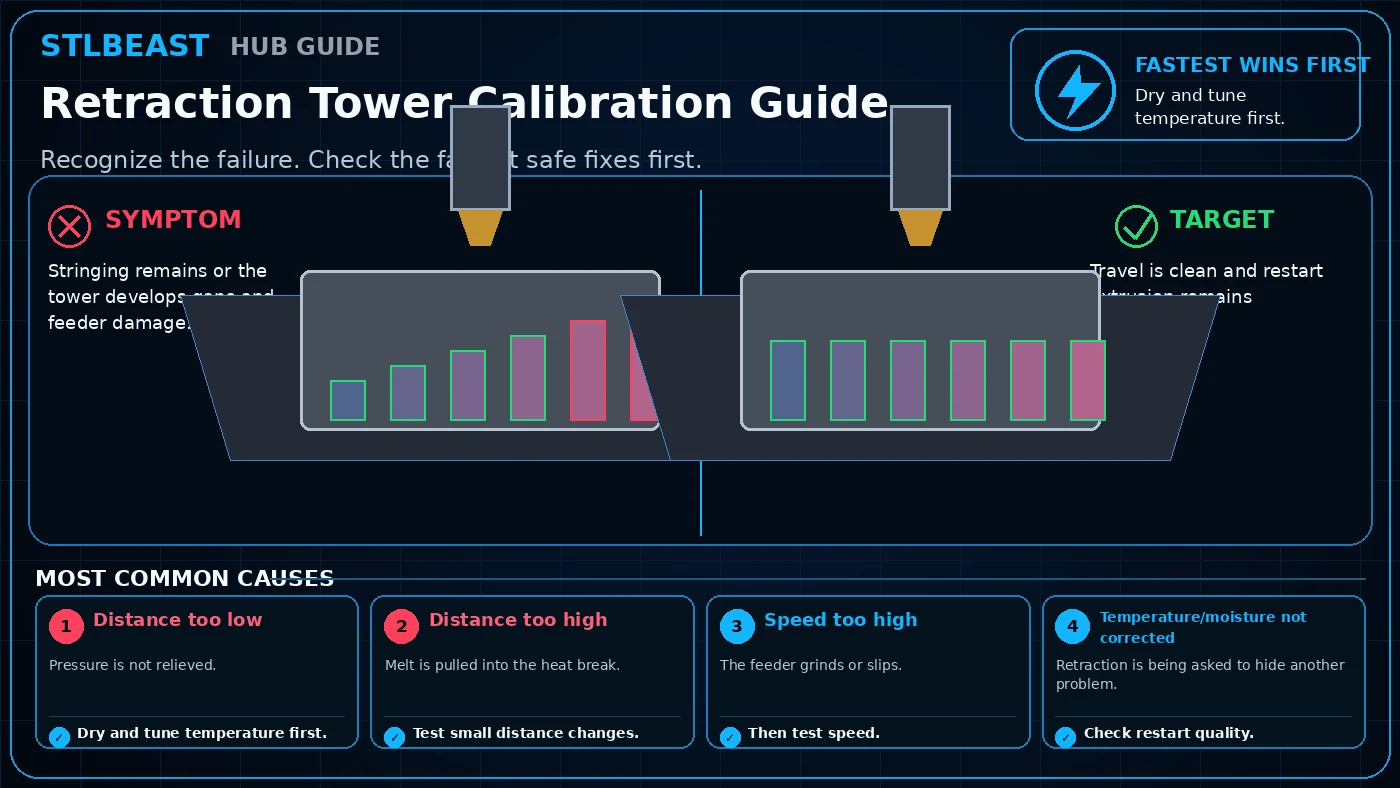 Calibration
Stringing remains or the tower develops gaps and feeder damage. Start by checking Distance too low. Start with dry and tune temperature first, then test small…
Open repair path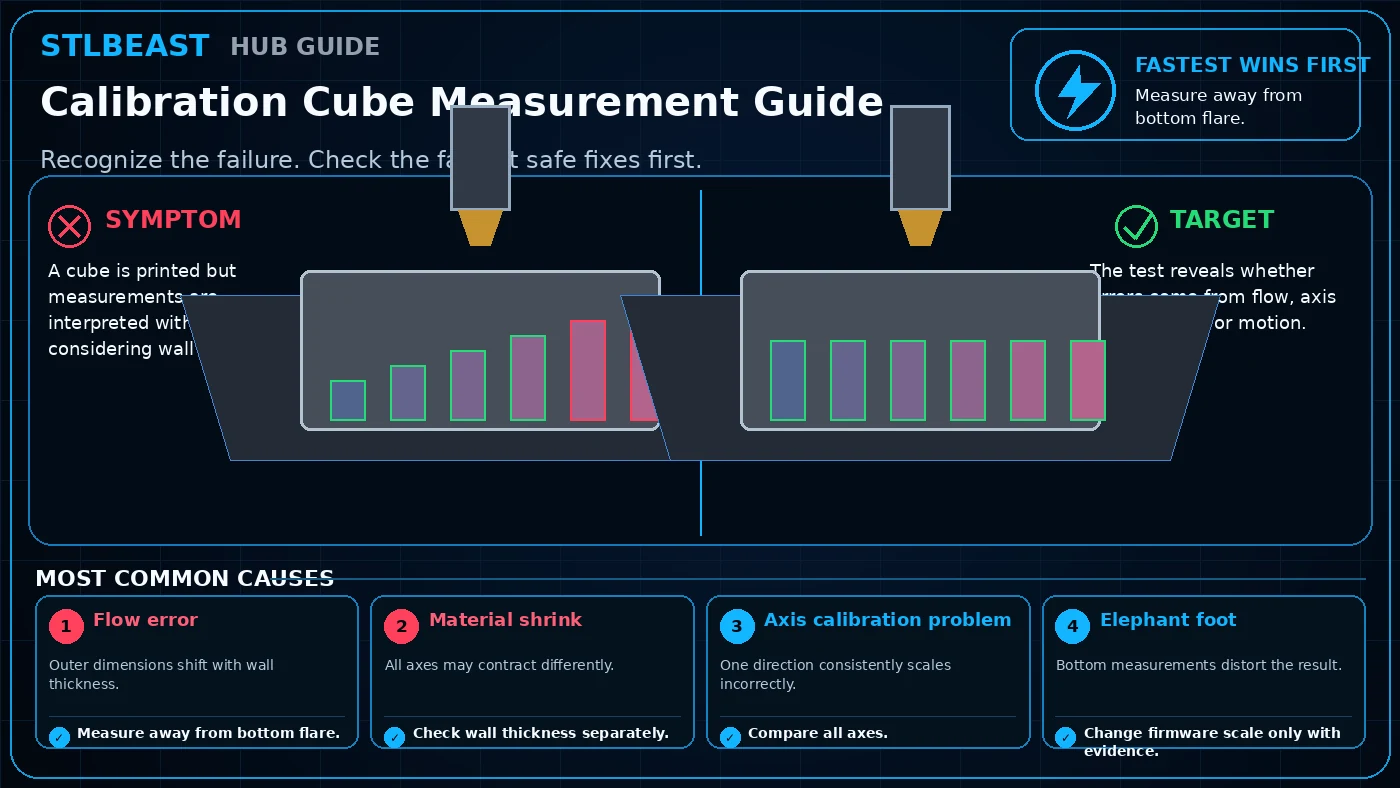 Calibration
A cube is printed but measurements are interpreted without considering wall or shrink effects. Start by checking Flow error. Start with measure away from bottom…
Open repair path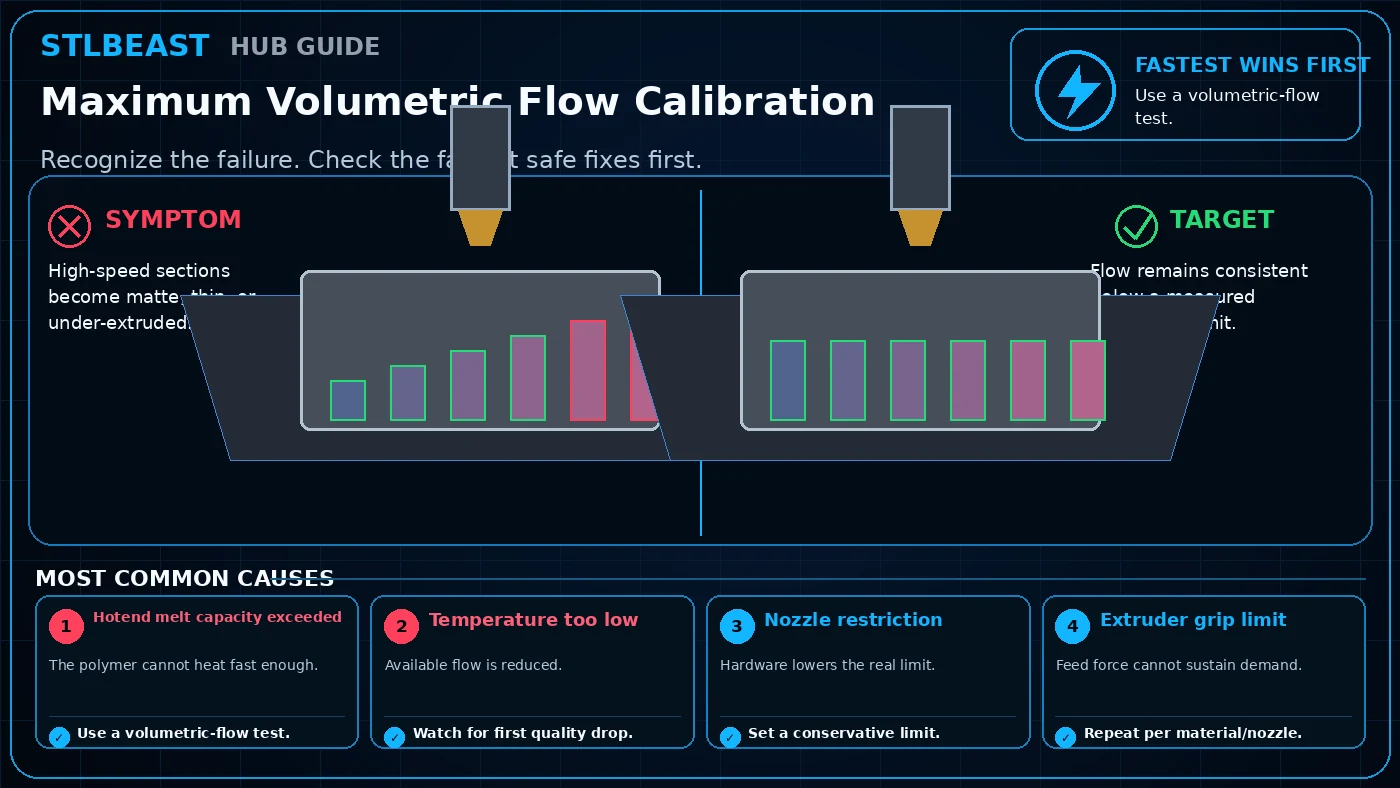 Calibration
High-speed sections become matte, thin, or under-extruded. Start by checking Hotend melt capacity exceeded. Start with use a volumetric-flow test, then watch for…
Open repair path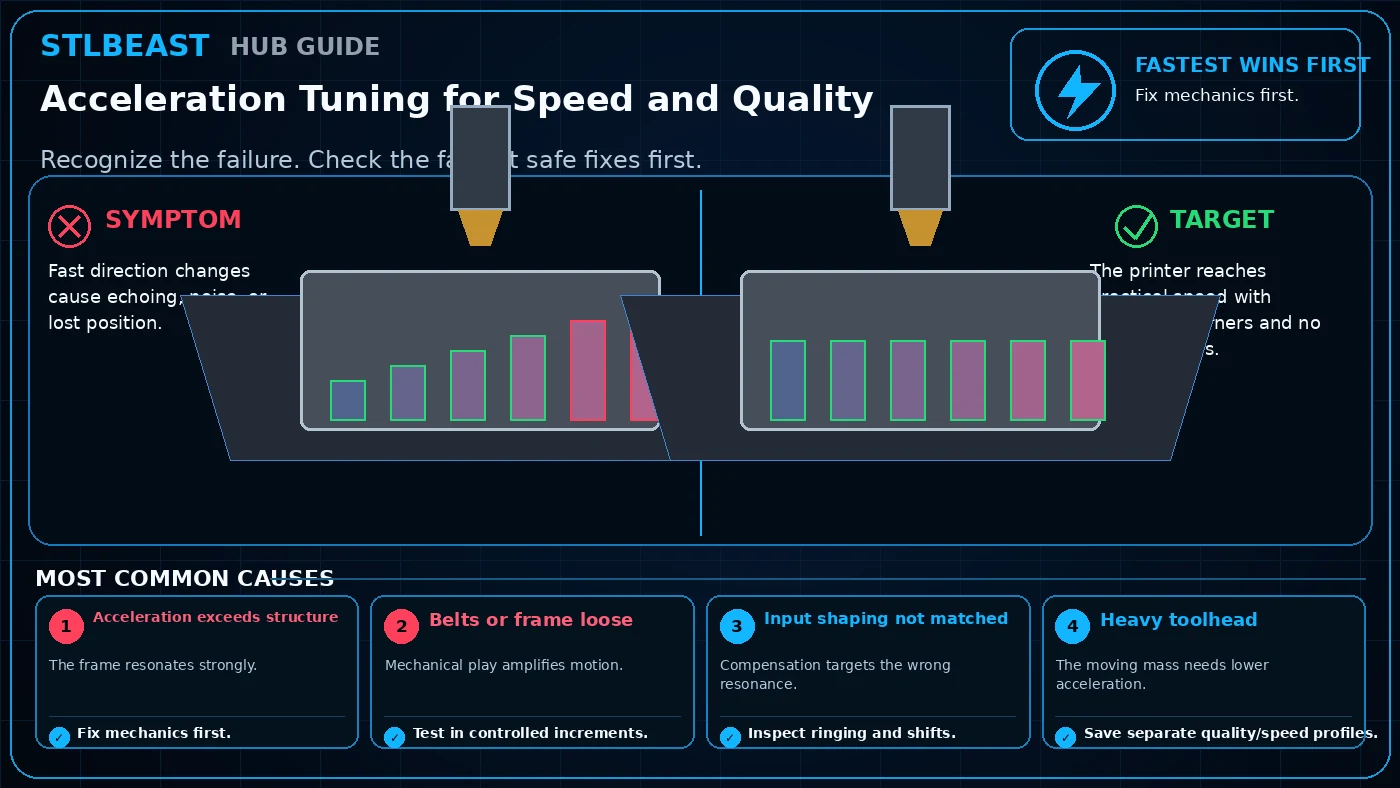 Calibration
Fast direction changes cause echoing, noise, or lost position. Start by checking Acceleration exceeds structure. Start with fix mechanics first, then test in…
Open repair path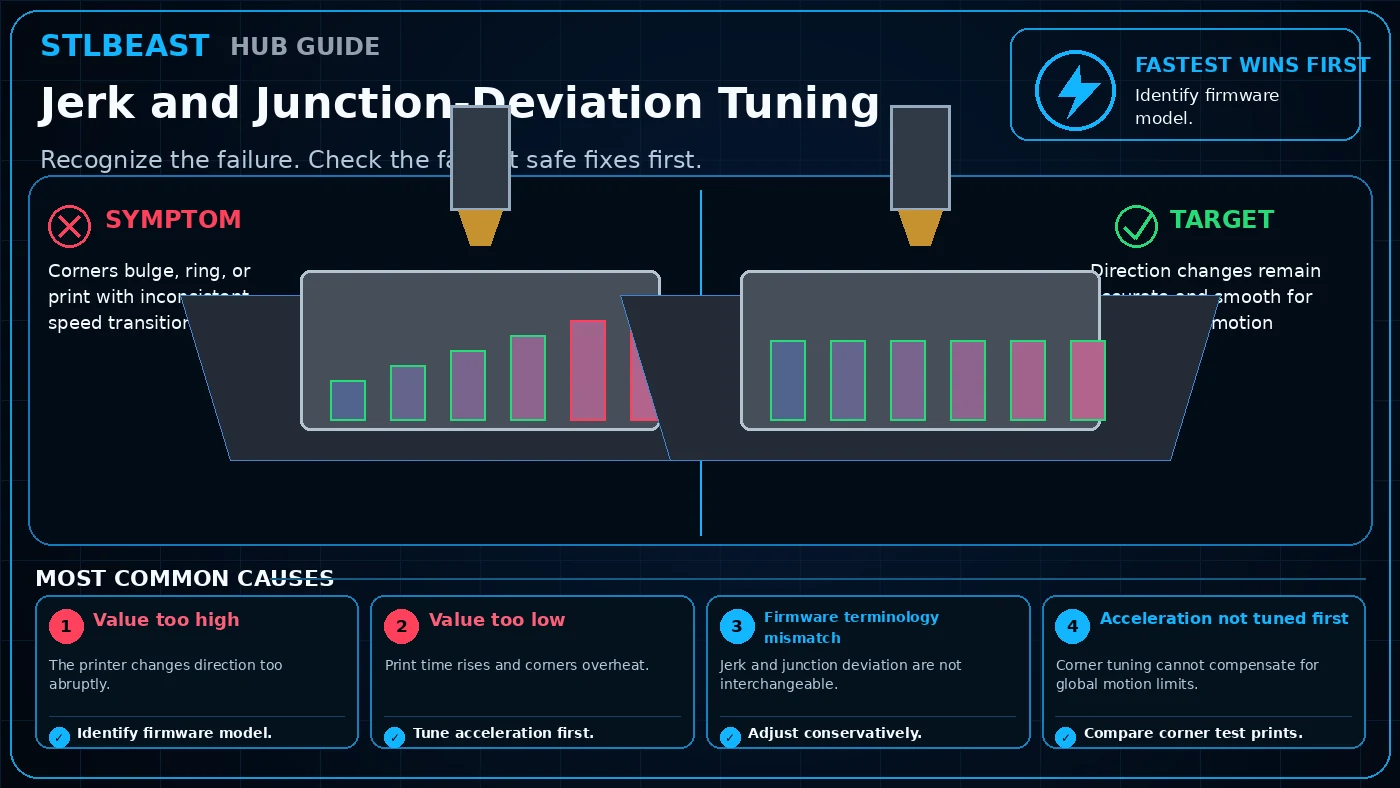 Calibration
Corners bulge, ring, or print with inconsistent speed transitions. Start by checking Value too high. Start with identify firmware model, then tune acceleration first.…
Open repair path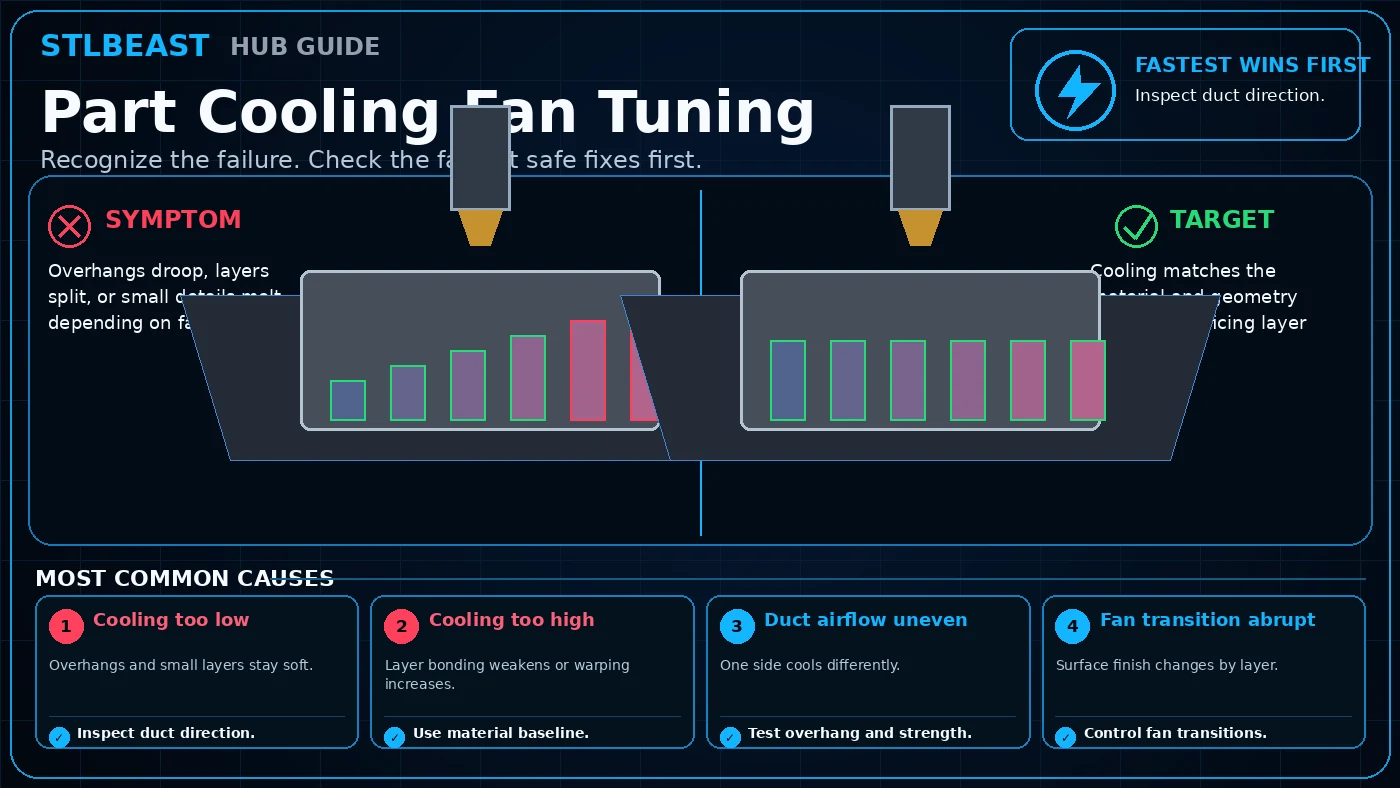 Calibration
Overhangs droop, layers split, or small details melt depending on fan speed. Start by checking Cooling too low. Start with inspect duct direction, then use material…
Open repair path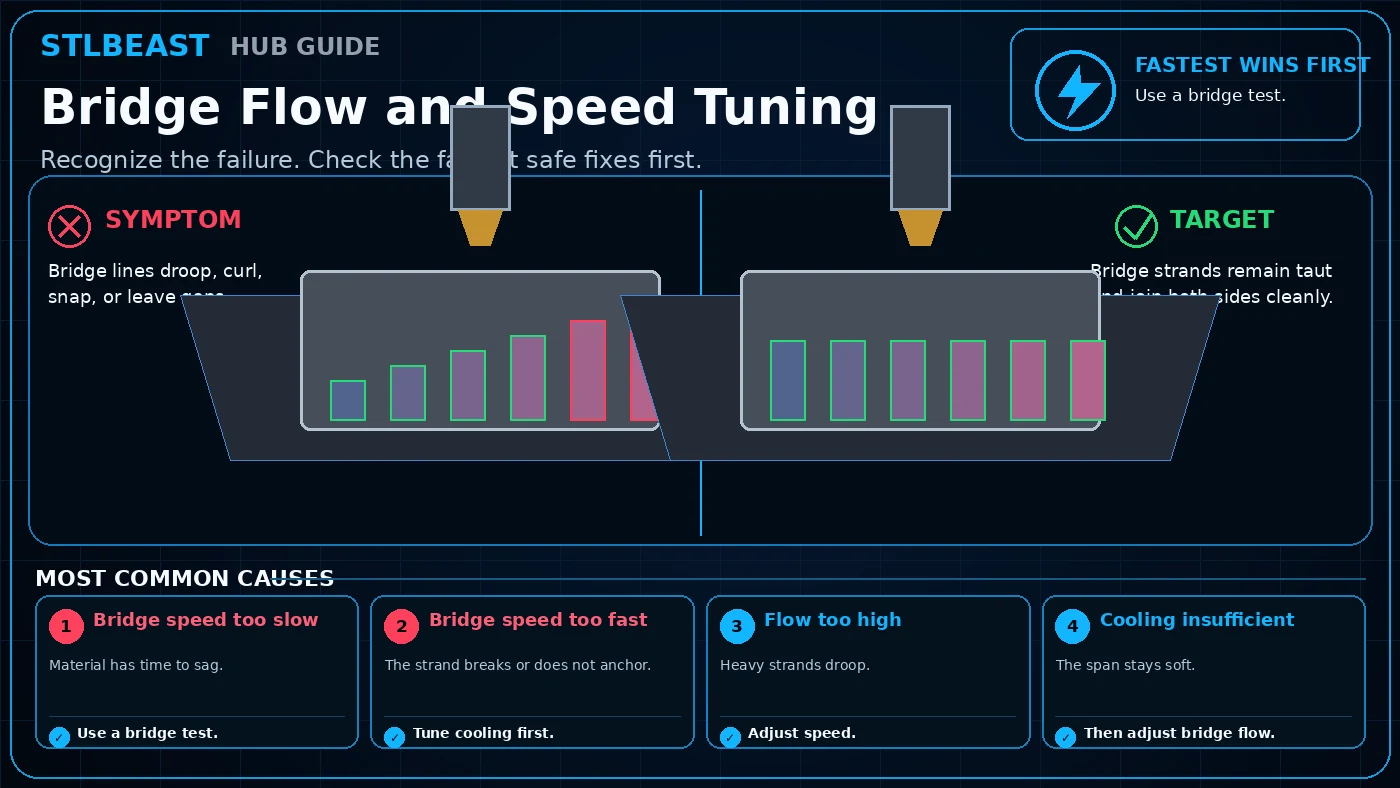 Calibration
Bridge lines droop, curl, snap, or leave gaps. Start by checking Bridge speed too slow. Start with use a bridge test, then tune cooling first. Confirm the result with…
Open repair path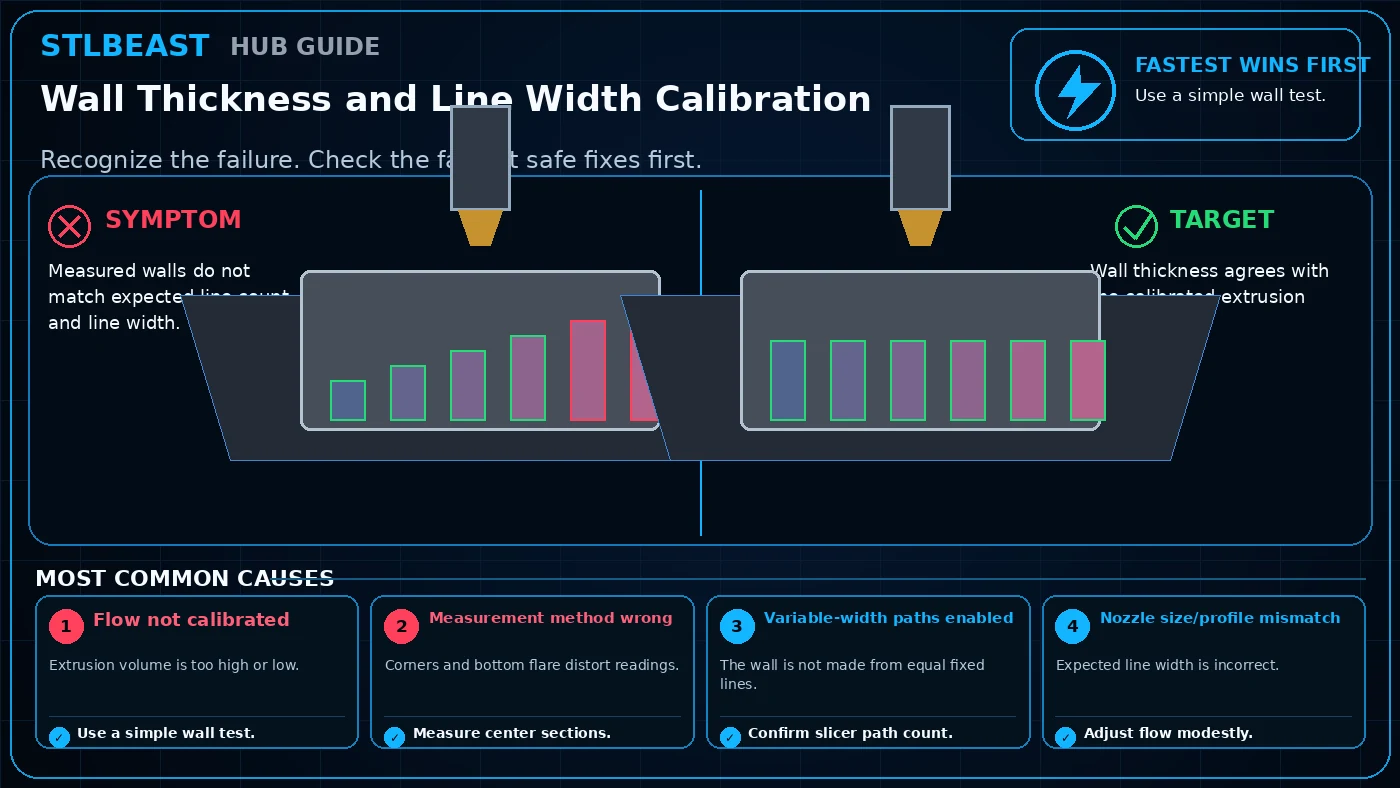 Calibration
Measured walls do not match expected line count and line width. Start by checking Flow not calibrated. Start with use a simple wall test, then measure center…
Open repair path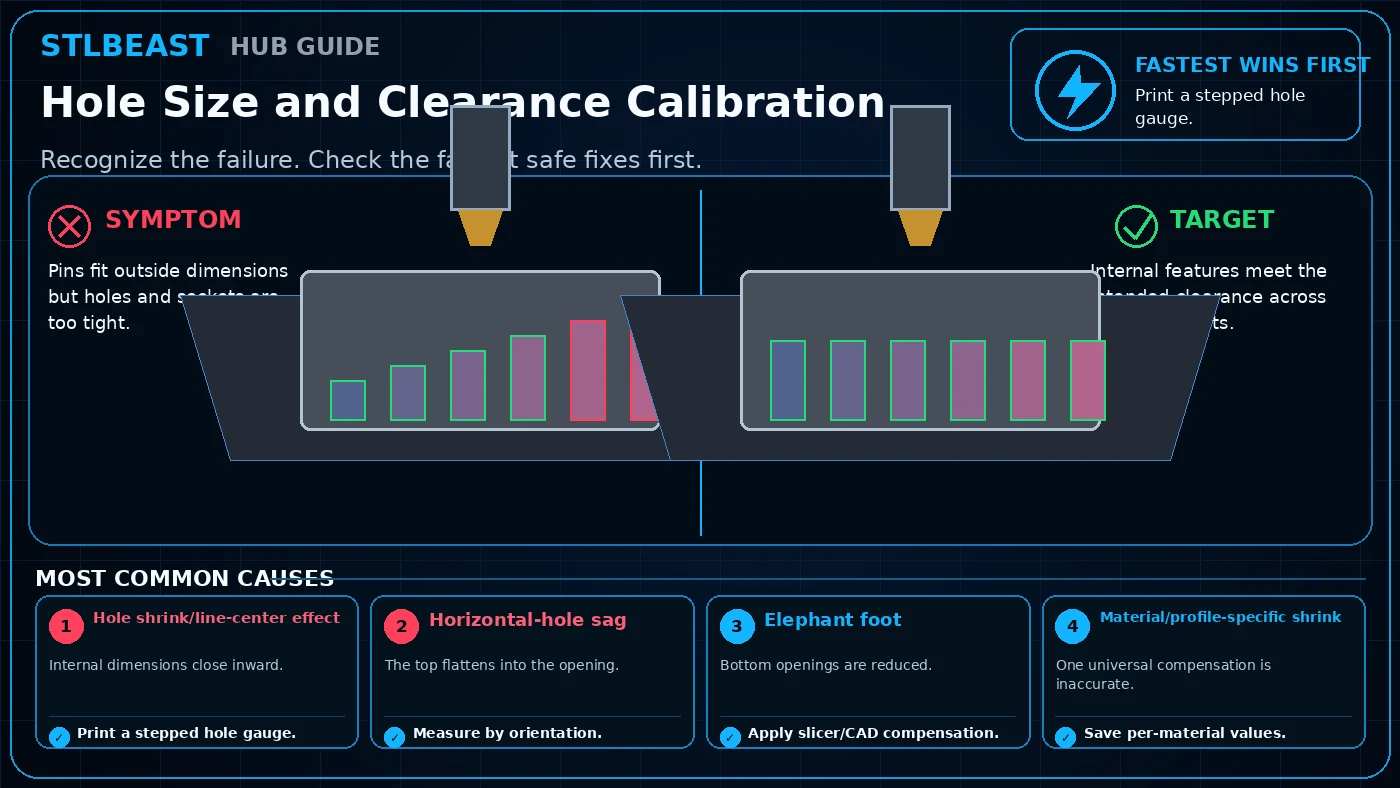 Calibration
Pins fit outside dimensions but holes and sockets are too tight. Start by checking Hole shrink/line-center effect. Start with print a stepped hole gauge, then measure…
Open repair path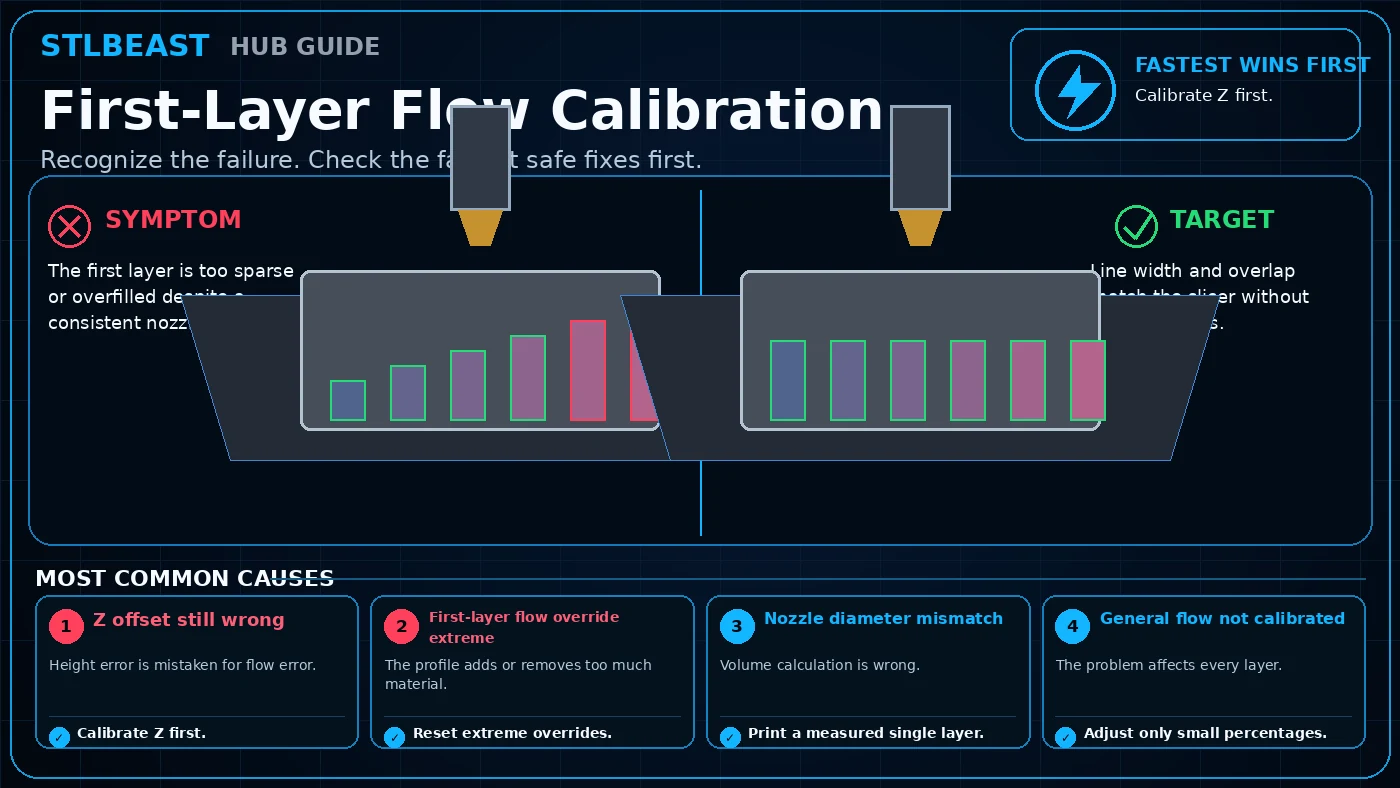 Calibration
The first layer is too sparse or overfilled despite a consistent nozzle gap. Start by checking Z offset still wrong. Start with calibrate z first, then reset extreme…
Open repair path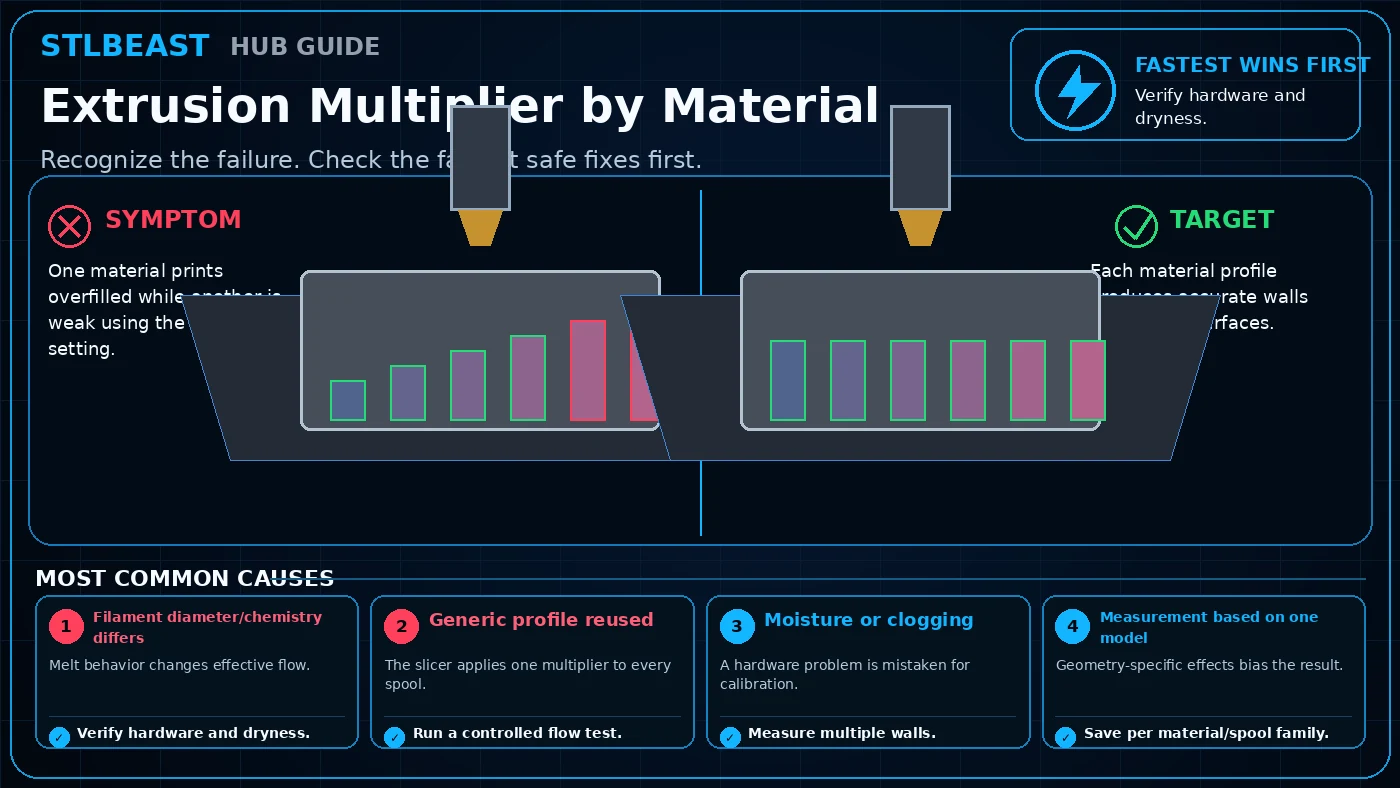 Calibration
One material prints overfilled while another is weak using the same flow setting. Start by checking Filament diameter/chemistry differs. Start with verify hardware…
Open repair path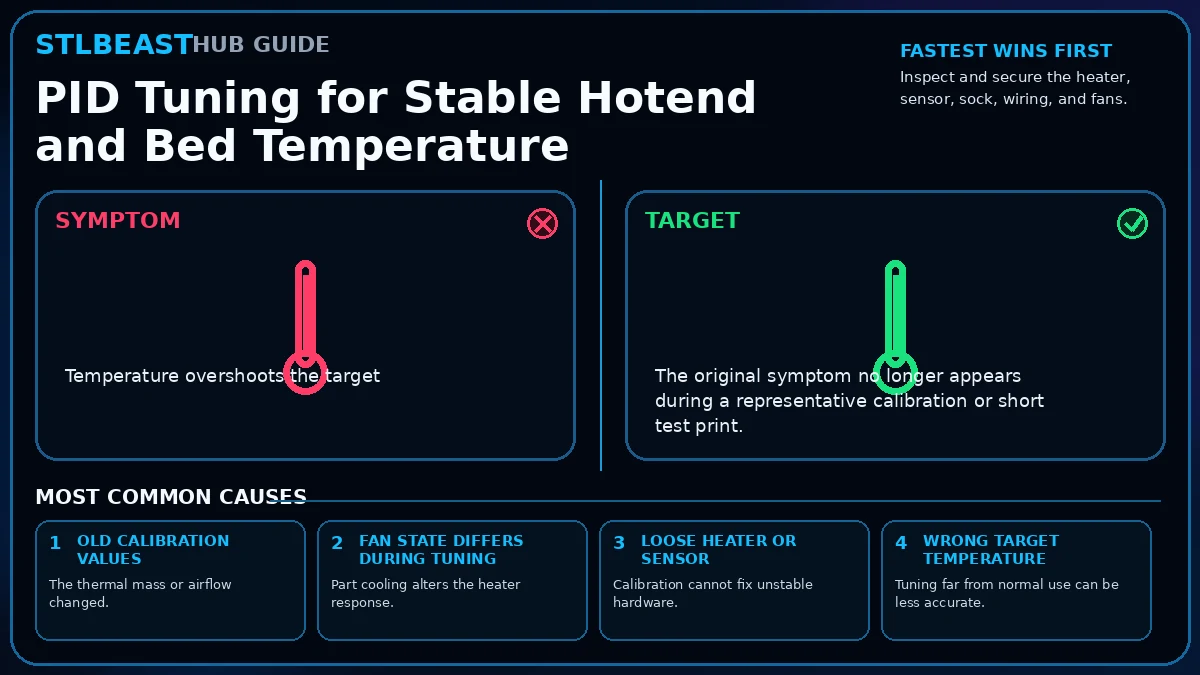 Calibration
Temperature overshoots the target. Start by checking Old calibration values. Run the printer manufacturer’s PID or heater calibration only after the heater, sensor,…
Open repair pathRanked troubleshooting paths, controlled checks and verification steps.
 Cooling & Fans
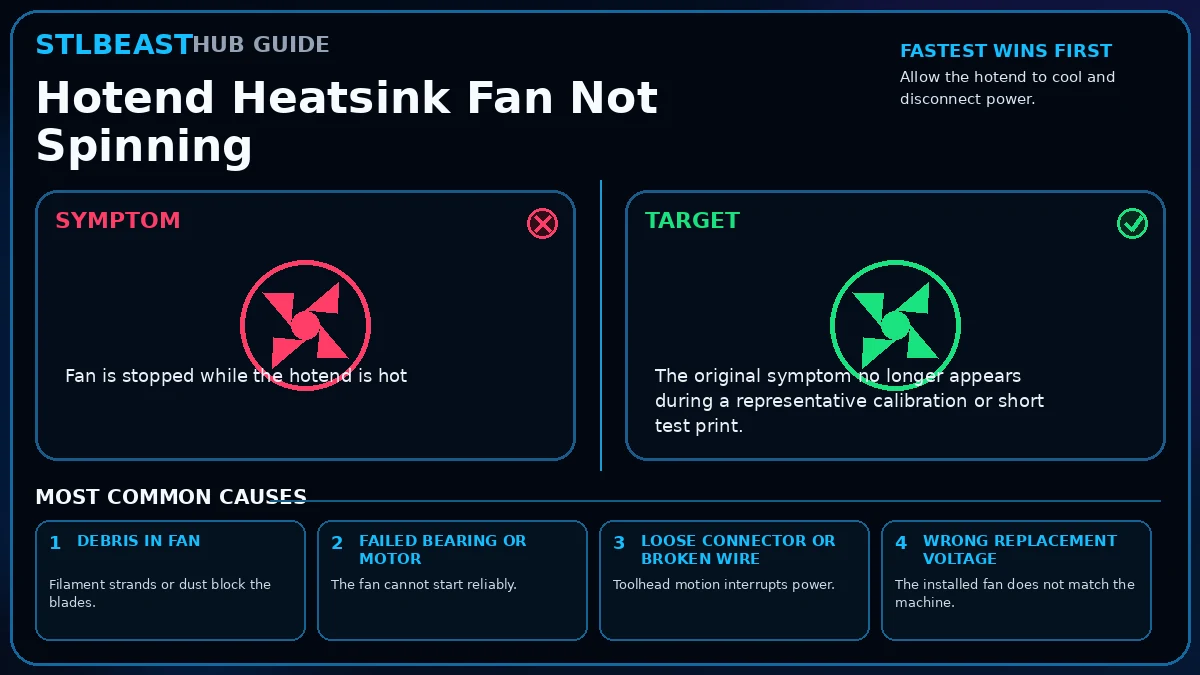
Fan is stopped while the hotend is hot. Start by checking Debris in fan. Stop long prints until the heatsink fan is restored; clean the fan, check its connector and…
Open repair path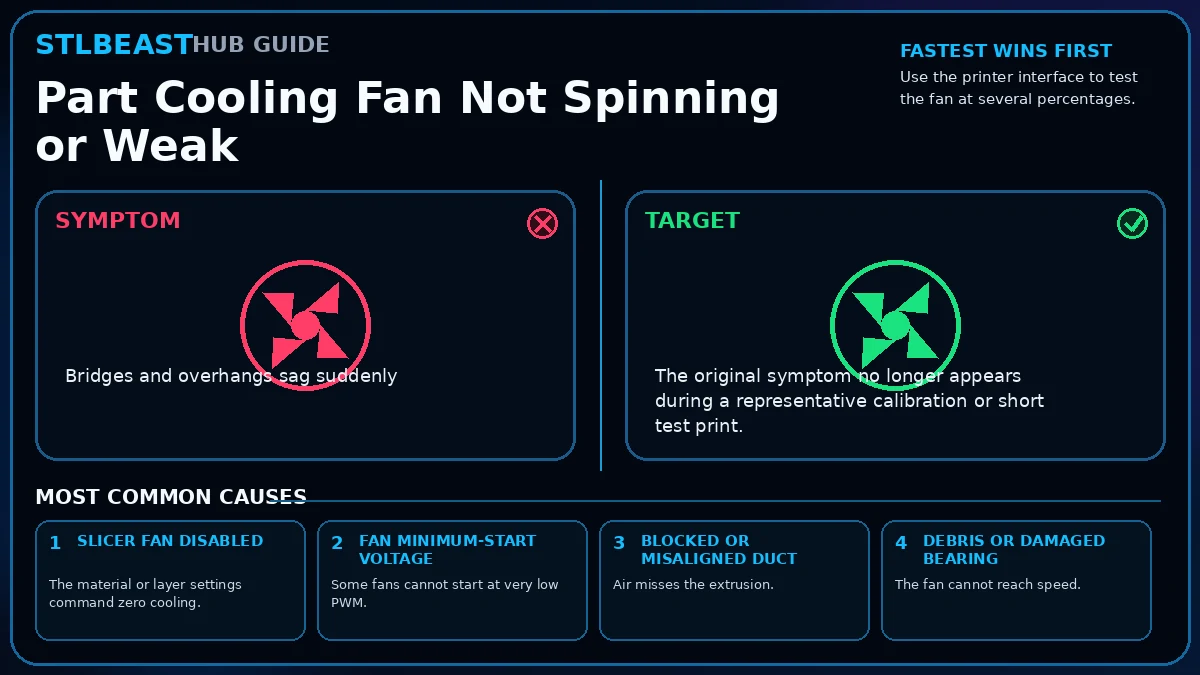 Cooling & Fans
Bridges and overhangs sag suddenly. Start by checking Slicer fan disabled. Check slicer fan commands, fan ducts, debris, connector, voltage, and fan direction before…
Open repair pathClogs, weak flow, missing lines, clicking and filament-path resistance.
 Extrusion
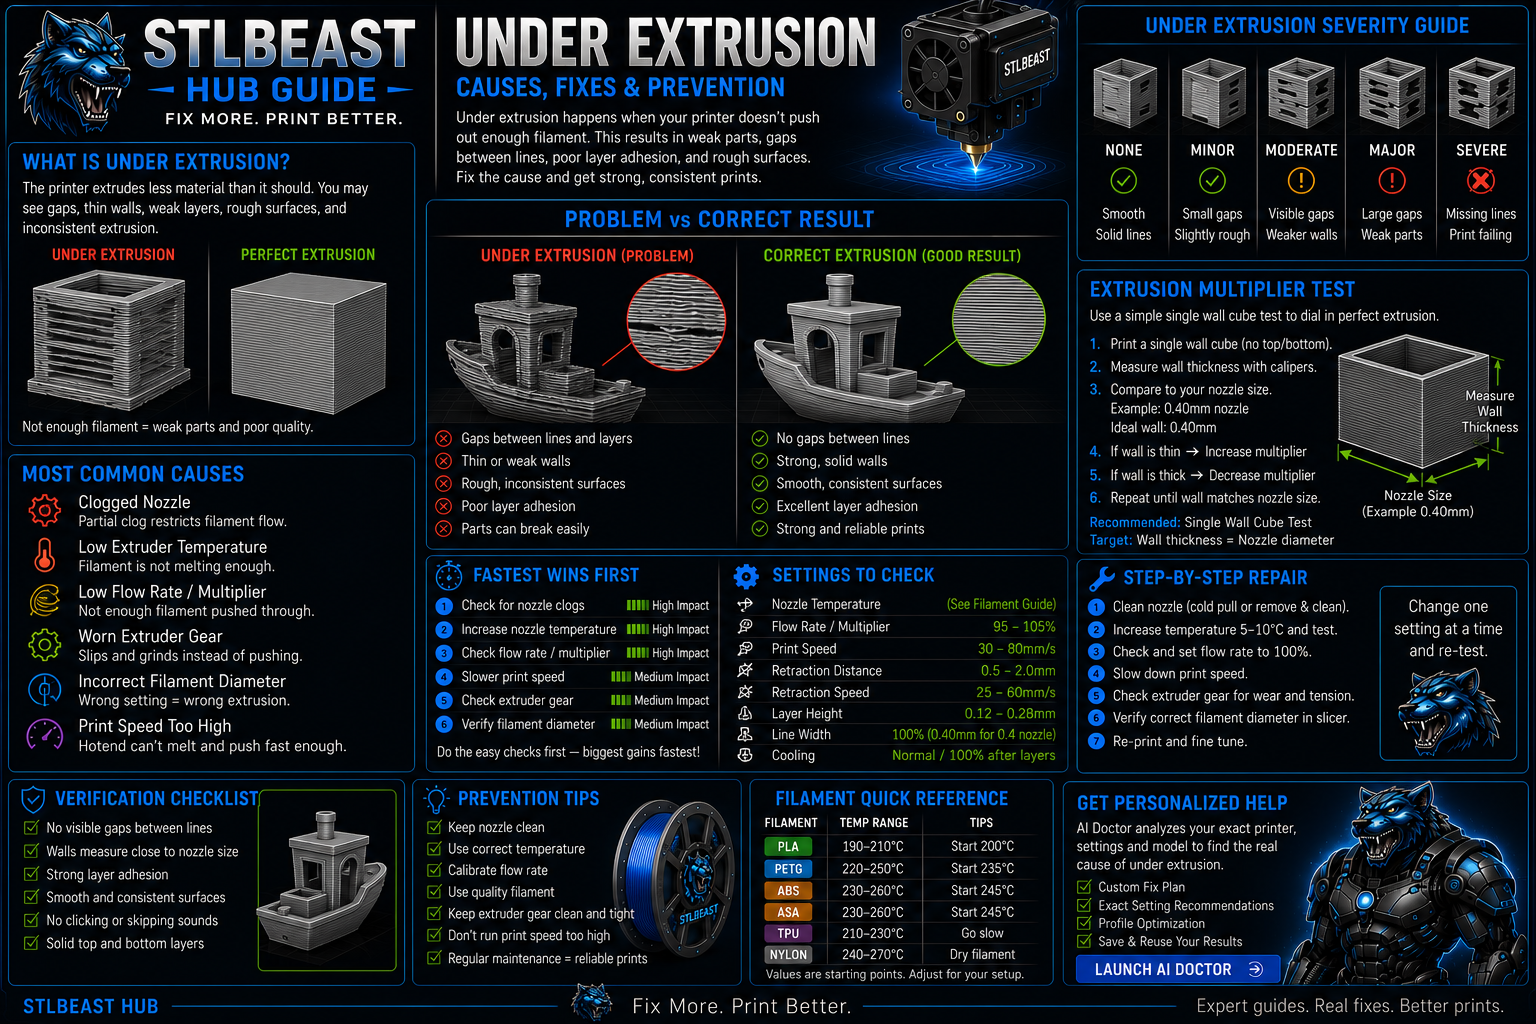
Thin or translucent walls. Start by checking Partial nozzle clog. Inspect the filament path and nozzle before increasing flow. Under-extrusion is usually a…
Open repair path
Extrusion
Purge strand curls sharply toward the nozzle. Start by checking Burned material or debris in nozzle. A partial clog often allows some extrusion but causes gaps and…
Open repair path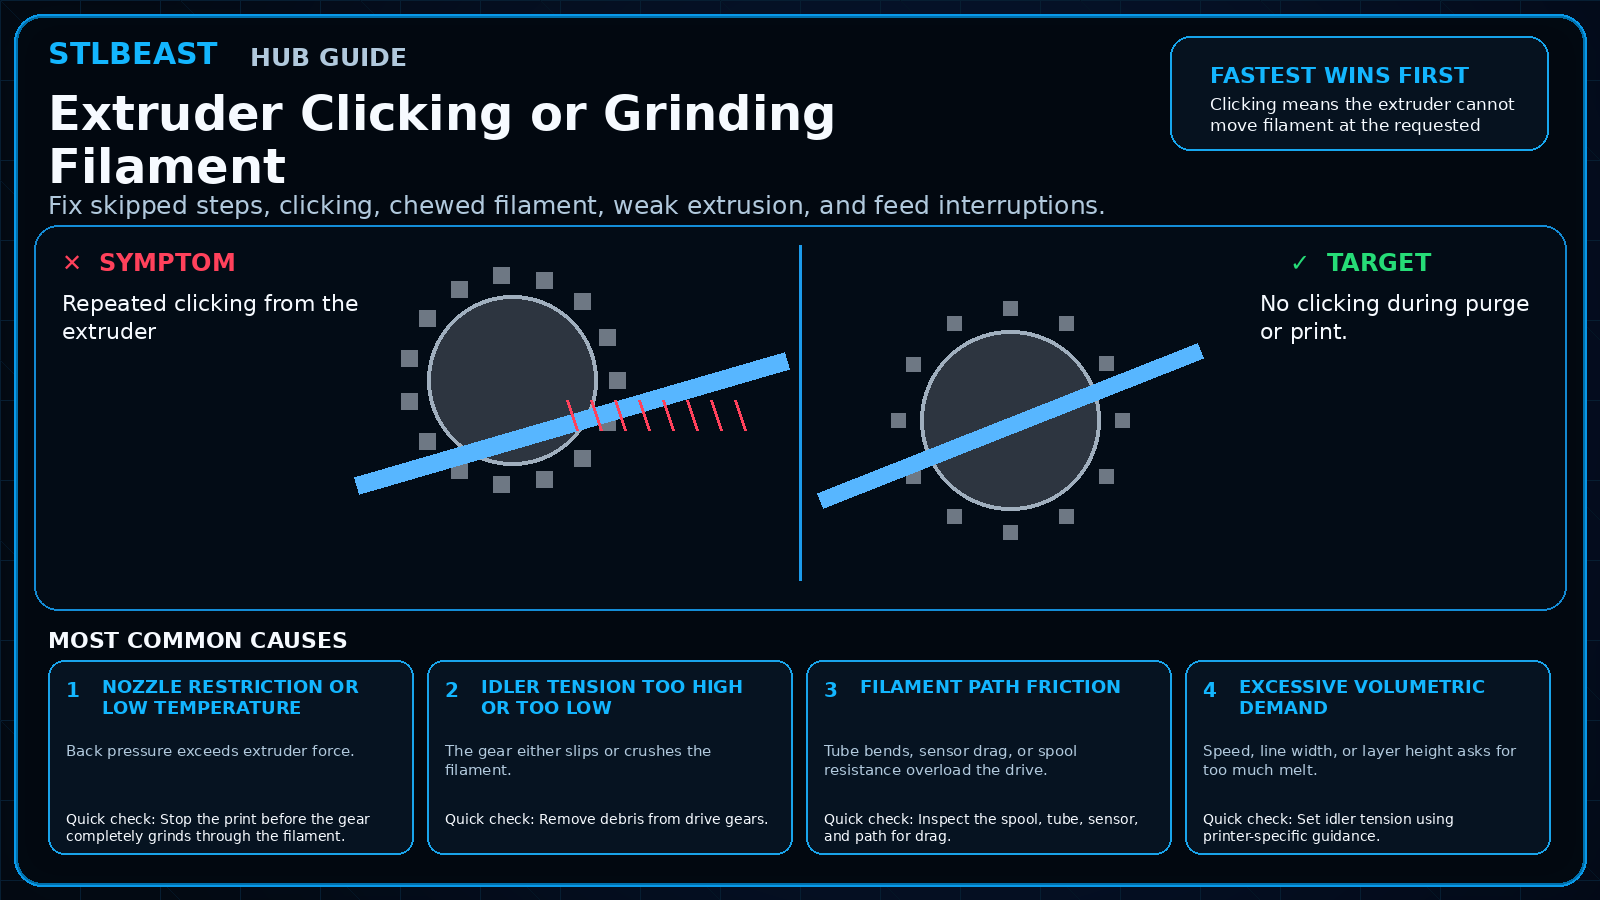 Extrusion
Repeated clicking from the extruder. Start by checking Nozzle restriction or low temperature. Clicking means the extruder cannot move filament at the requested rate.…
Open repair path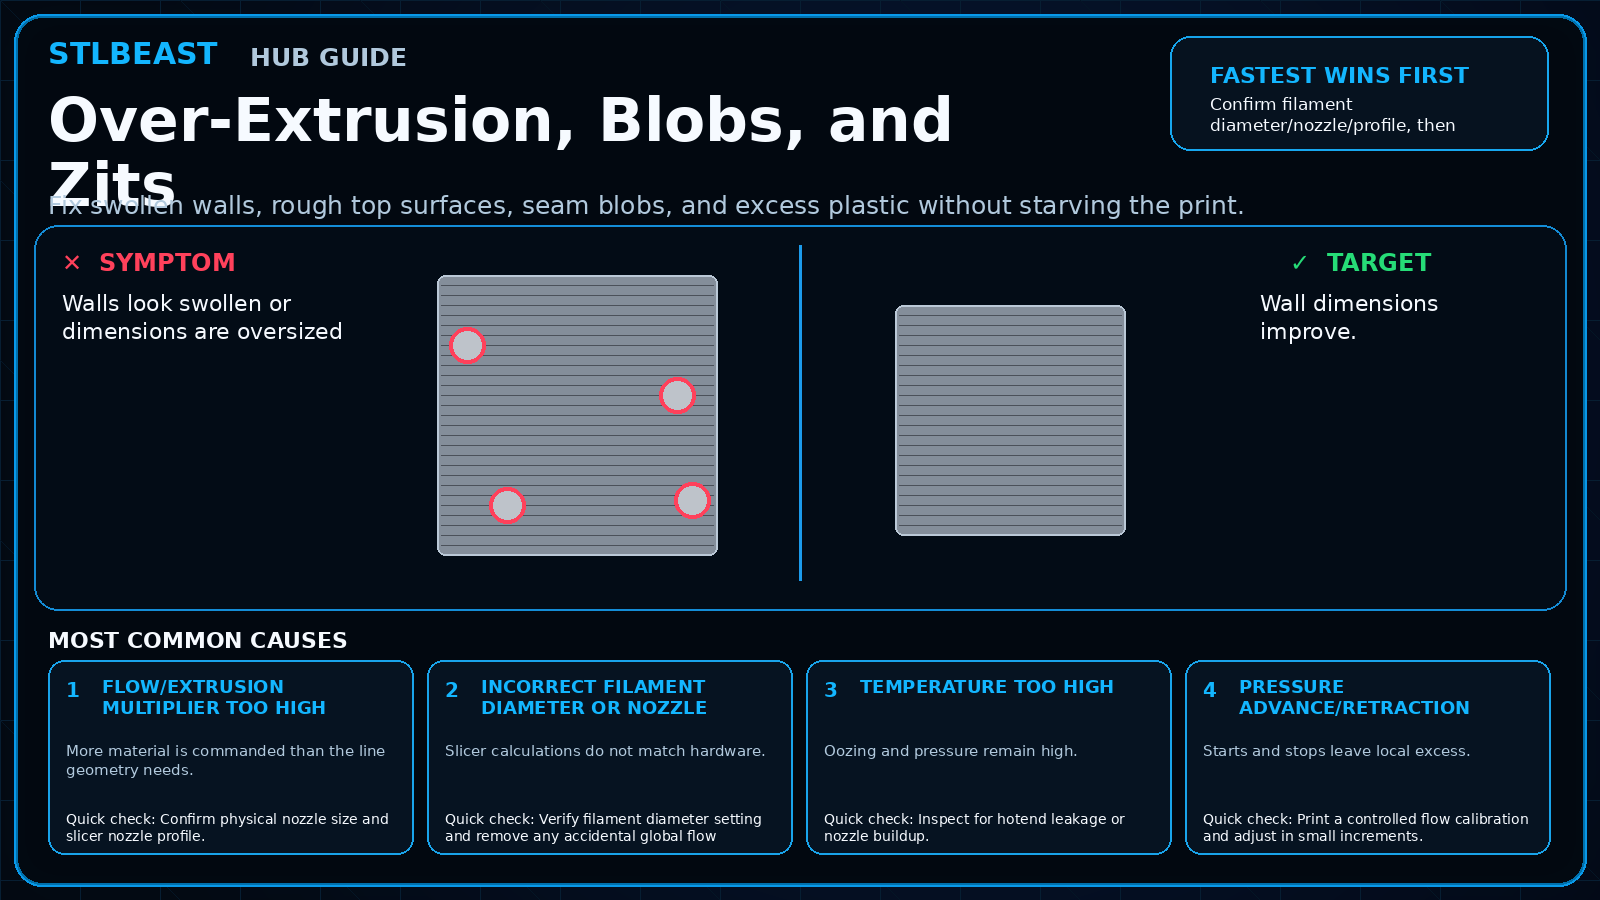 Extrusion
Walls look swollen or dimensions are oversized. Start by checking Flow/extrusion multiplier too high. Confirm filament diameter/nozzle/profile, then calibrate flow…
Open repair path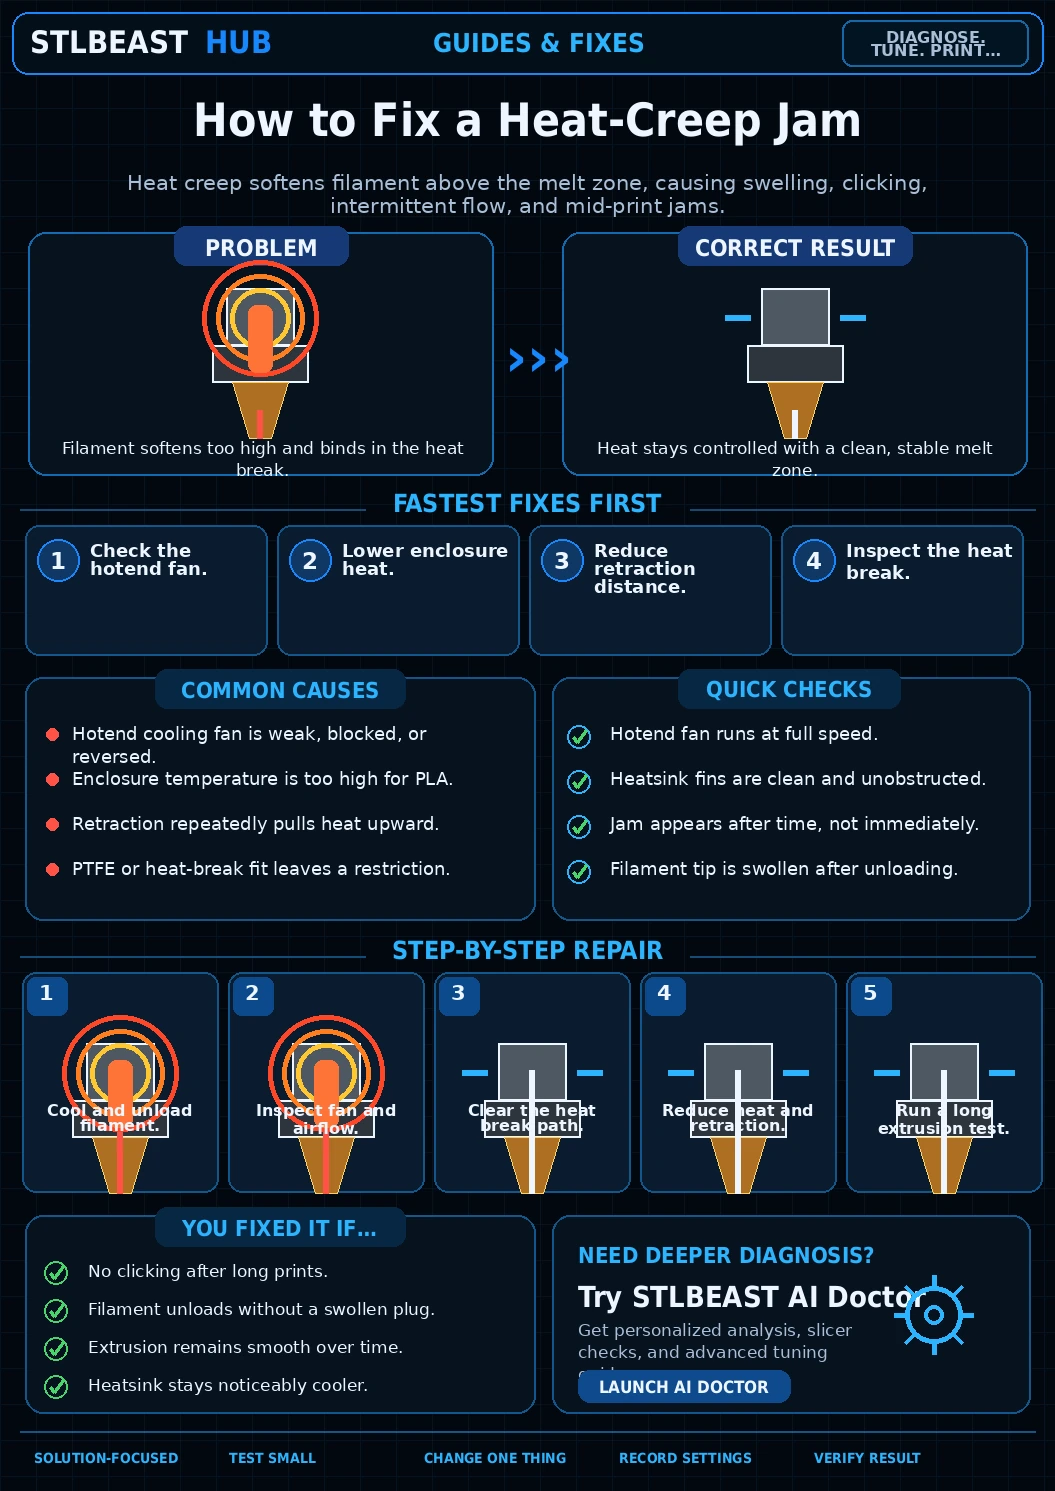 Extrusion
Print works for 20–90 minutes then starves. Start by checking Heatsink fan not running or obstructed. Heat creep softens filament above the intended melt zone.…
Open repair path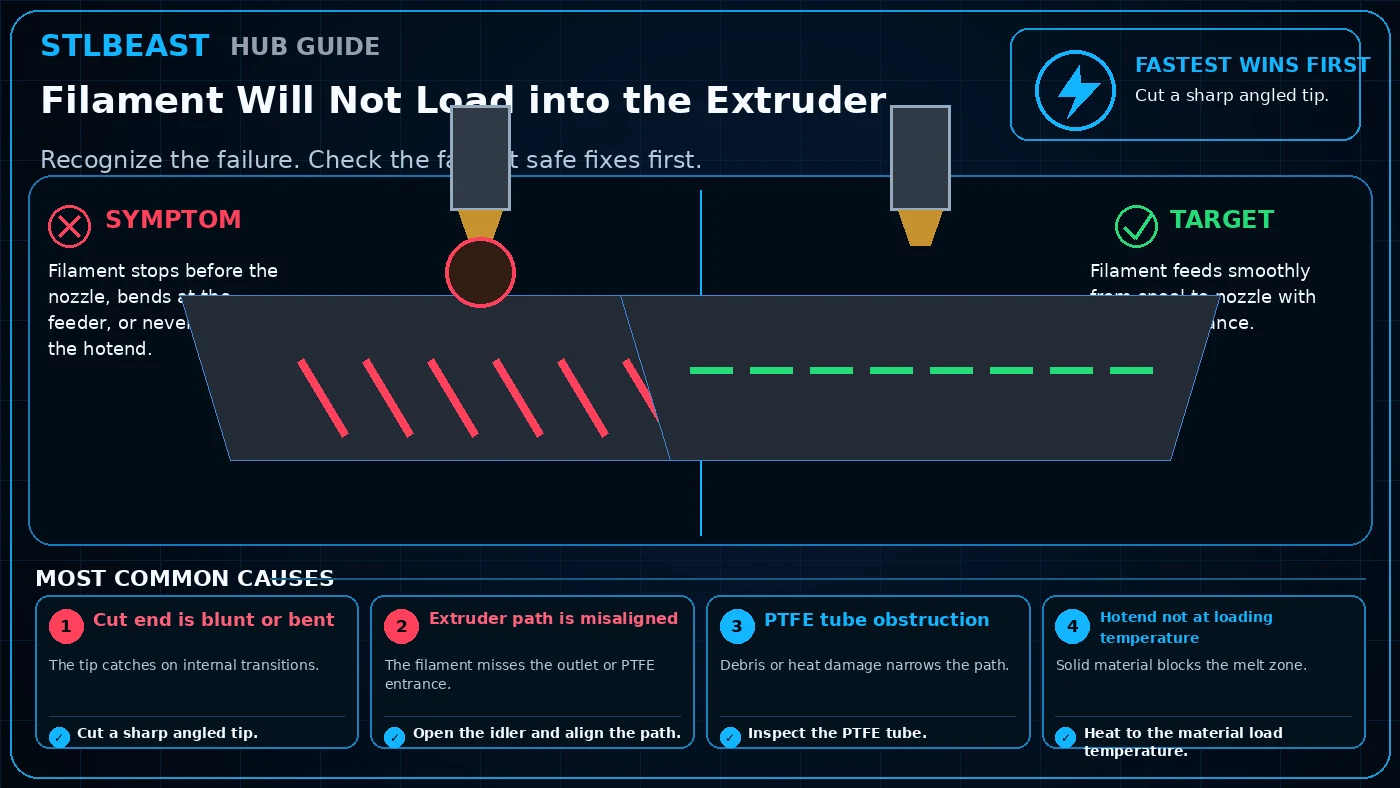 Extrusion
Filament stops before the nozzle, bends at the feeder, or never reaches the hotend. Start by checking Cut end is blunt or bent. Start with cut a sharp angled tip,…
Open repair path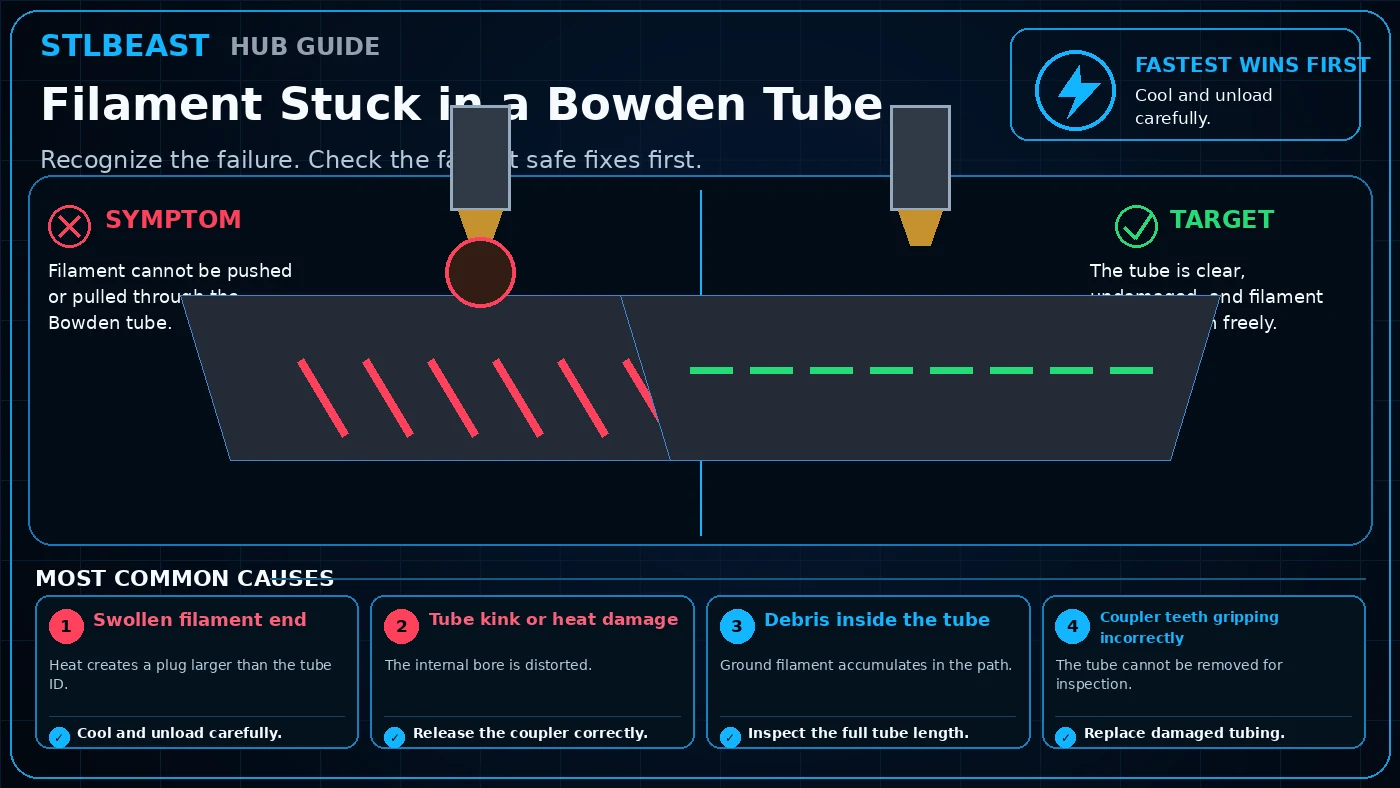 Extrusion
Filament cannot be pushed or pulled through the Bowden tube. Start by checking Swollen filament end. Start with cool and unload carefully, then release the coupler…
Open repair path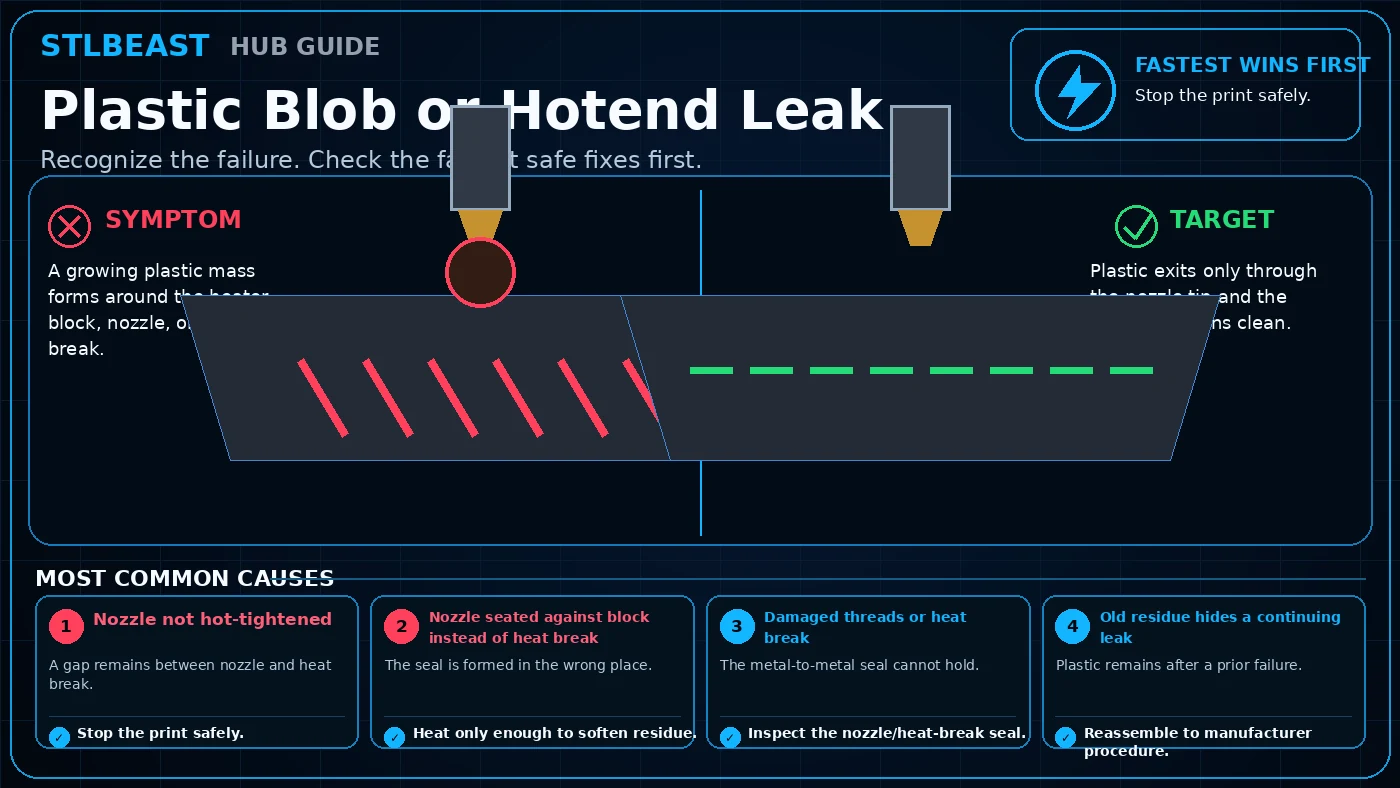 Extrusion
A growing plastic mass forms around the heater block, nozzle, or heat break. Start by checking Nozzle not hot-tightened. Start with stop the print safely, then heat…
Open repair path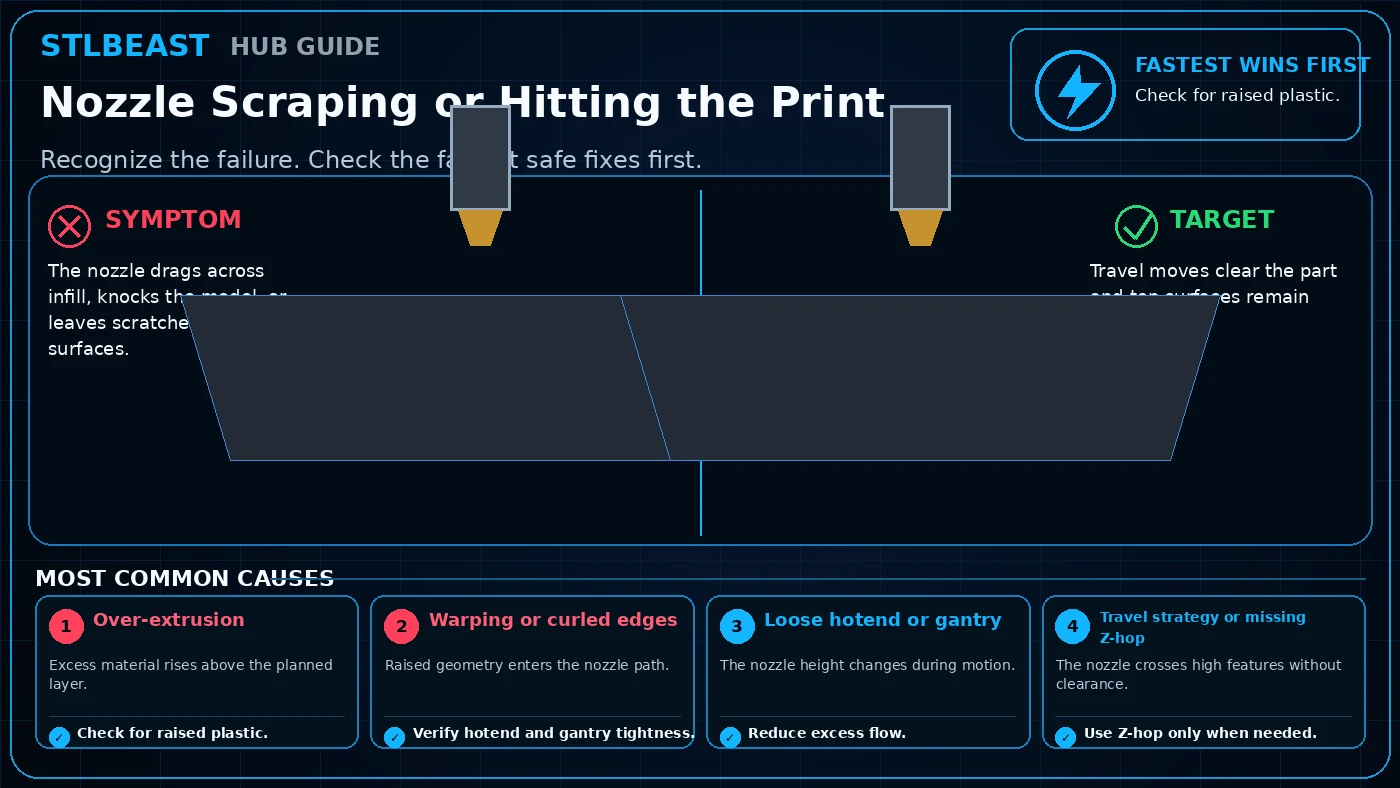 Extrusion
The nozzle drags across infill, knocks the model, or leaves scratches on top surfaces. Start by checking Over-extrusion. Start with check for raised plastic, then…
Open repair path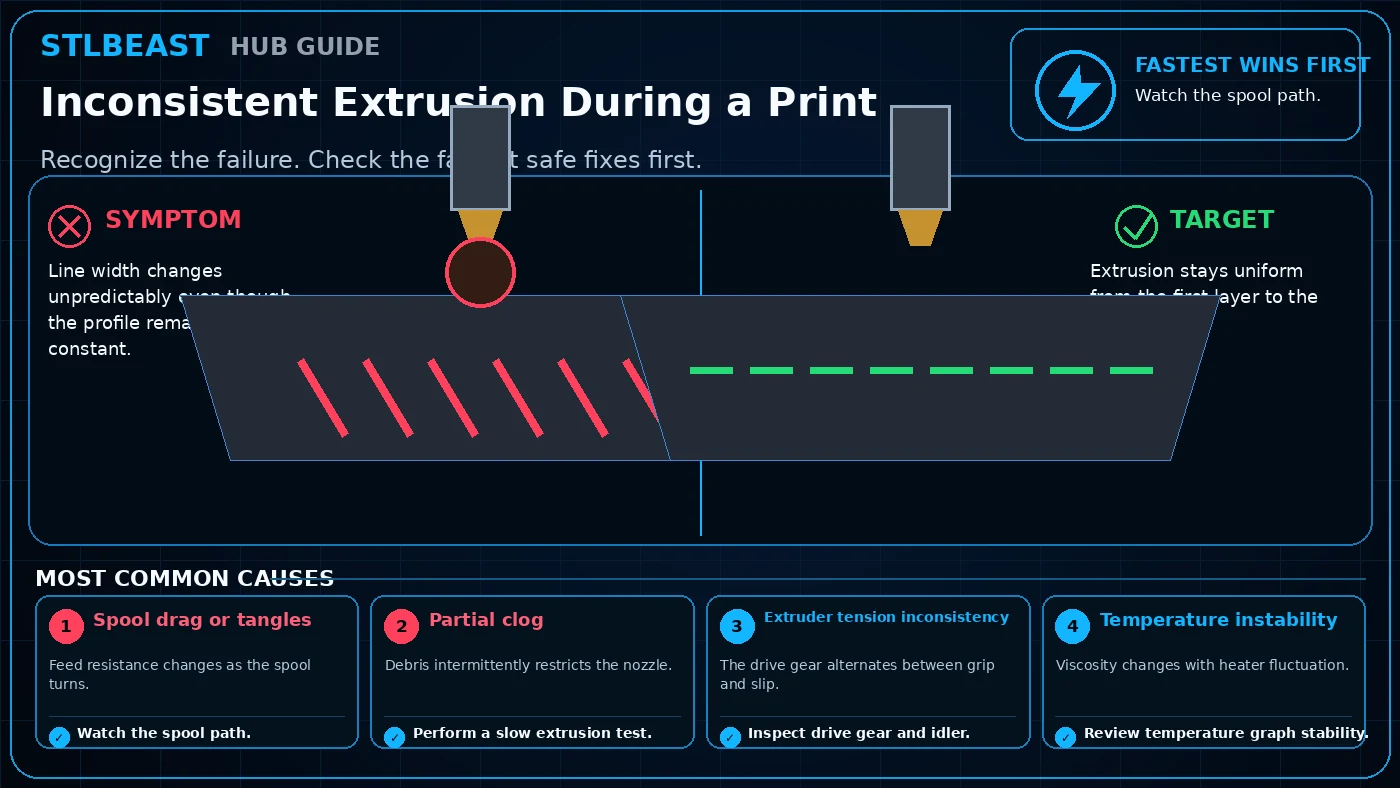 Extrusion
Line width changes unpredictably even though the profile remains constant. Start by checking Spool drag or tangles. Start with watch the spool path, then perform a…
Open repair path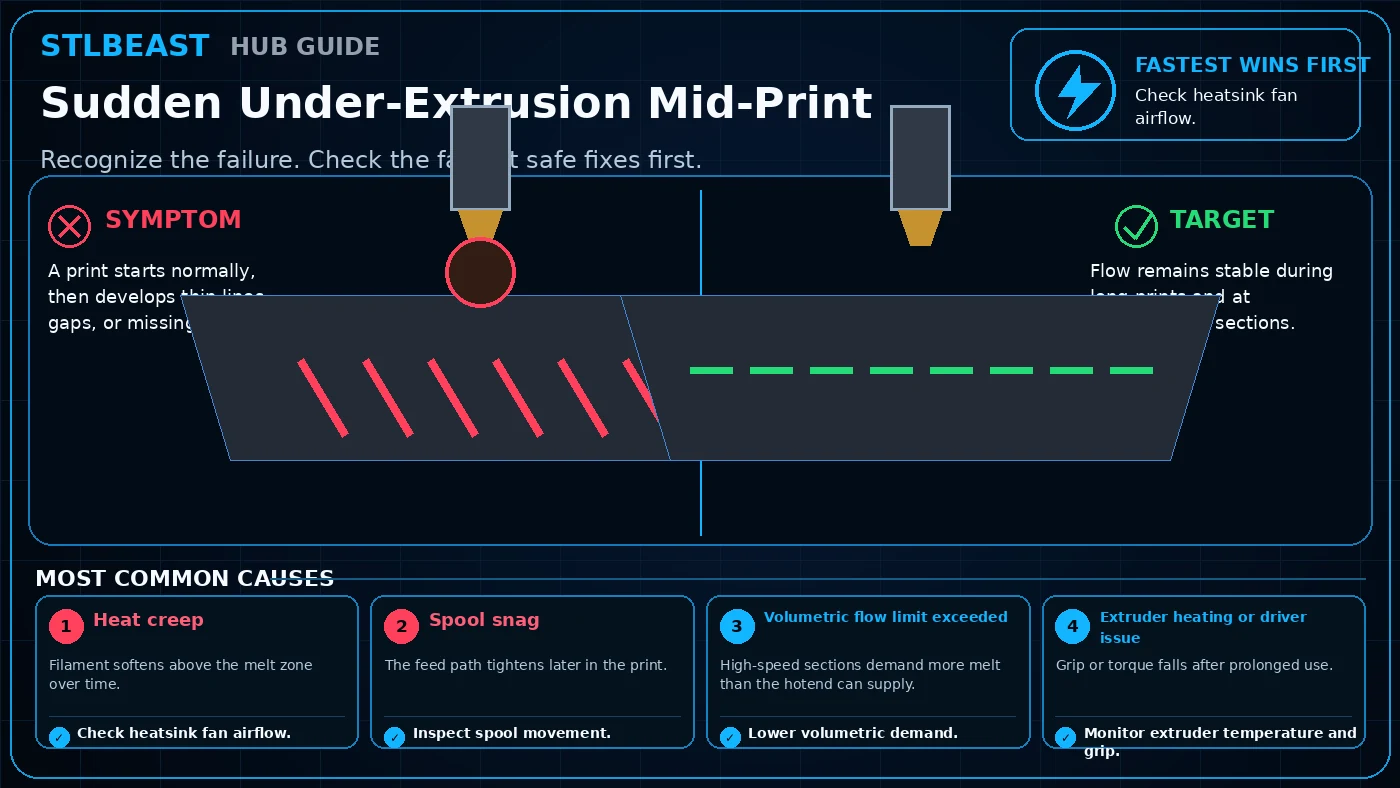 Extrusion
A print starts normally, then develops thin lines, gaps, or missing layers. Start by checking Heat creep. Start with check heatsink fan airflow, then inspect spool…
Open repair path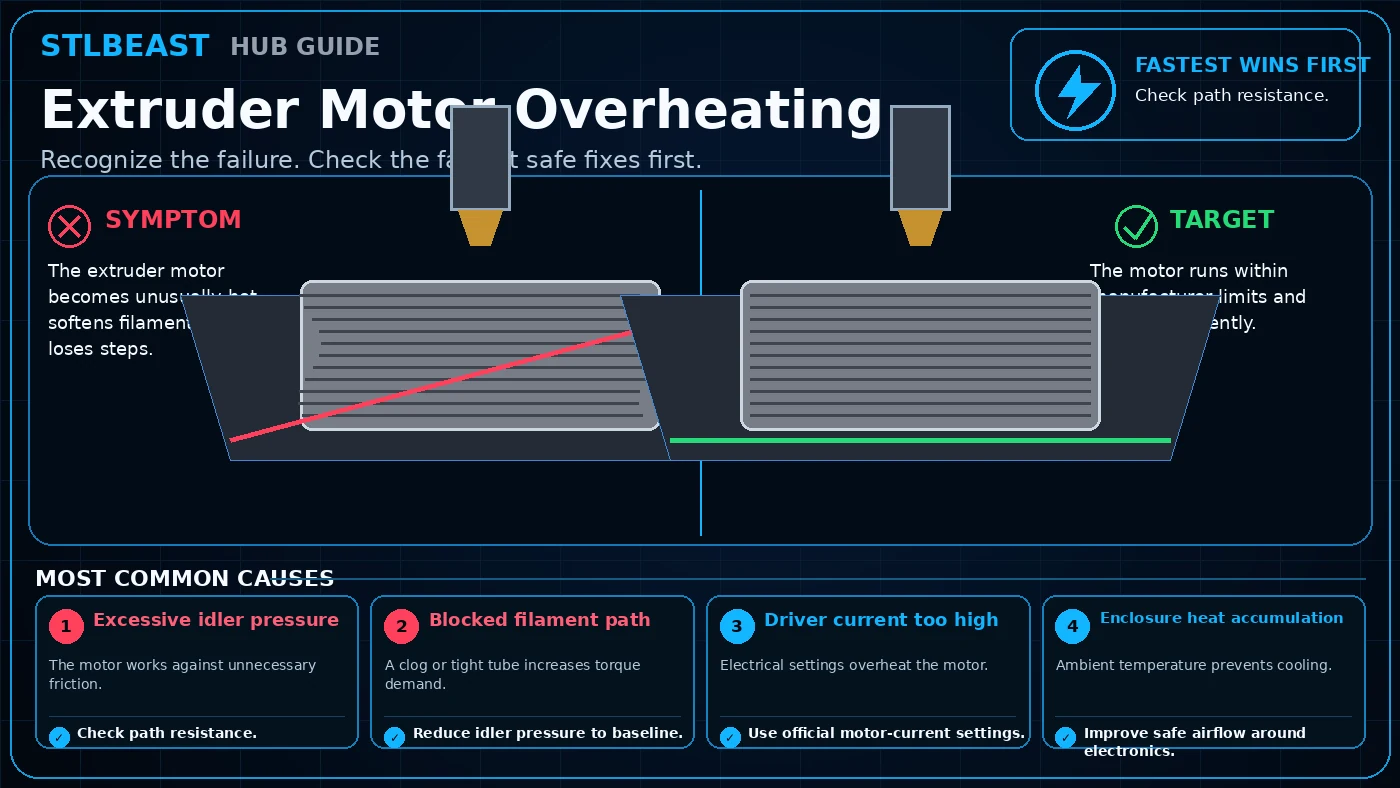 Extrusion
The extruder motor becomes unusually hot, softens filament nearby, or loses steps. Start by checking Excessive idler pressure. Start with check path resistance, then…
Open repair path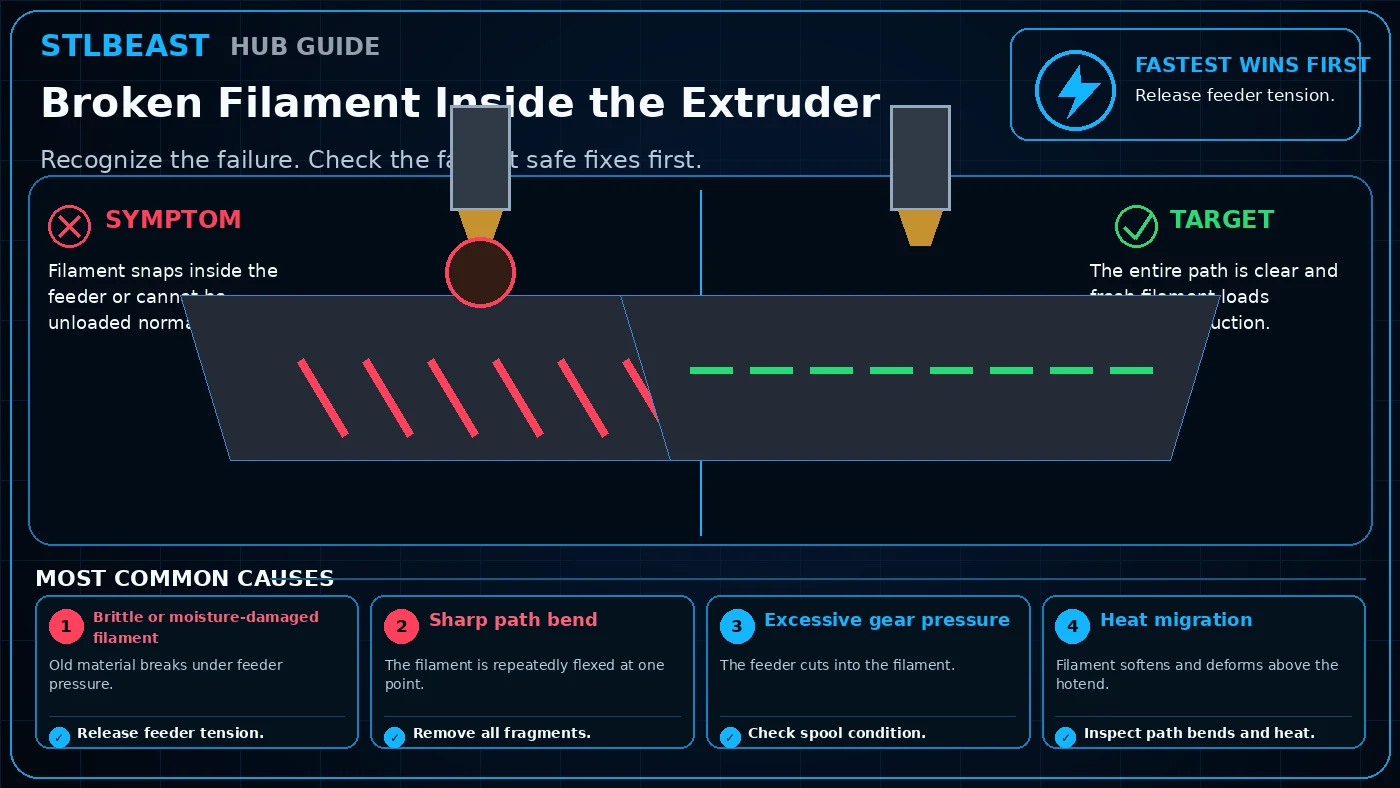 Extrusion
Filament snaps inside the feeder or cannot be unloaded normally. Start by checking Brittle or moisture-damaged filament. Start with release feeder tension, then…
Open repair path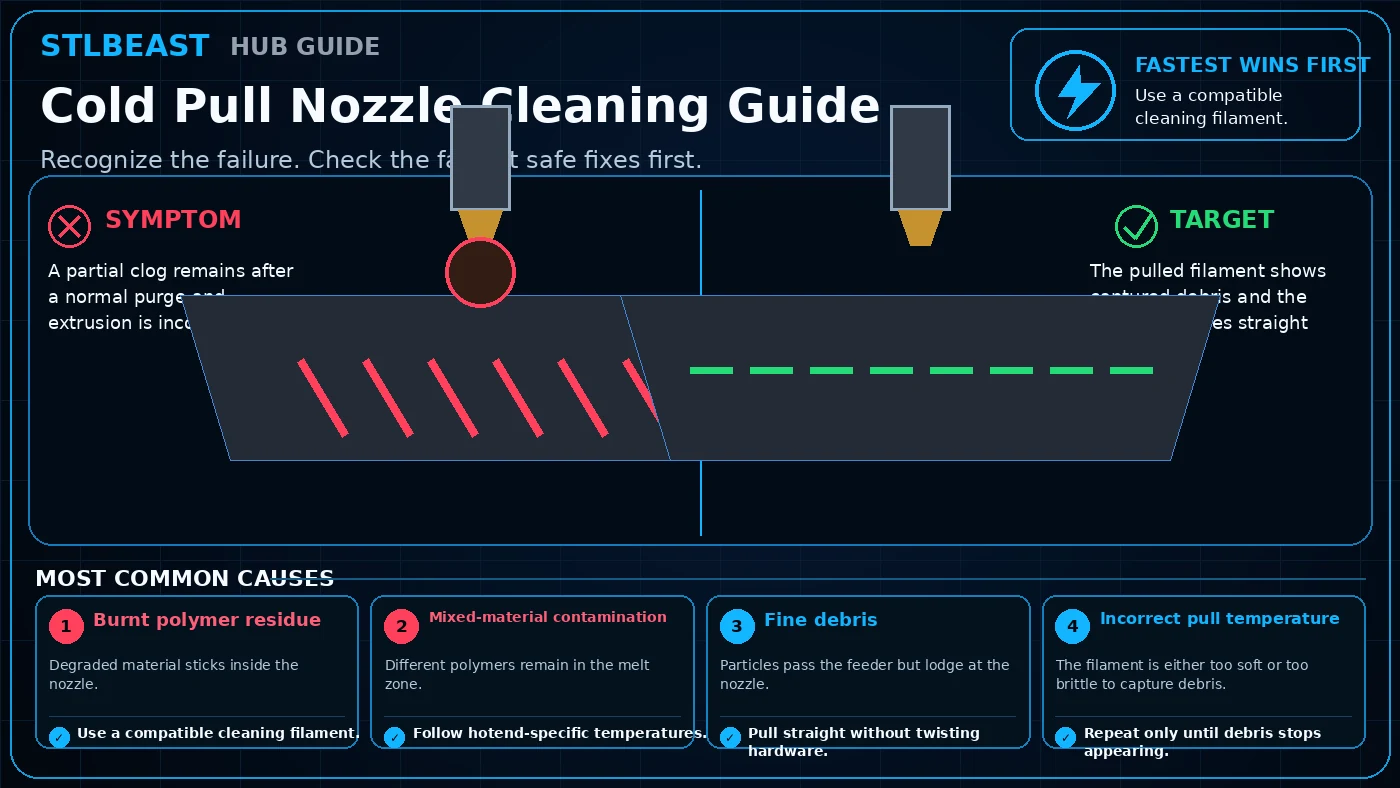 Extrusion
A partial clog remains after a normal purge and extrusion is inconsistent. Start by checking Burnt polymer residue. Start with use a compatible cleaning filament,…
Open repair path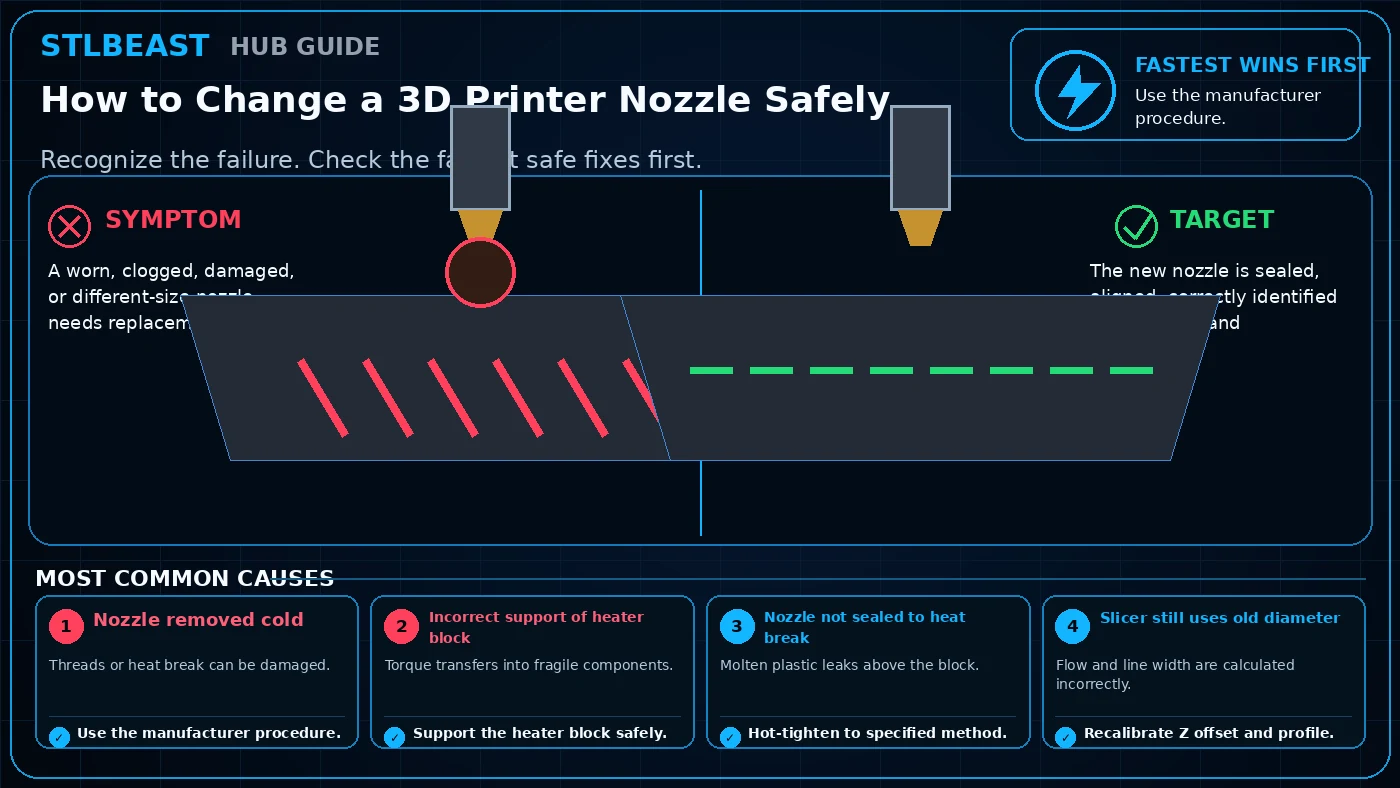 Extrusion
A worn, clogged, damaged, or different-size nozzle needs replacement. Start by checking Nozzle removed cold. Start with use the manufacturer procedure, then support…
Open repair path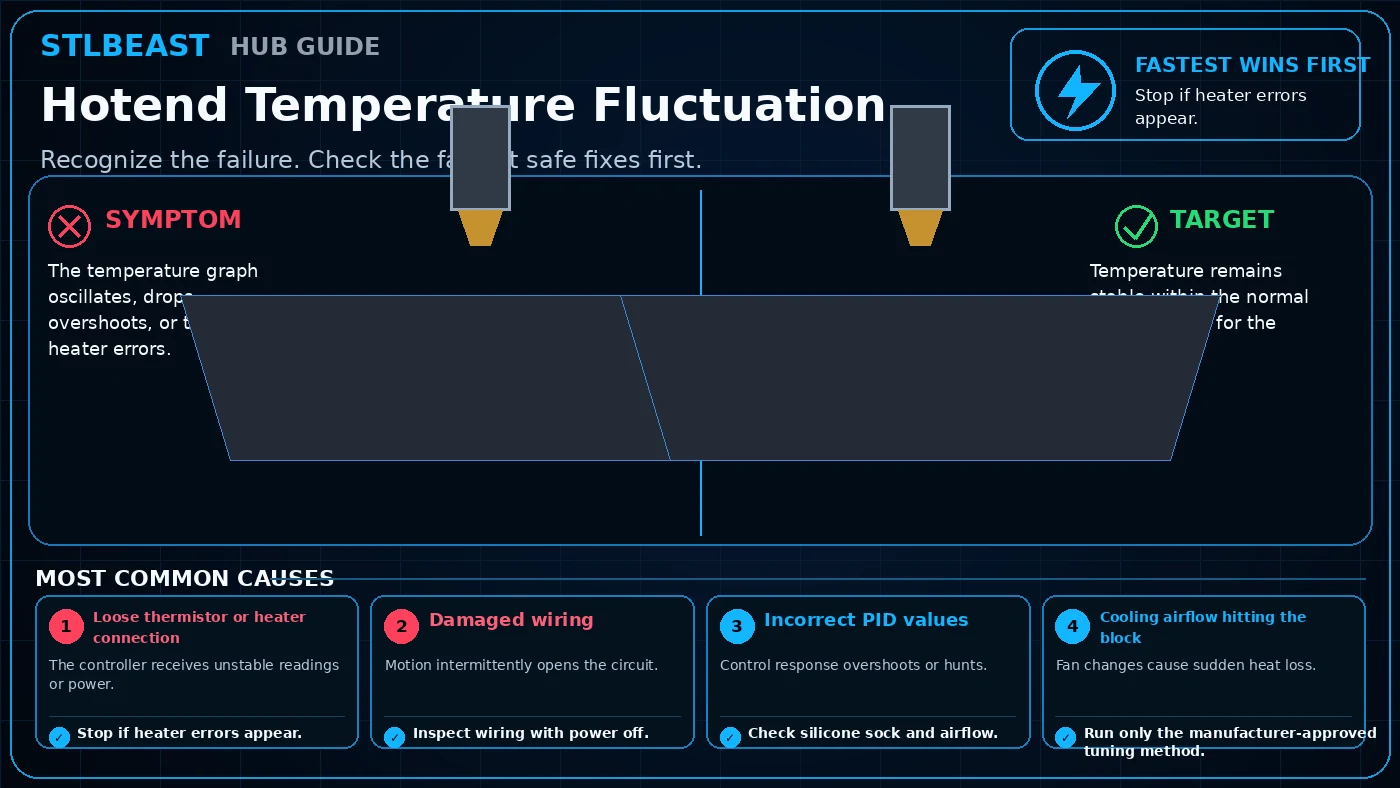 Extrusion
The temperature graph oscillates, drops, overshoots, or triggers heater errors. Start by checking Loose thermistor or heater connection. Start with stop if heater…
Open repair path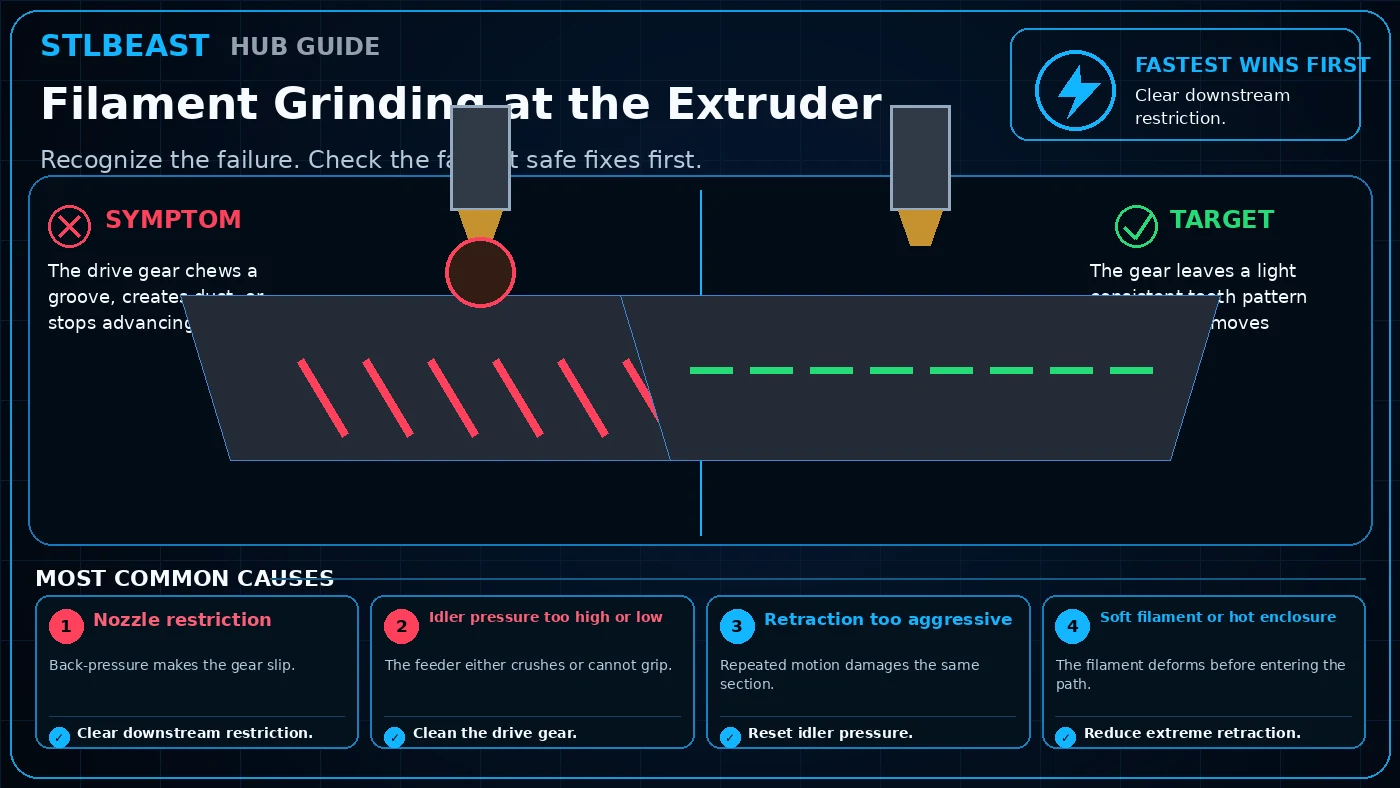 Extrusion
The drive gear chews a groove, creates dust, or stops advancing filament. Start by checking Nozzle restriction. Start with clear downstream restriction, then clean…
Open repair pathRanked troubleshooting paths, controlled checks and verification steps.
 Extrusion & Feed Path
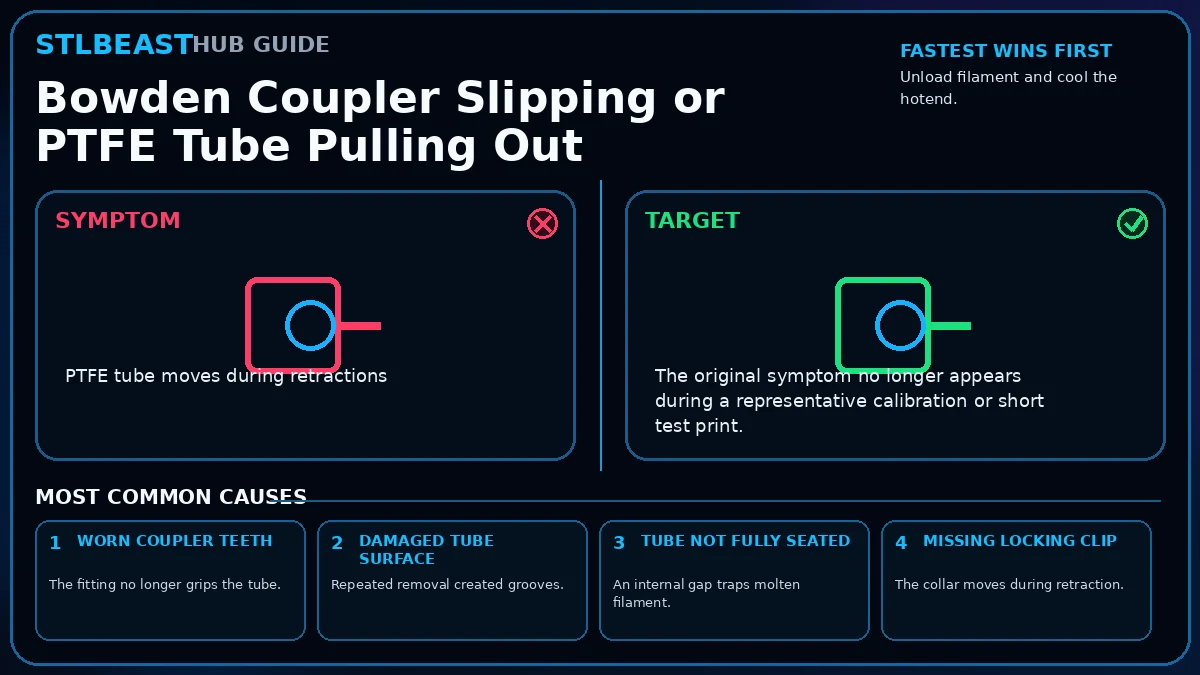
PTFE tube moves during retractions. Start by checking Worn coupler teeth. Replace worn coupler teeth or damaged PTFE, fully seat the tube against the internal stop,…
Open repair path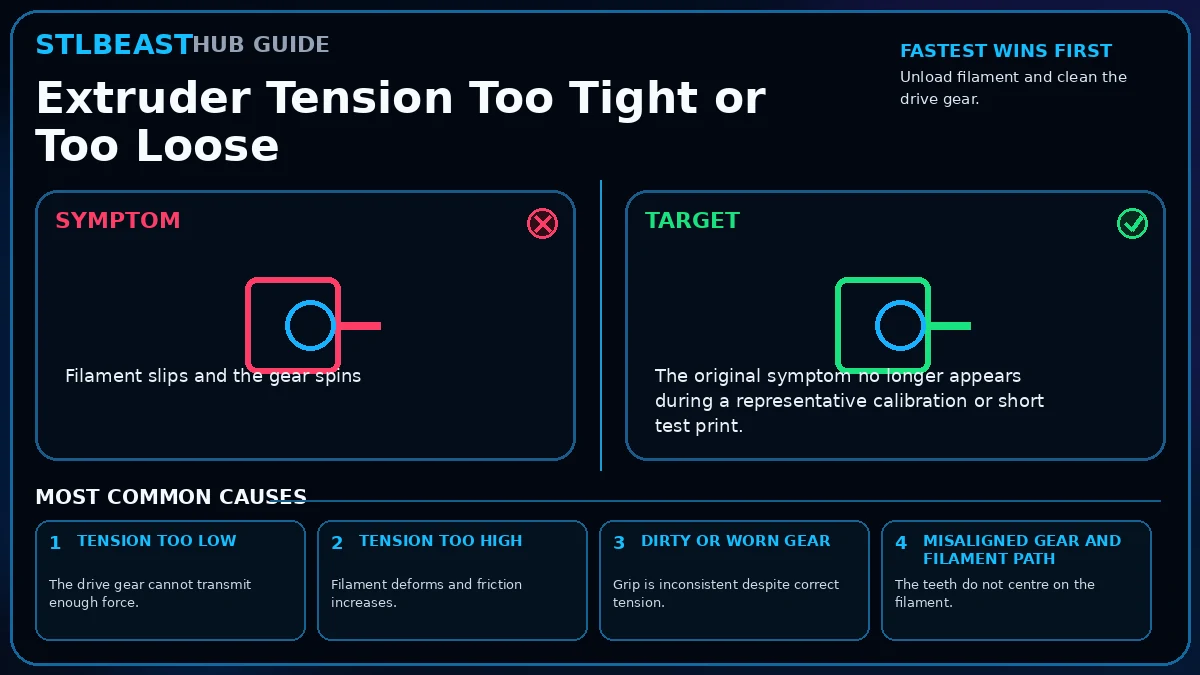 Extrusion & Feed Path
Filament slips and the gear spins. Start by checking Tension too low. Set enough idler pressure to feed consistently without crushing, flattening, or grinding the…
Open repair pathRanked troubleshooting paths, controlled checks and verification steps.
 Files & Connectivity
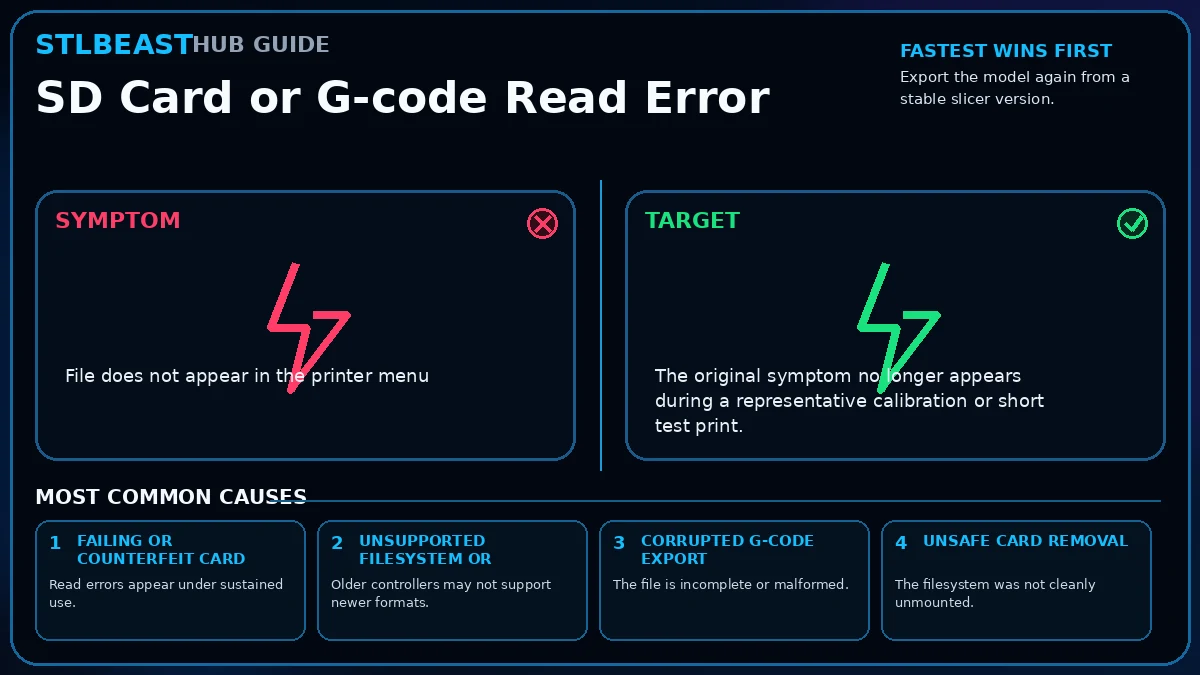
File does not appear in the printer menu. Start by checking Failing or counterfeit card. Use a small, reliable card formatted as the printer expects, export fresh…
Open repair path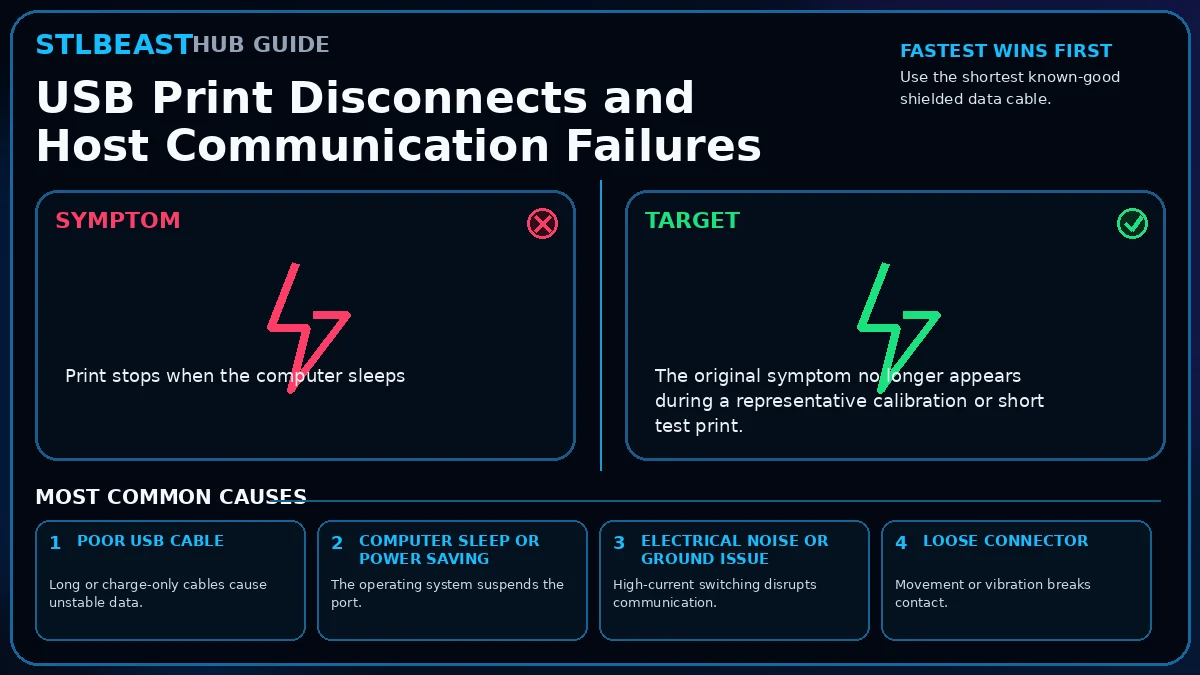 Files & Connectivity
Print stops when the computer sleeps. Start by checking Poor USB cable. Use a short shielded data cable, disable computer sleep and USB power saving, isolate…
Open repair pathAdhesion, Z offset, bed mesh, plate condition and first-layer flow.
First Layer
Fix loose first layers and lifting corners by checking plate cleanliness, Z offset, bed temperature and first-layer flow.
Open repair path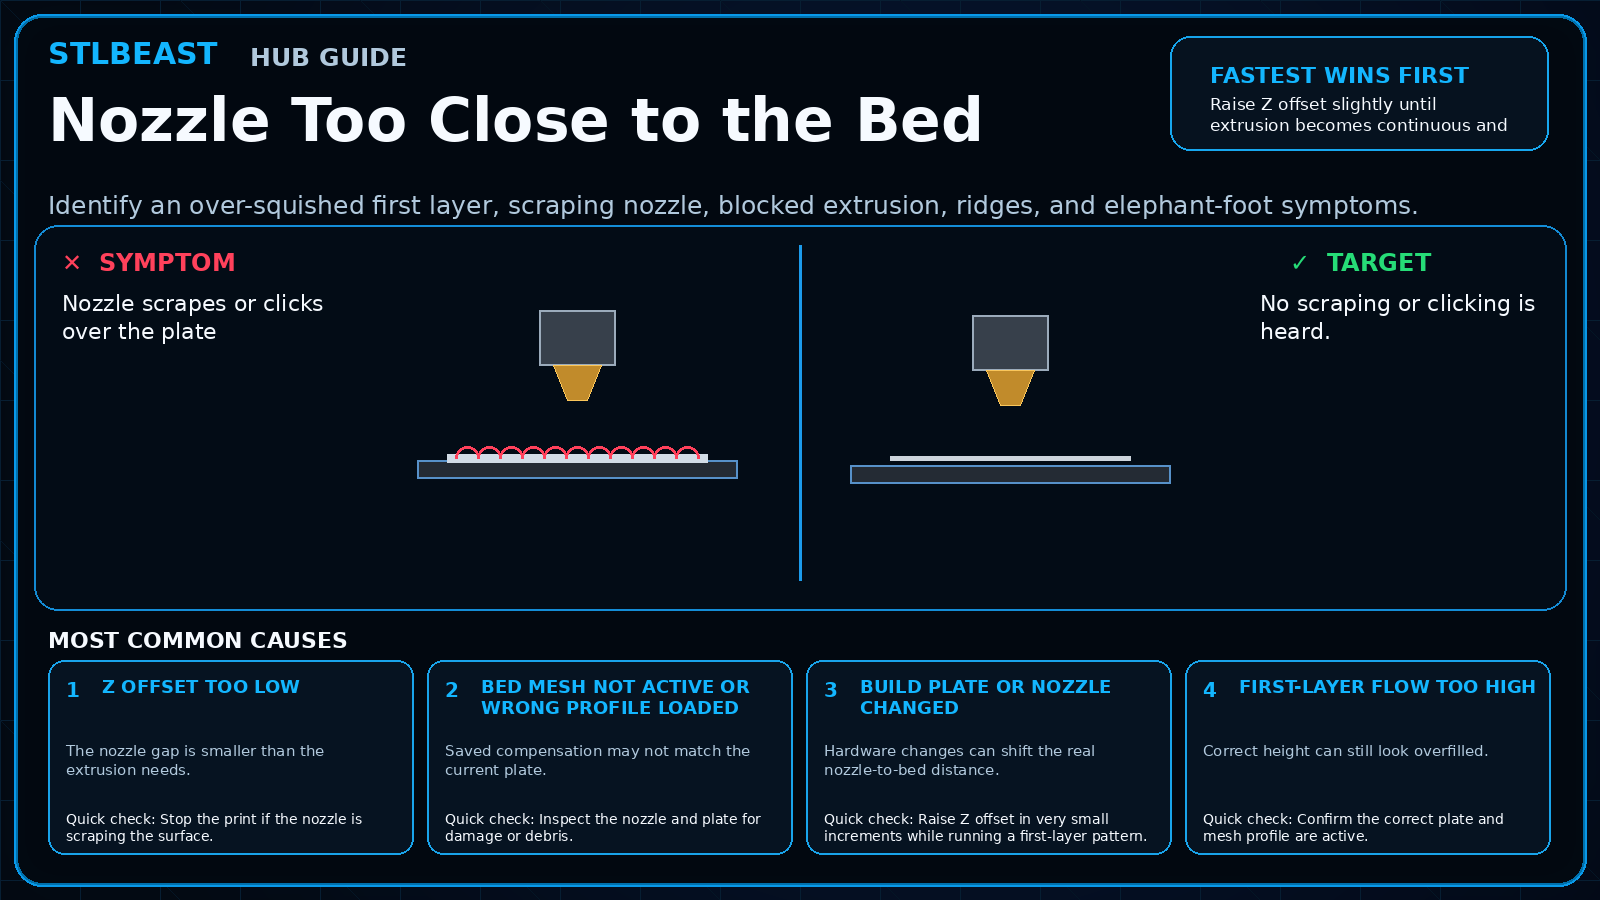 First Layer
Nozzle scrapes or clicks over the plate. Start by checking Z offset too low. Raise Z offset slightly until extrusion becomes continuous and neighboring lines merge…
Open repair path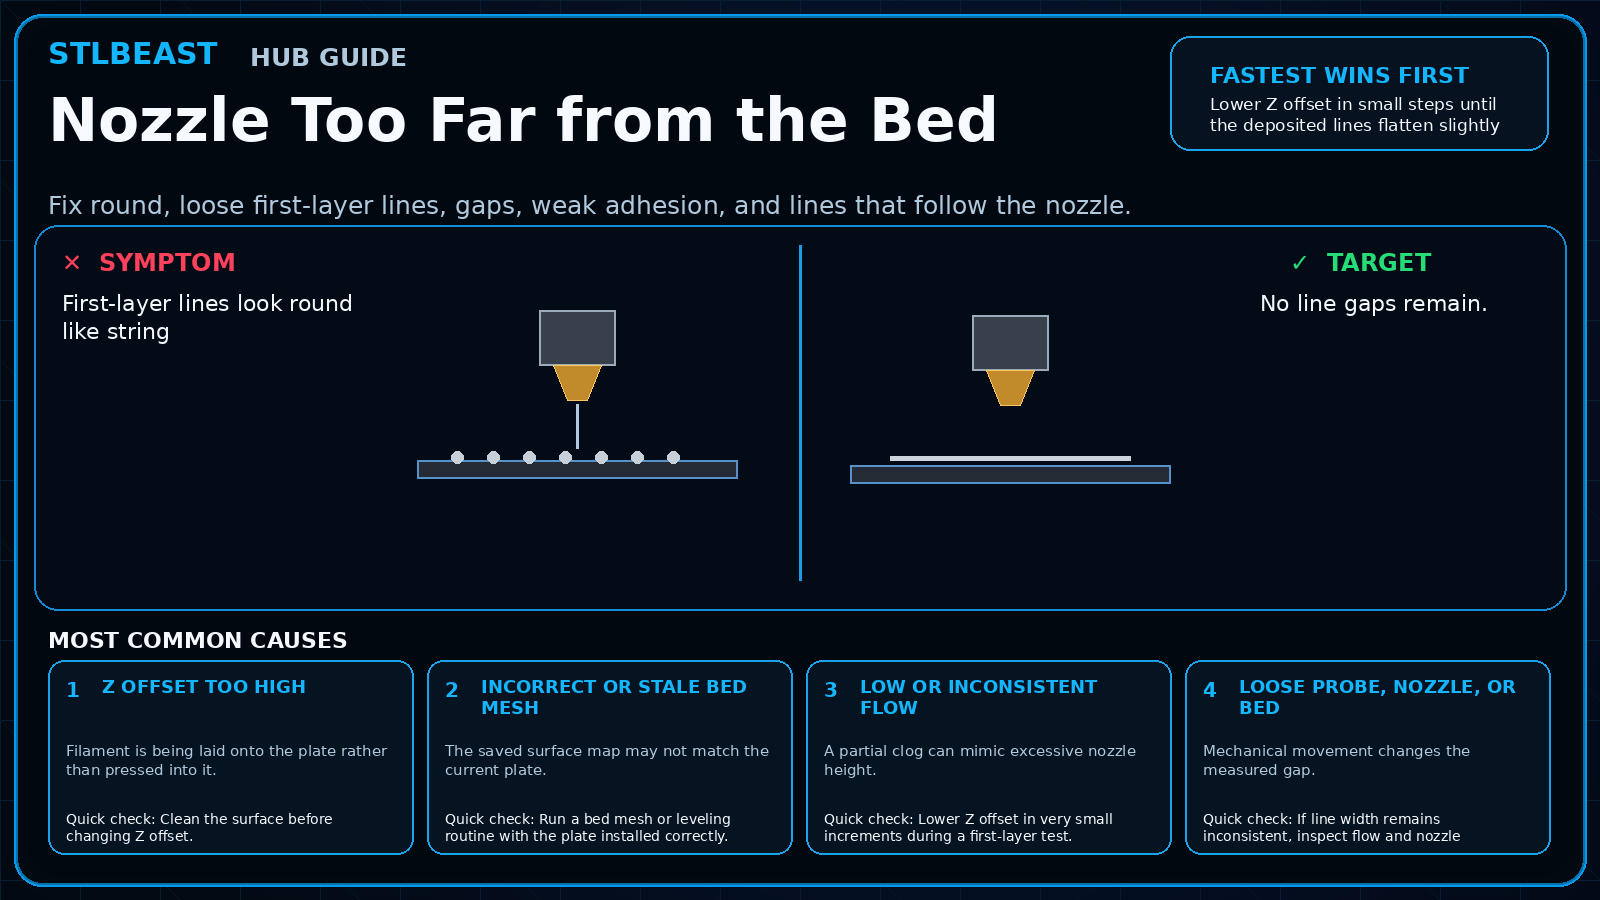 First Layer
Correct round, separated first-layer lines by lowering Z offset carefully and confirming bed mesh and flow.
Open repair path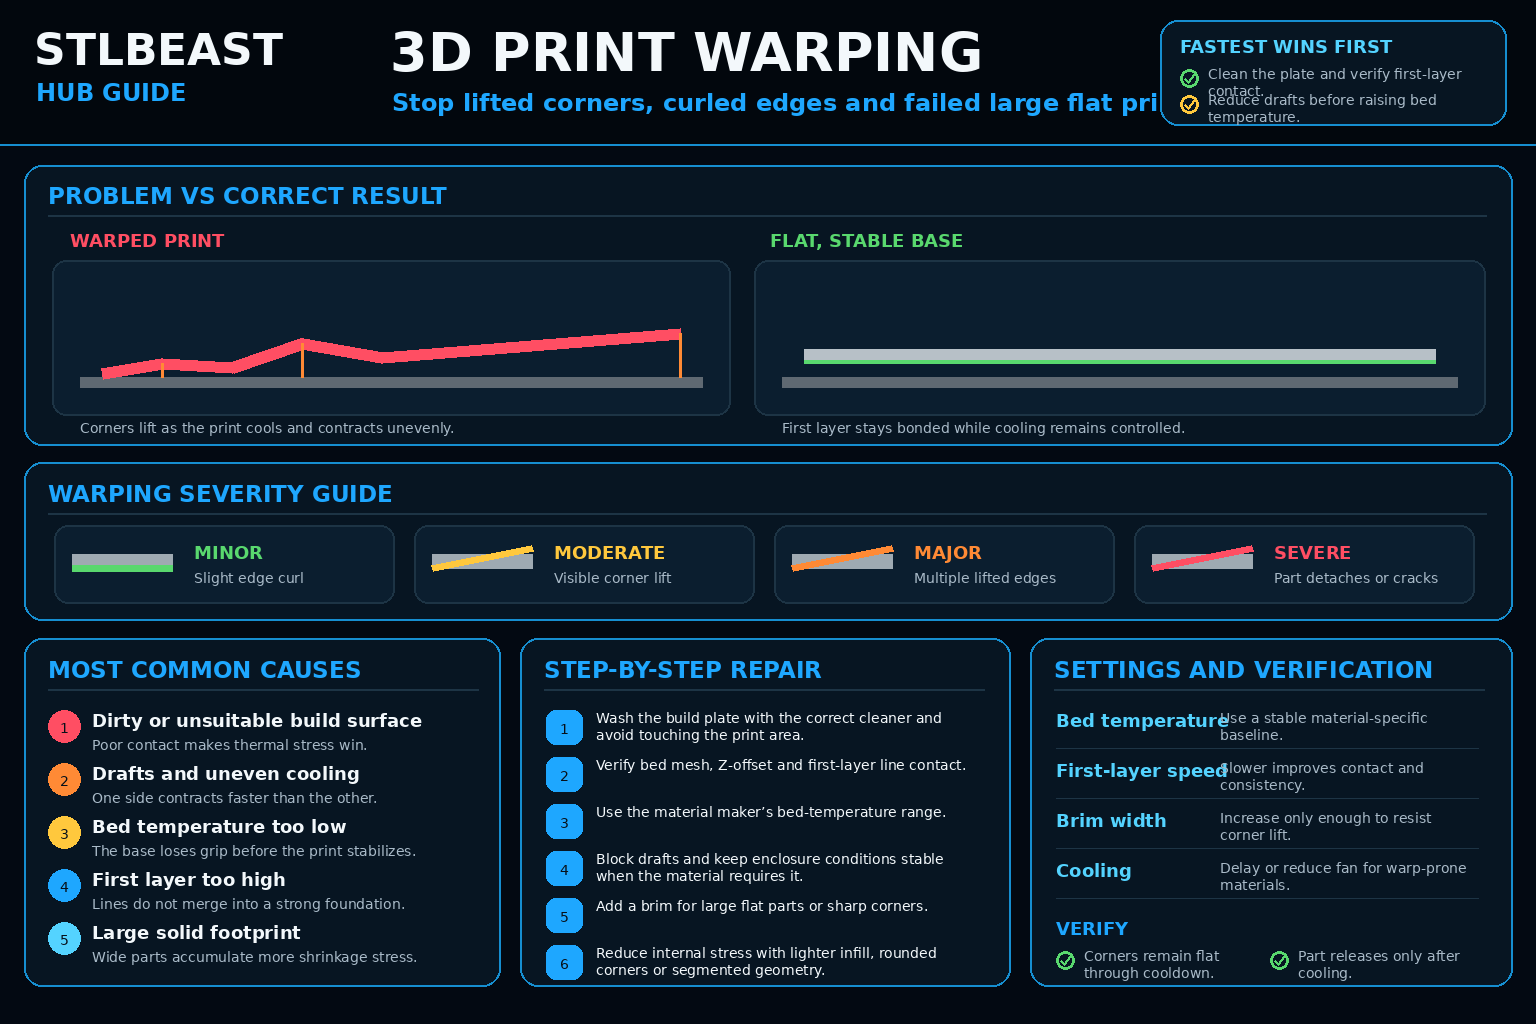 First Layer
Corners curl upward. Start by checking Weak first-layer bond. Warping is controlled by a strong first layer plus even thermal conditions. Fix surface, Z offset, and…
Open repair path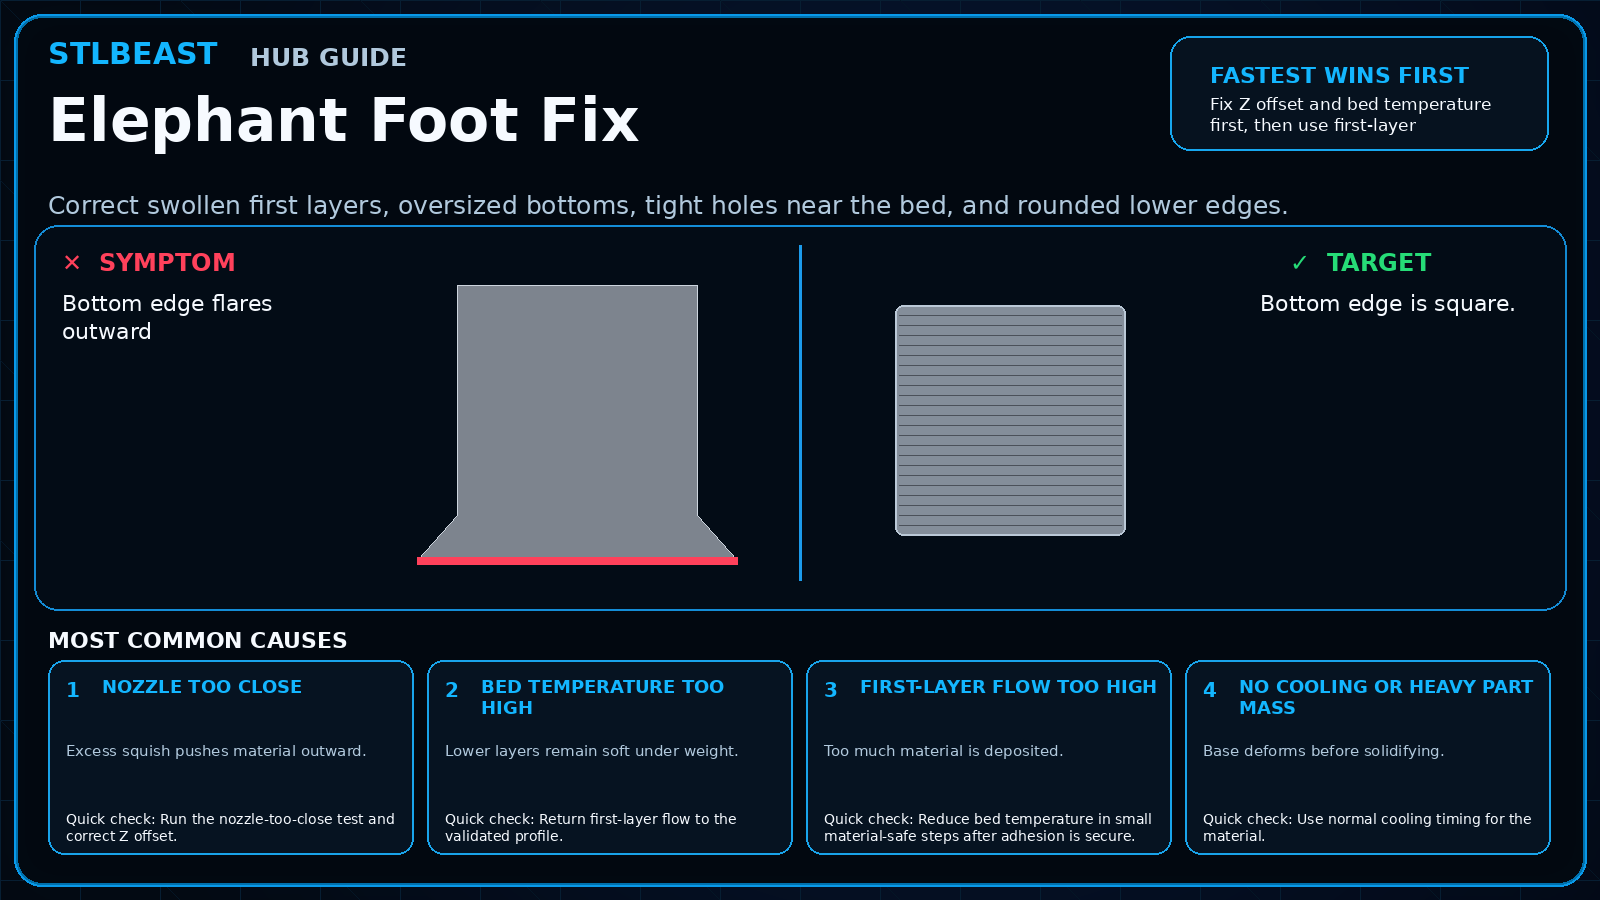 First Layer
Bottom edge flares outward. Start by checking Nozzle too close. Fix Z offset and bed temperature first, then use first-layer compensation or a small model chamfer for…
Open repair path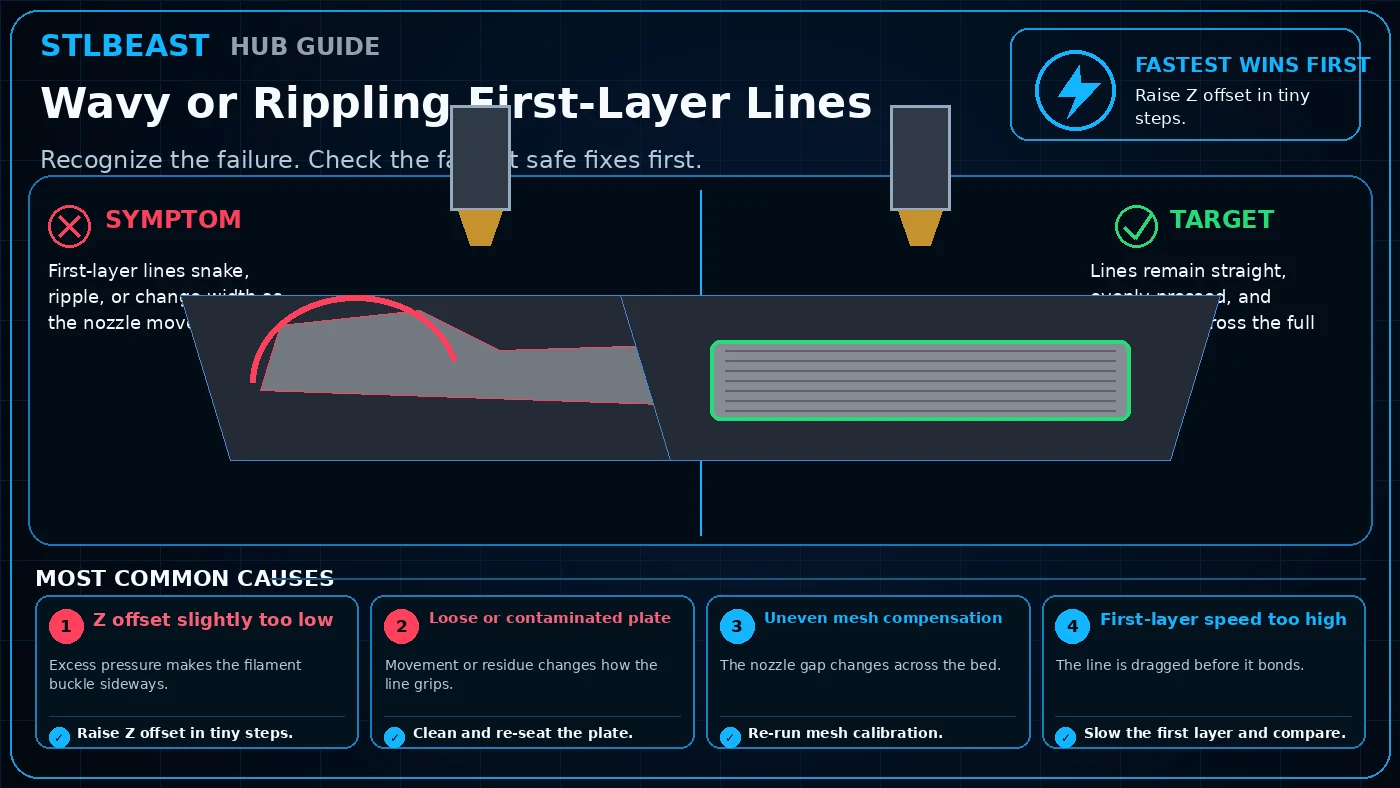 First Layer
First-layer lines snake, ripple, or change width as the nozzle moves. Start by checking Z offset slightly too low. Start with raise z offset in tiny steps, then clean…
Open repair path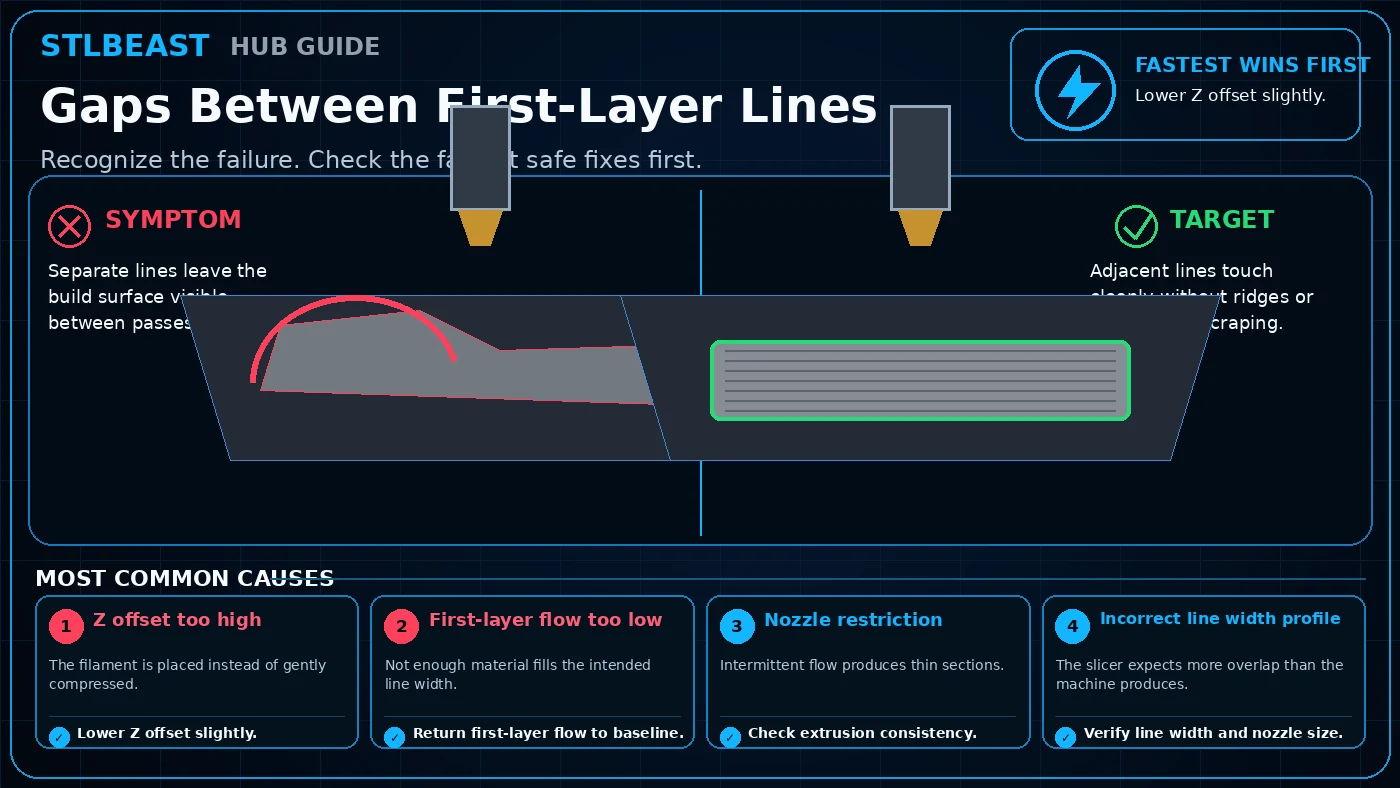 First Layer
Separate lines leave the build surface visible between passes. Start by checking Z offset too high. Start with lower z offset slightly, then return first-layer flow…
Open repair path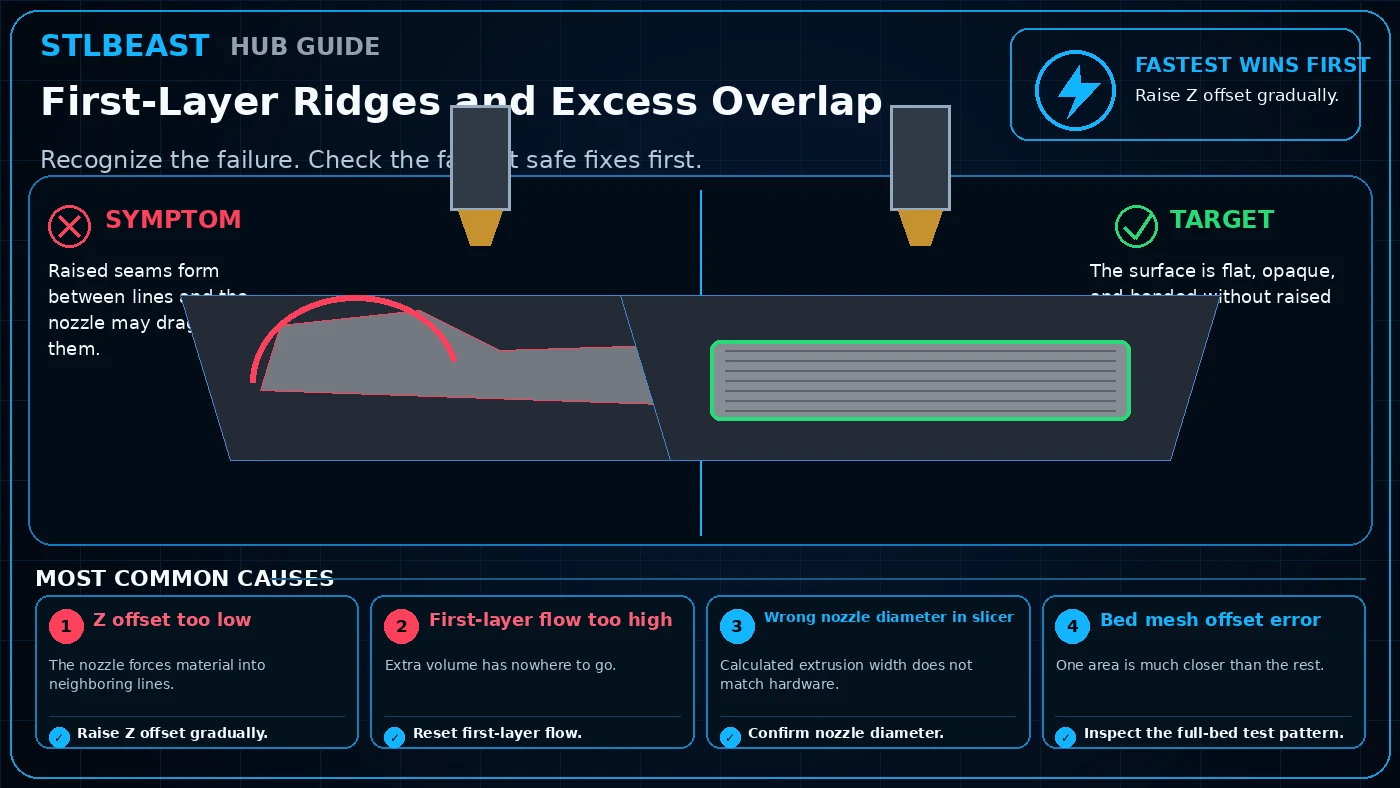 First Layer
Raised seams form between lines and the nozzle may drag through them. Start by checking Z offset too low. Start with raise z offset gradually, then reset first-layer…
Open repair path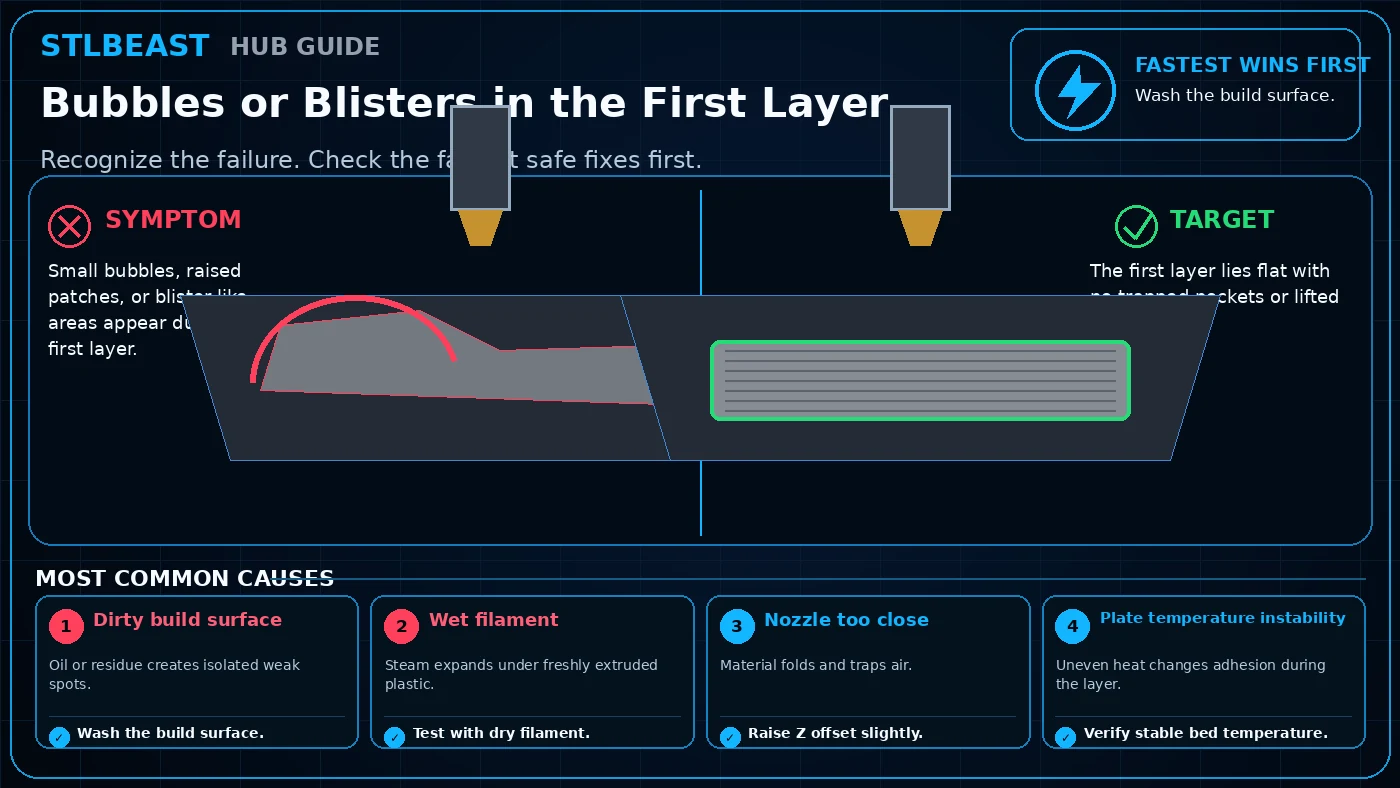 First Layer
Small bubbles, raised patches, or blister-like areas appear during the first layer. Start by checking Dirty build surface. Start with wash the build surface, then…
Open repair path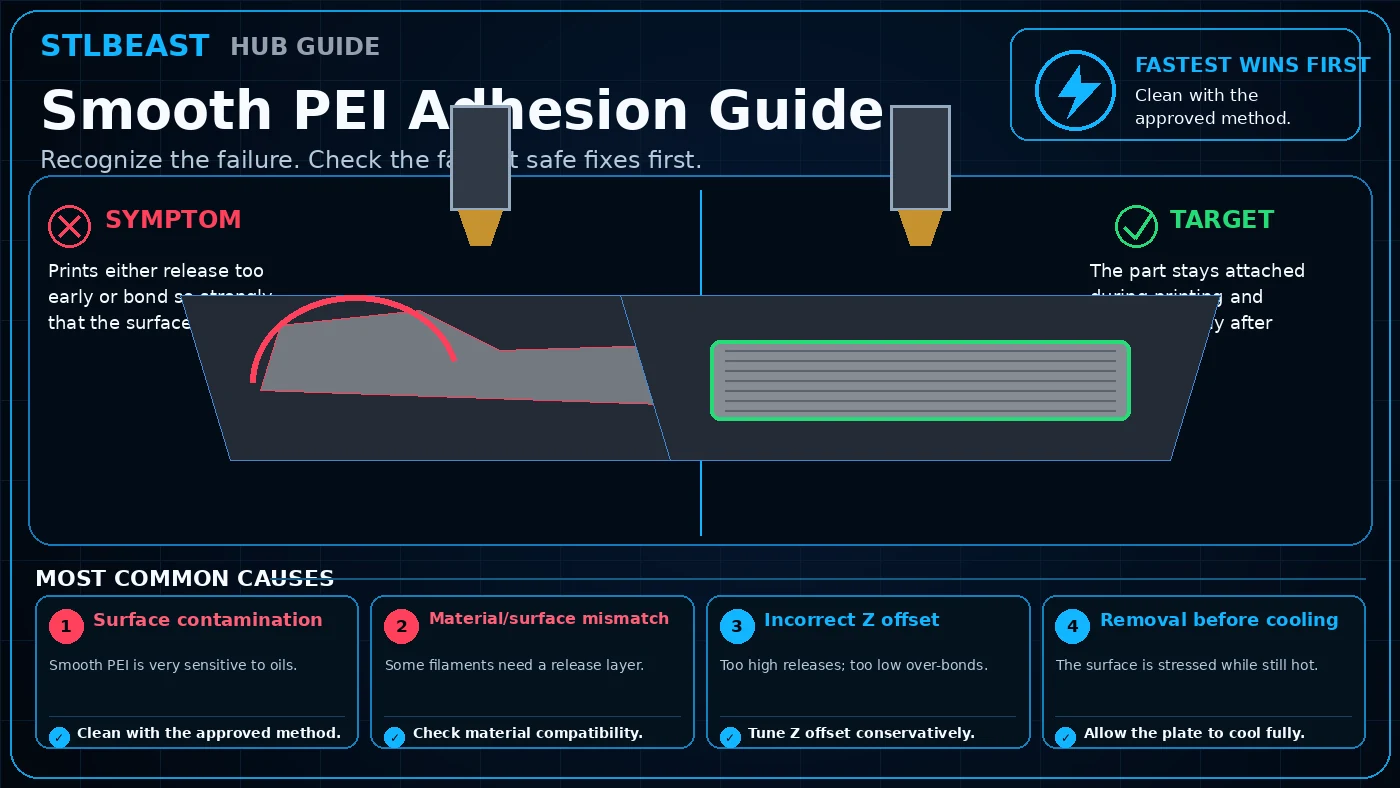 First Layer
Prints either release too early or bond so strongly that the surface is at risk. Start by checking Surface contamination. Start with clean with the approved method,…
Open repair path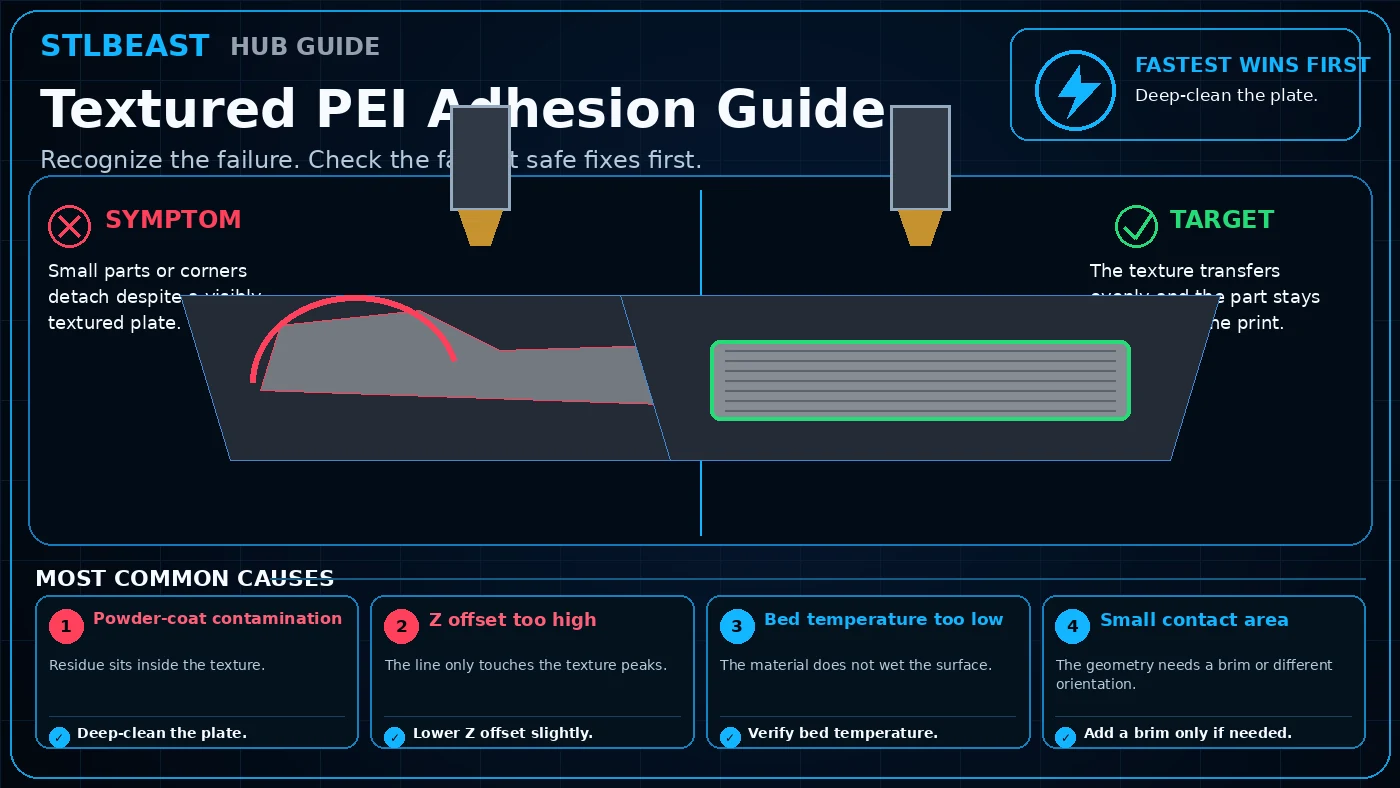 First Layer
Small parts or corners detach despite a visibly textured plate. Start by checking Powder-coat contamination. Start with deep-clean the plate, then lower z offset…
Open repair path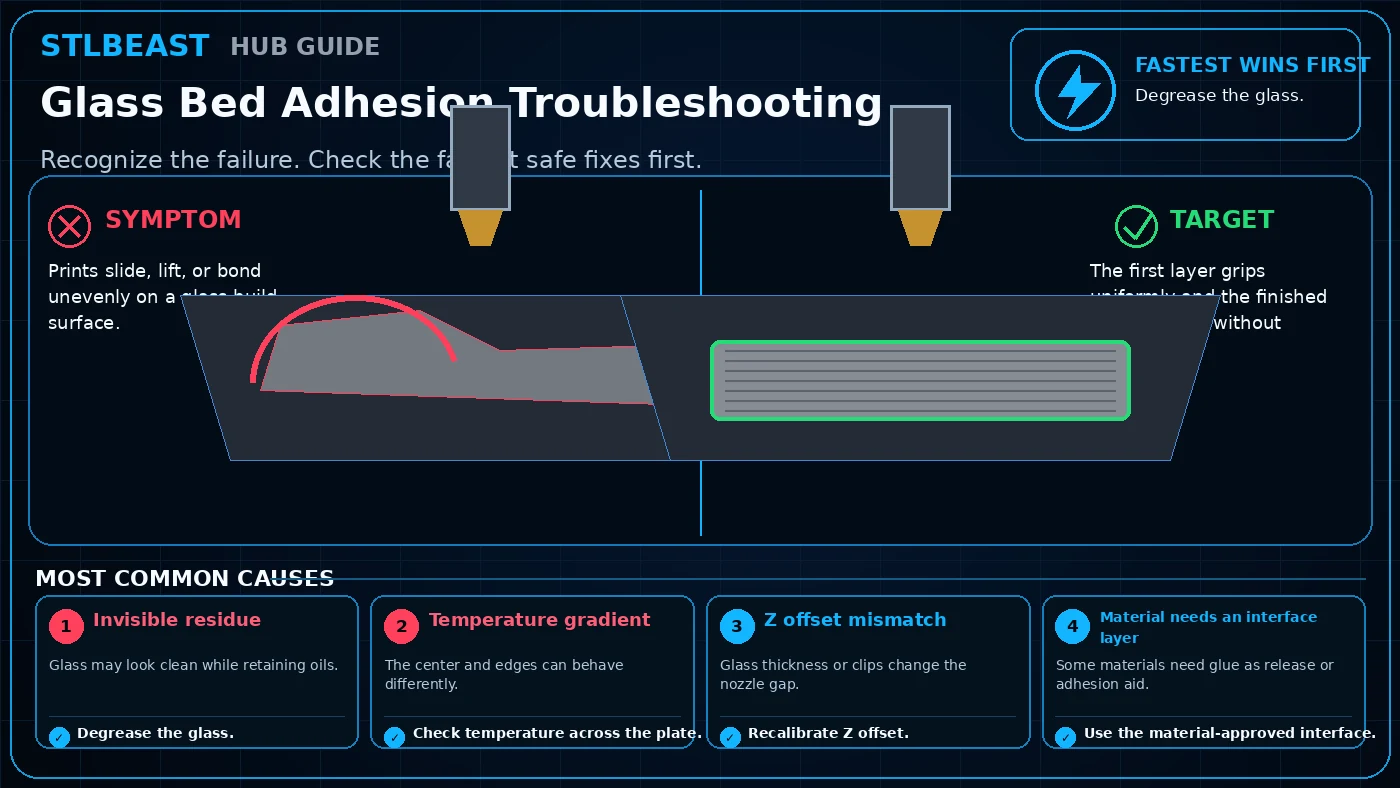 First Layer
Prints slide, lift, or bond unevenly on a glass build surface. Start by checking Invisible residue. Start with degrease the glass, then check temperature across the…
Open repair path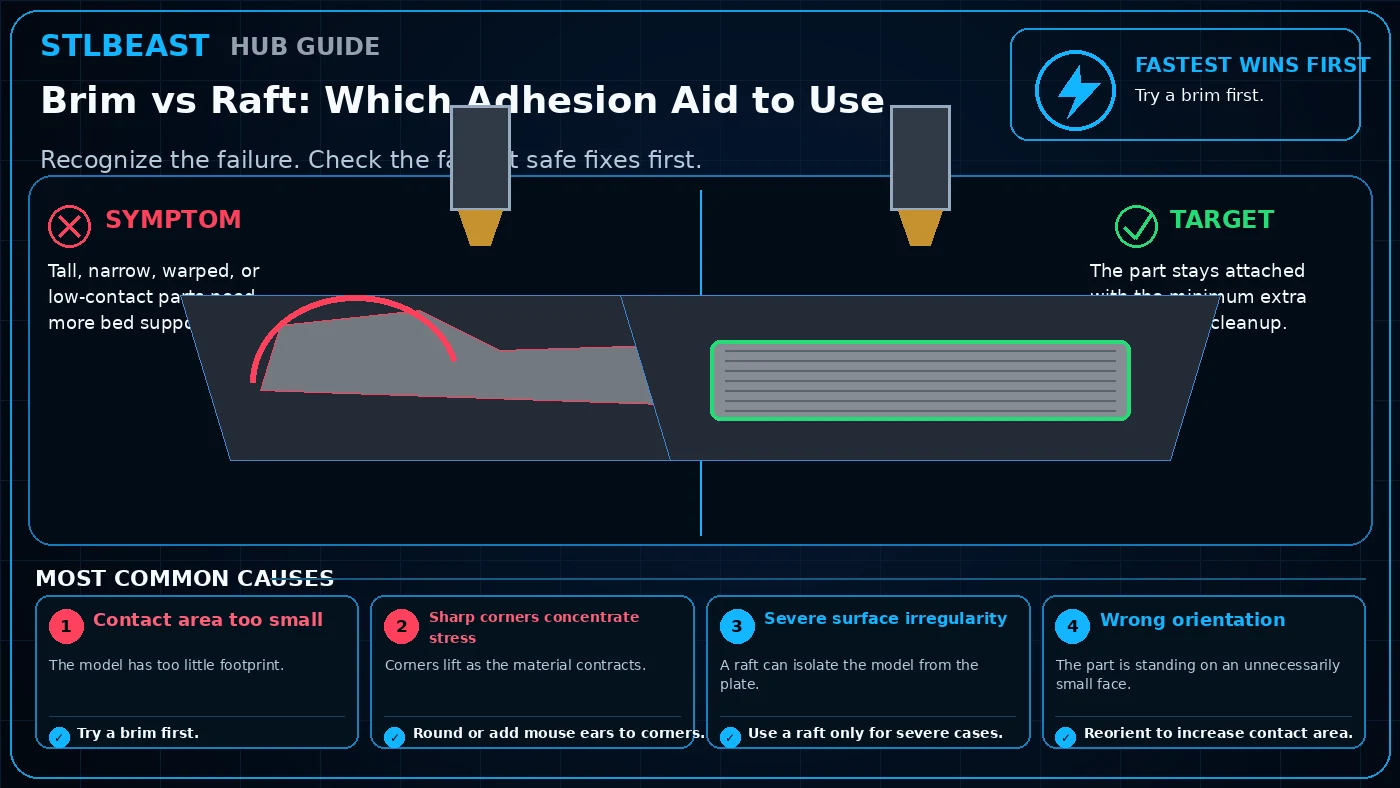 First Layer
Tall, narrow, warped, or low-contact parts need more bed support. Start by checking Contact area too small. Start with try a brim first, then round or add mouse ears…
Open repair path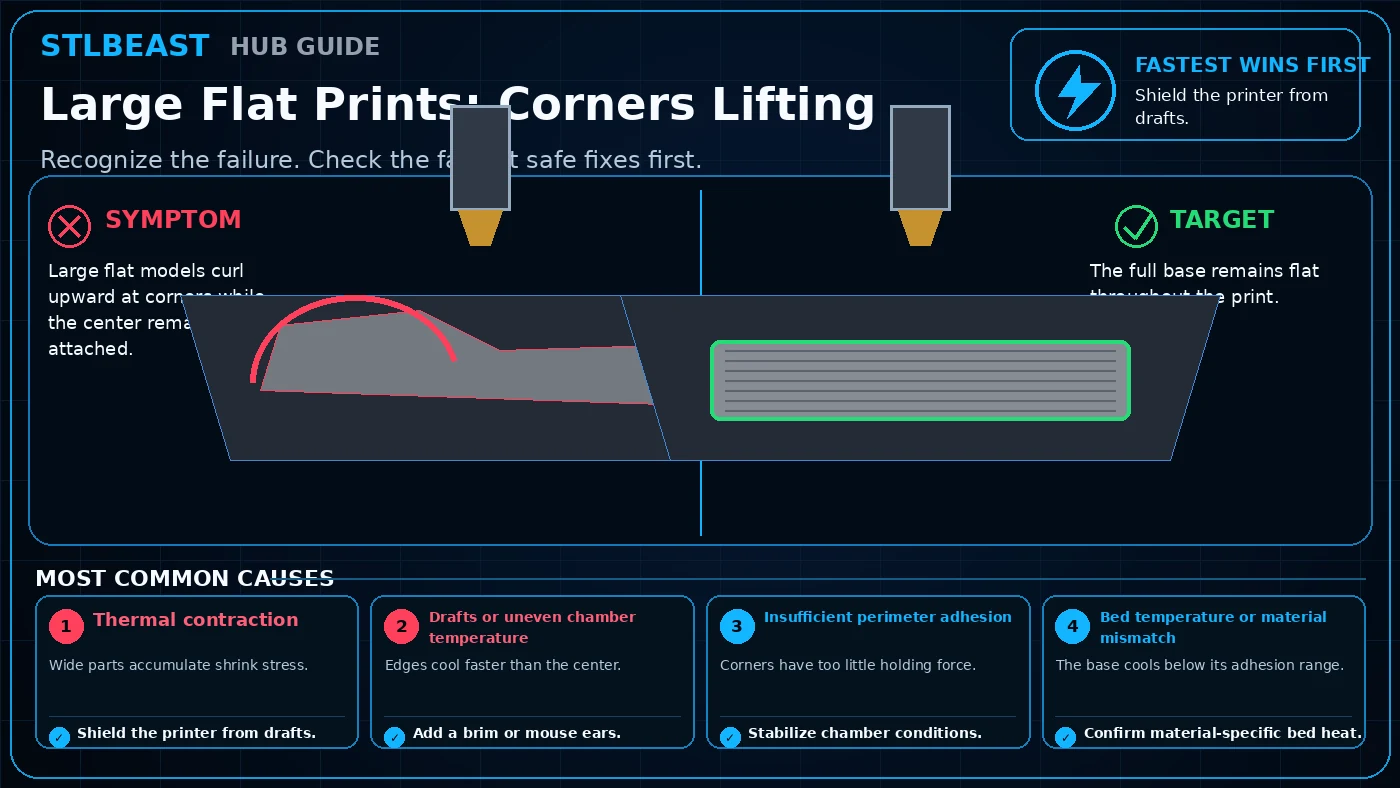 First Layer
Large flat models curl upward at corners while the center remains attached. Start by checking Thermal contraction. Start with shield the printer from drafts, then add…
Open repair path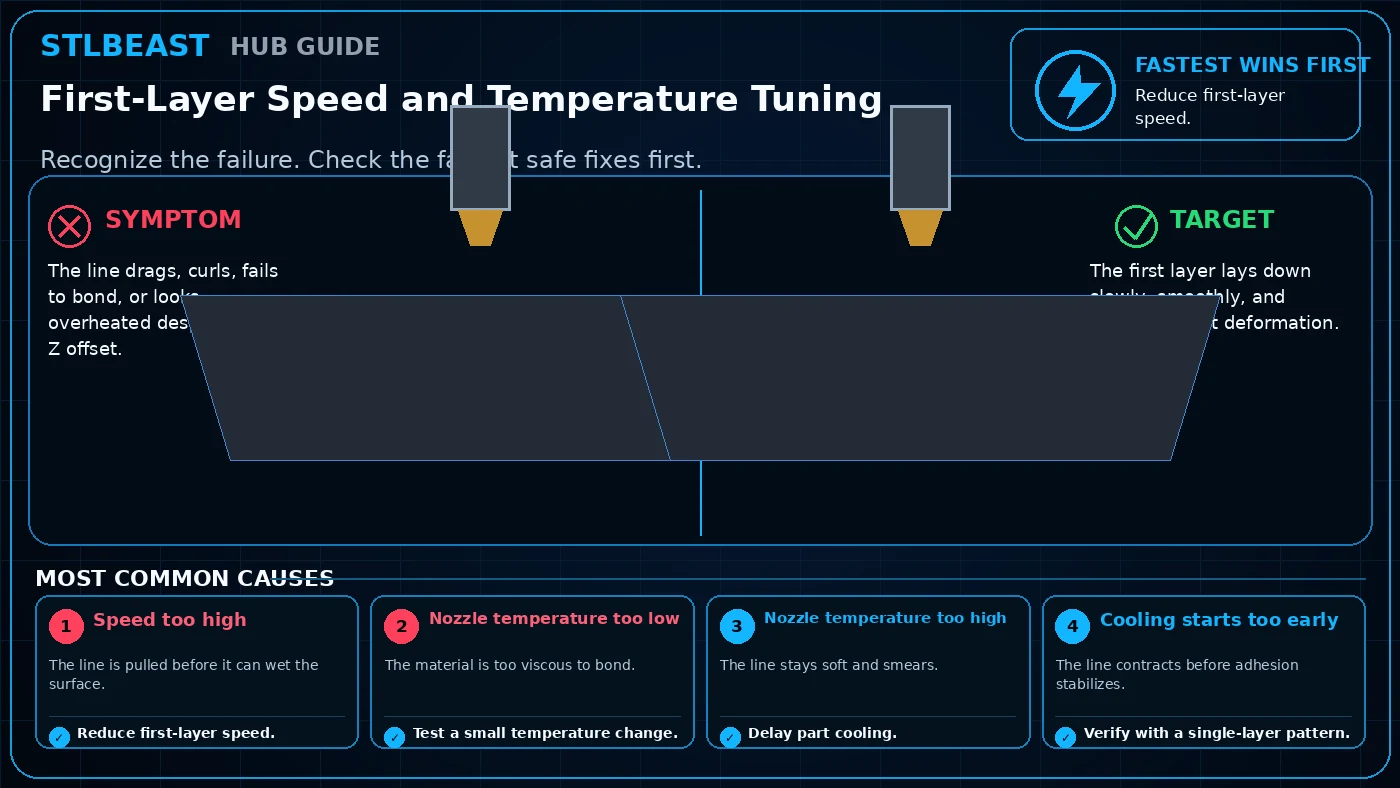 First Layer
The line drags, curls, fails to bond, or looks overheated despite correct Z offset. Start by checking Speed too high. Start with reduce first-layer speed, then test a…
Open repair pathRanked troubleshooting paths, controlled checks and verification steps.
 Functional Parts
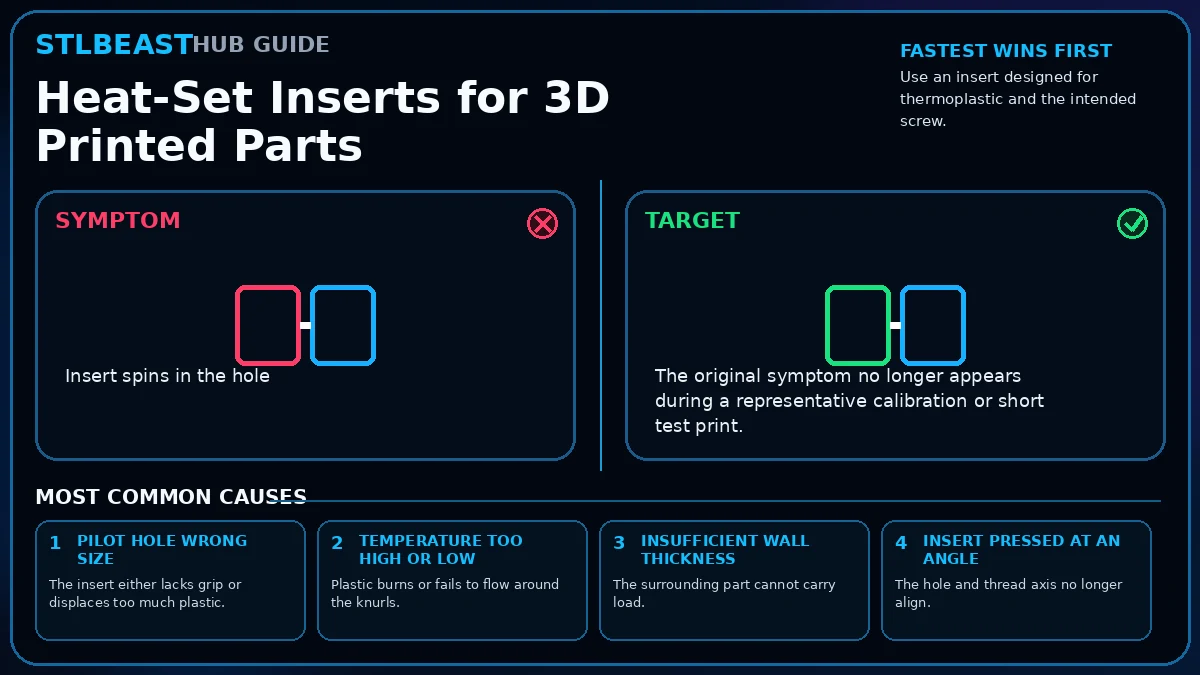
Insert spins in the hole. Start by checking Pilot hole wrong size. Design the correct pilot hole and surrounding wall, use a temperature-controlled insertion tool,…
Open repair path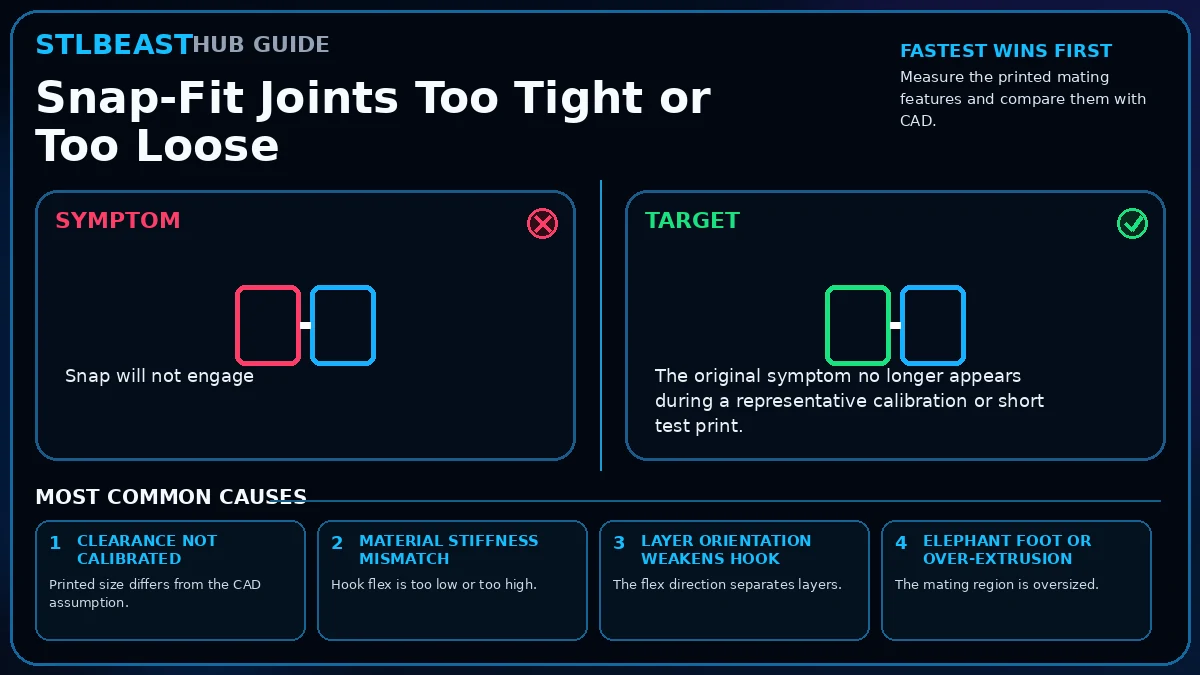 Functional Parts
Snap will not engage. Start by checking Clearance not calibrated. Calibrate printer dimensions, material flex, clearance, layer orientation, and hook geometry using a…
Open repair path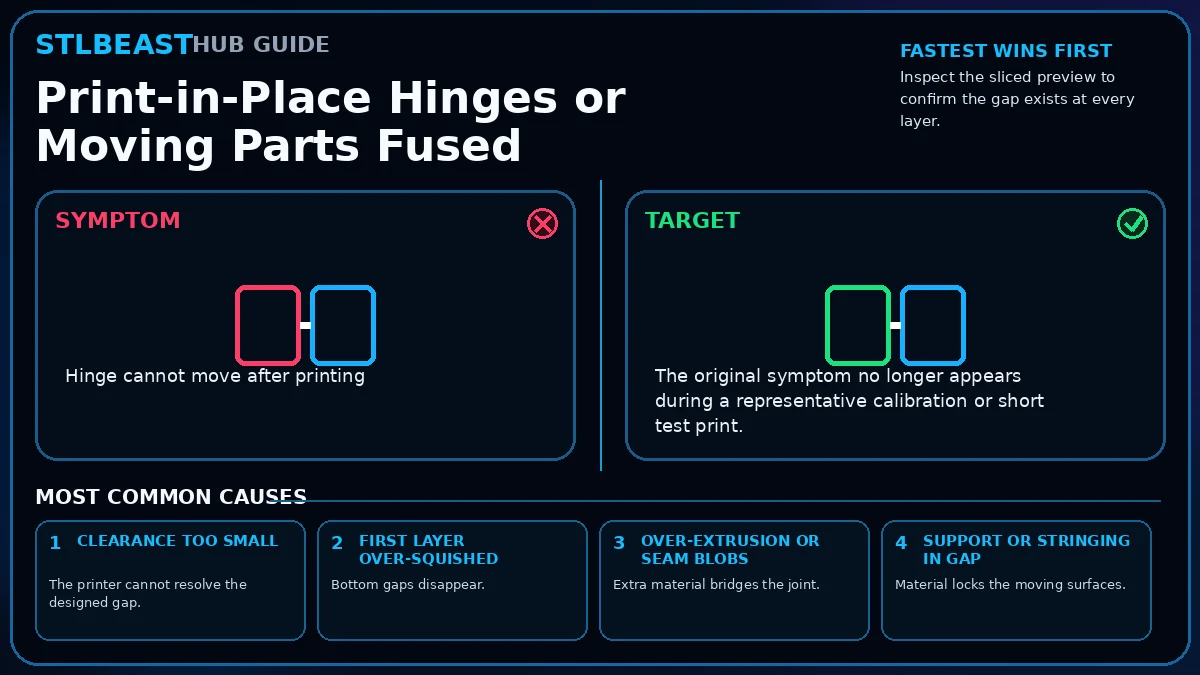 Functional Parts
Hinge cannot move after printing. Start by checking Clearance too small. Fix first-layer squish, flow, seam blobs, clearance, support intrusion, and cooling, then…
Open repair path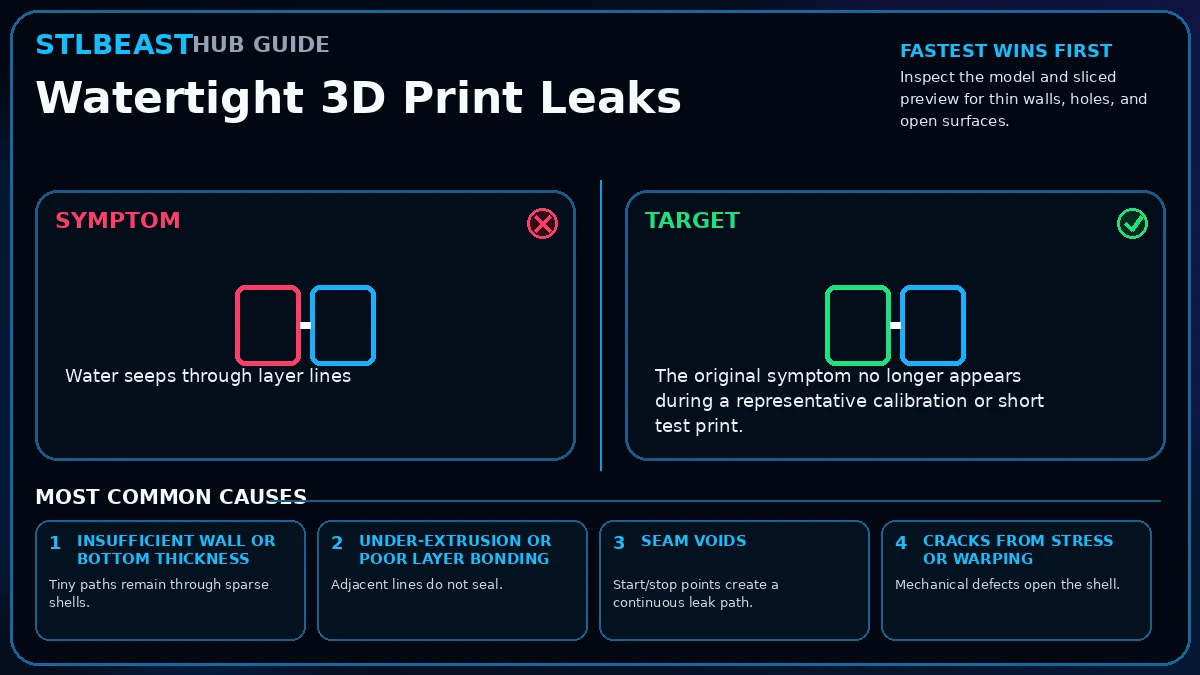 Functional Parts
Water seeps through layer lines. Start by checking Insufficient wall or bottom thickness. Increase continuous walls and bottom layers, correct under-extrusion and…
Open repair pathRanked troubleshooting paths, controlled checks and verification steps.
 Hardware & Safety
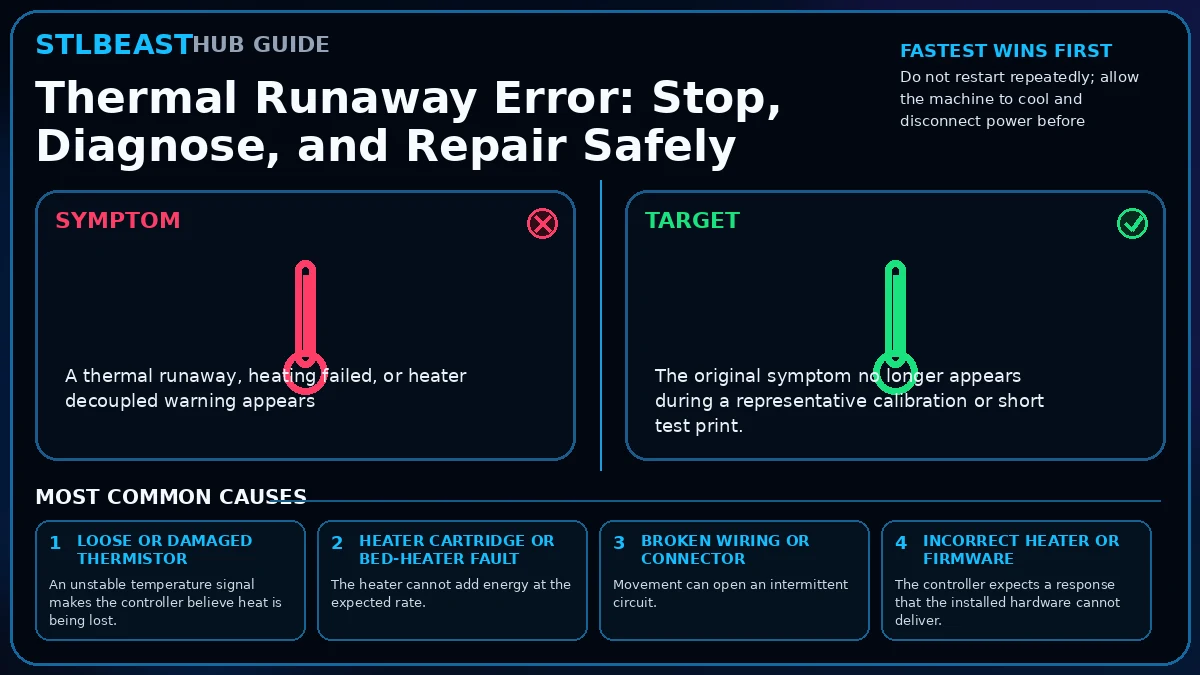
A thermal runaway, heating failed, or heater decoupled warning appears. Start by checking Loose or damaged thermistor. Stop the machine, disconnect power after it…
Open repair path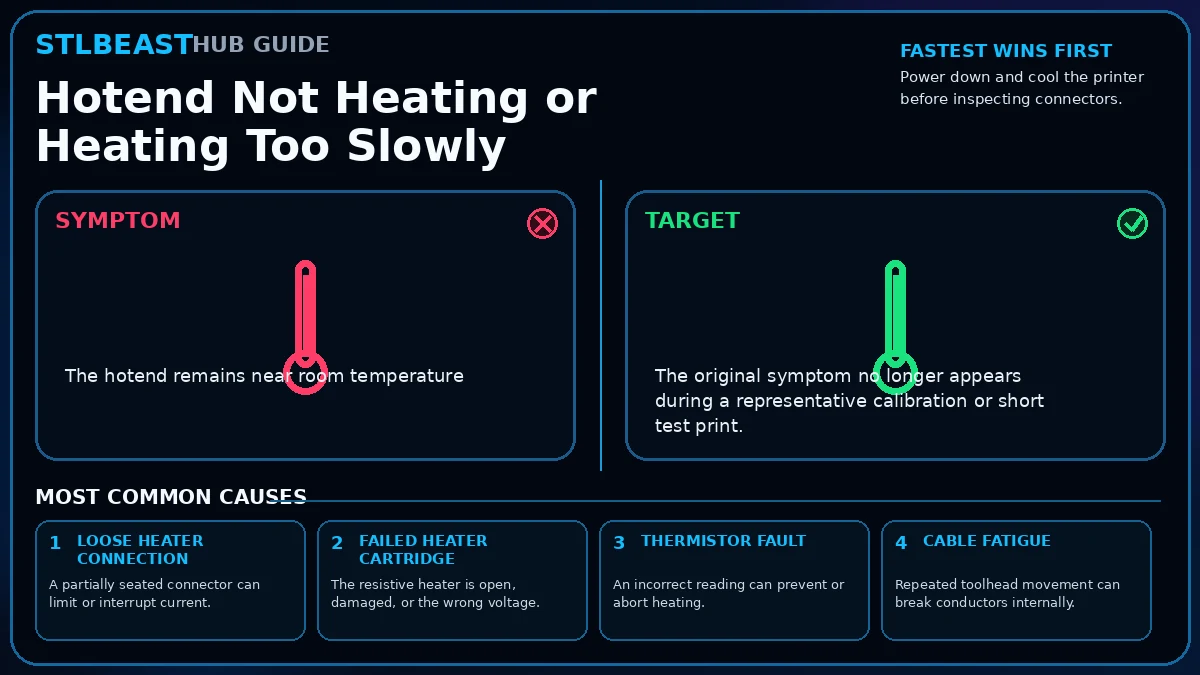 Hardware & Safety
The hotend remains near room temperature. Start by checking Loose heater connection. Verify the heater cartridge, thermistor reading, connectors, power supply, hotend…
Open repair path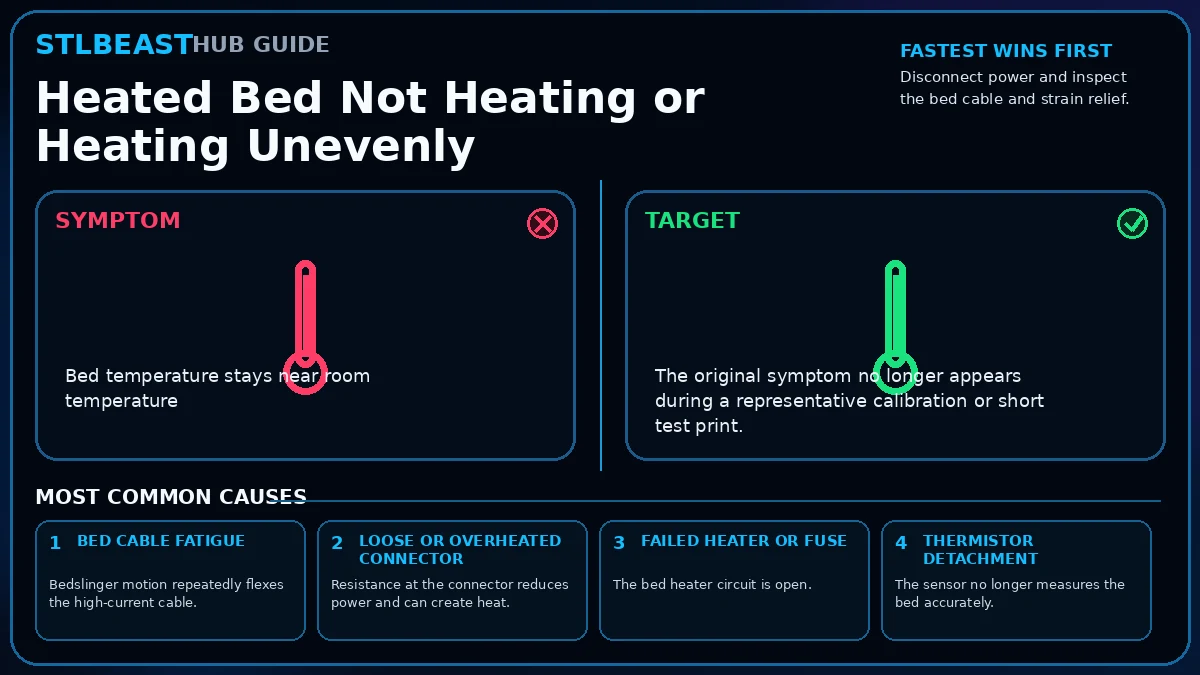 Hardware & Safety
Bed temperature stays near room temperature. Start by checking Bed cable fatigue. Inspect the bed cable, connector, heater, thermistor, power delivery, mounting, and…
Open repair path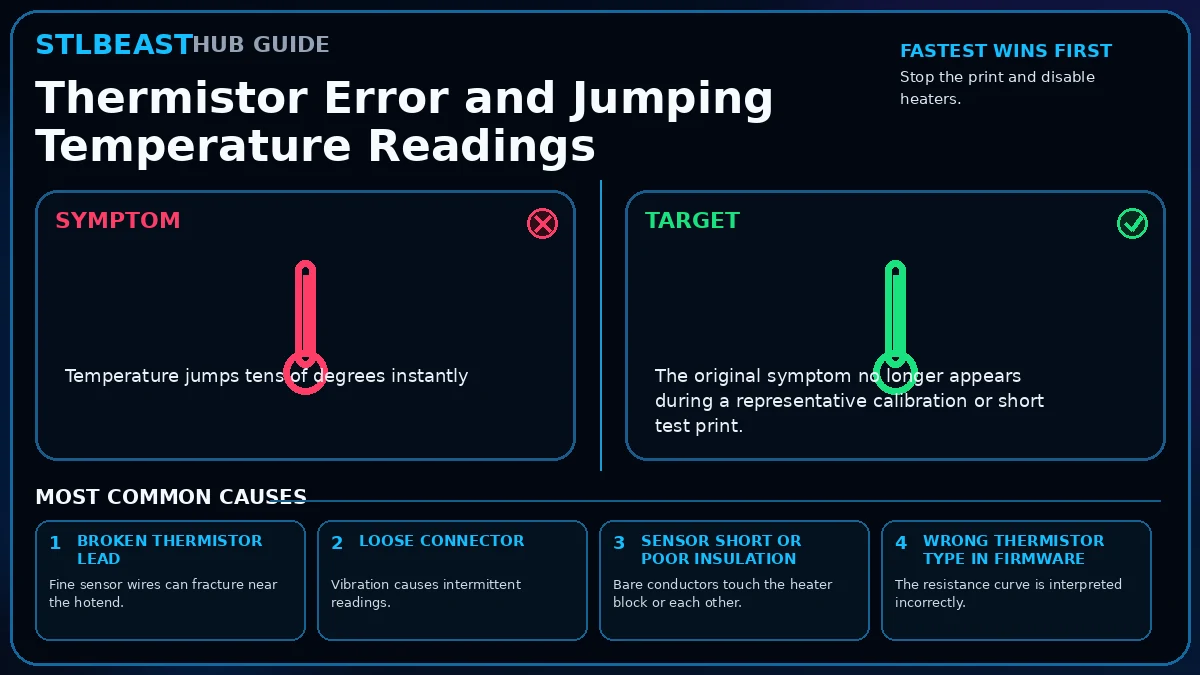 Hardware & Safety
Temperature jumps tens of degrees instantly. Start by checking Broken thermistor lead. Treat sudden temperature jumps as a sensor or wiring fault: stop heating,…
Open repair path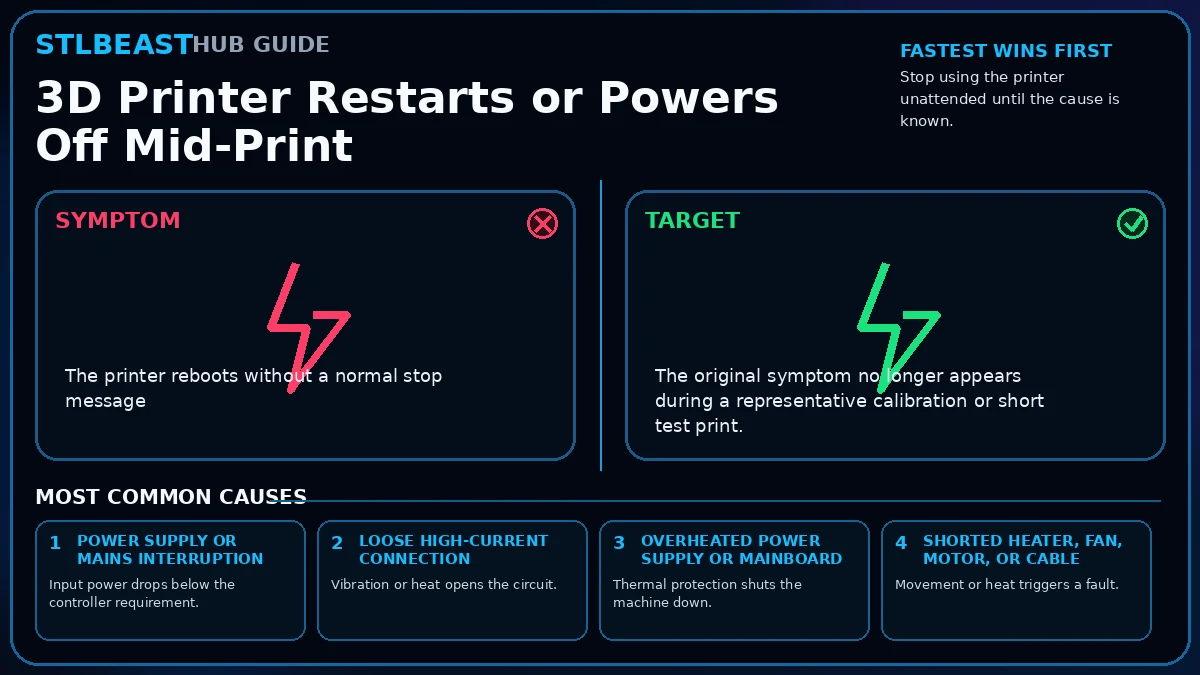 Hardware & Safety
The printer reboots without a normal stop message. Start by checking Power supply or mains interruption. Check power input, supply voltage, loose connectors,…
Open repair pathRanked troubleshooting paths, controlled checks and verification steps.
Ranked troubleshooting paths, controlled checks and verification steps.
Ranked troubleshooting paths, controlled checks and verification steps.
Ranked troubleshooting paths, controlled checks and verification steps.
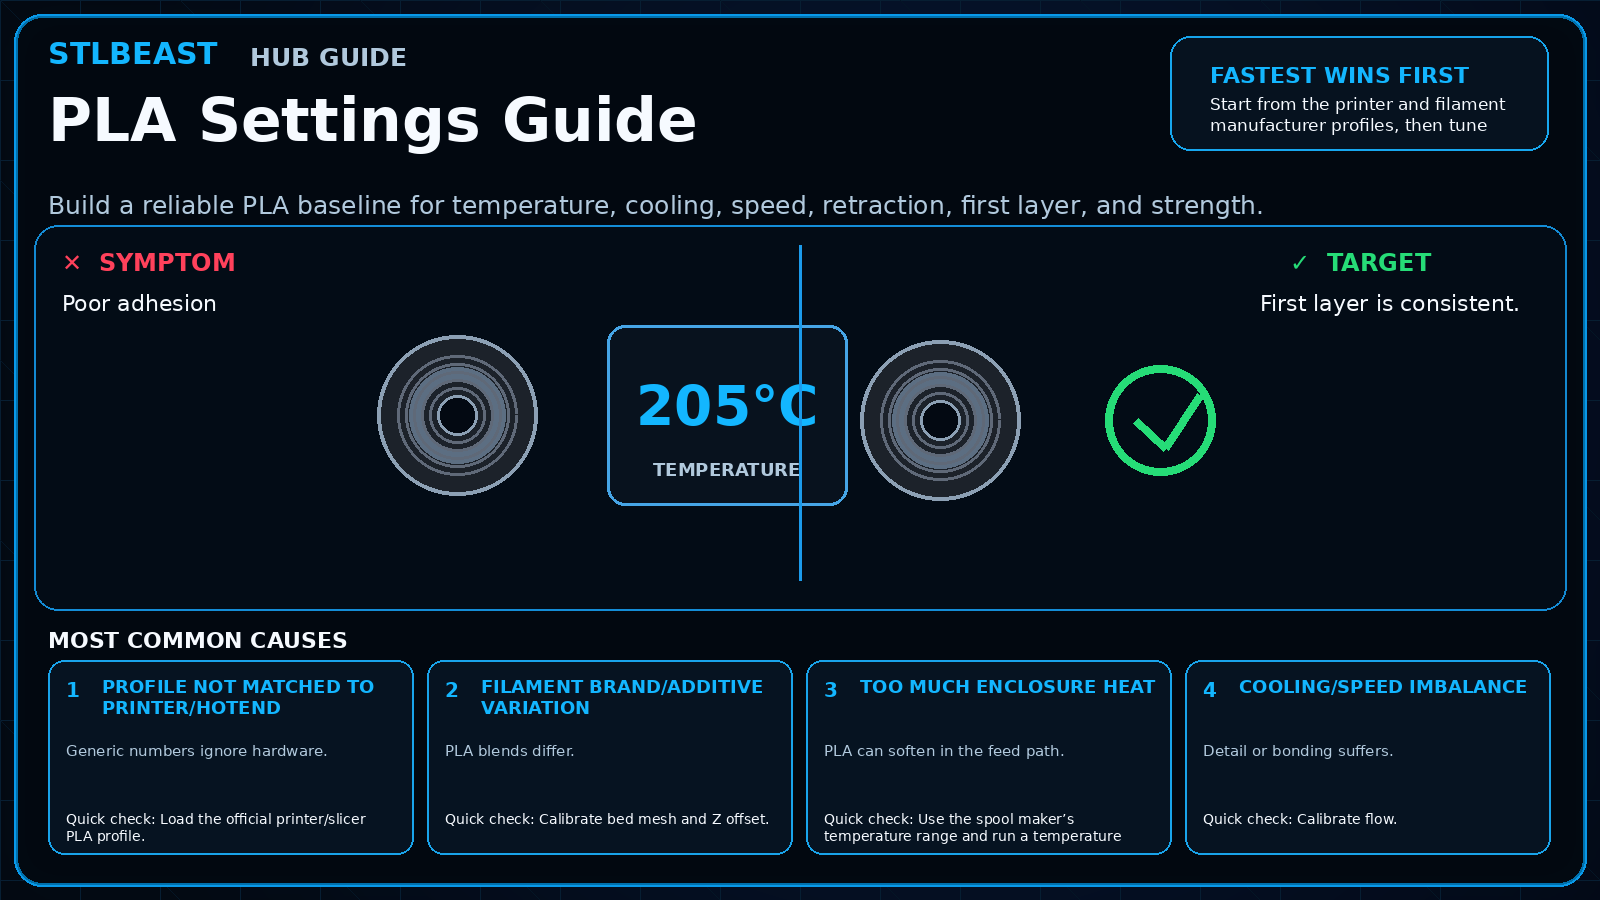 Material Settings
Poor adhesion. Start by checking Profile not matched to printer/hotend. Start from the printer and filament manufacturer profiles, then tune first layer, temperature,…
Open repair path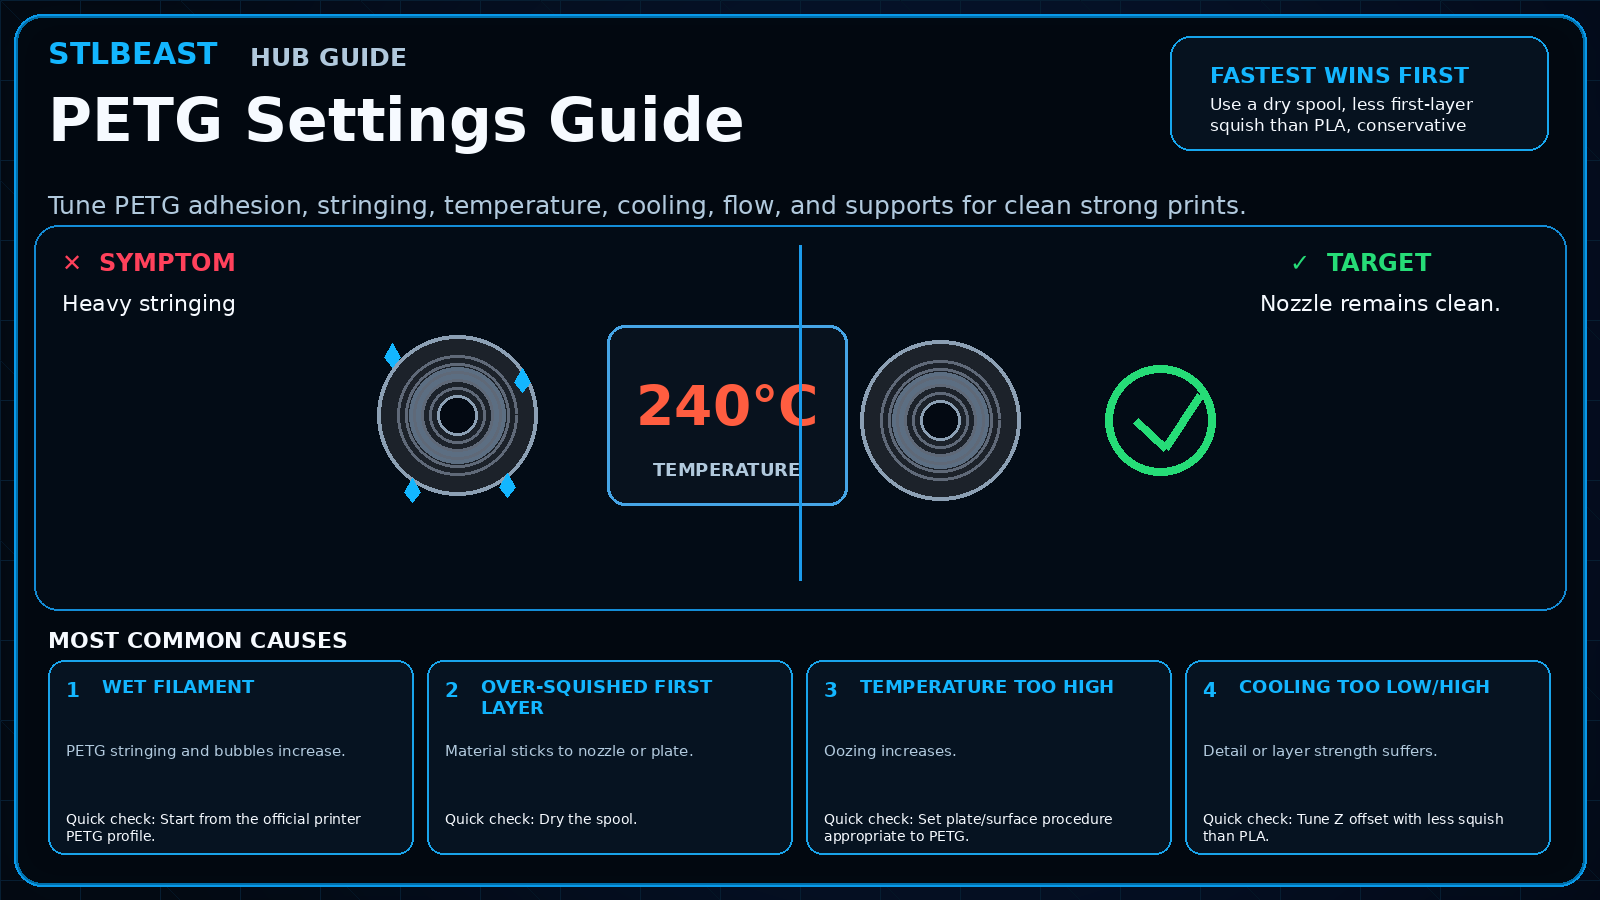 Material Settings
Heavy stringing. Start by checking Wet filament. Use a dry spool, less first-layer squish than PLA, conservative retraction, and the lowest temperature that still…
Open repair path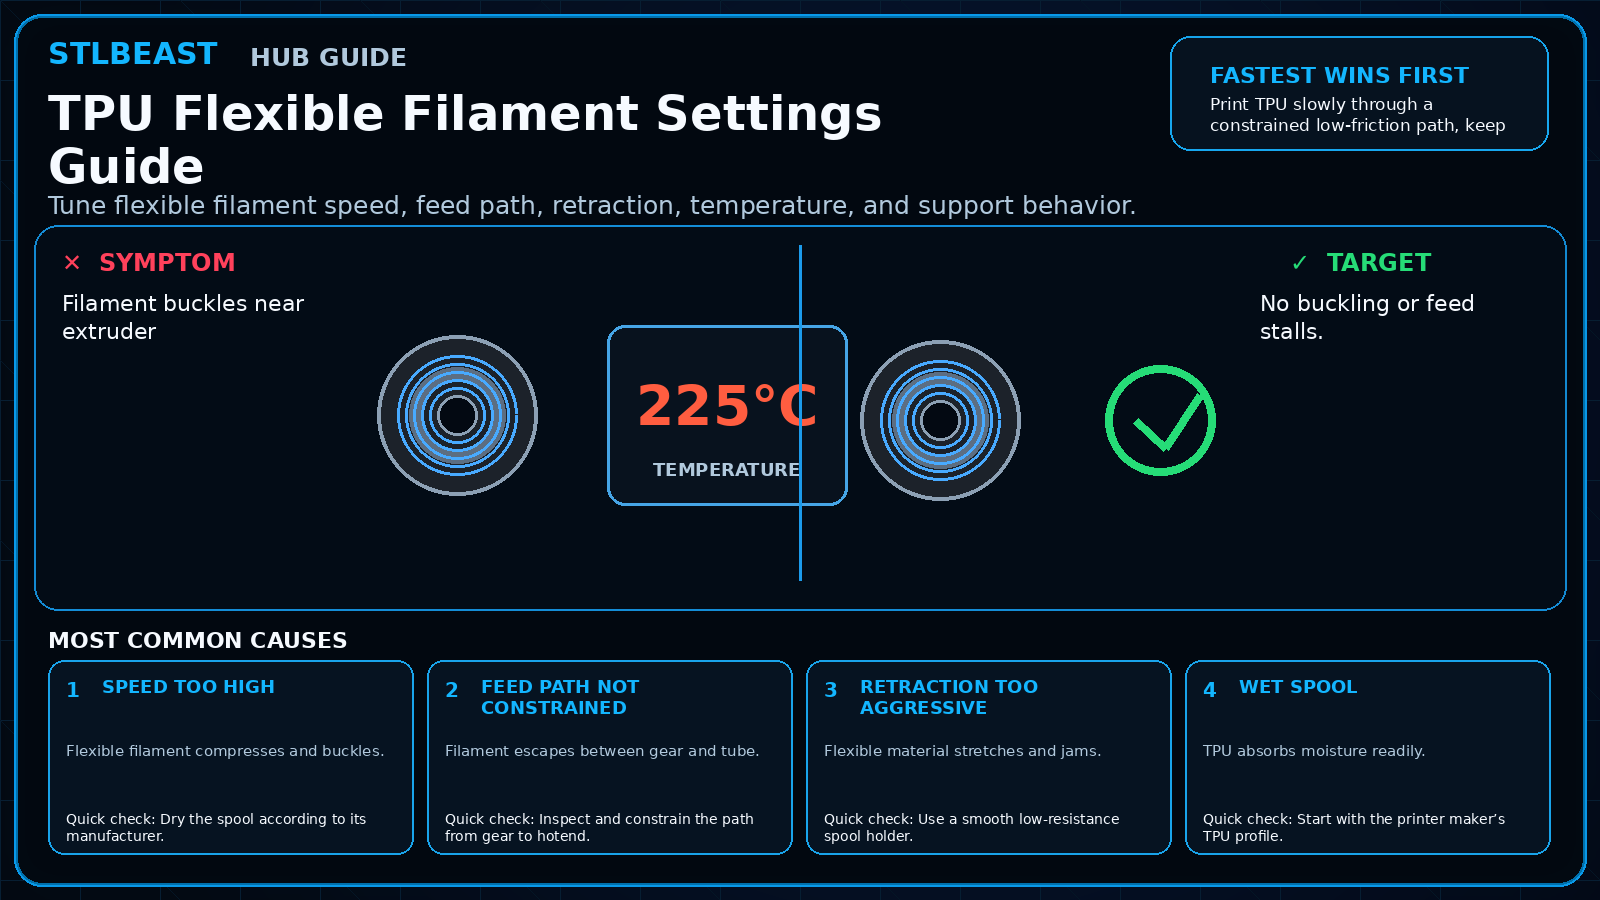 Material Settings
Filament buckles near extruder. Start by checking Speed too high. Print TPU slowly through a constrained low-friction path, keep retraction conservative, and dry the…
Open repair path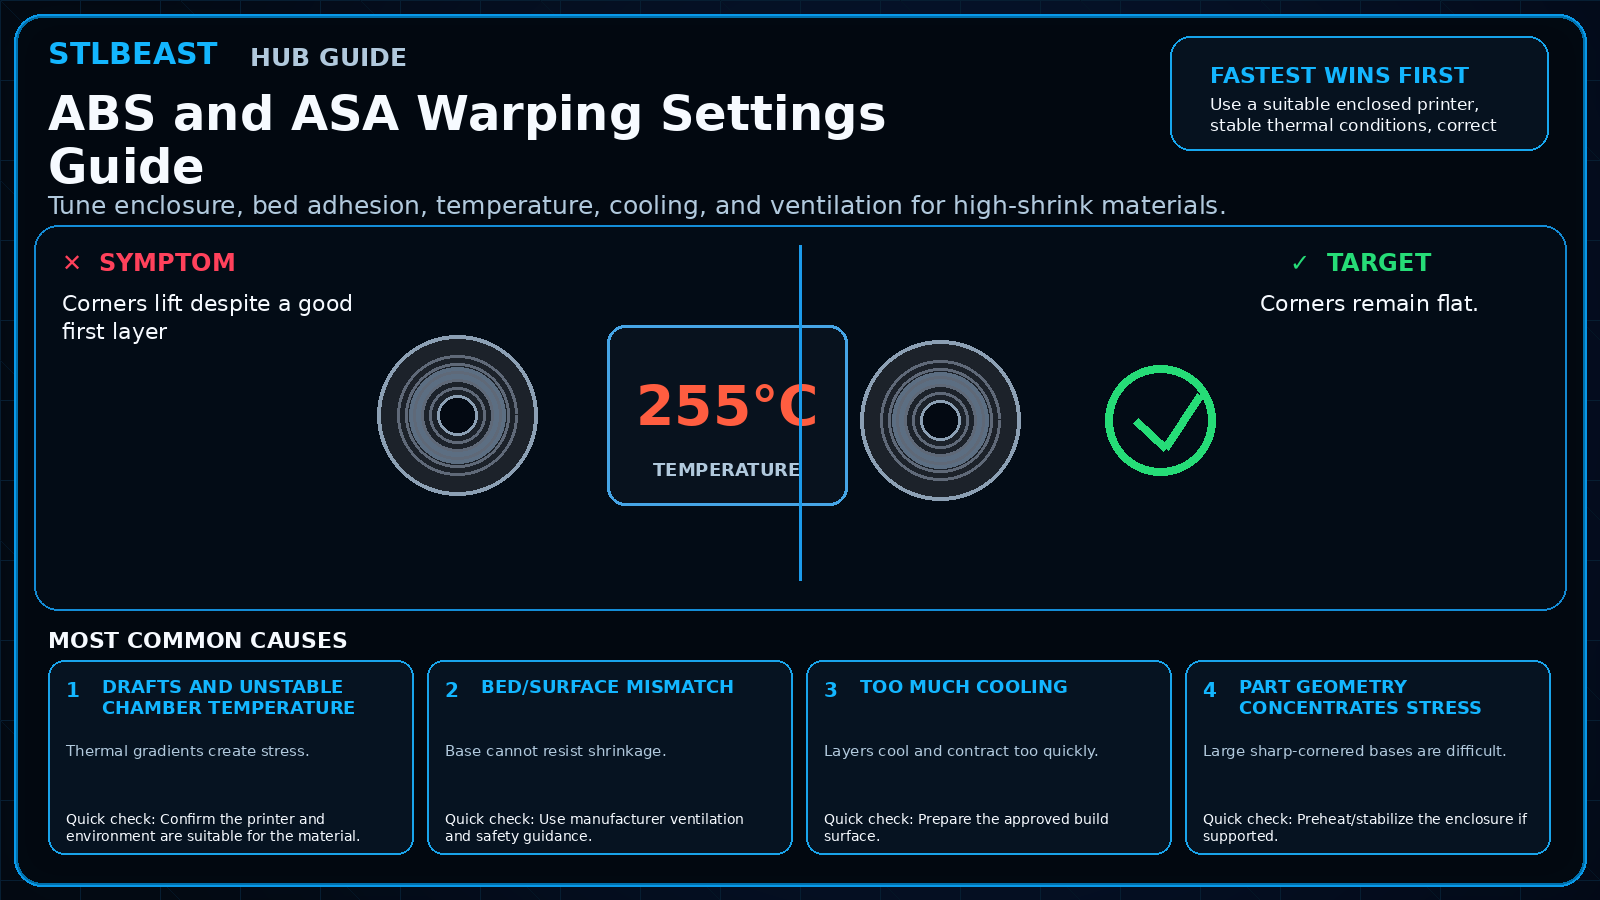 Material Settings
Corners lift despite a good first layer. Start by checking Drafts and unstable chamber temperature. Use a suitable enclosed printer, stable thermal conditions,…
Open repair pathMoisture, drying, temperature, storage and material-specific behaviour.
 Materials
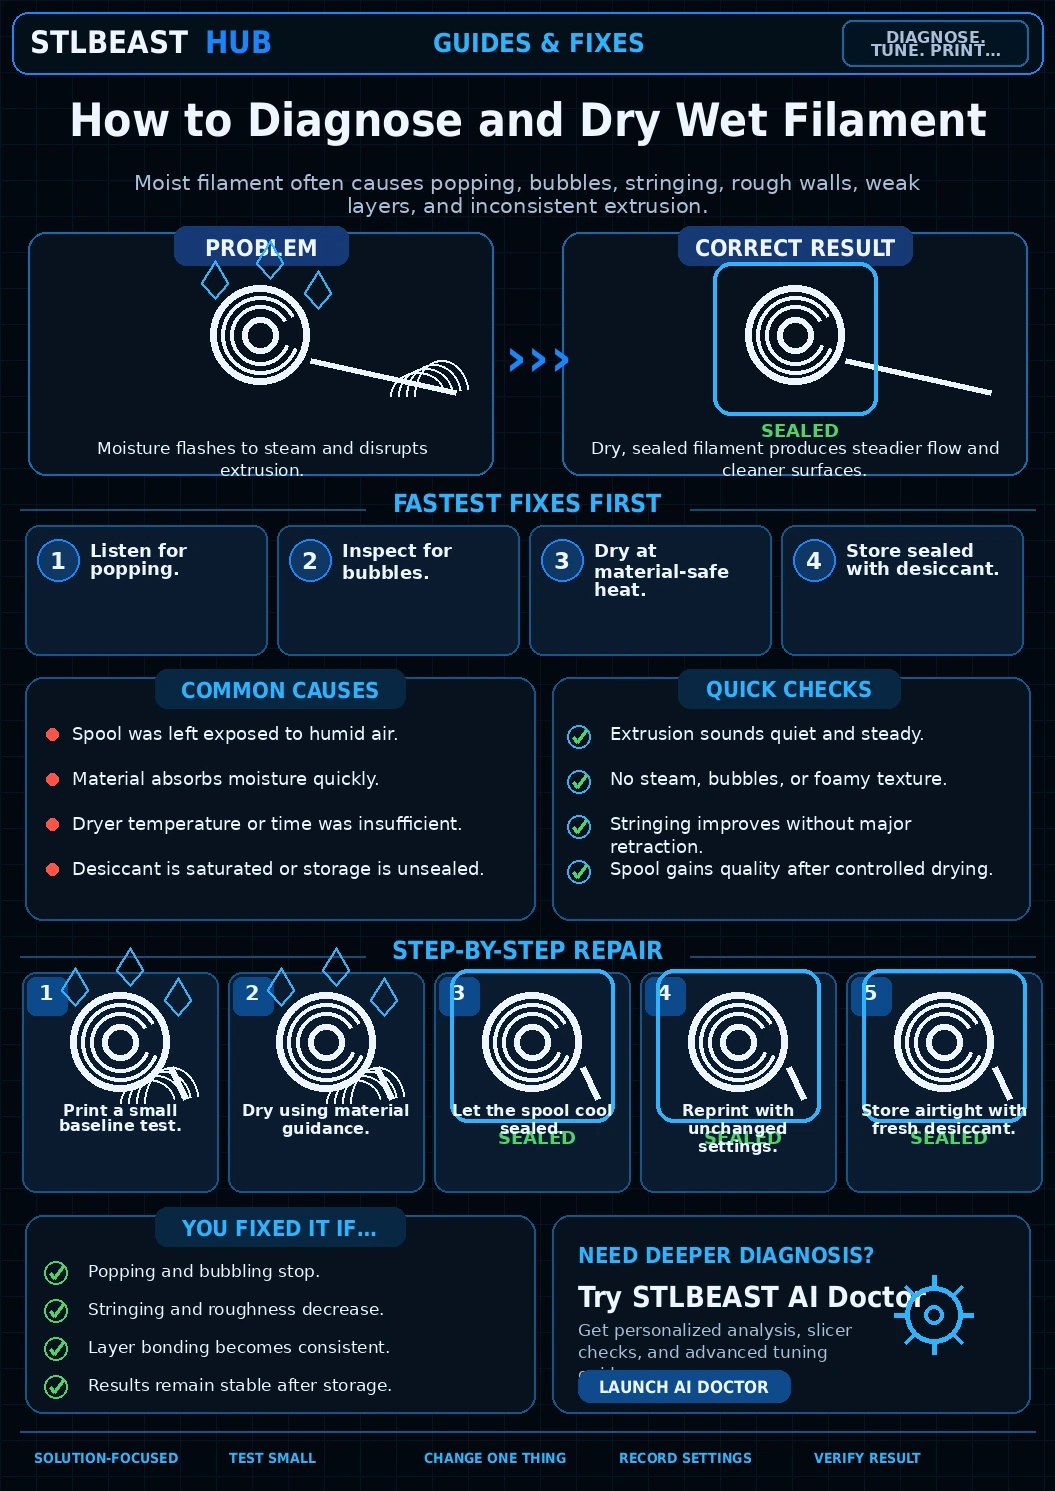
Popping, hissing, or steam at nozzle. Start by checking Open storage in humid air. Compare against a known-dry sample and follow the filament manufacturer’s drying…
Open repair path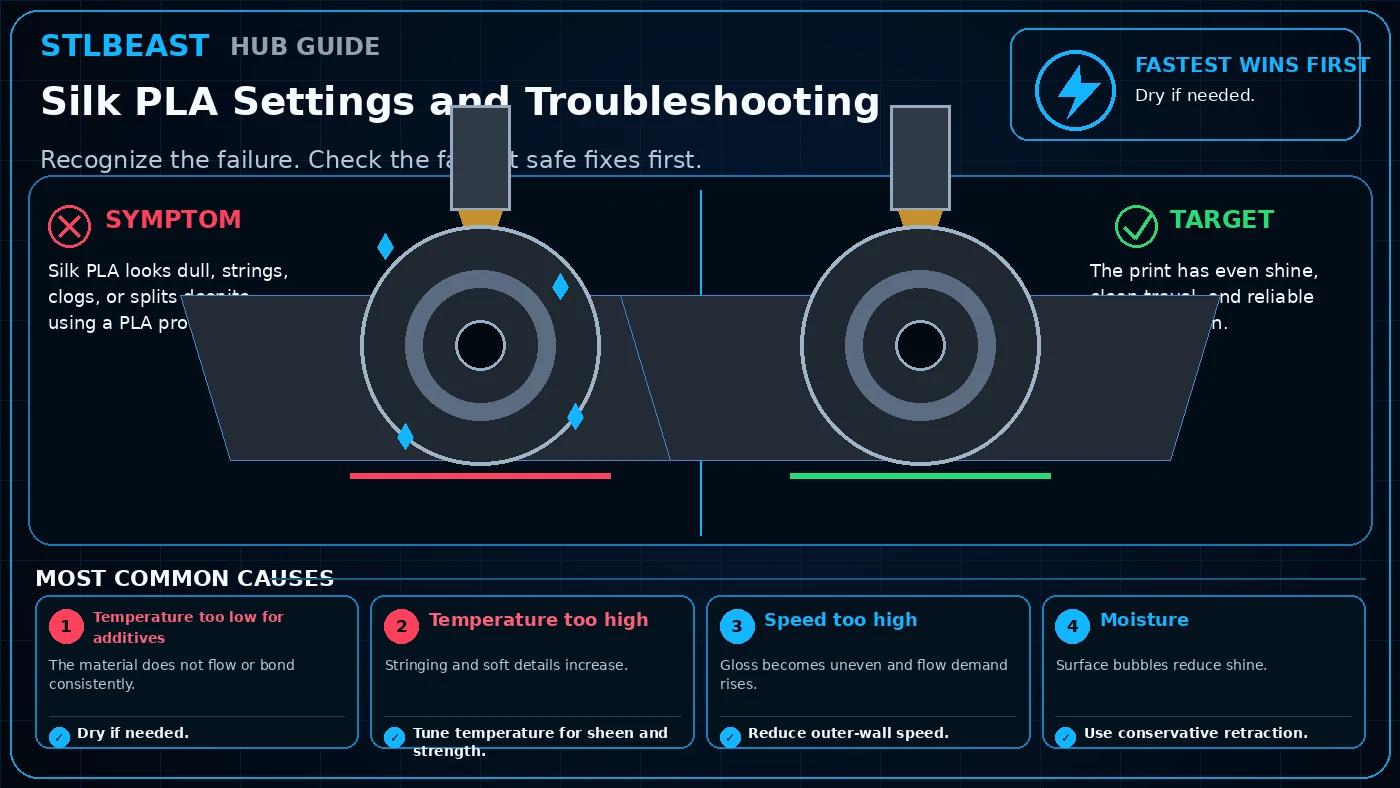 Materials
Silk PLA looks dull, strings, clogs, or splits despite using a PLA profile. Start by checking Temperature too low for additives. Start with dry if needed, then tune…
Open repair path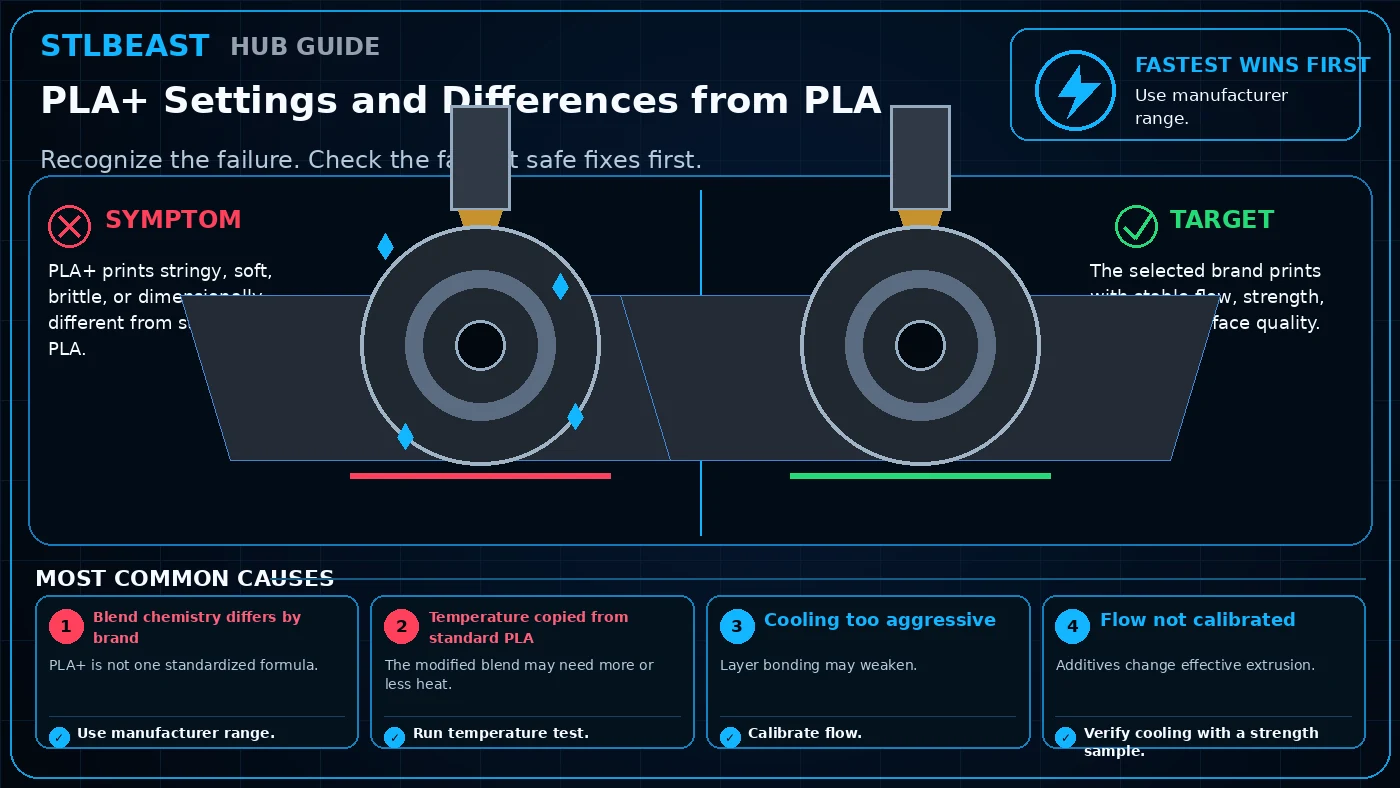 Materials
PLA+ prints stringy, soft, brittle, or dimensionally different from standard PLA. Start by checking Blend chemistry differs by brand. Start with use manufacturer…
Open repair path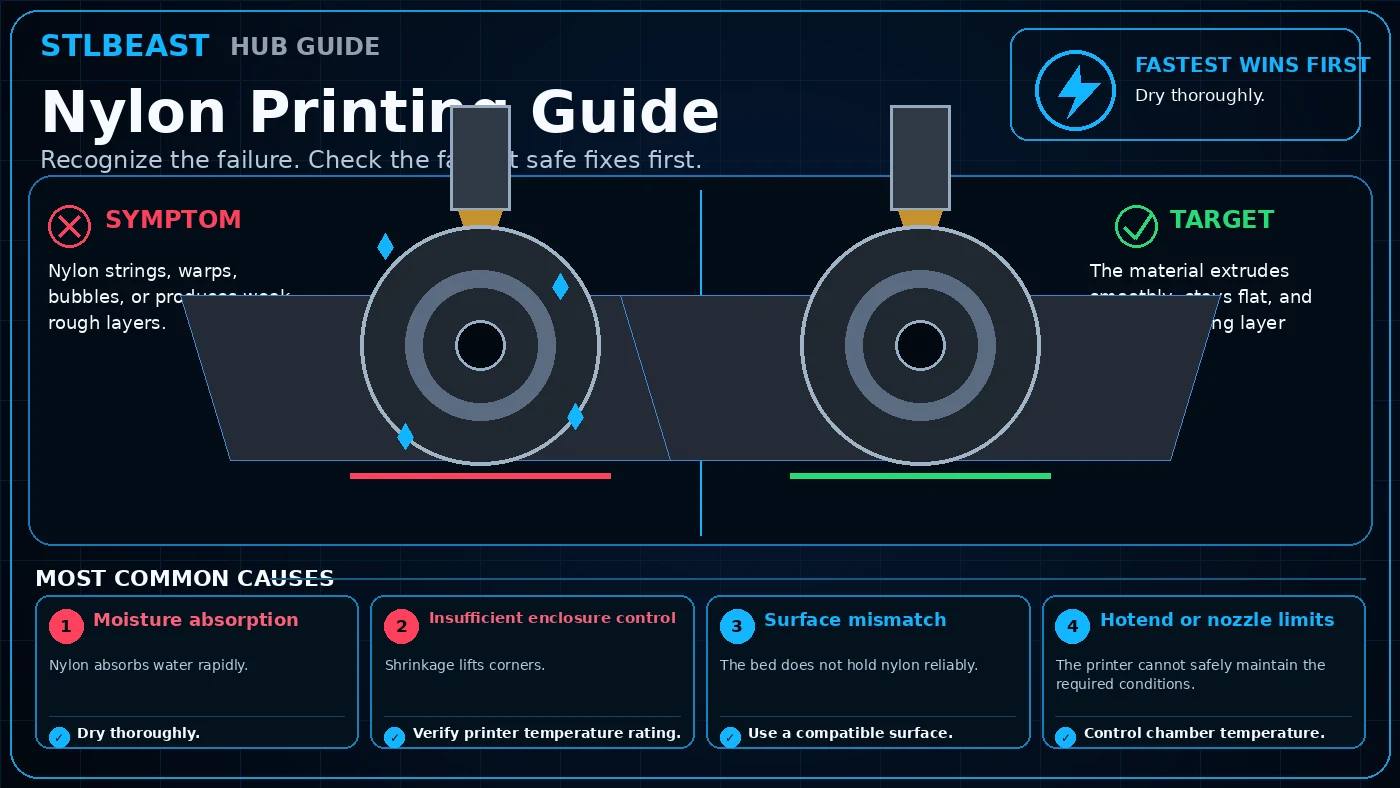 Materials
Nylon strings, warps, bubbles, or produces weak rough layers. Start by checking Moisture absorption. Start with dry thoroughly, then verify printer temperature…
Open repair path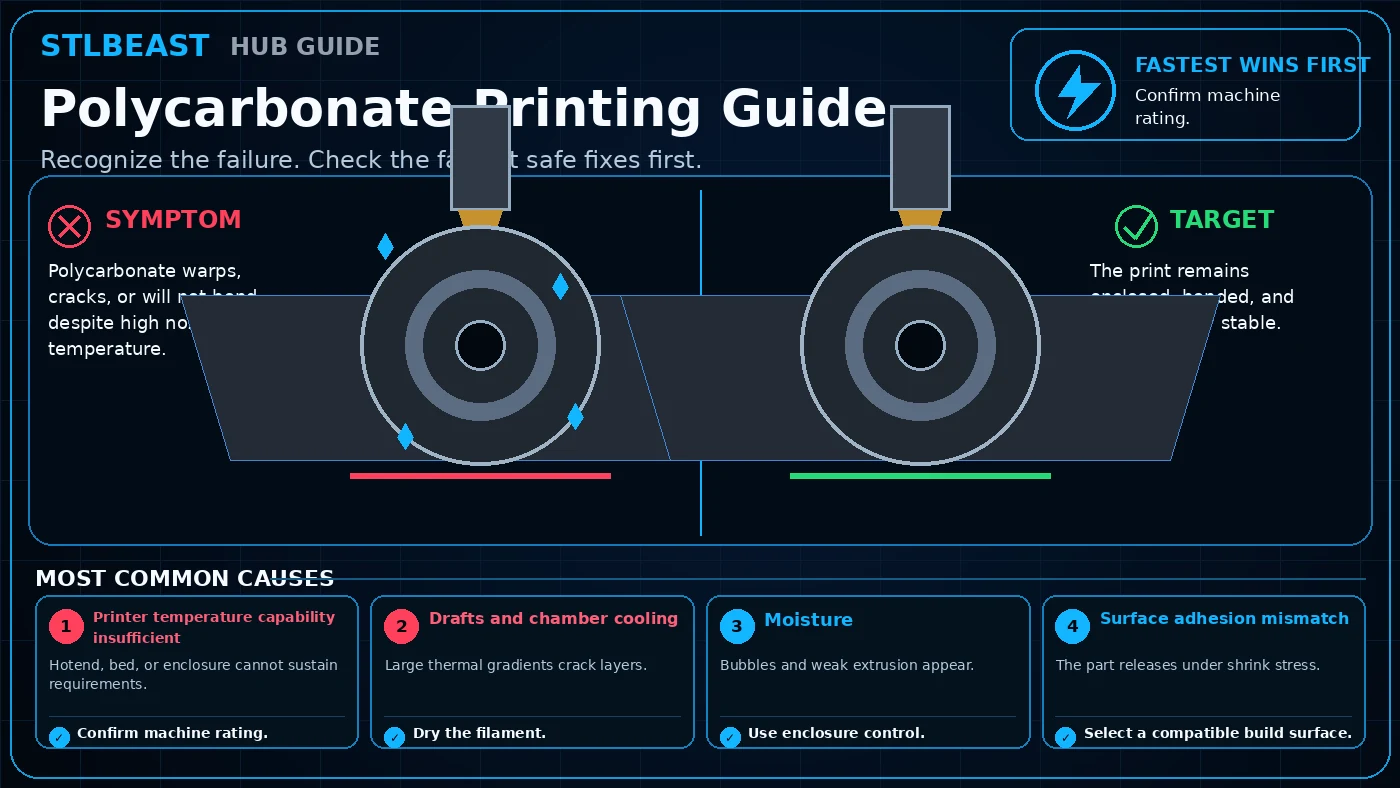 Materials
Polycarbonate warps, cracks, or will not bond despite high nozzle temperature. Start by checking Printer temperature capability insufficient. Start with confirm…
Open repair path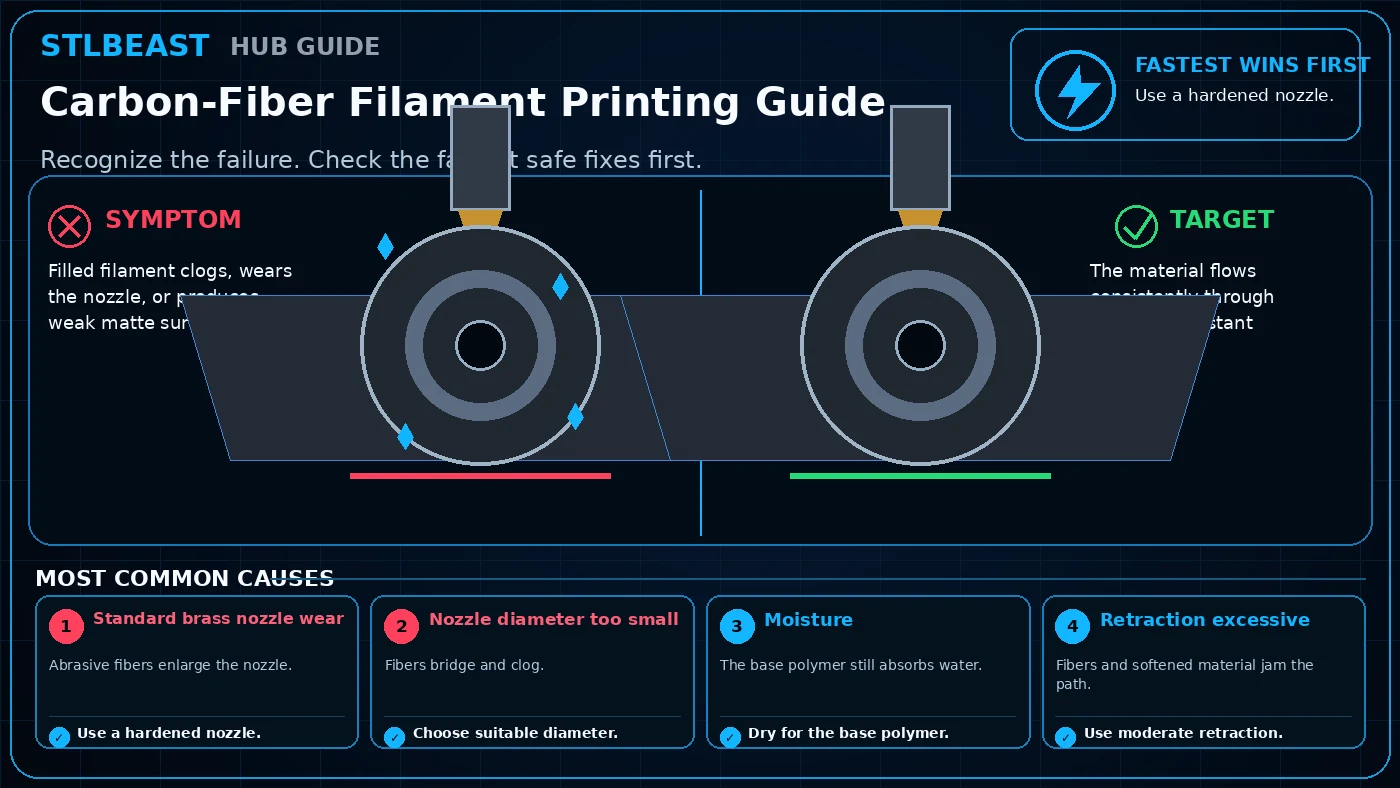 Materials
Filled filament clogs, wears the nozzle, or produces weak matte surfaces. Start by checking Standard brass nozzle wear. Start with use a hardened nozzle, then choose…
Open repair path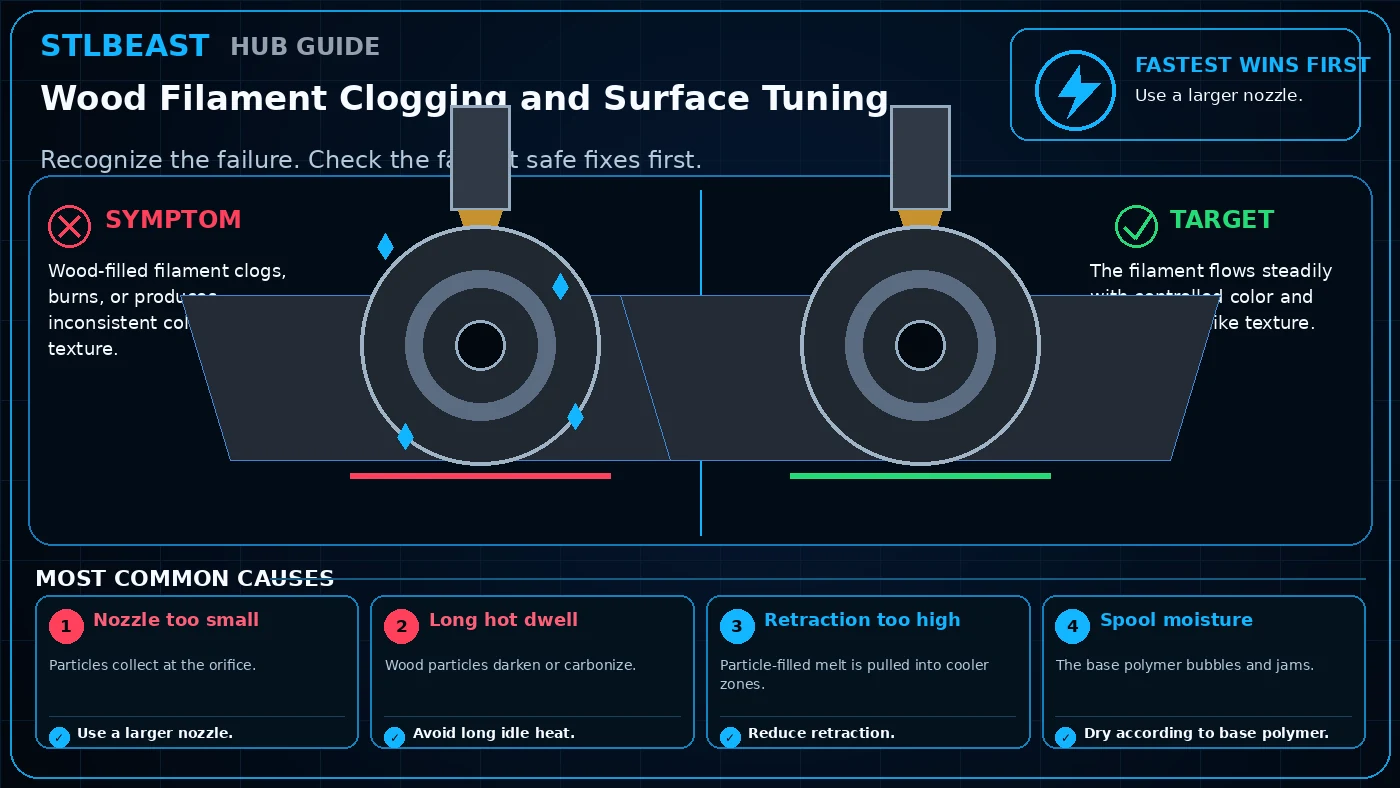 Materials
Wood-filled filament clogs, burns, or produces inconsistent color and texture. Start by checking Nozzle too small. Start with use a larger nozzle, then avoid long…
Open repair path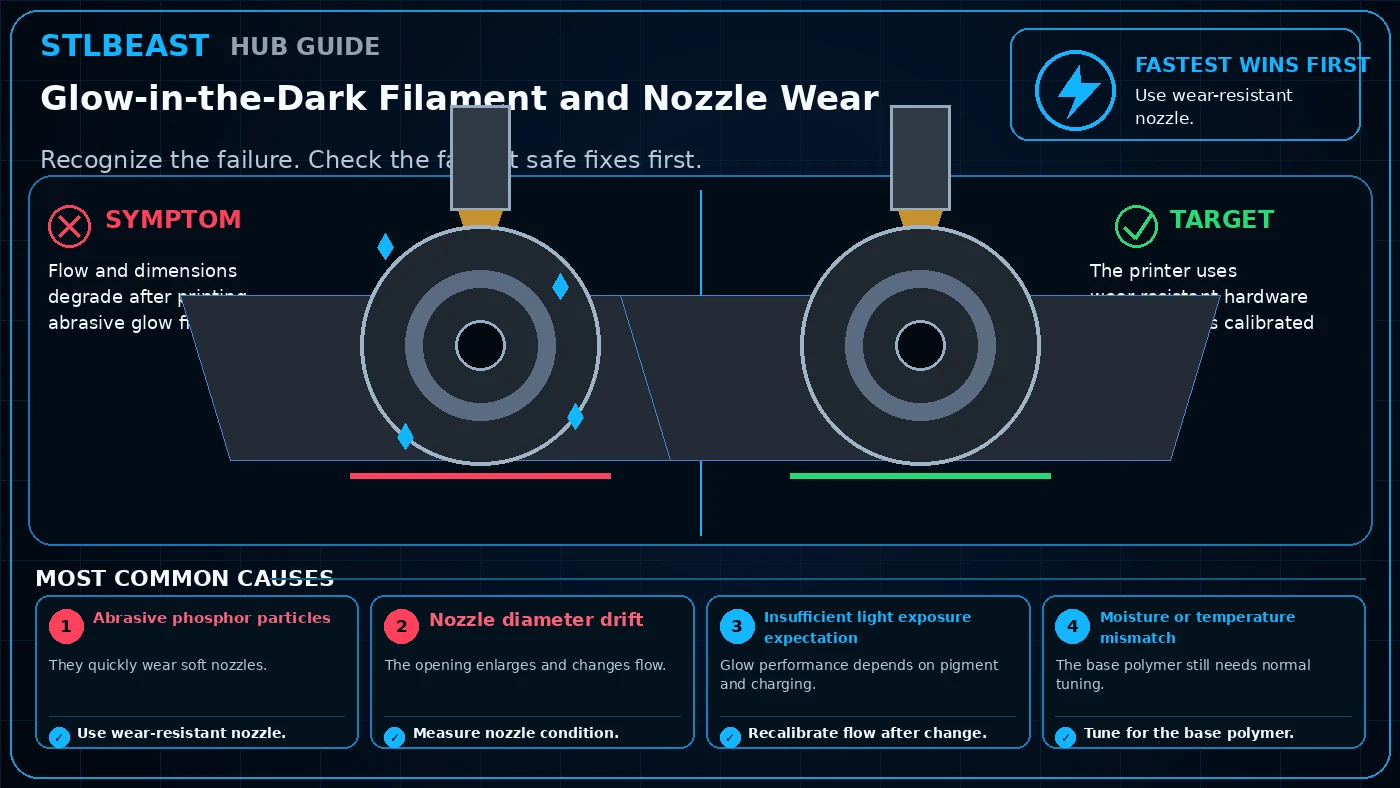 Materials
Flow and dimensions degrade after printing abrasive glow filament. Start by checking Abrasive phosphor particles. Start with use wear-resistant nozzle, then measure…
Open repair path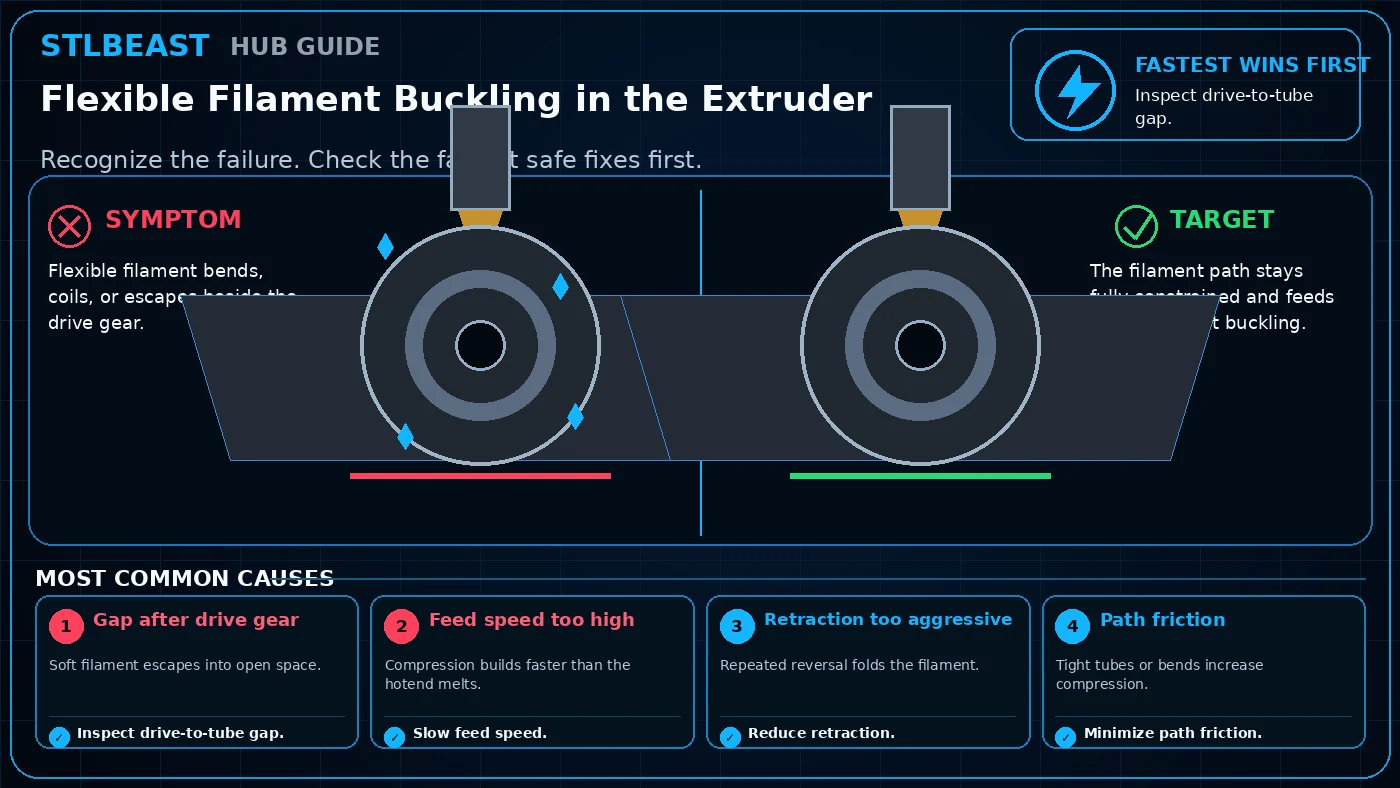 Materials
Flexible filament bends, coils, or escapes beside the drive gear. Start by checking Gap after drive gear. Start with inspect drive-to-tube gap, then slow feed speed.…
Open repair path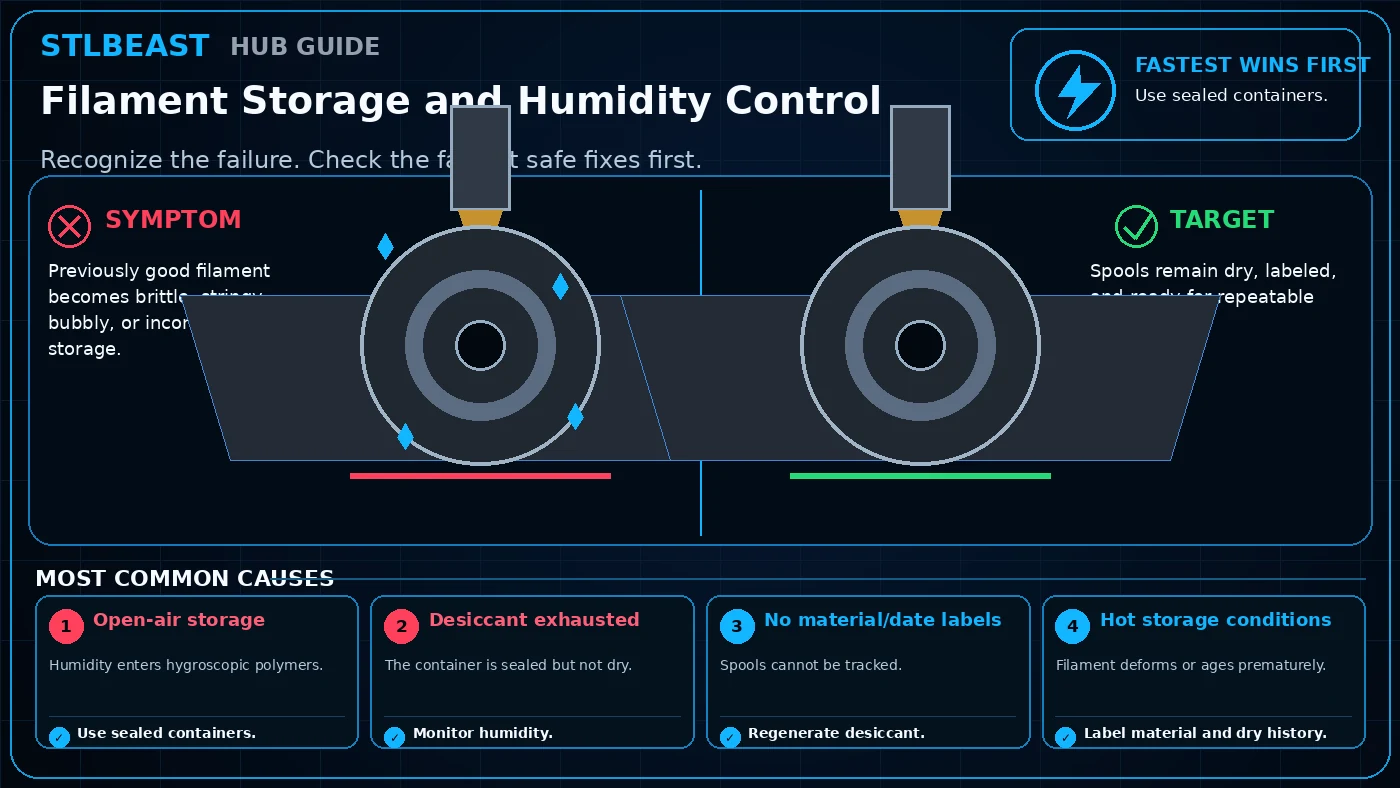 Materials
Previously good filament becomes brittle, stringy, bubbly, or inconsistent in storage. Start by checking Open-air storage. Start with use sealed containers, then…
Open repair path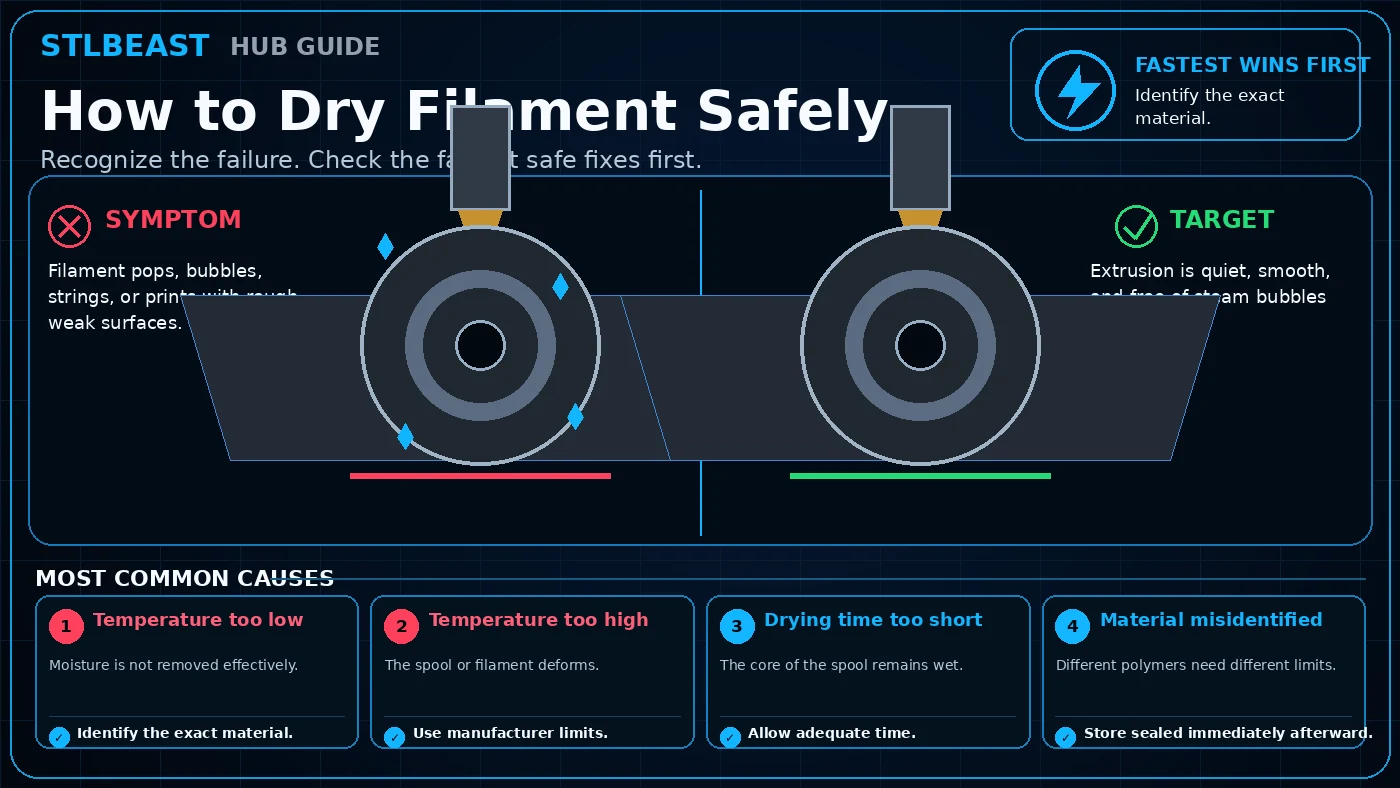 Materials
Filament pops, bubbles, strings, or prints with rough weak surfaces. Start by checking Temperature too low. Start with identify the exact material, then use…
Open repair path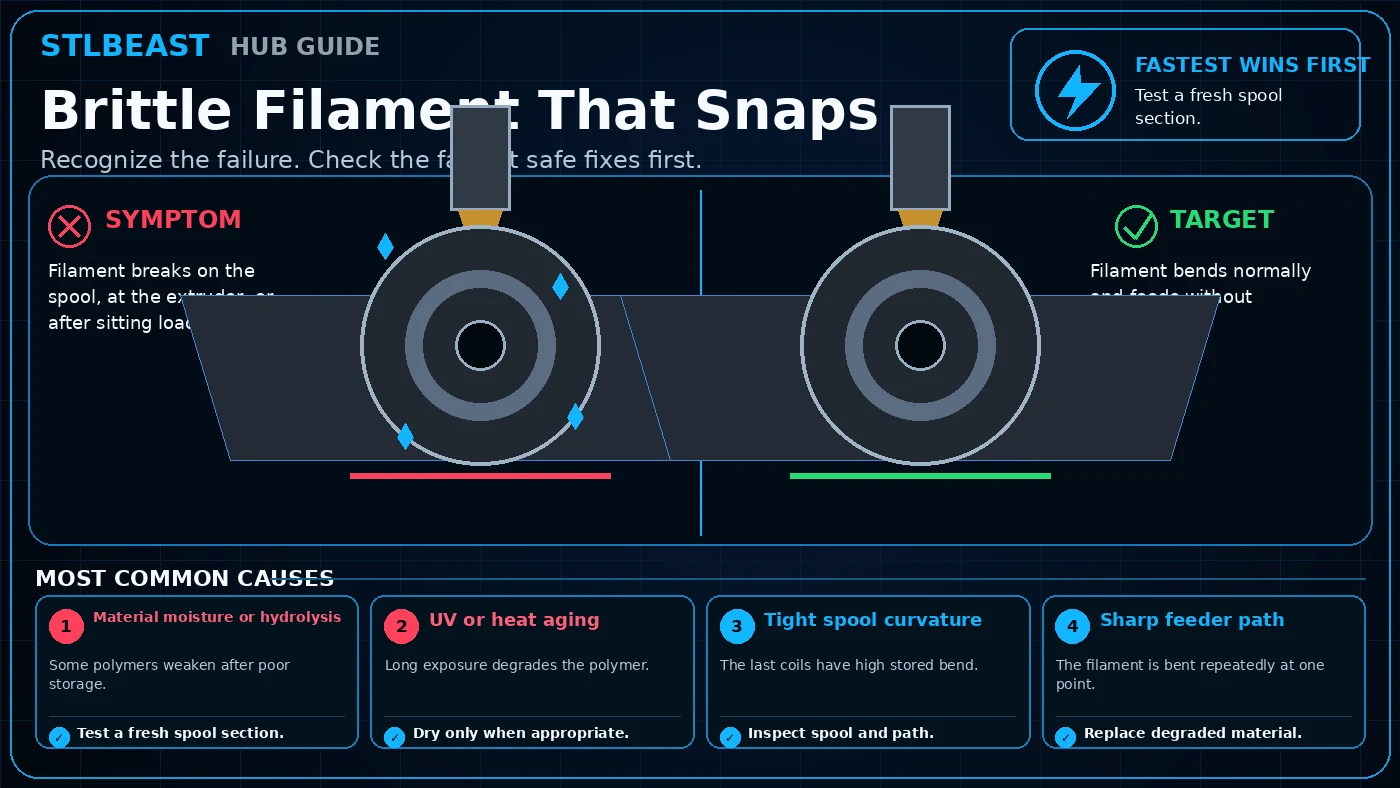 Materials
Filament breaks on the spool, at the extruder, or after sitting loaded. Start by checking Material moisture or hydrolysis. Start with test a fresh spool section, then…
Open repair path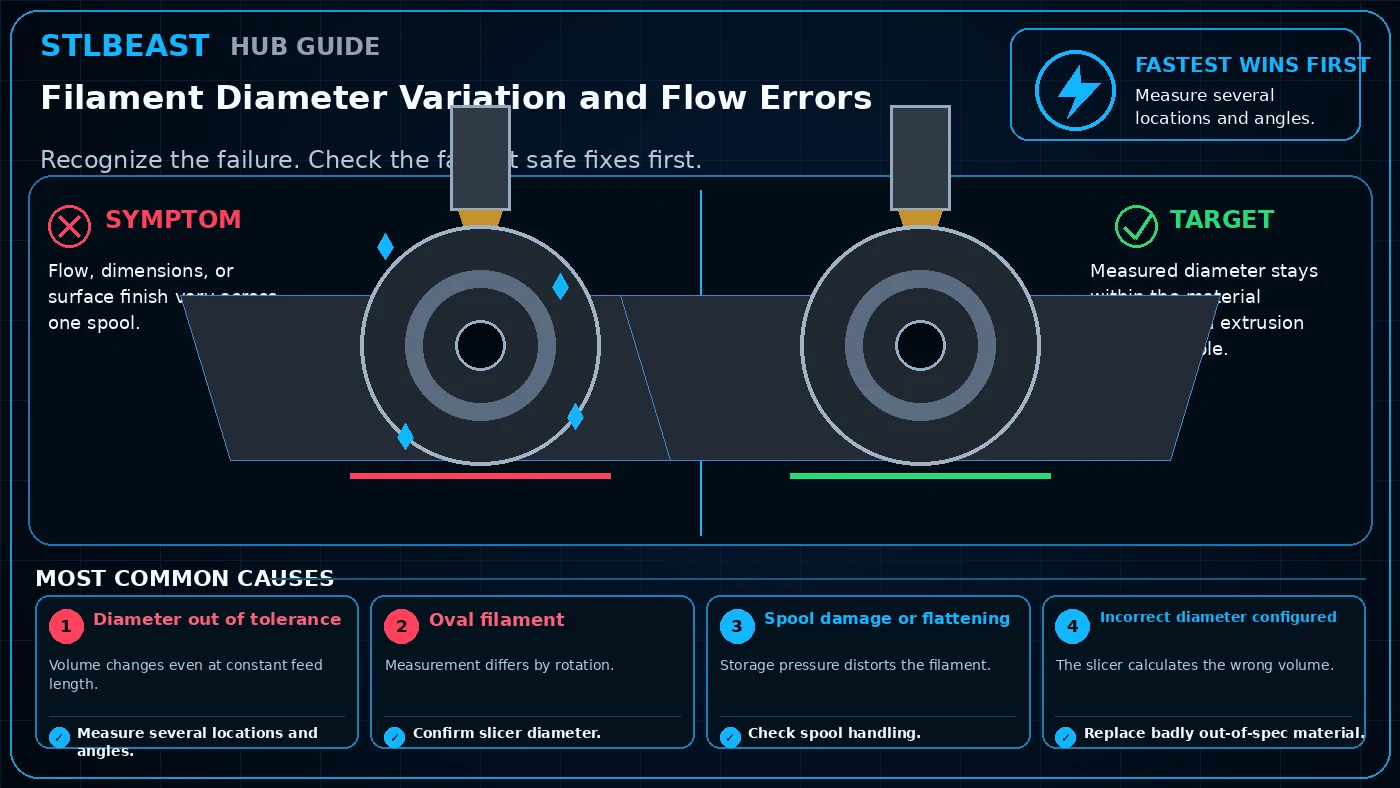 Materials
Flow, dimensions, or surface finish vary across one spool. Start by checking Diameter out of tolerance. Start with measure several locations and angles, then confirm…
Open repair path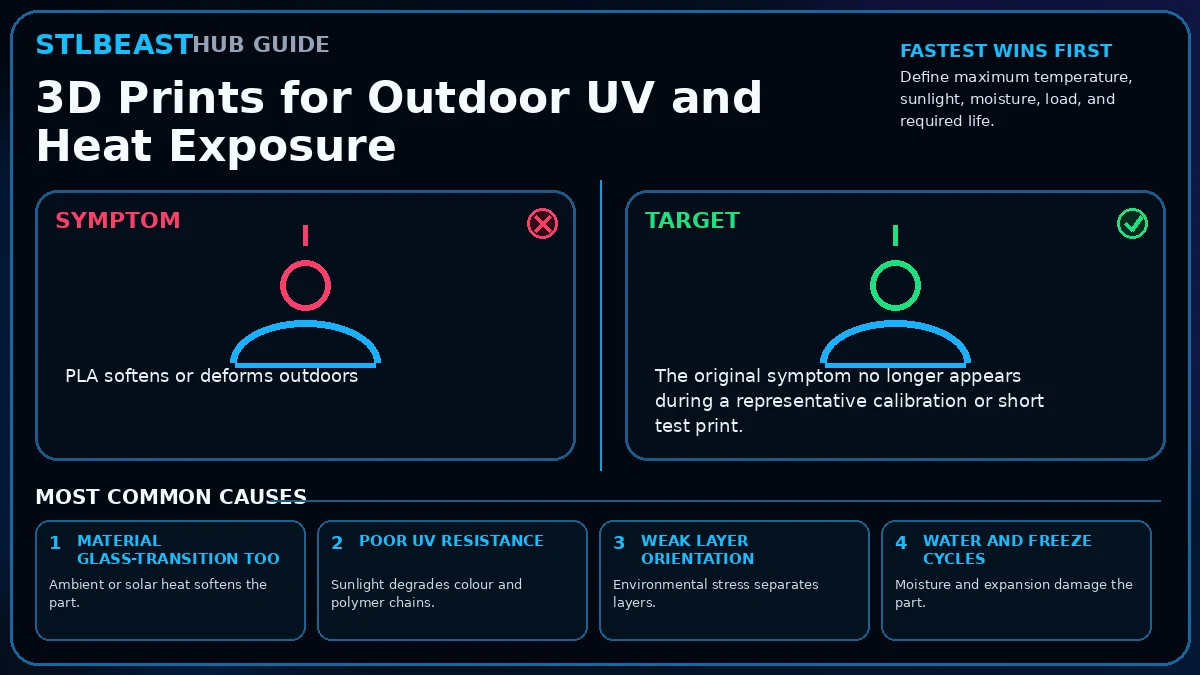 Materials
PLA softens or deforms outdoors. Start by checking Material glass-transition too low. Choose a material rated for UV and service temperature, print for layer…
Open repair pathRanked troubleshooting paths, controlled checks and verification steps.
 Model Repair
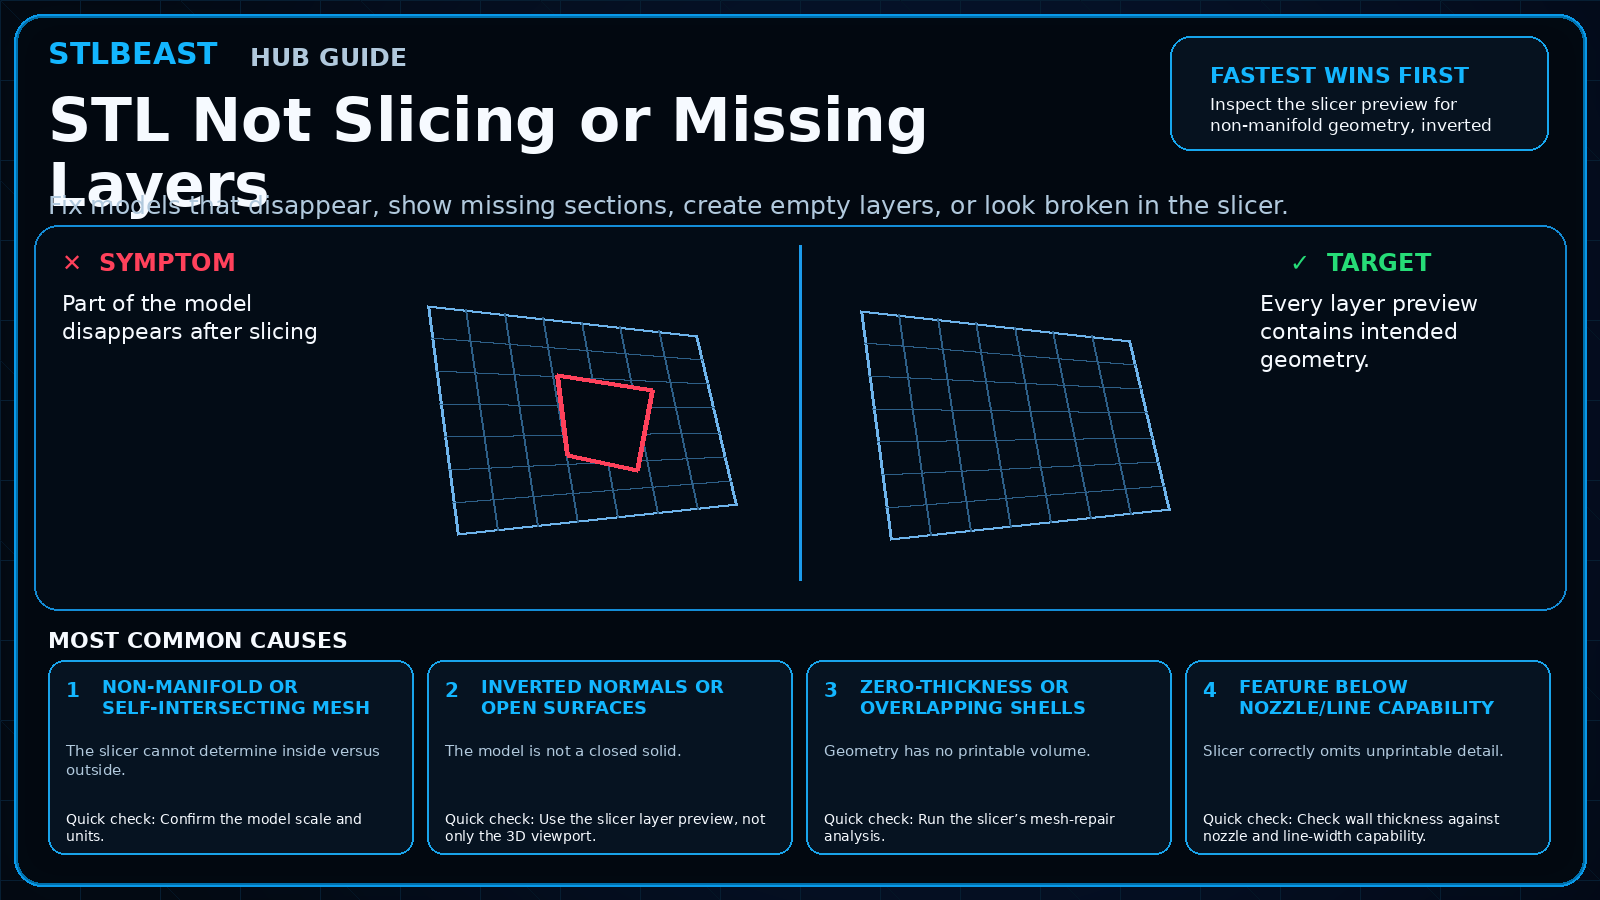
Part of the model disappears after slicing. Start by checking Non-manifold or self-intersecting mesh. Inspect the slicer preview for non-manifold geometry, inverted…
Open repair path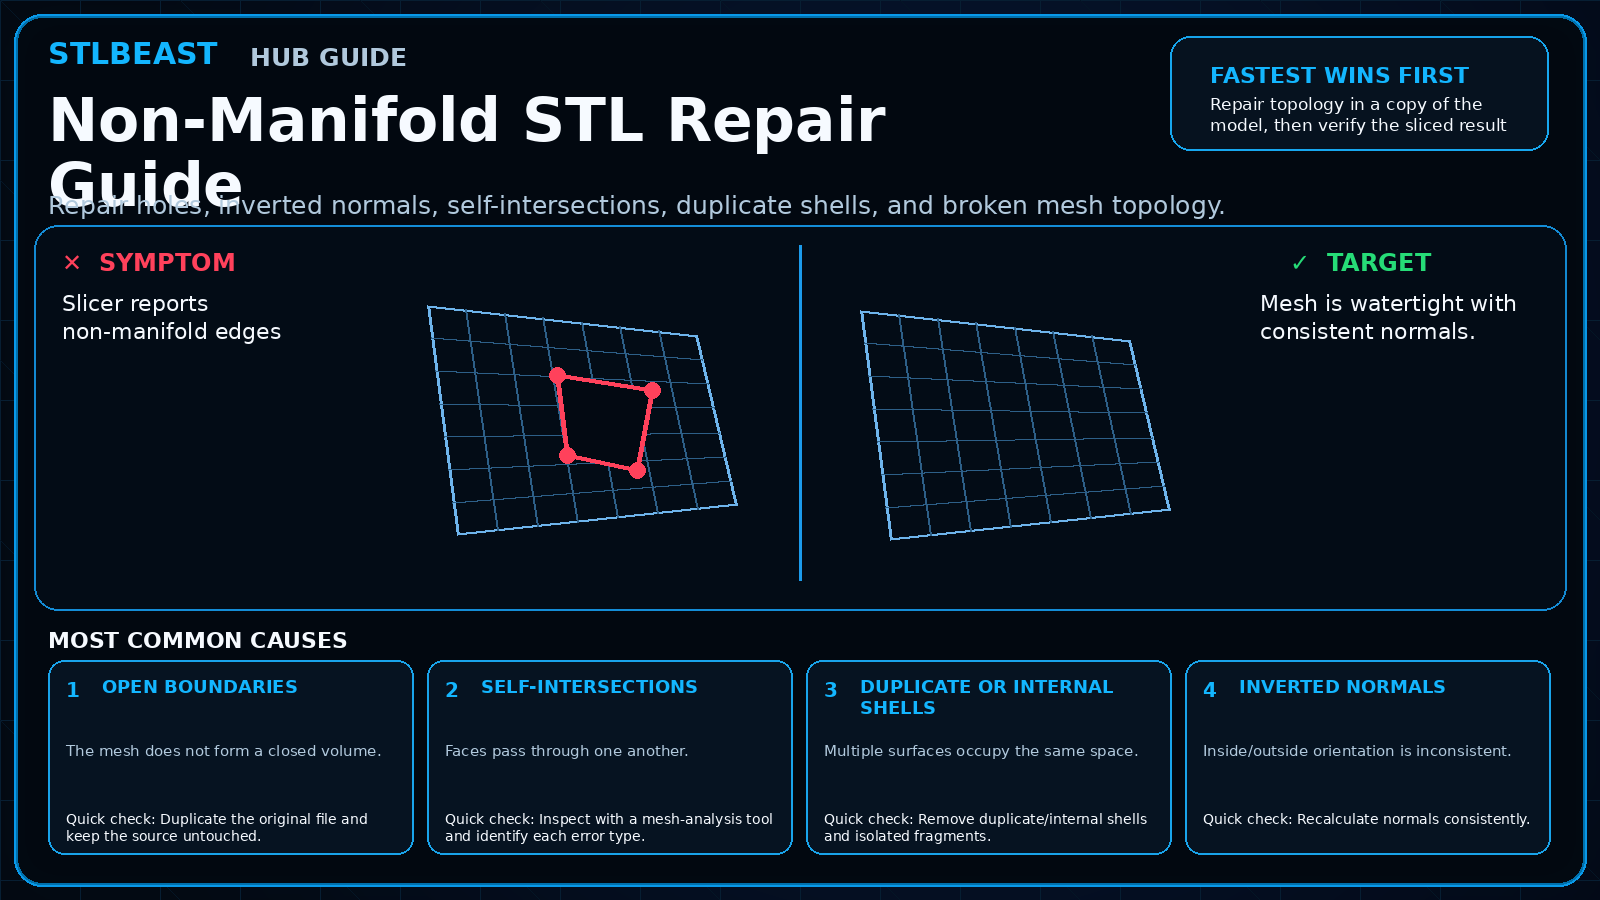 Model Repair
Slicer reports non-manifold edges. Start by checking Open boundaries. Repair topology in a copy of the model, then verify the sliced result layer by layer. A…
Open repair pathLayer shifts, wobble, banding, skipped movement and mechanical alignment.
Ranked troubleshooting paths, controlled checks and verification steps.
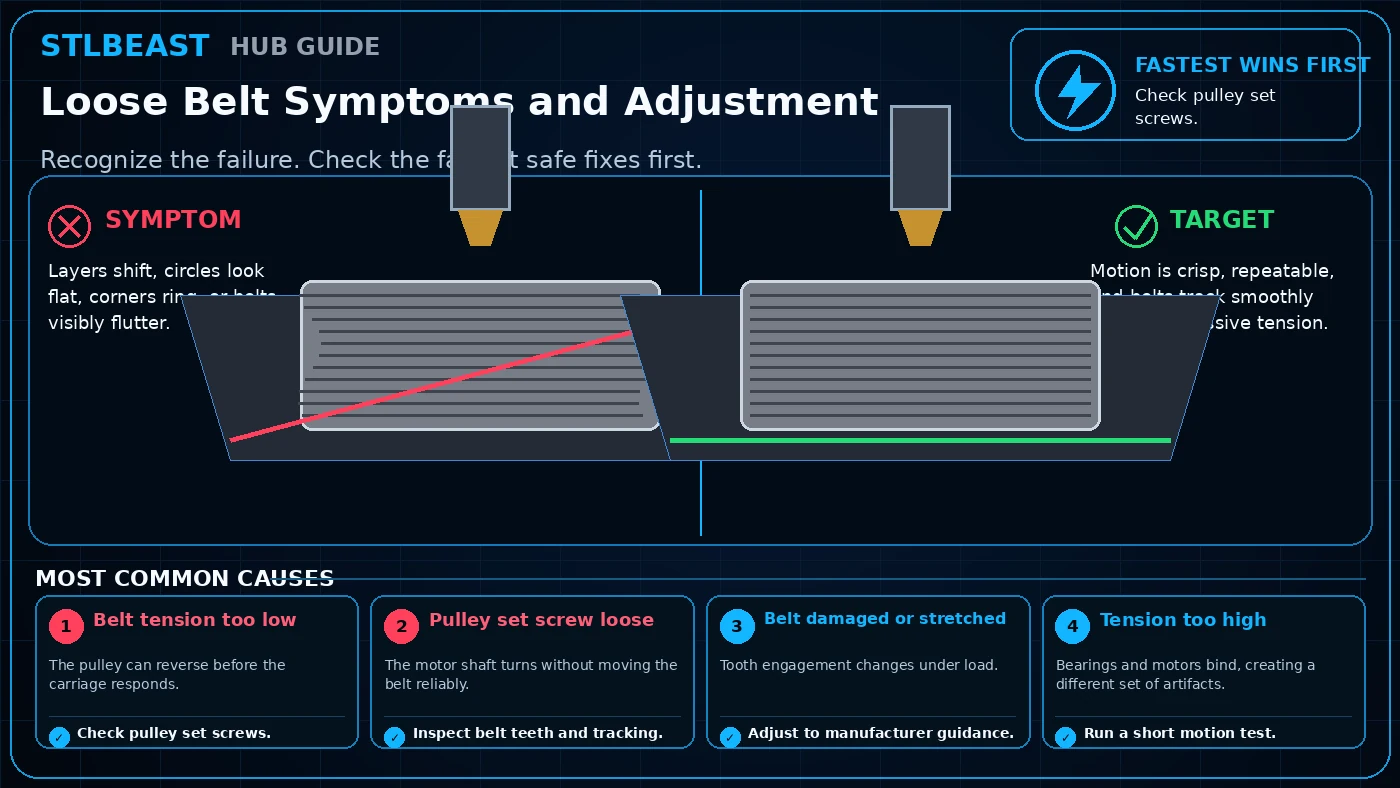 Motion & Mechanics
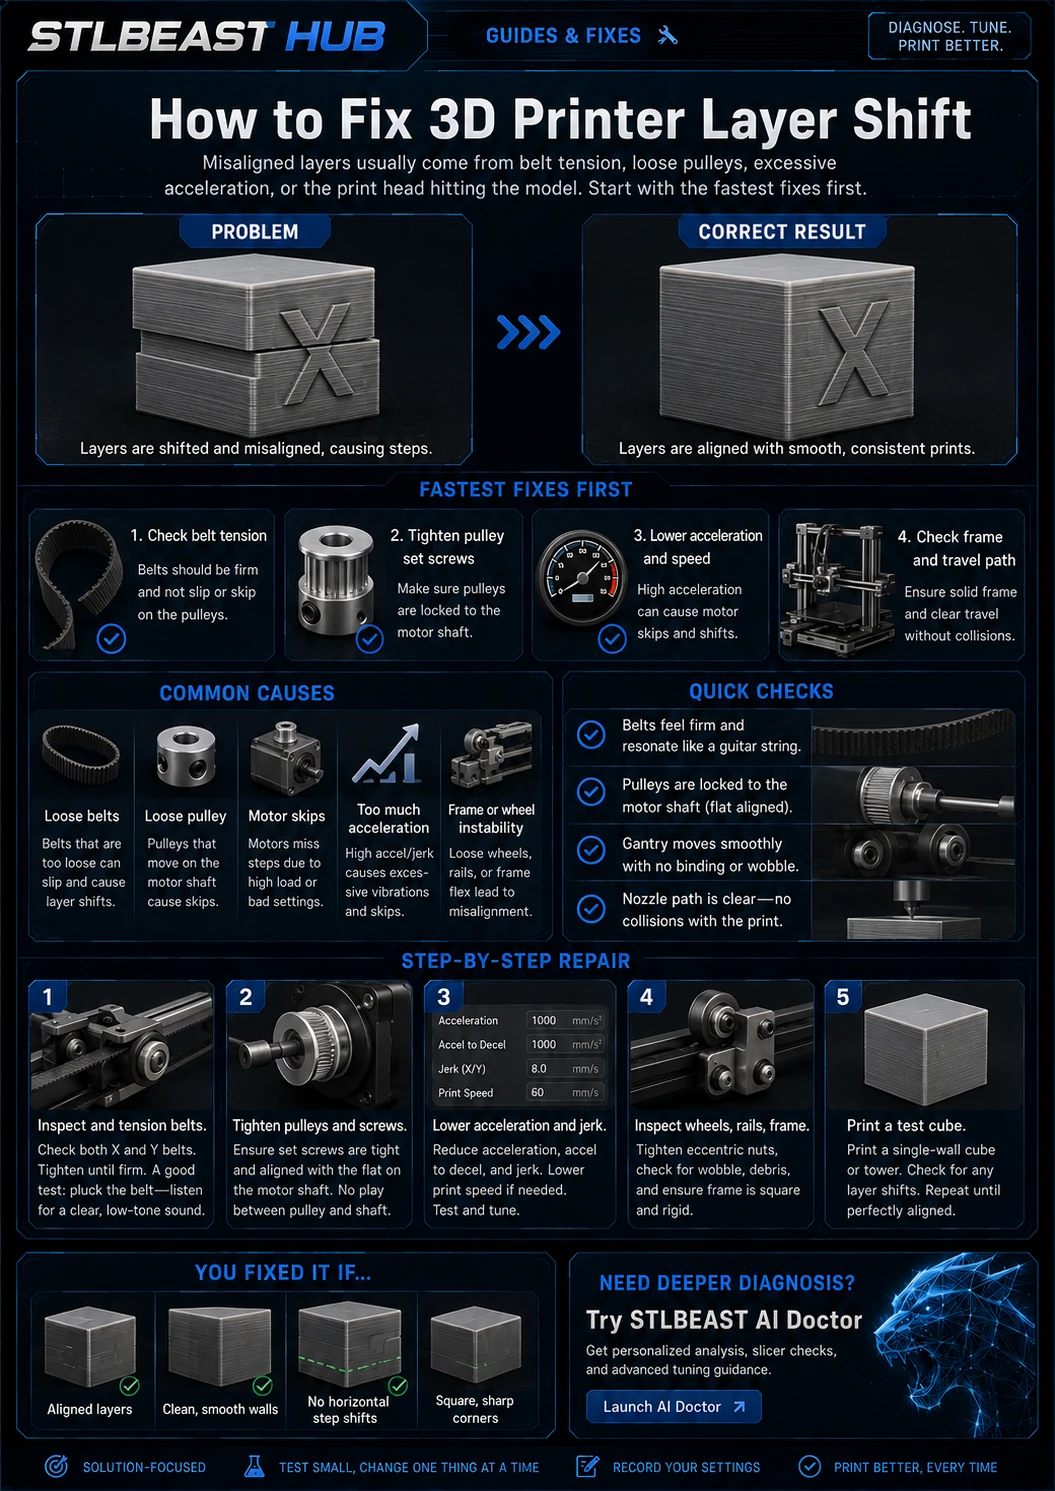
Layers shift, circles look flat, corners ring, or belts visibly flutter. Start by checking Belt tension too low. Start with check pulley set screws, then inspect belt…
Open repair path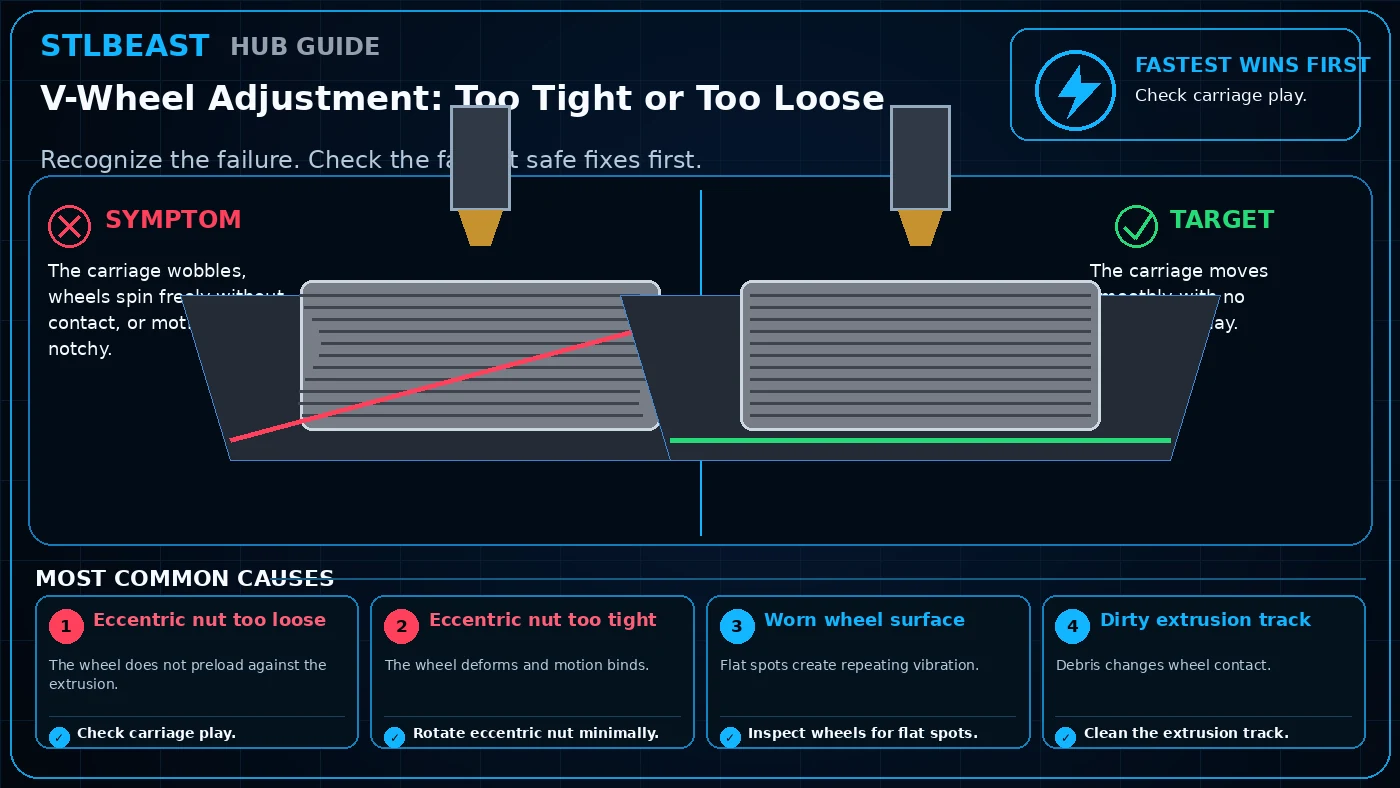 Motion & Mechanics
The carriage wobbles, wheels spin freely without contact, or motion feels notchy. Start by checking Eccentric nut too loose. Start with check carriage play, then…
Open repair path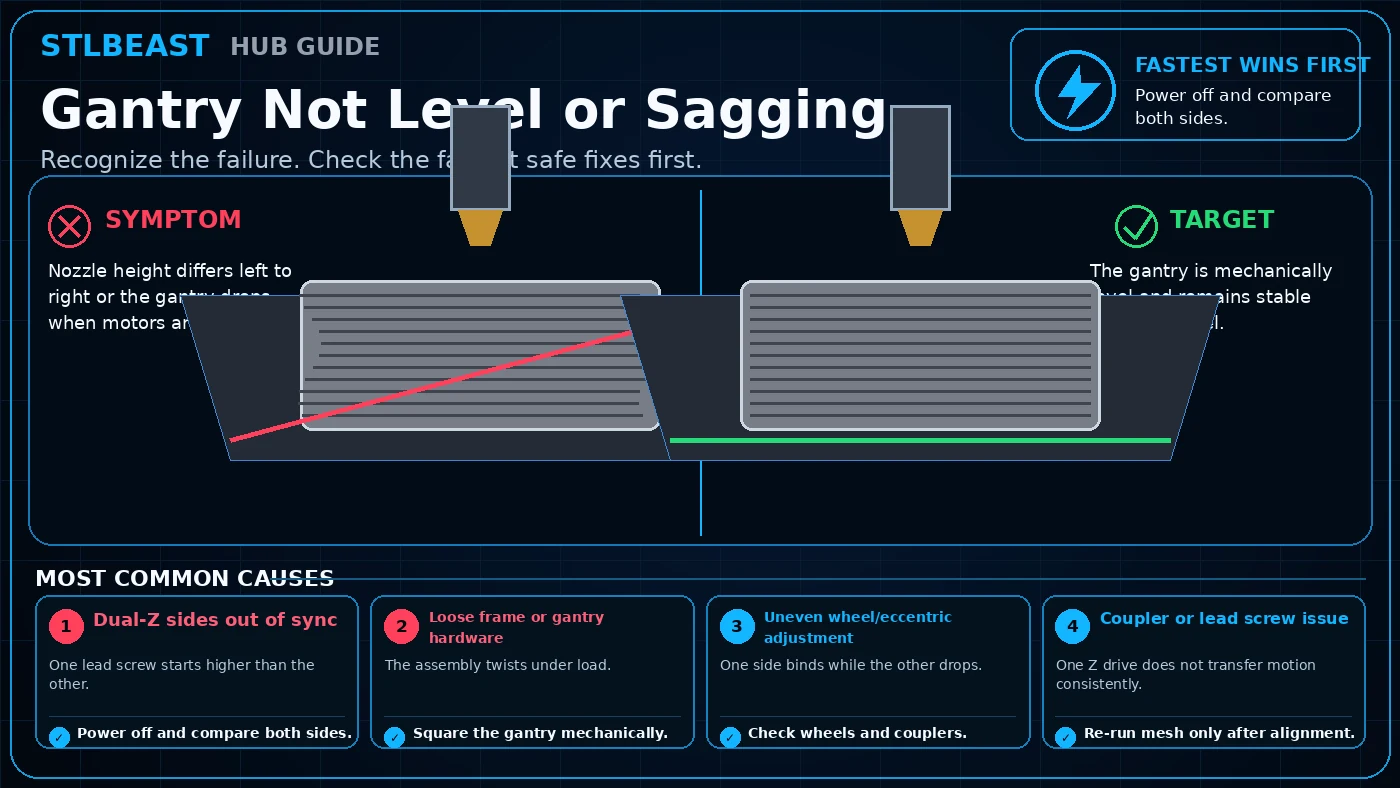 Motion & Mechanics
Nozzle height differs left to right or the gantry drops when motors are off. Start by checking Dual-Z sides out of sync. Start with power off and compare both sides,…
Open repair path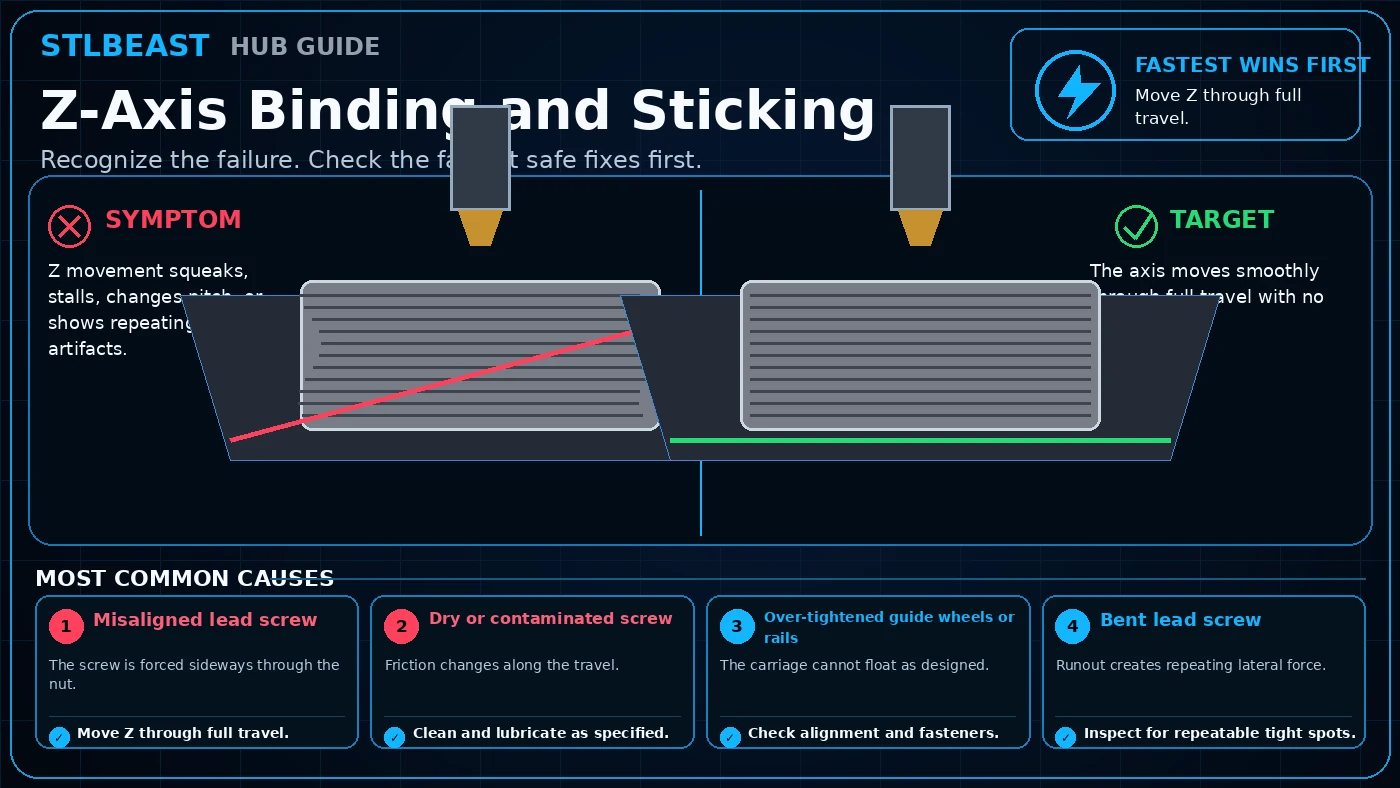 Motion & Mechanics
Z movement squeaks, stalls, changes pitch, or shows repeating layer artifacts. Start by checking Misaligned lead screw. Start with move z through full travel, then…
Open repair path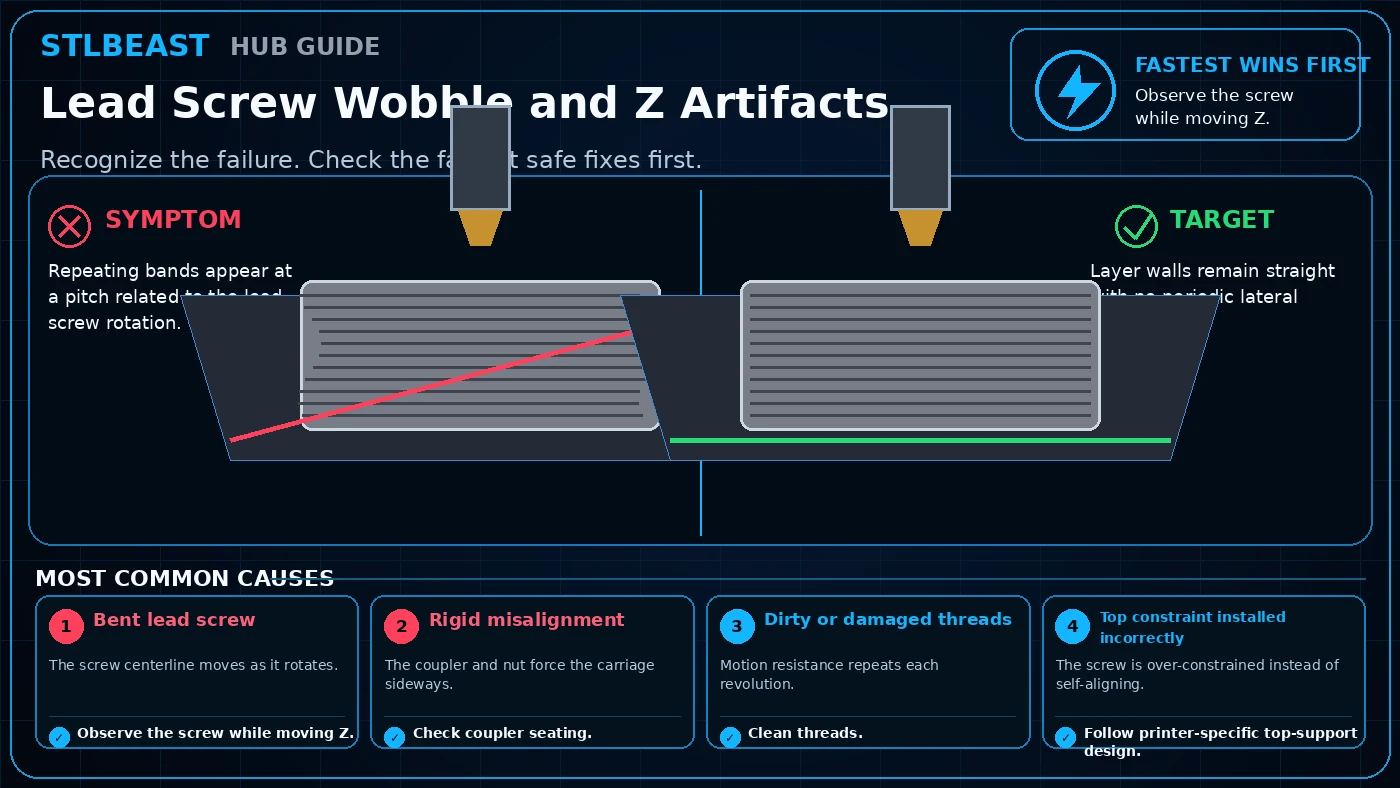 Motion & Mechanics
Repeating bands appear at a pitch related to the lead screw rotation. Start by checking Bent lead screw. Start with observe the screw while moving z, then check…
Open repair path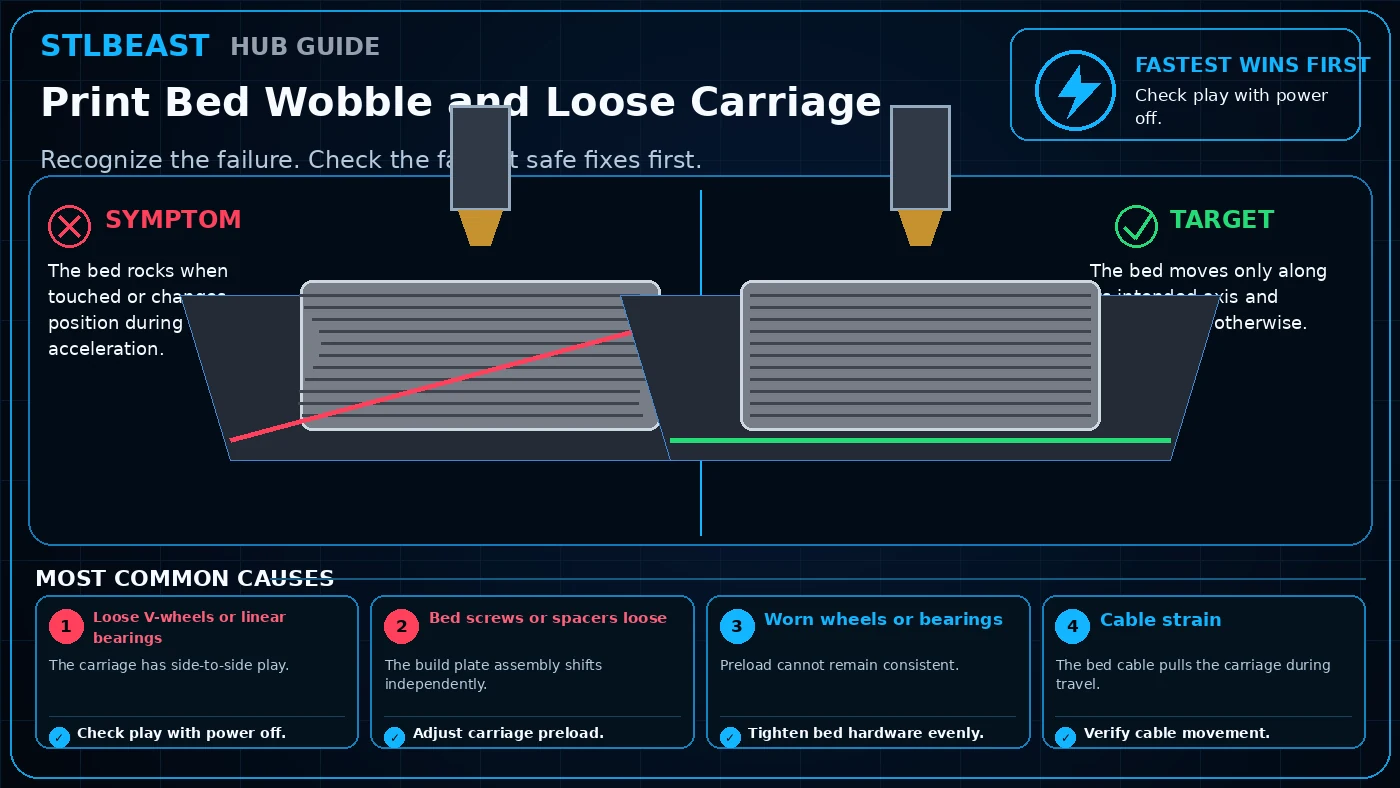 Motion & Mechanics
The bed rocks when touched or changes position during acceleration. Start by checking Loose V-wheels or linear bearings. Start with check play with power off, then…
Open repair path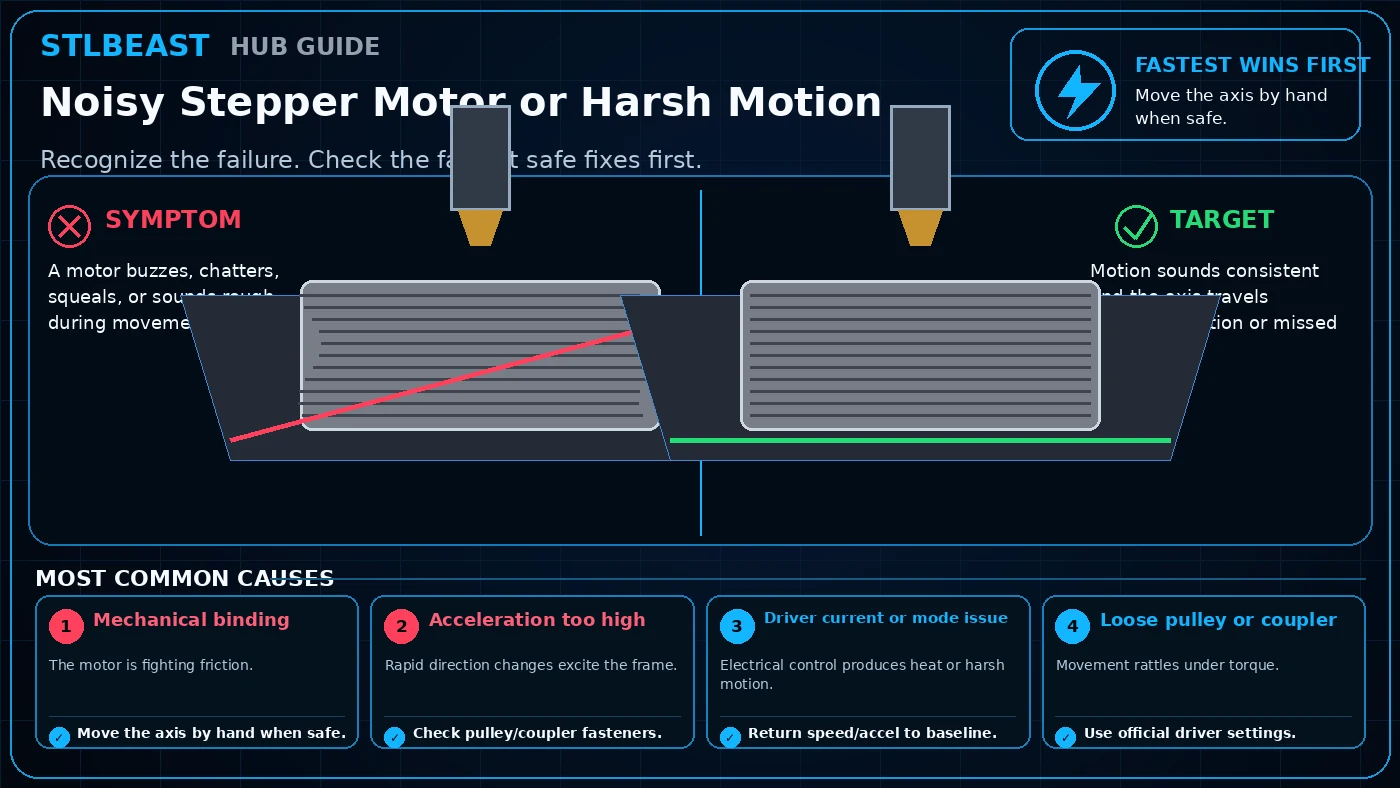 Motion & Mechanics
A motor buzzes, chatters, squeals, or sounds rough during movement. Start by checking Mechanical binding. Start with move the axis by hand when safe, then check…
Open repair path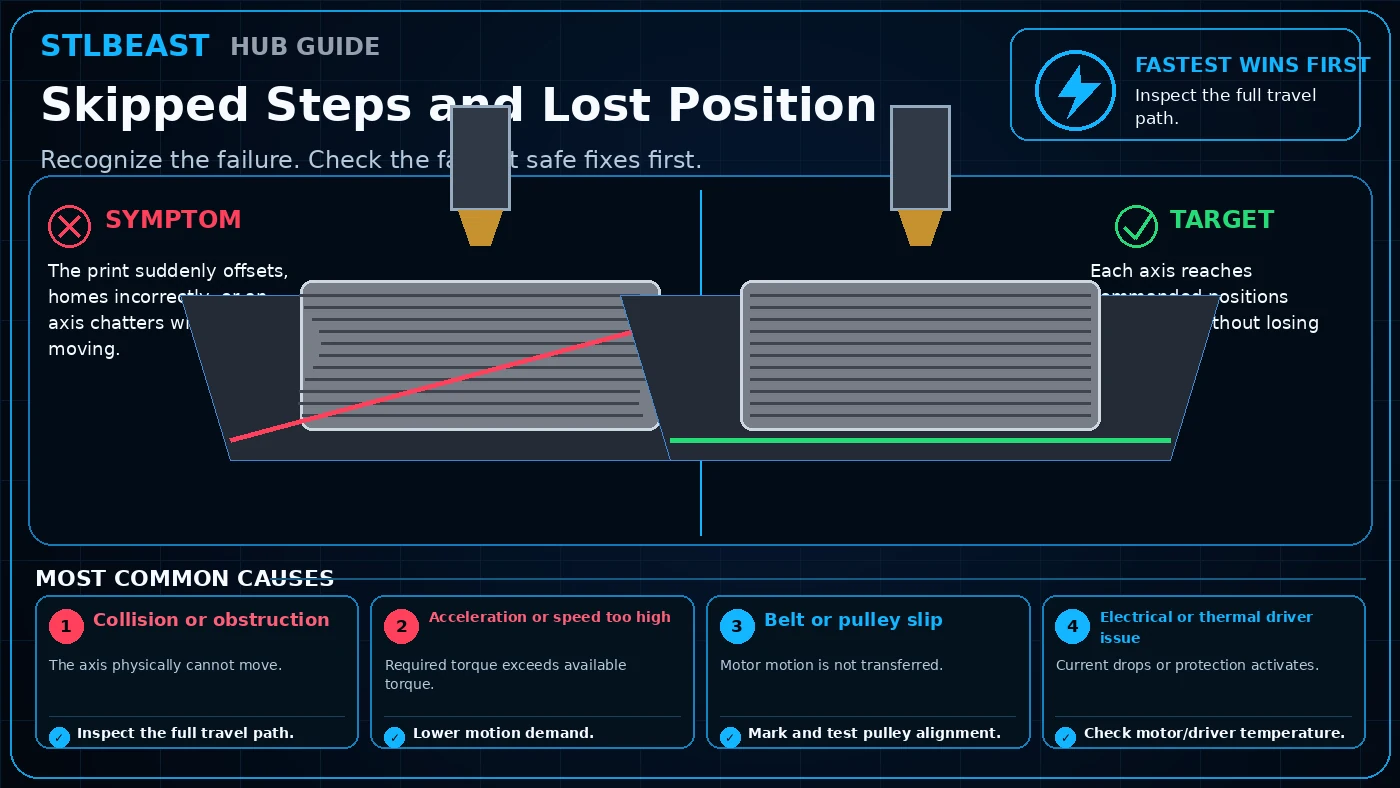 Motion & Mechanics
The print suddenly offsets, homes incorrectly, or an axis chatters without moving. Start by checking Collision or obstruction. Start with inspect the full travel…
Open repair path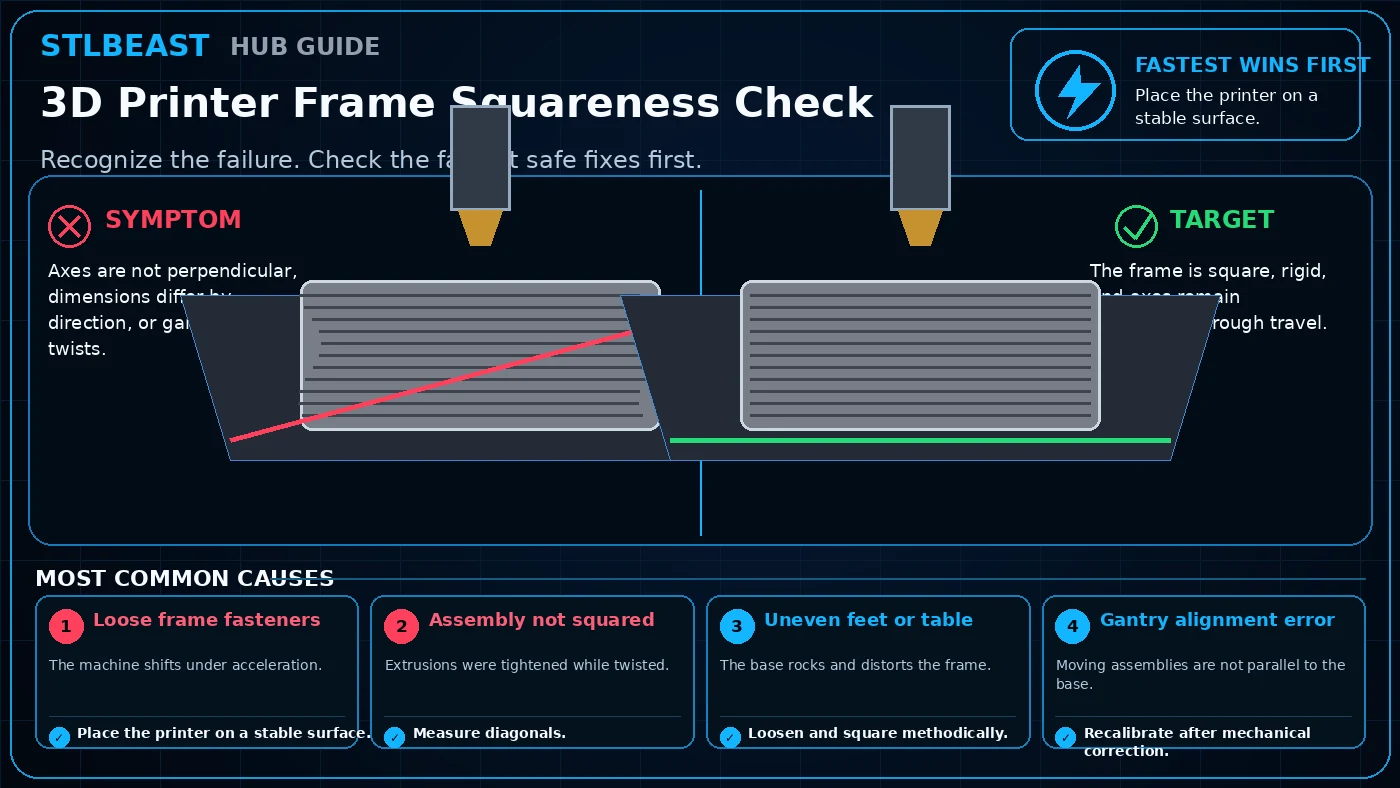 Motion & Mechanics
Axes are not perpendicular, dimensions differ by direction, or gantry travel twists. Start by checking Loose frame fasteners. Start with place the printer on a stable…
Open repair path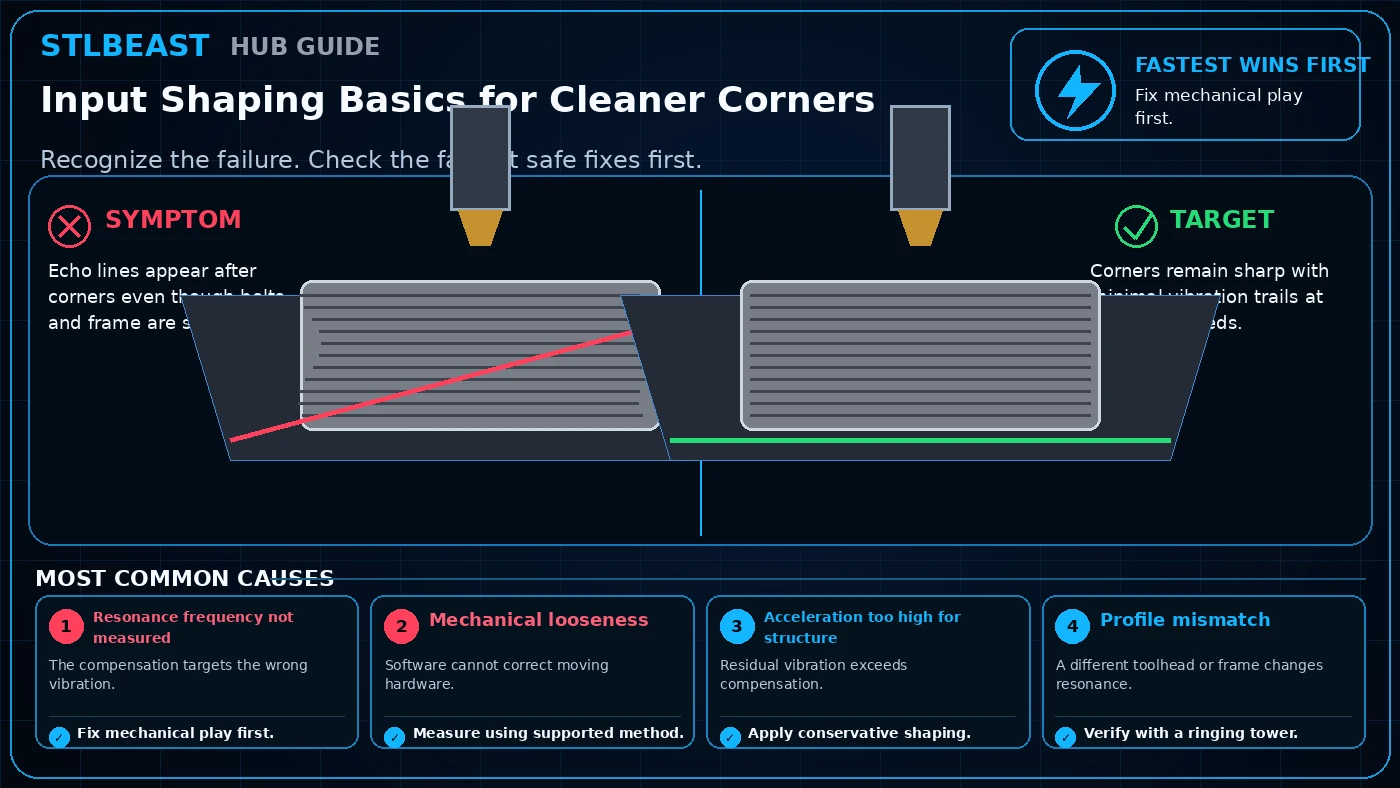 Motion & Mechanics
Echo lines appear after corners even though belts and frame are secure. Start by checking Resonance frequency not measured. Start with fix mechanical play first, then…
Open repair path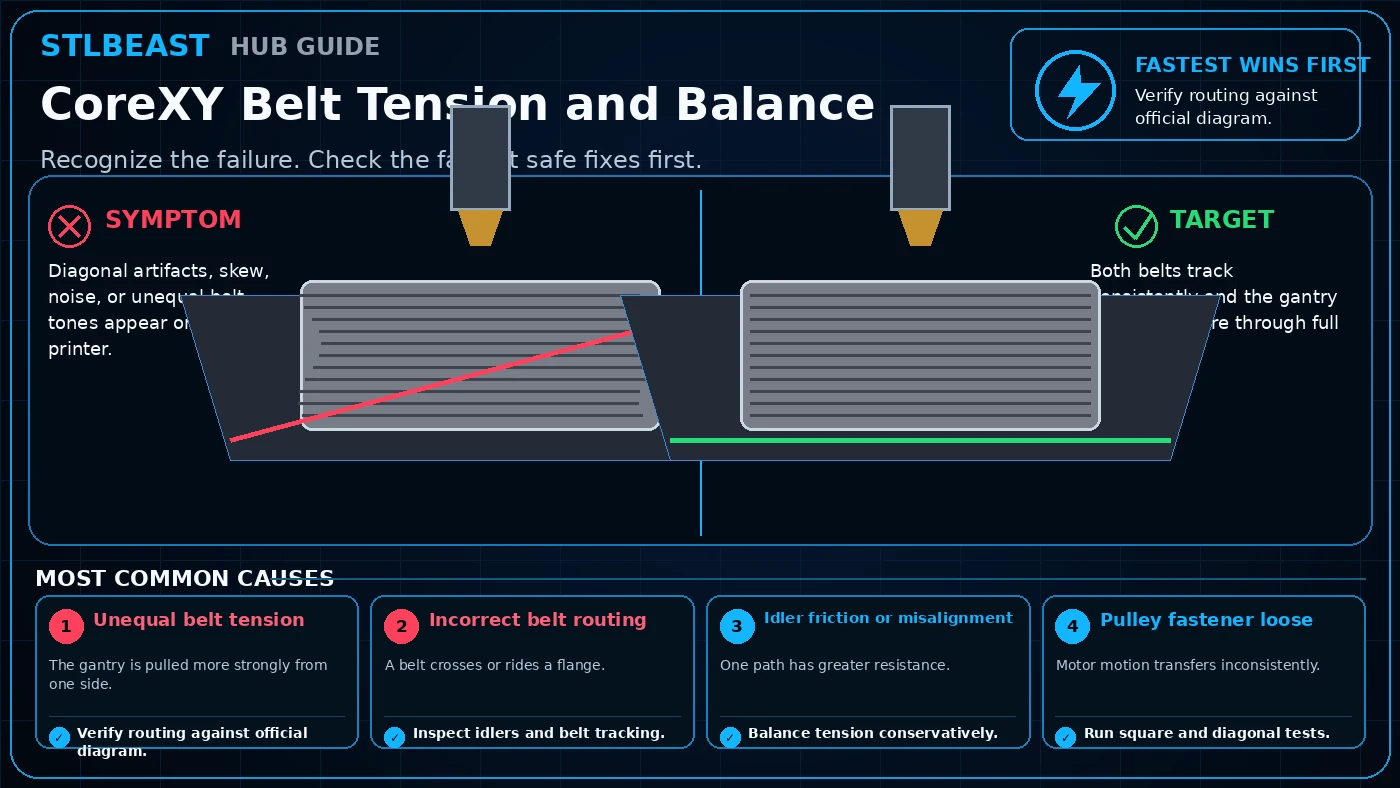 Motion & Mechanics
Diagonal artifacts, skew, noise, or unequal belt tones appear on a CoreXY printer. Start by checking Unequal belt tension. Start with verify routing against official…
Open repair path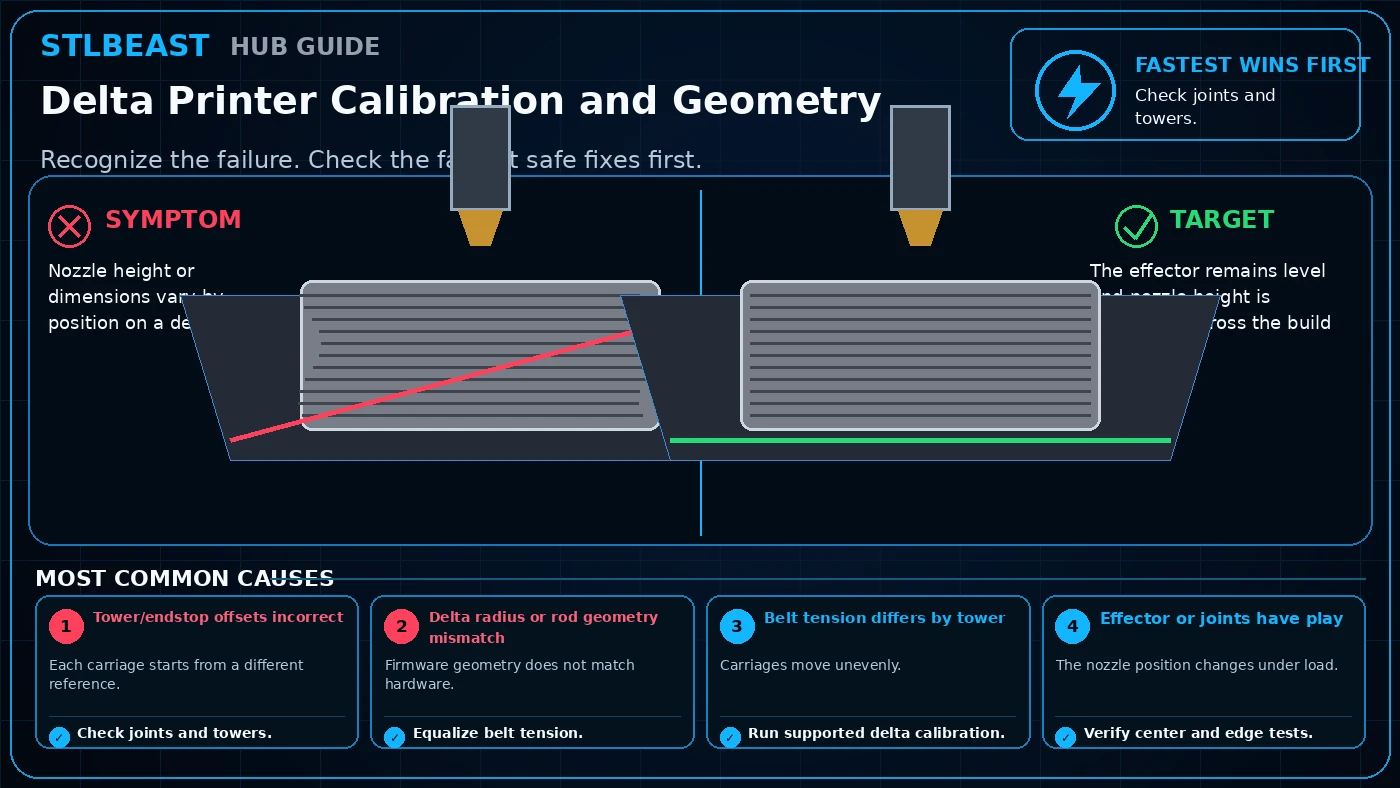 Motion & Mechanics
Nozzle height or dimensions vary by position on a delta printer. Start by checking Tower/endstop offsets incorrect. Start with check joints and towers, then equalize…
Open repair path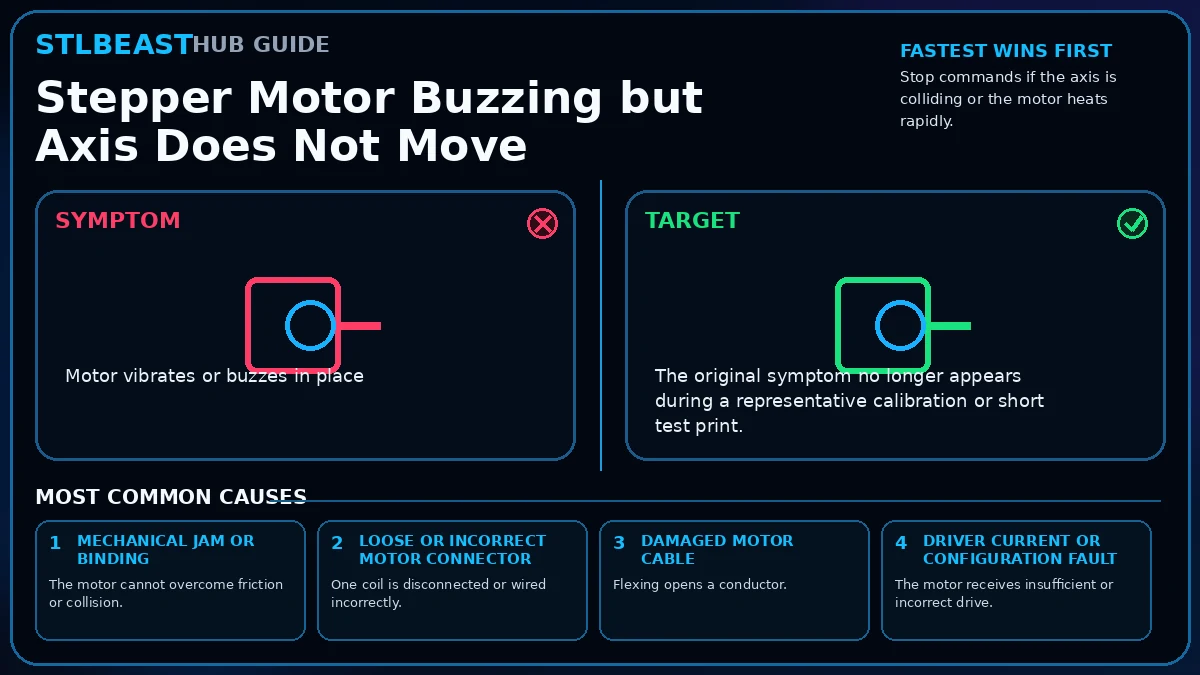 Motion & Mechanics
Motor vibrates or buzzes in place. Start by checking Mechanical jam or binding. Power down, remove mechanical load, inspect belts, lead screws, connectors, motor…
Open repair pathRanked troubleshooting paths, controlled checks and verification steps.
 Multi-Material
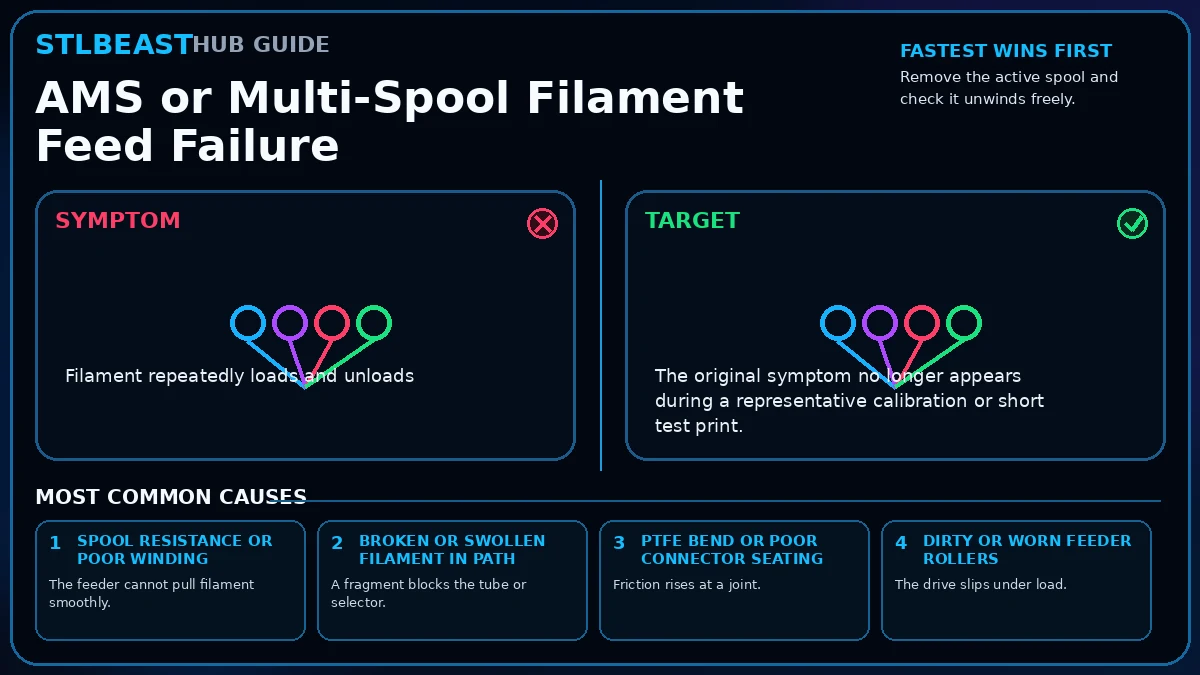
Filament repeatedly loads and unloads. Start by checking Spool resistance or poor winding. Trace the complete feed path, remove spool resistance and broken filament,…
Open repair path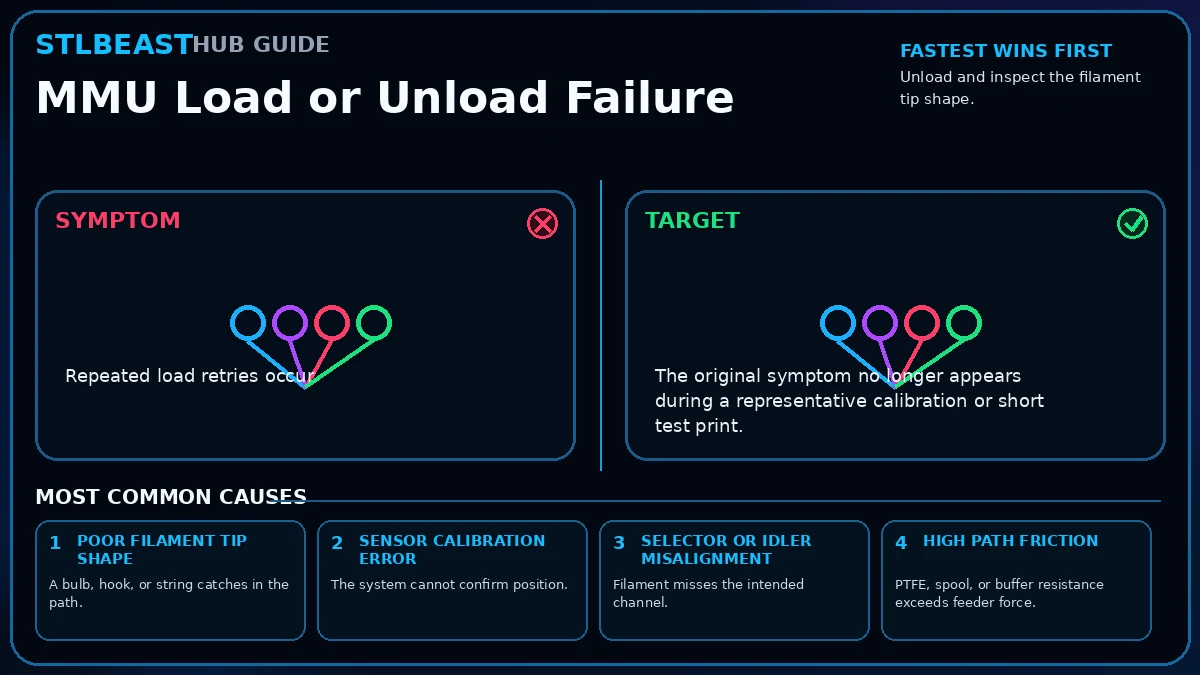 Multi-Material
Repeated load retries occur. Start by checking Poor filament tip shape. Align the selector and filament tips, reduce path friction, calibrate sensor positions, clean…
Open repair path Multi-Material
Previous colour appears in the next colour. Start by checking Insufficient purge volume. Increase purge only where needed, use suitable transition order, clean the…
Open repair path Multi-Material
Tower detaches while the model remains attached. Start by checking Poor tower adhesion. Improve the tower’s first layer, width, cooling, speed, and placement, then…
Open repair pathRanked troubleshooting paths, controlled checks and verification steps.
Ranked troubleshooting paths, controlled checks and verification steps.
 Post-Processing
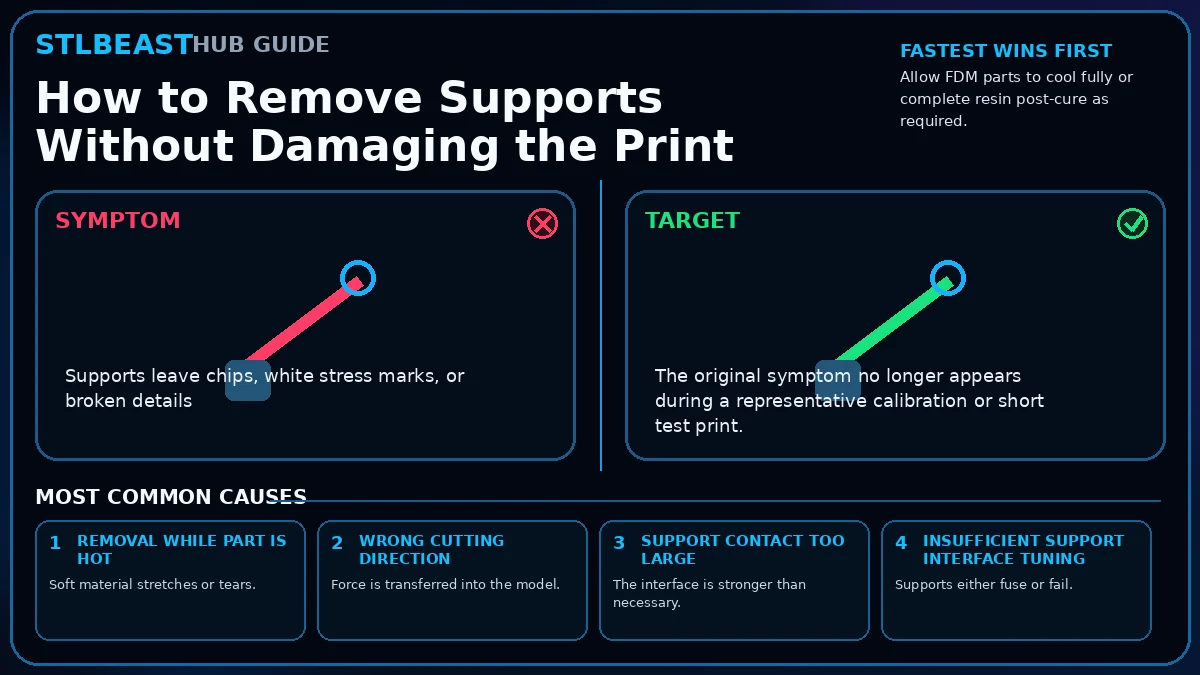
Supports leave chips, white stress marks, or broken details. Start by checking Removal while part is hot. Let the part cool, use the right cutters and direction,…
Open repair path Post-Processing
Layer lines remain visible after coarse sanding. Start by checking Skipping grit stages. Start with safe support cleanup, use progressive grits, keep heat and dust…
Open repair path Post-Processing
Paint beads or peels. Start by checking Oil, dust, or release residue. Clean, dry, sand, and test the part; apply thin compatible primer coats, inspect defects, sand…
Open repair path Post-Processing
Seams open after assembly. Start by checking Poor fit or warped mating surfaces. Dry-fit and align parts first, prepare clean mating surfaces, choose an adhesive…
Open repair pathRanked troubleshooting paths, controlled checks and verification steps.
 Print Quality
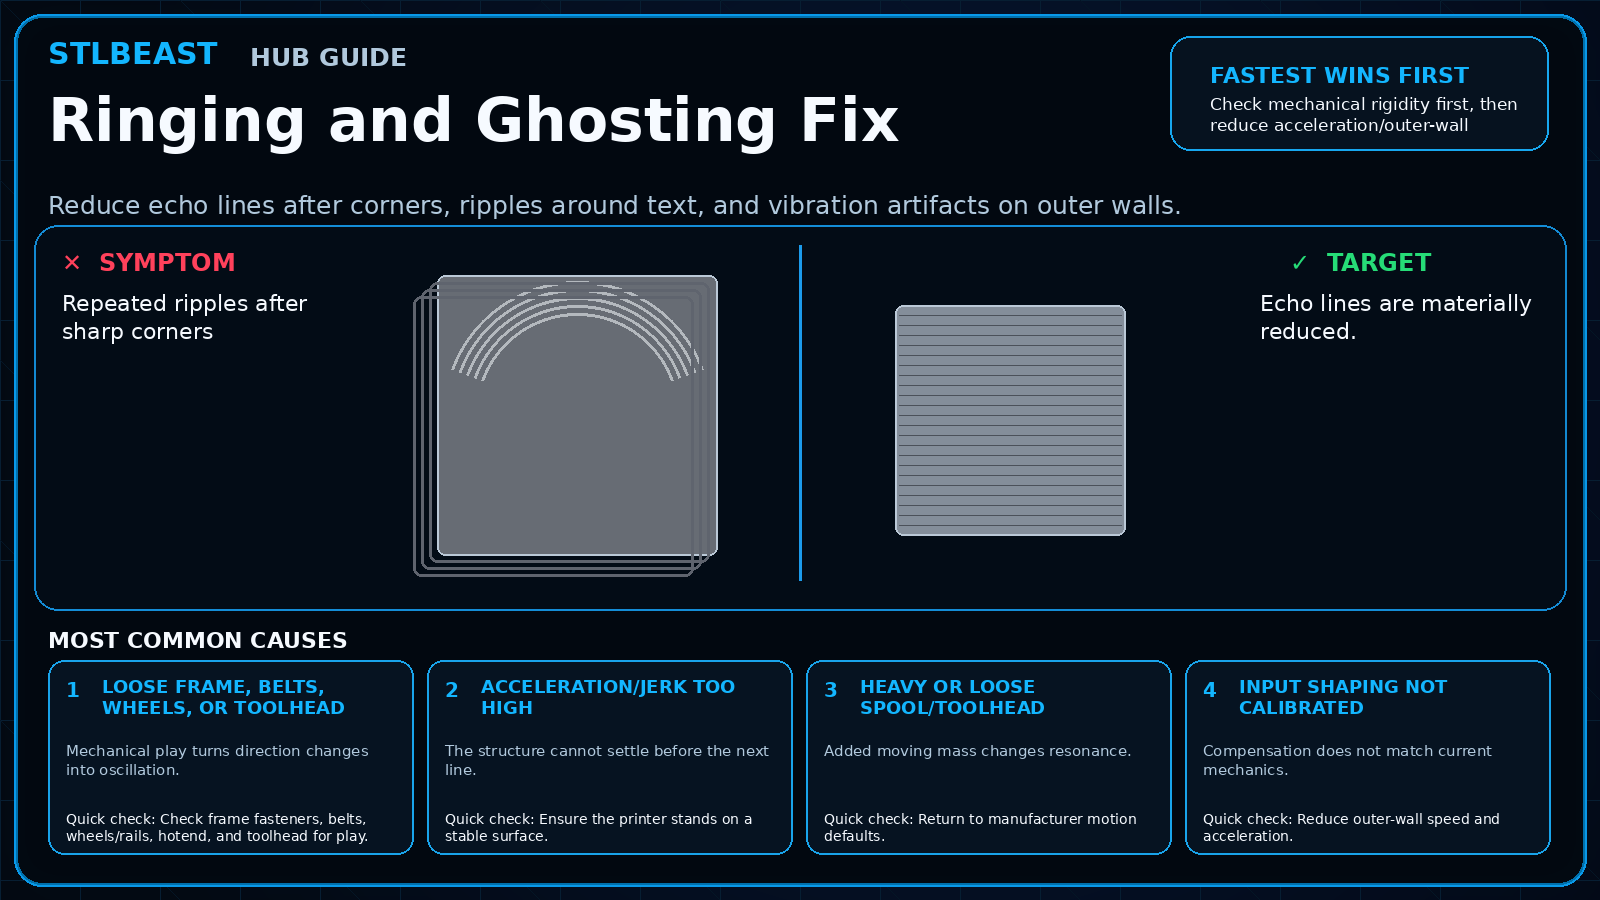
Repeated ripples after sharp corners. Start by checking Loose frame, belts, wheels, or toolhead. Check mechanical rigidity first, then reduce acceleration/outer-wall…
Open repair path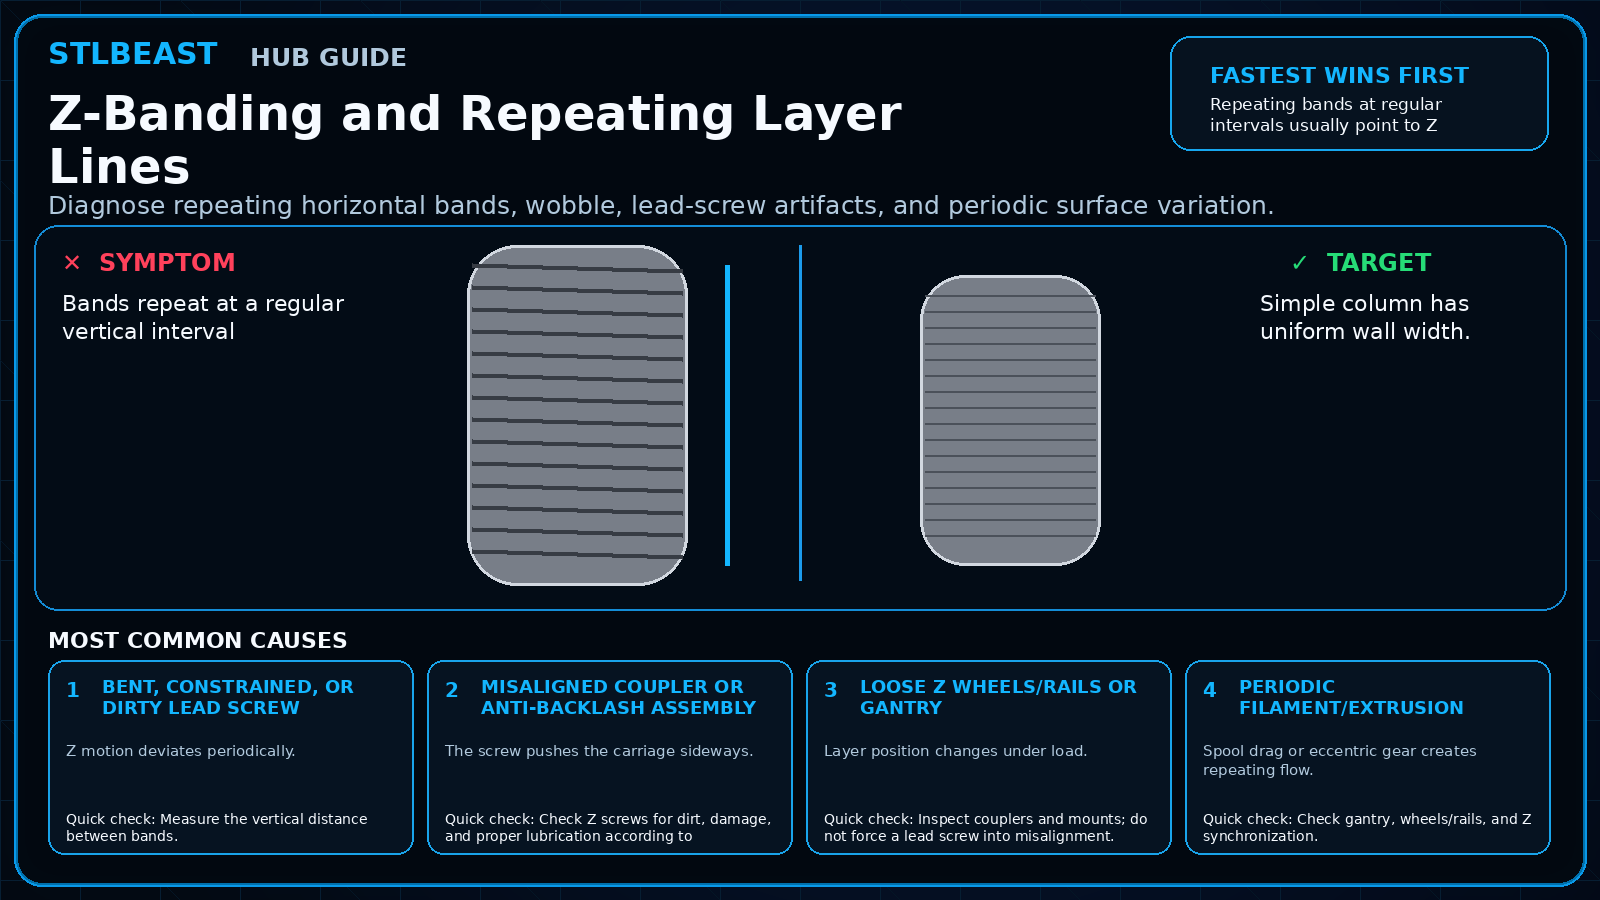 Print Quality
Bands repeat at a regular vertical interval. Start by checking Bent, constrained, or dirty lead screw. Repeating bands at regular intervals usually point to Z…
Open repair path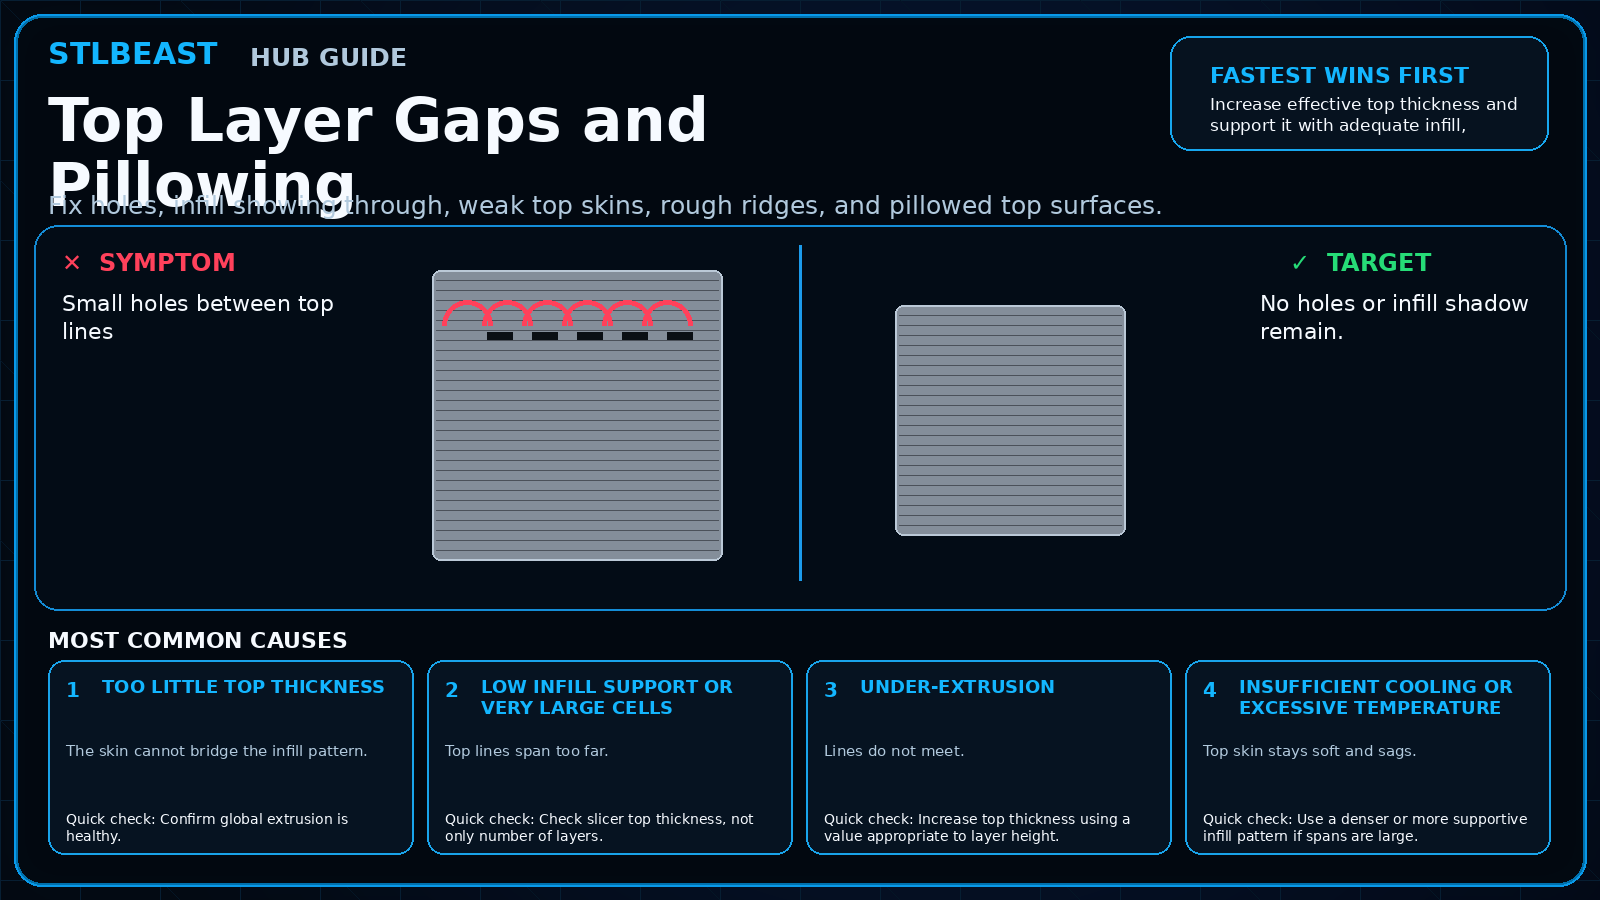 Print Quality
Small holes between top lines. Start by checking Too little top thickness. Increase effective top thickness and support it with adequate infill, cooling, and flow; do…
Open repair path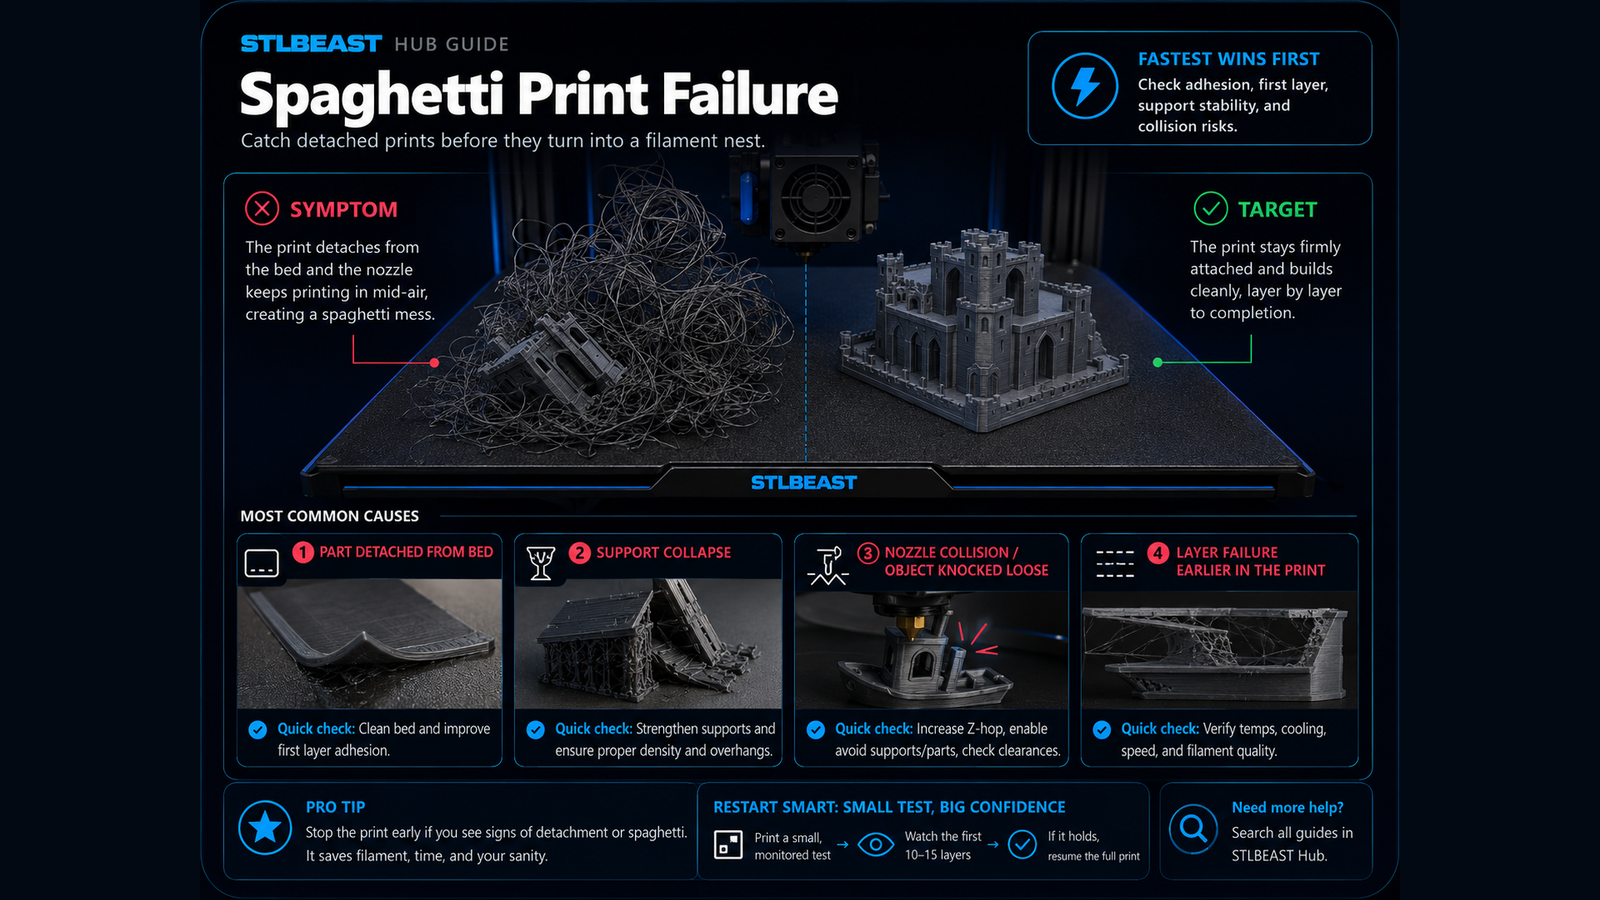 Print Quality
Loose filament accumulates around the nozzle or model. Start by checking Part detached from the build plate. Stop the print safely, identify whether the part…
Open repair pathRanked troubleshooting paths, controlled checks and verification steps.
 Resin Printing
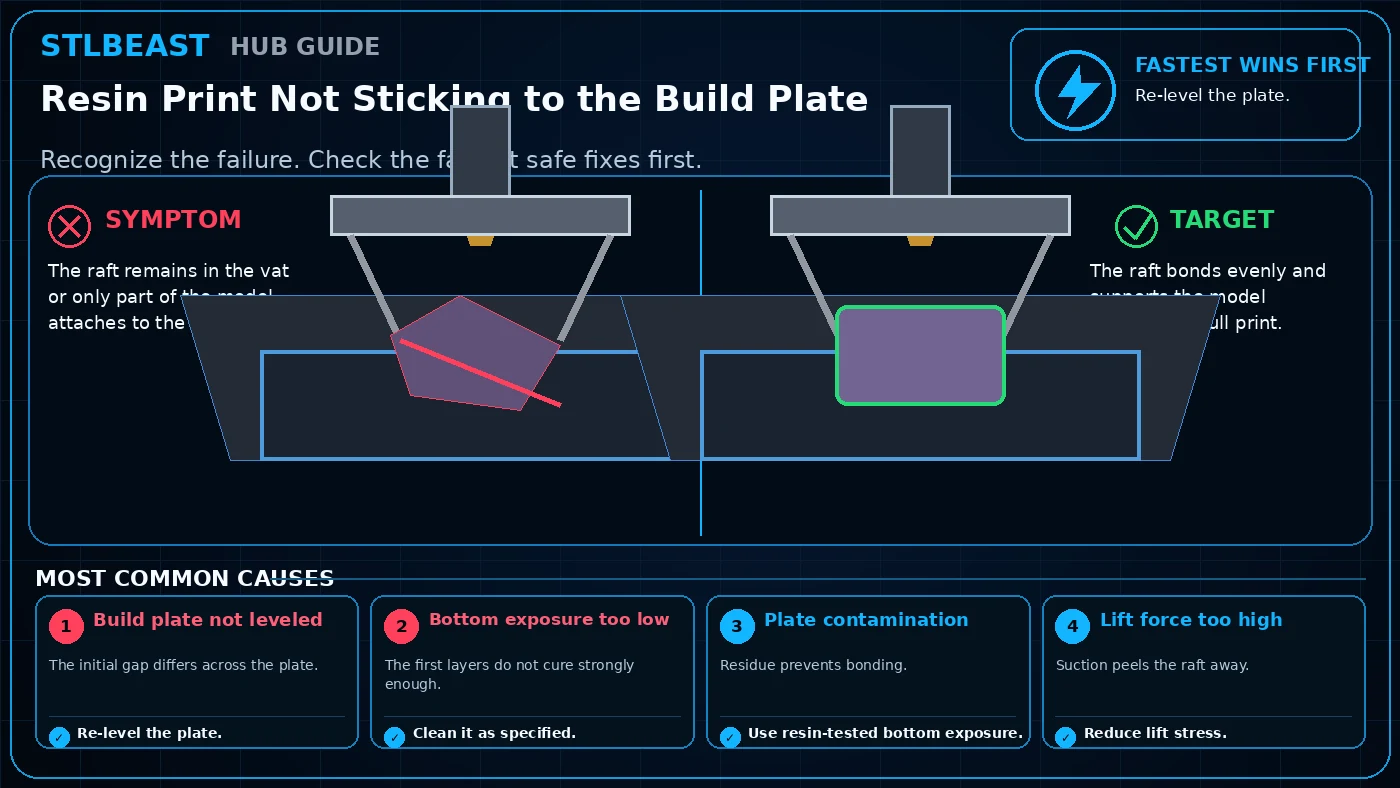
The raft remains in the vat or only part of the model attaches to the plate. Start by checking Build plate not leveled. Start with re-level the plate, then clean it…
Open repair path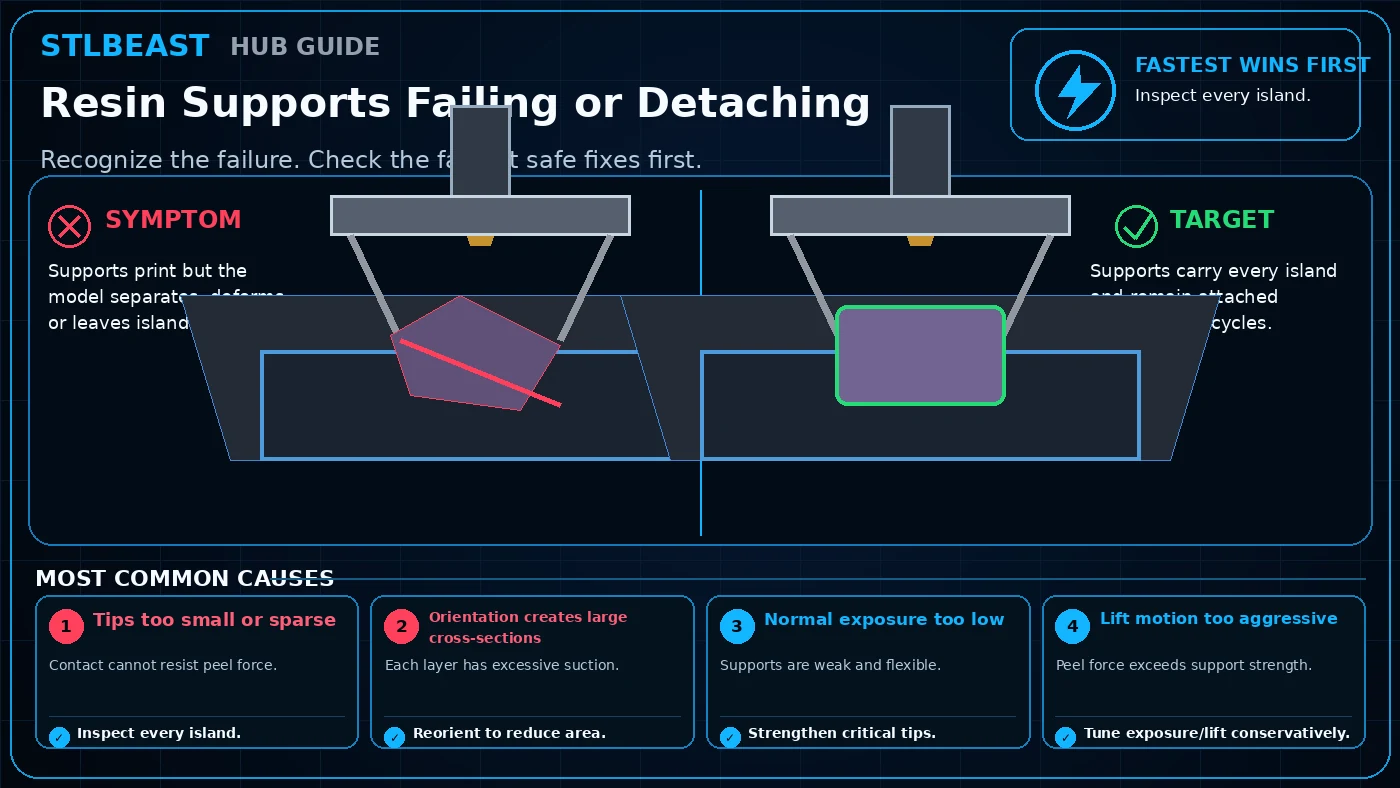 Resin Printing
Supports print but the model separates, deforms, or leaves islands in the vat. Start by checking Tips too small or sparse. Start with inspect every island, then…
Open repair path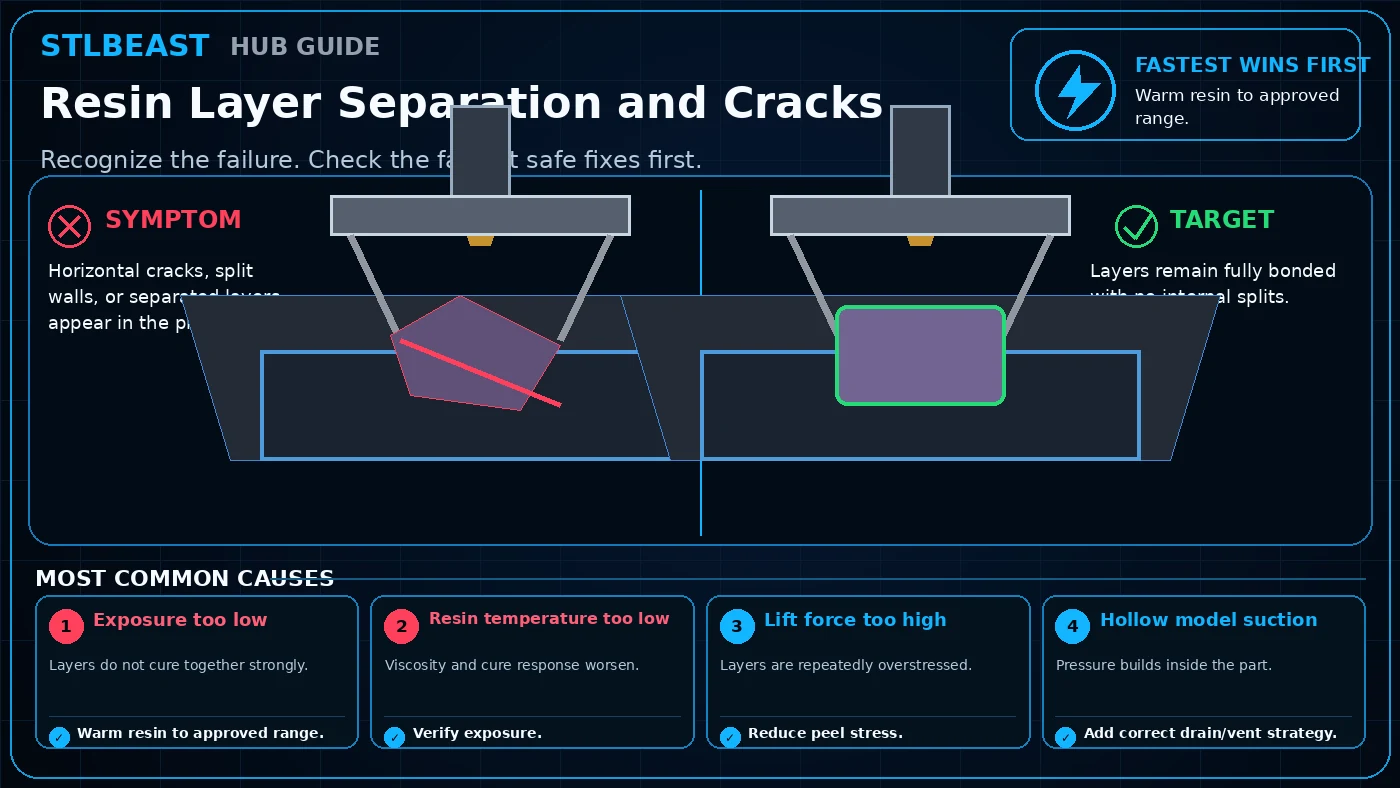 Resin Printing
Horizontal cracks, split walls, or separated layers appear in the print. Start by checking Exposure too low. Start with warm resin to approved range, then verify…
Open repair path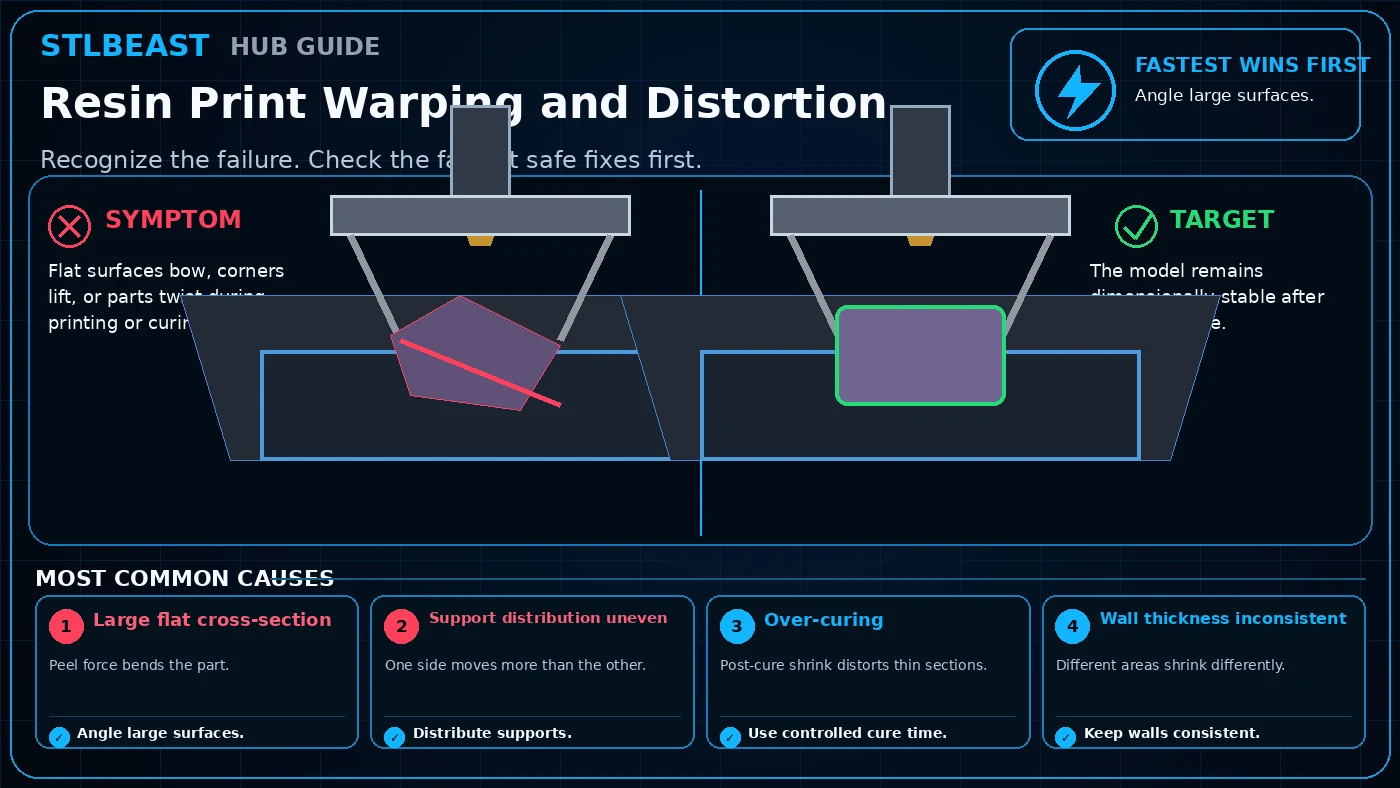 Resin Printing
Flat surfaces bow, corners lift, or parts twist during printing or curing. Start by checking Large flat cross-section. Start with angle large surfaces, then…
Open repair path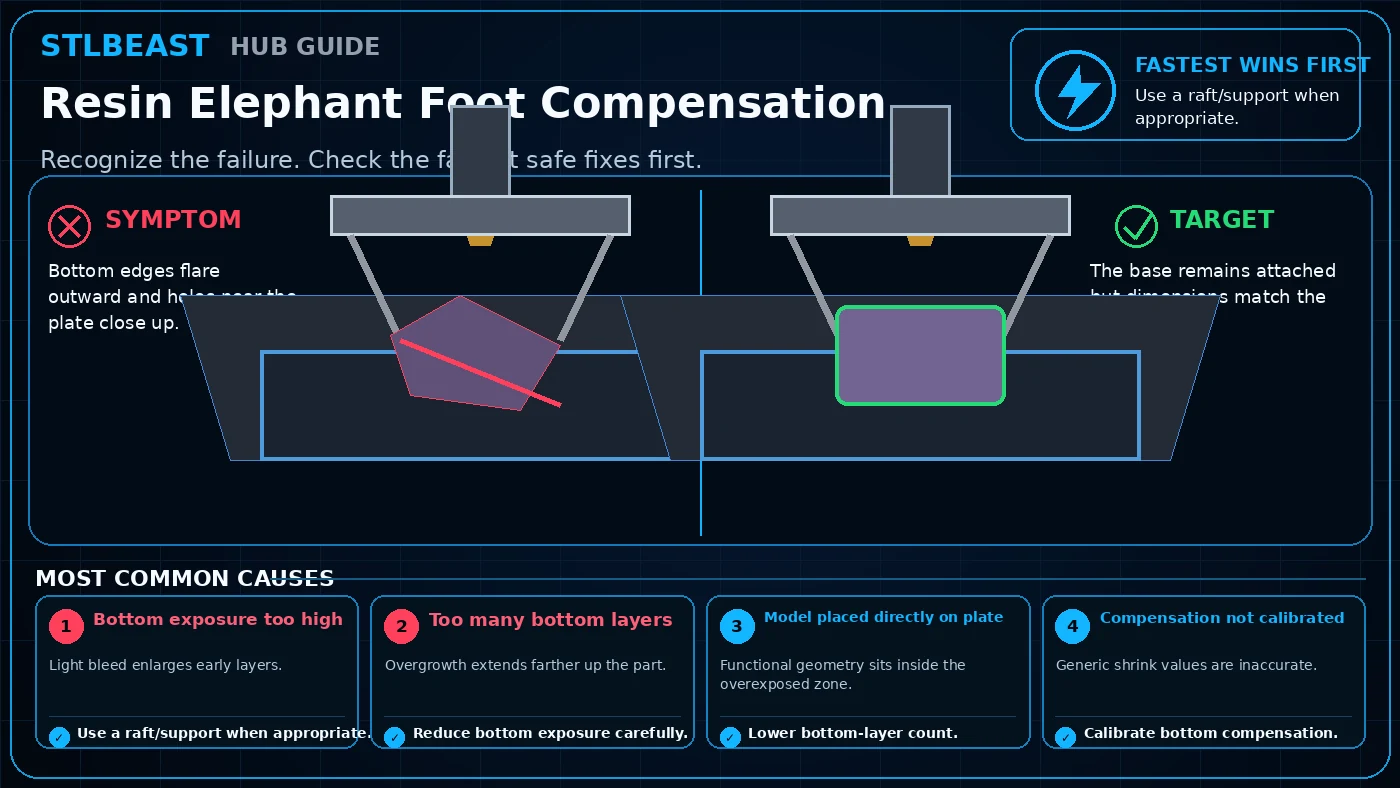 Resin Printing
Bottom edges flare outward and holes near the plate close up. Start by checking Bottom exposure too high. Start with use a raft/support when appropriate, then reduce…
Open repair path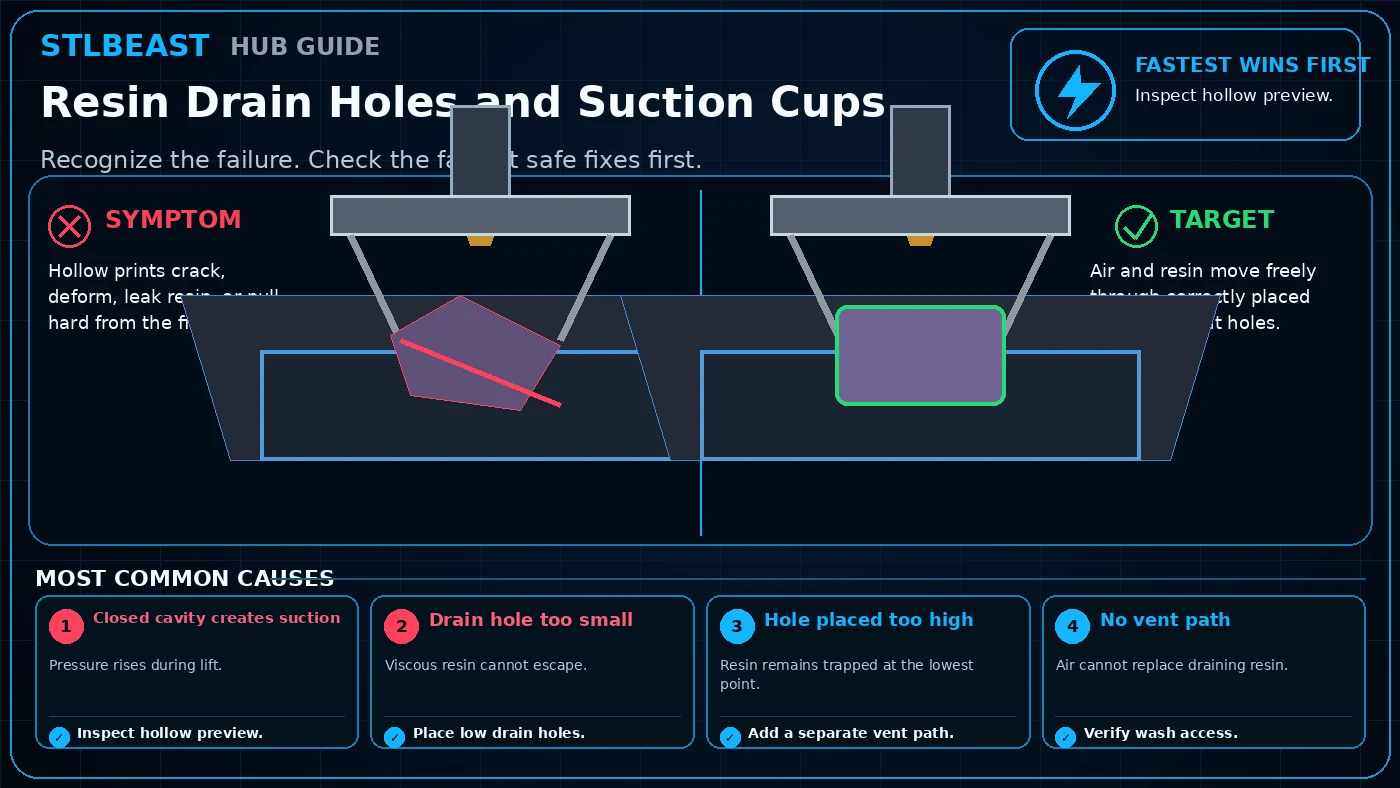 Resin Printing
Hollow prints crack, deform, leak resin, or pull hard from the film. Start by checking Closed cavity creates suction. Start with inspect hollow preview, then place…
Open repair path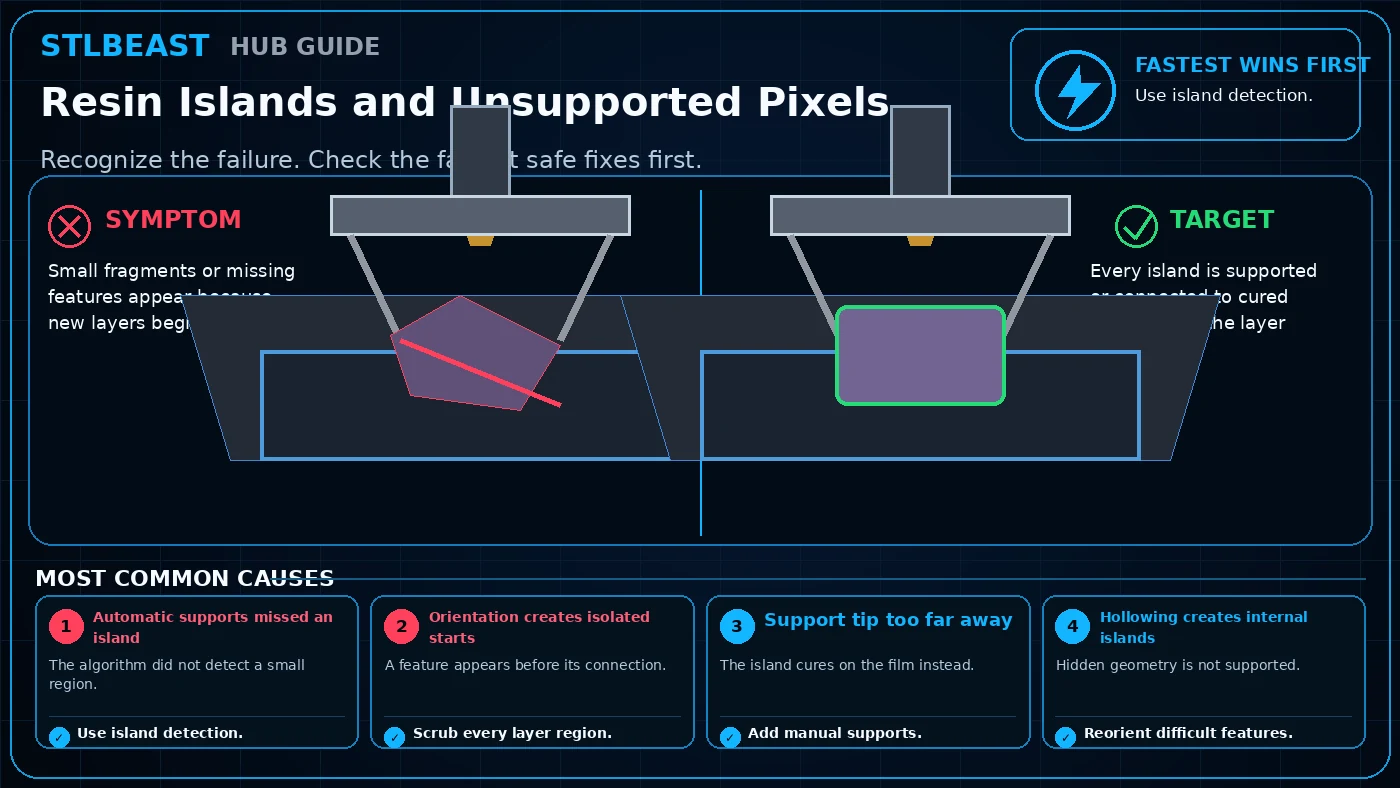 Resin Printing
Small fragments or missing features appear because new layers begin in mid-air. Start by checking Automatic supports missed an island. Start with use island…
Open repair path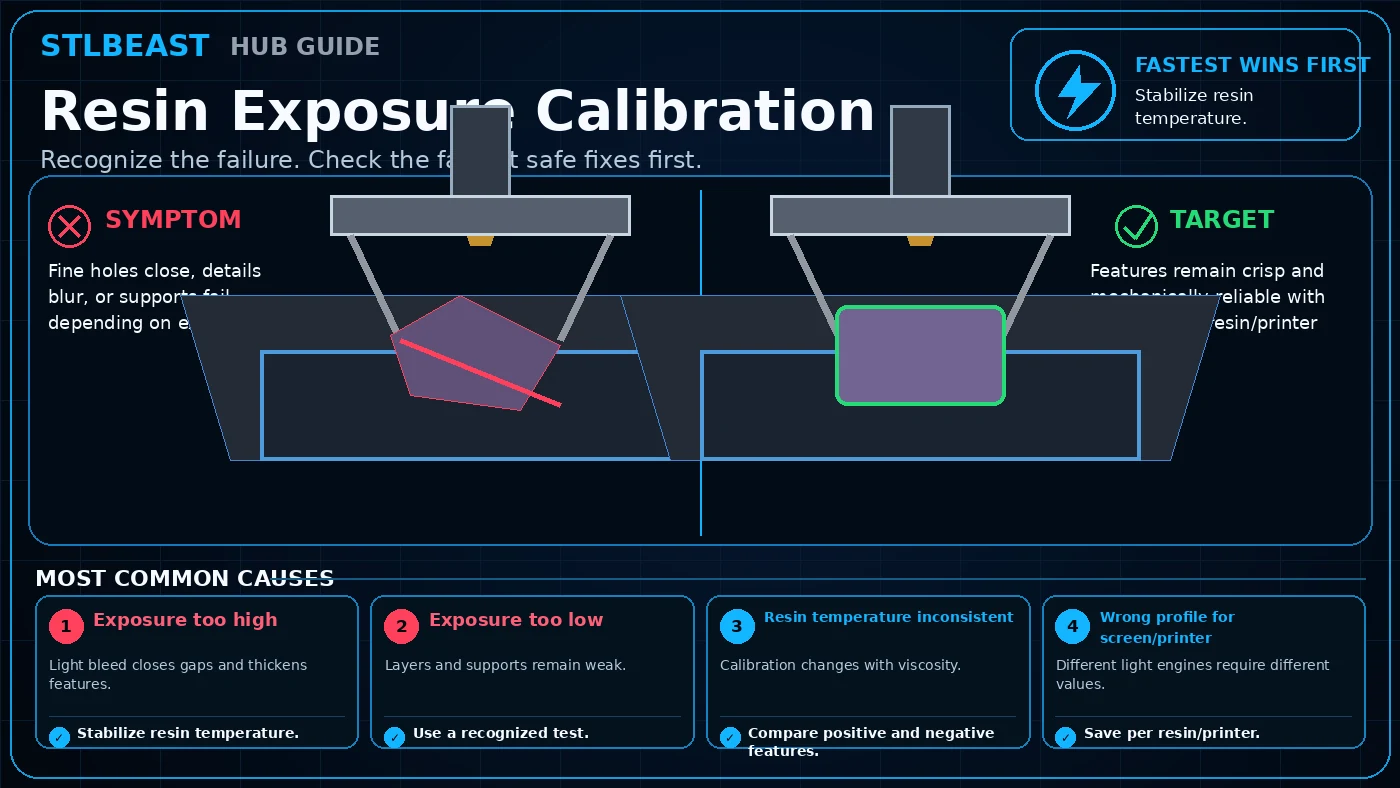 Resin Printing
Fine holes close, details blur, or supports fail depending on exposure. Start by checking Exposure too high. Start with stabilize resin temperature, then use a…
Open repair path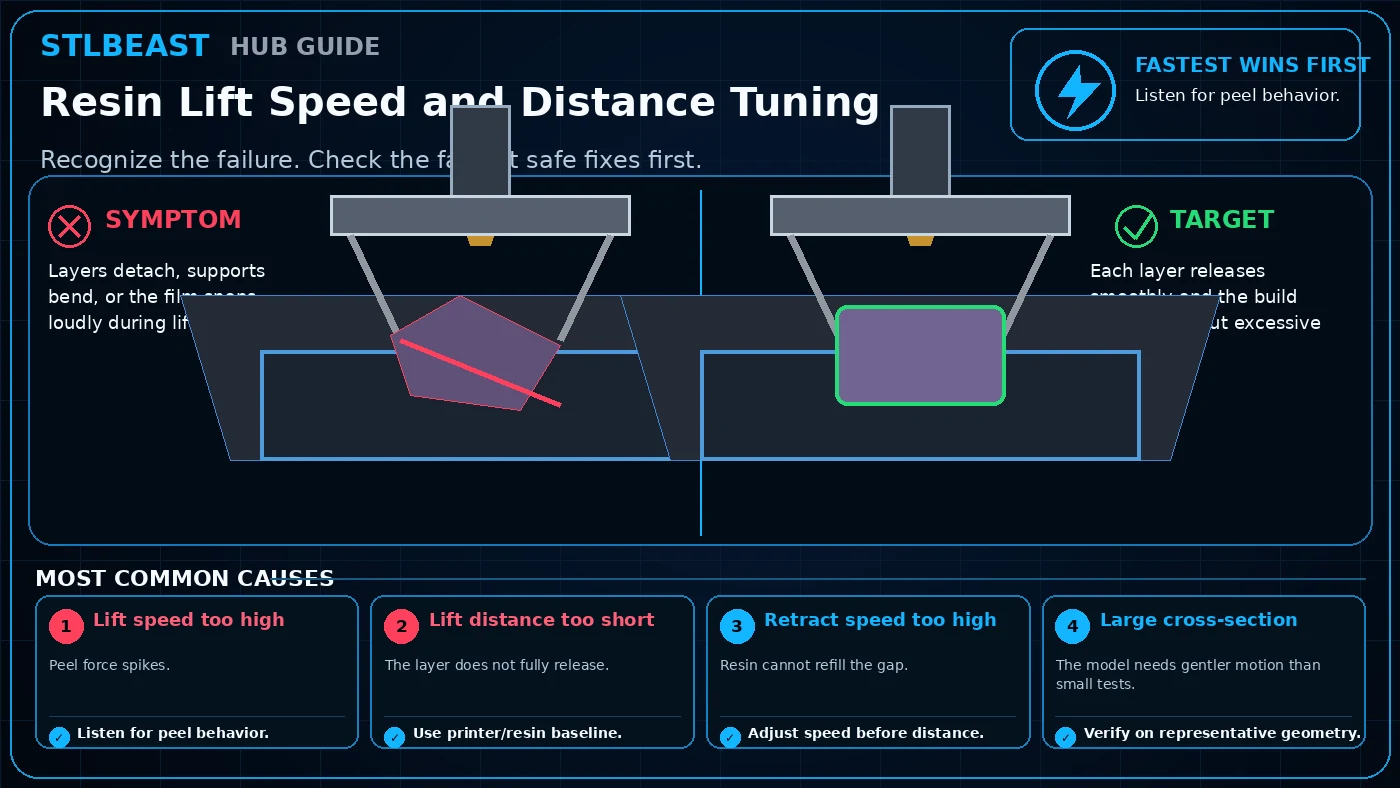 Resin Printing
Layers detach, supports bend, or the film snaps loudly during lift. Start by checking Lift speed too high. Start with listen for peel behavior, then use printer/resin…
Open repair path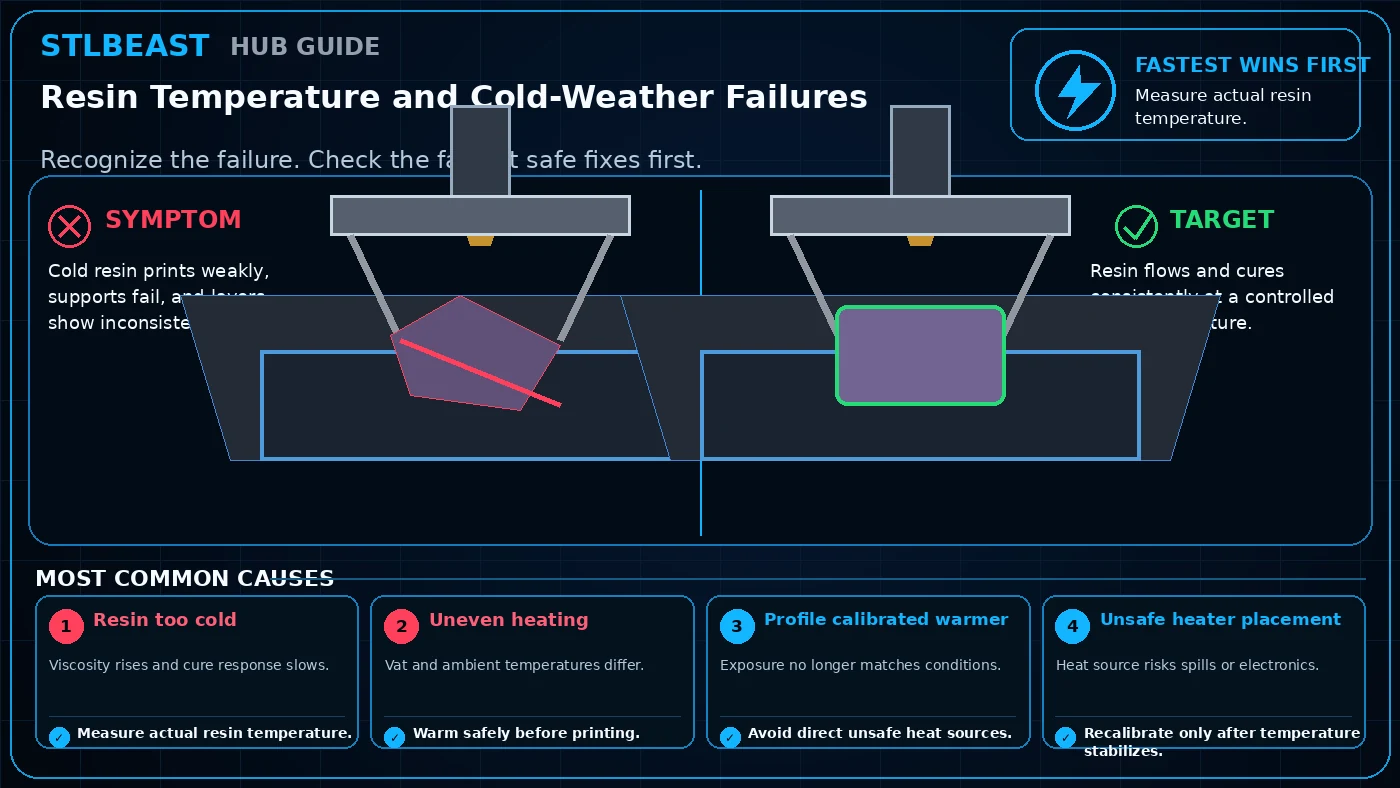 Resin Printing
Cold resin prints weakly, supports fail, and layers show inconsistent cure. Start by checking Resin too cold. Start with measure actual resin temperature, then warm…
Open repair path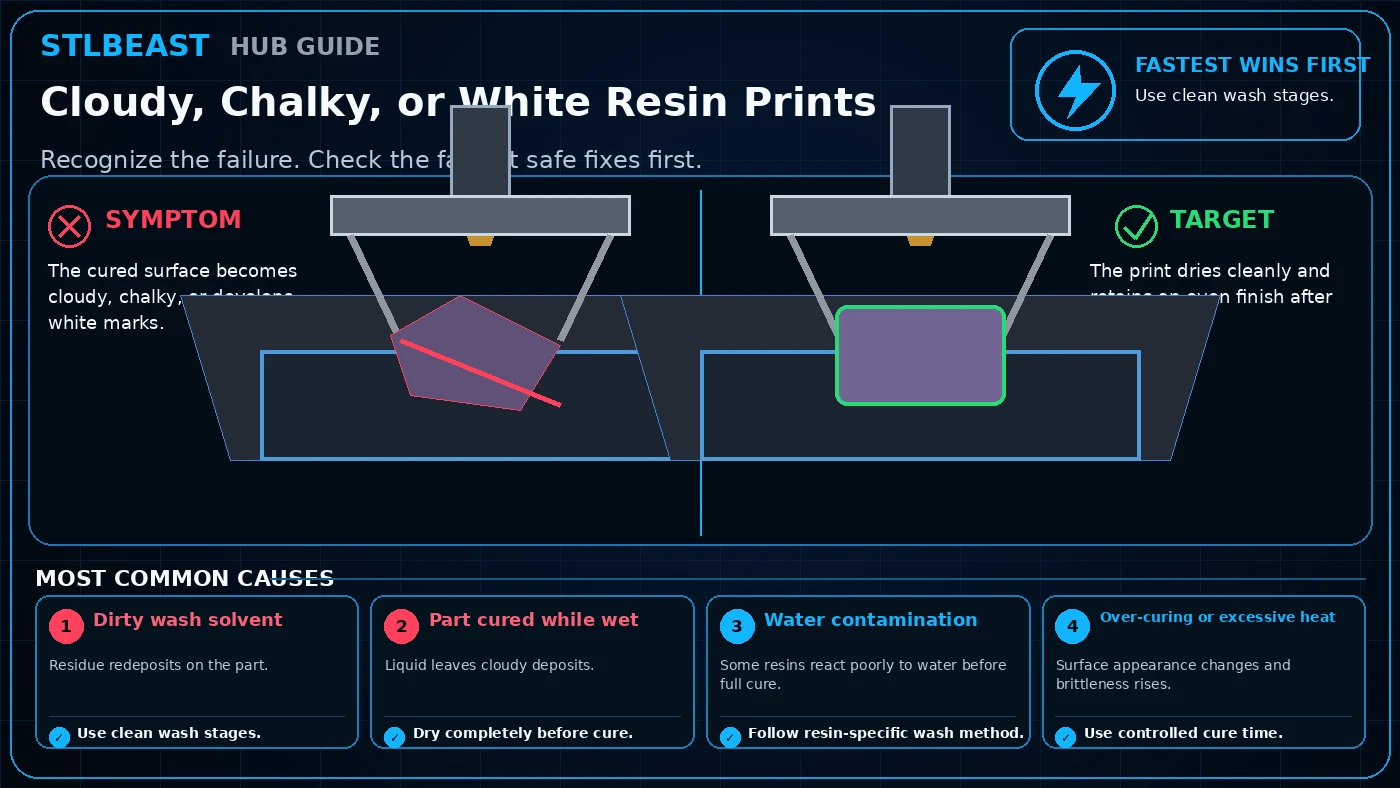 Resin Printing
The cured surface becomes cloudy, chalky, or develops white marks. Start by checking Dirty wash solvent. Start with use clean wash stages, then dry completely before…
Open repair path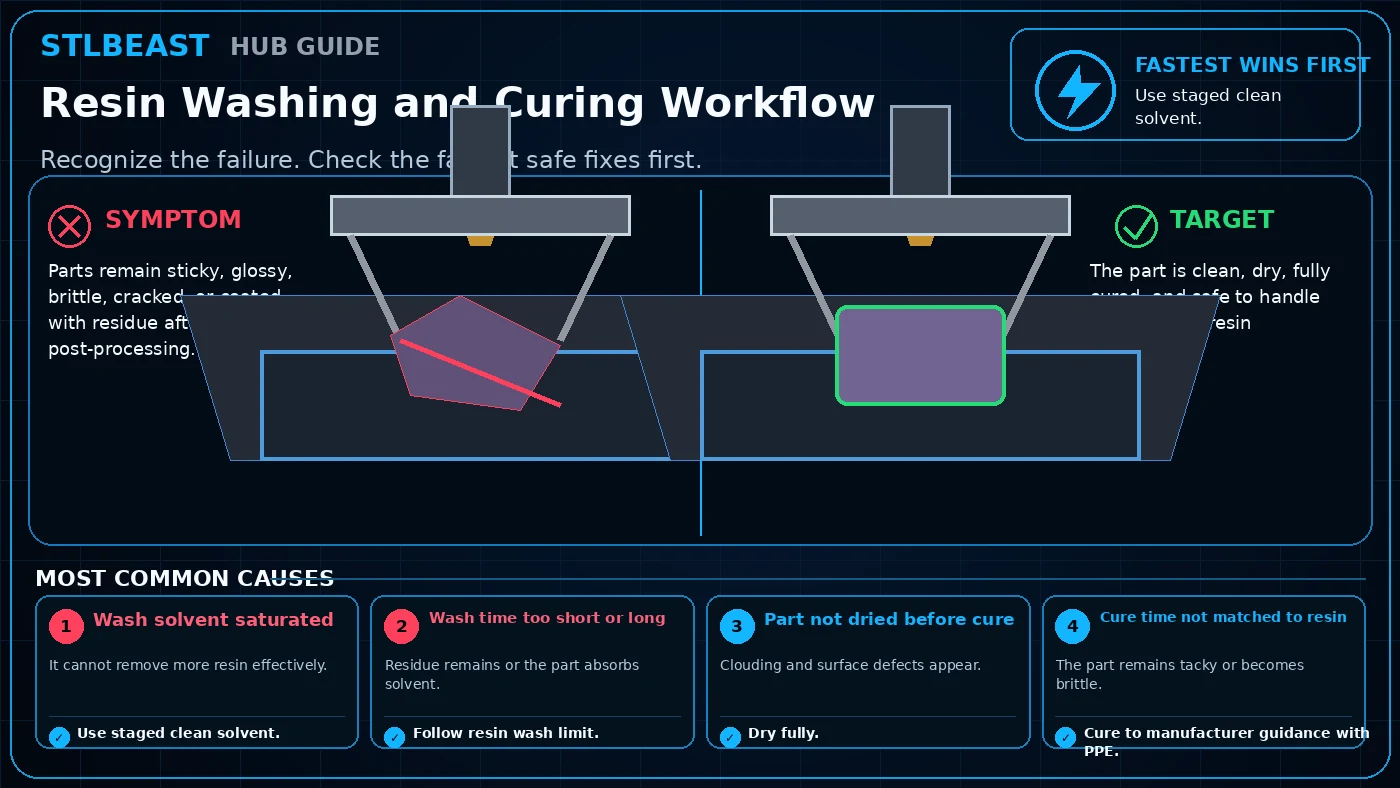 Resin Printing
Parts remain sticky, glossy, brittle, cracked, or coated with residue after post-processing. Start by checking Wash solvent saturated. Start with use staged clean…
Open repair path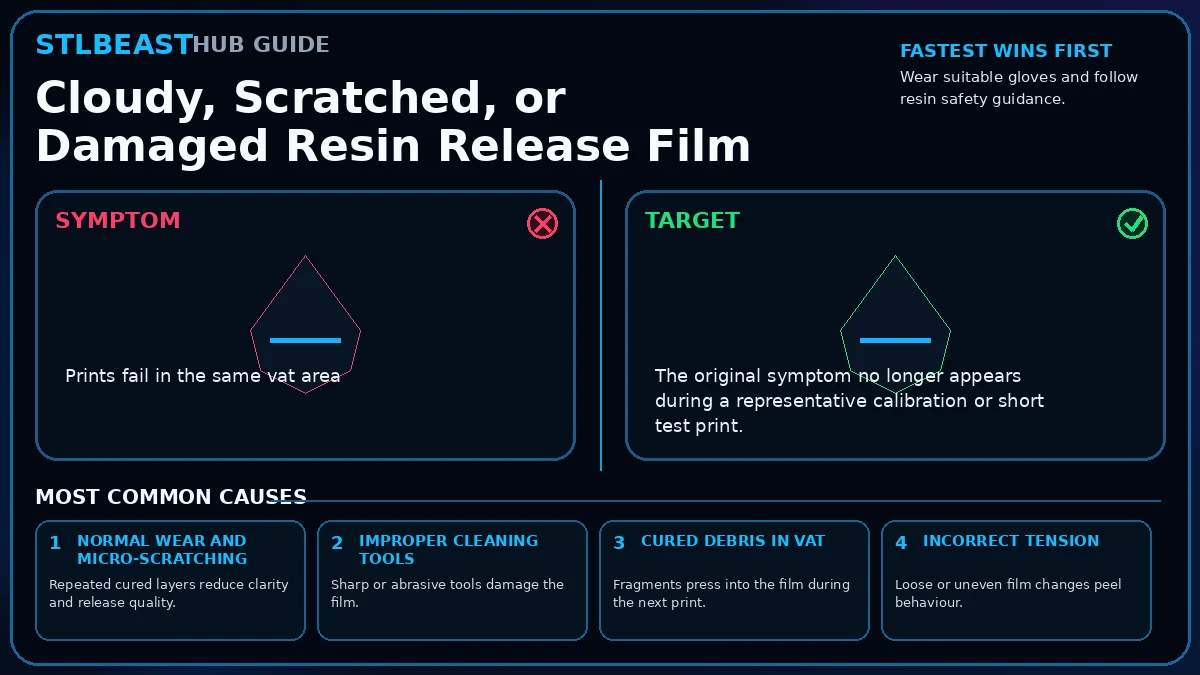 Resin Printing
Prints fail in the same vat area. Start by checking Normal wear and micro-scratching. Drain and filter the resin, clean the vat safely, inspect the release film under…
Open repair path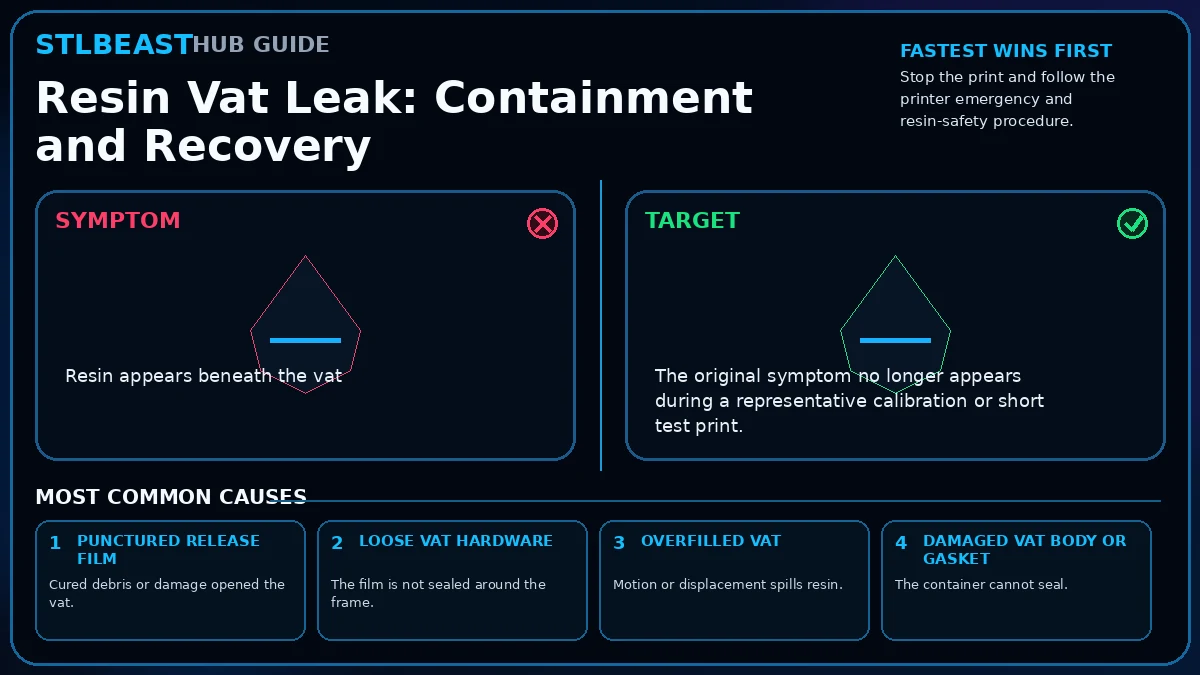 Resin Printing
Resin appears beneath the vat. Start by checking Punctured release film. Stop the printer, protect yourself, contain uncured resin, remove the vat without spreading…
Open repair path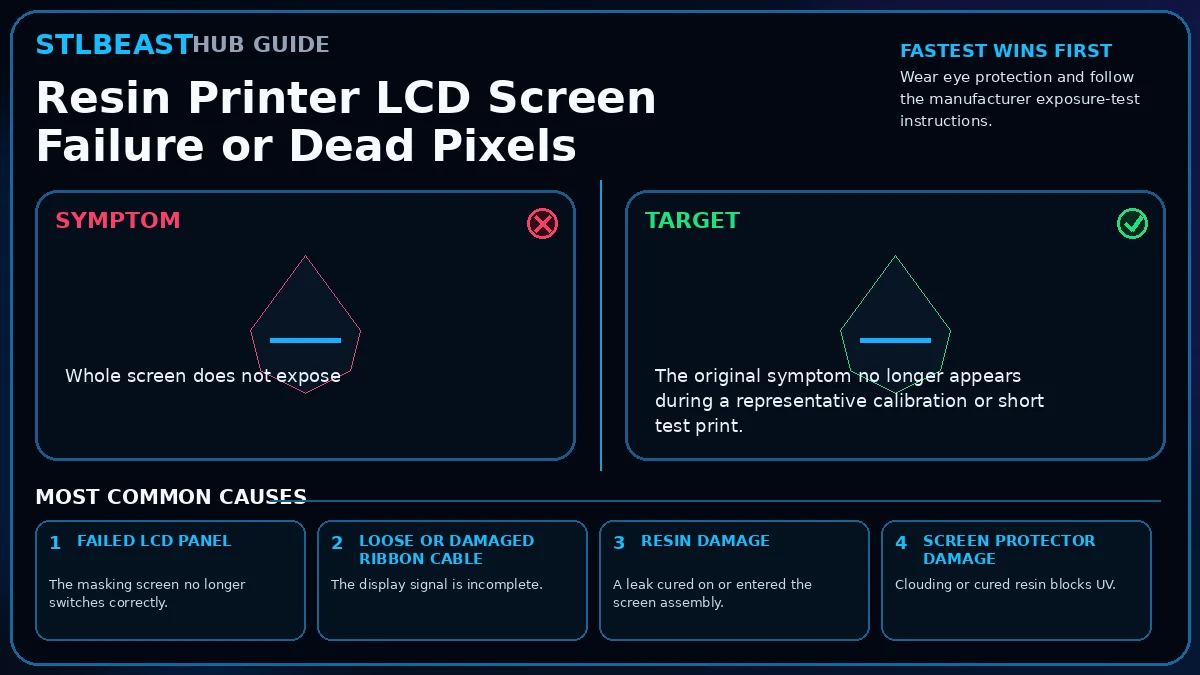 Resin Printing
Whole screen does not expose. Start by checking Failed LCD panel. Run the manufacturer exposure test with the vat removed, inspect the screen and cable, separate…
Open repair path Resin Printing
One side of the raft sticks and the other does not. Start by checking Plate not parallel to screen. Clean the plate and screen area, loosen the plate as specified,…
Open repair pathRanked troubleshooting paths, controlled checks and verification steps.
 Slicer & STL Repair
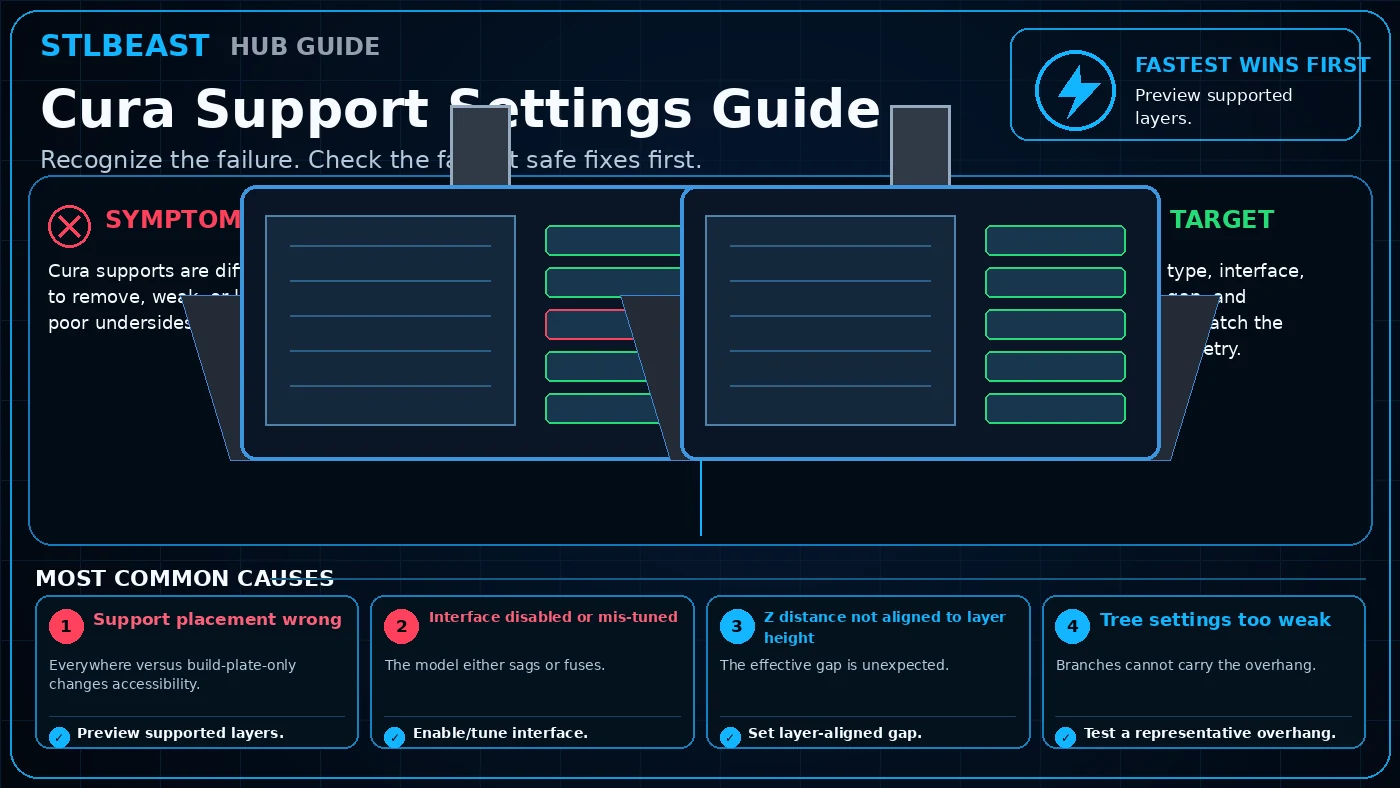
Tune support angle, interface density, Z distance, pattern, cooling and removal strength in Cura.
Open repair path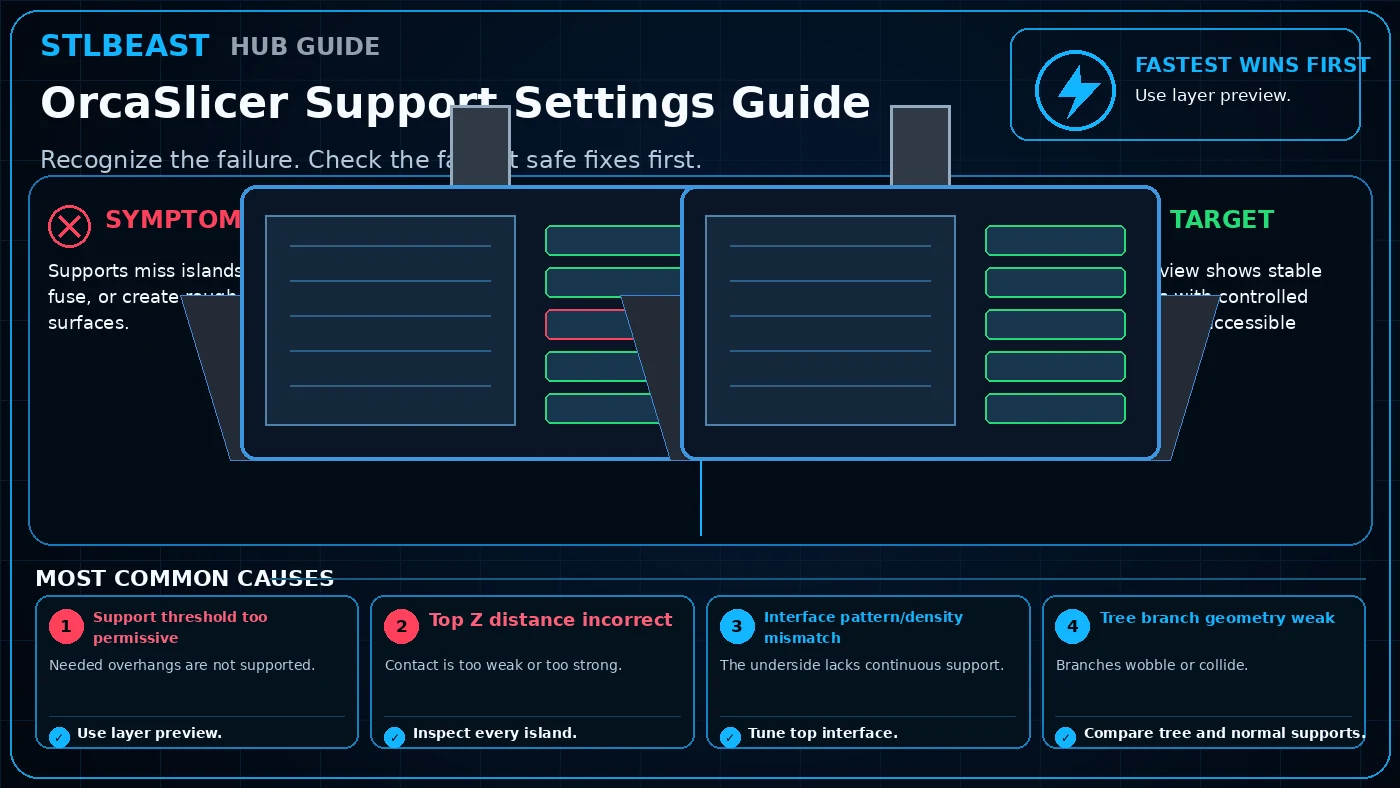 Slicer & STL Repair
Supports miss islands, fuse, or create rough surfaces. Start by checking Support threshold too permissive. Start with use layer preview, then inspect every island.…
Open repair path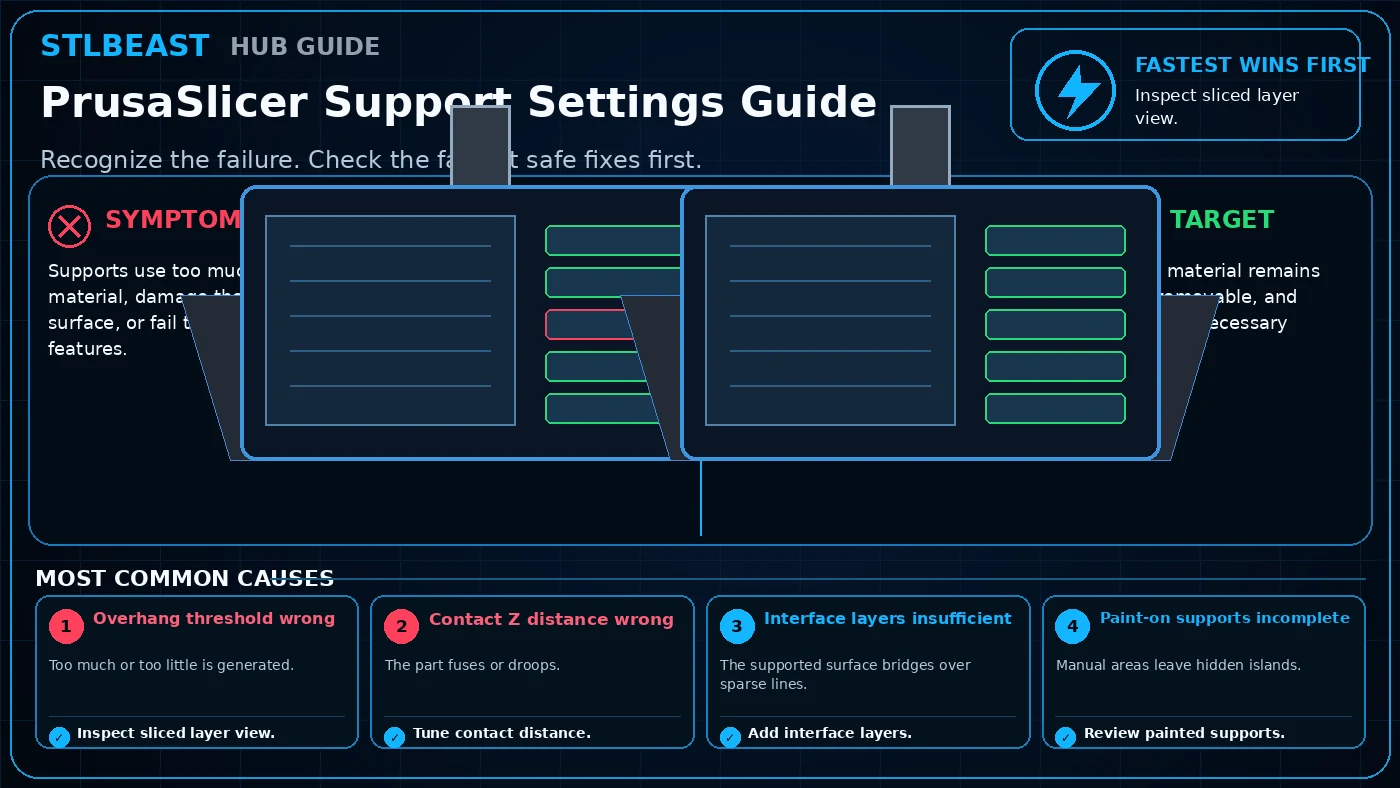 Slicer & STL Repair
Supports use too much material, damage the surface, or fail to reach features. Start by checking Overhang threshold wrong. Start with inspect sliced layer view, then…
Open repair path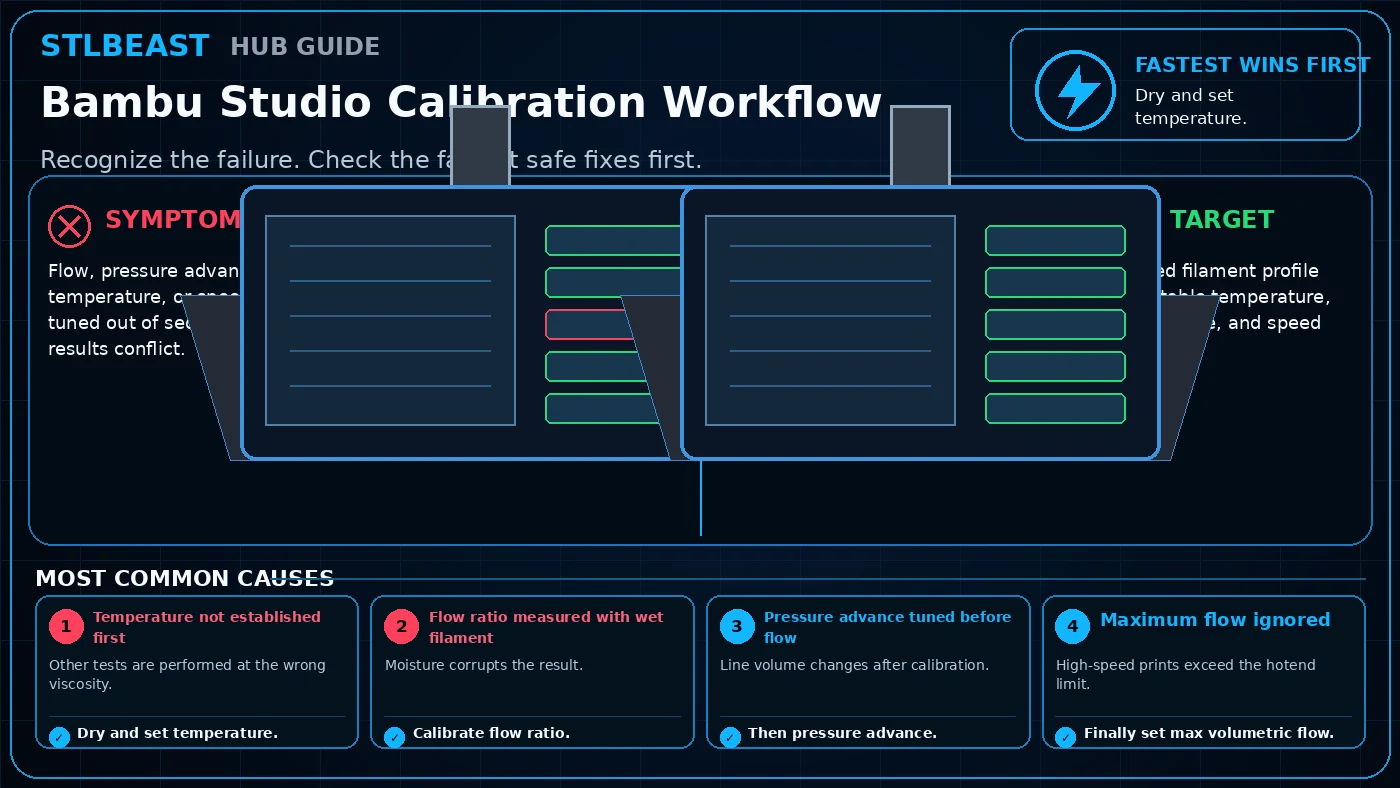 Slicer & STL Repair
Flow, pressure advance, temperature, or speed are tuned out of sequence and results conflict. Start by checking Temperature not established first. Start with dry and…
Open repair pathRanked troubleshooting paths, controlled checks and verification steps.
Ranked troubleshooting paths, controlled checks and verification steps.
Ranked troubleshooting paths, controlled checks and verification steps.
Stringing
Stop fine hairs, webs and oozing by checking filament moisture, nozzle temperature, retraction and travel behavior.
Open repair path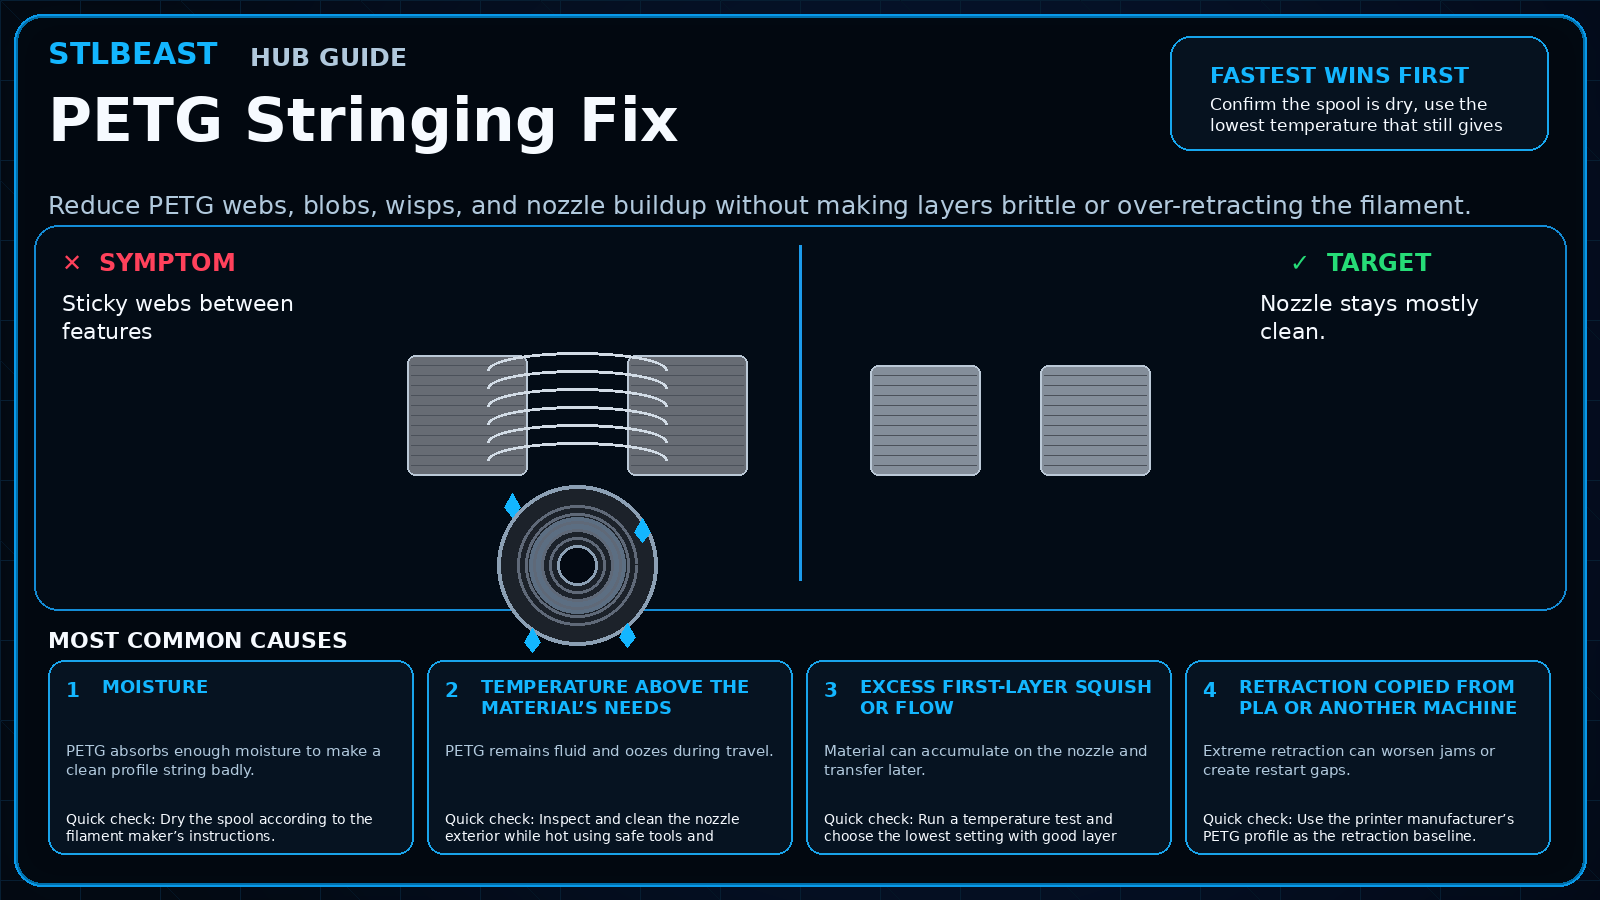 Stringing
Dry the filament, verify temperature and then tune retraction and travel behavior without over-retracting PETG.
Open repair pathSupport contact, interface quality, bridges, overhangs and underside finish.
 Supports
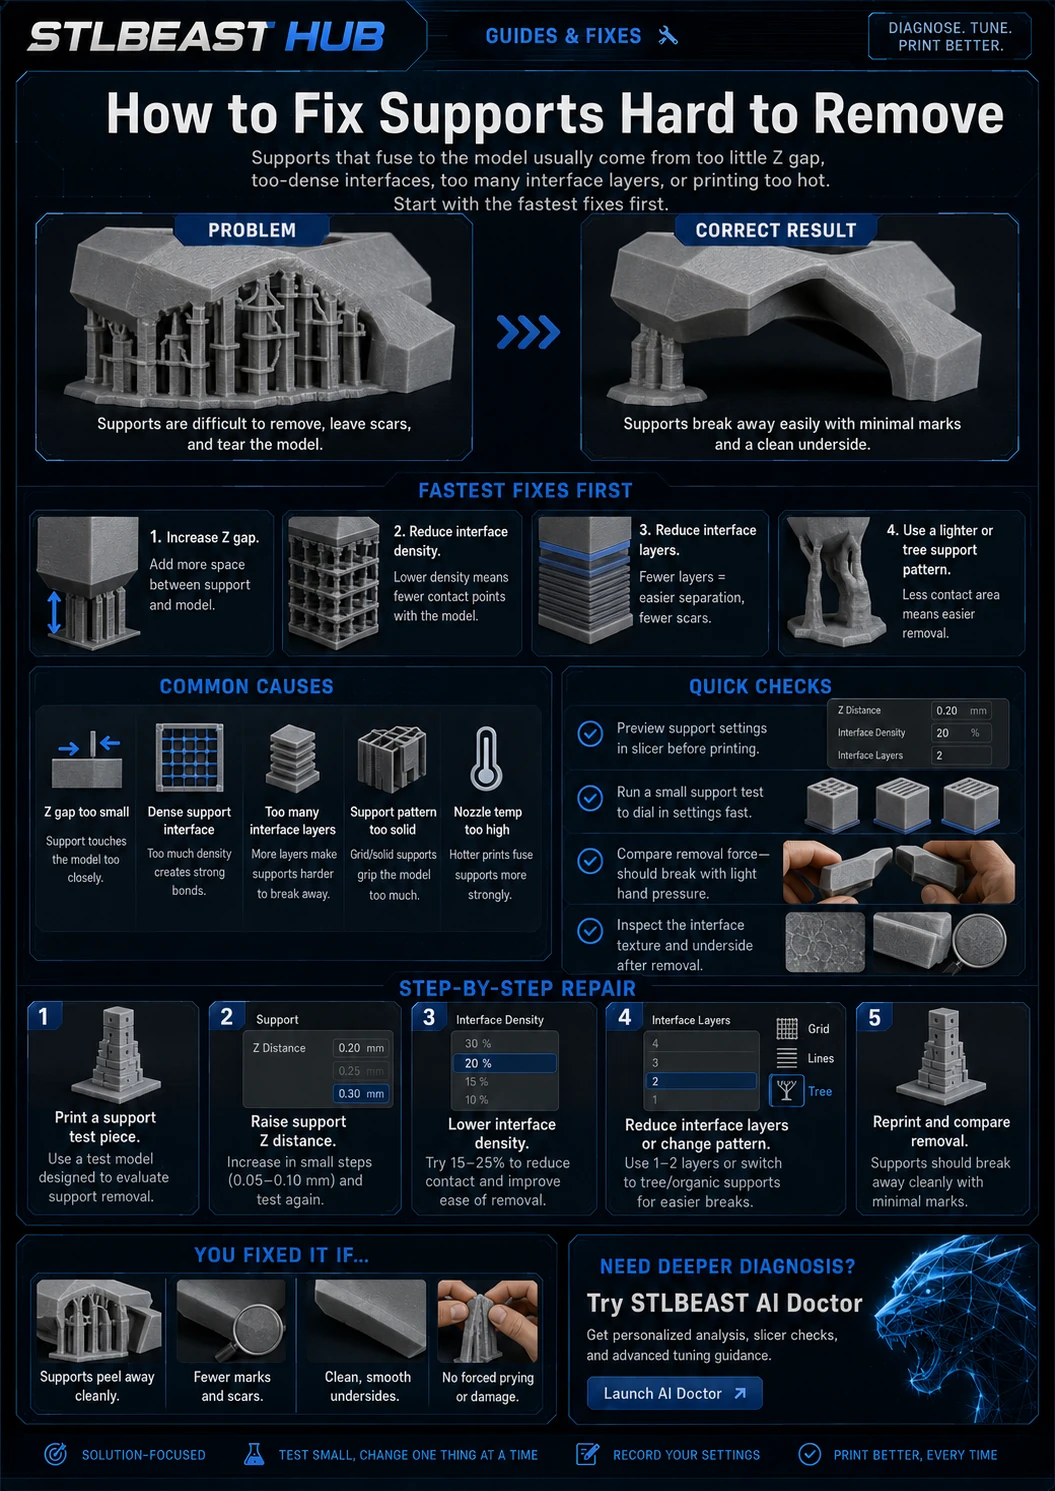
Reduce fused supports by tuning top Z distance, interface layers, density, cooling and contact geometry.
Open repair path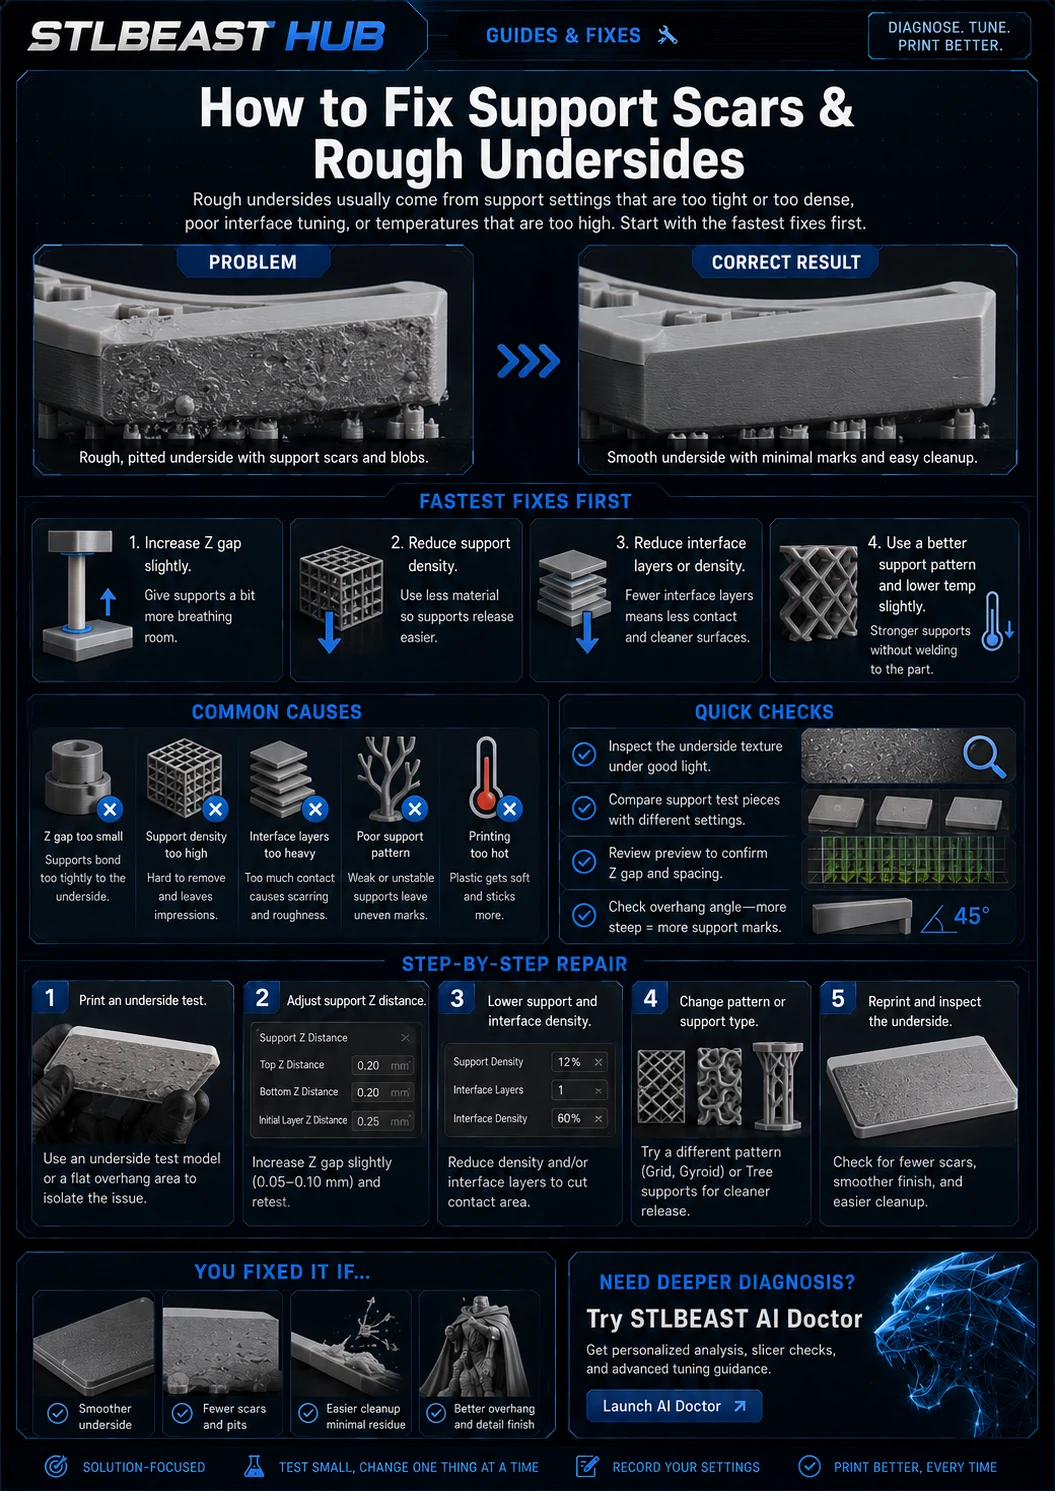 Supports
Improve supported surfaces with interface spacing, support roof density, cooling, speed and orientation changes.
Open repair path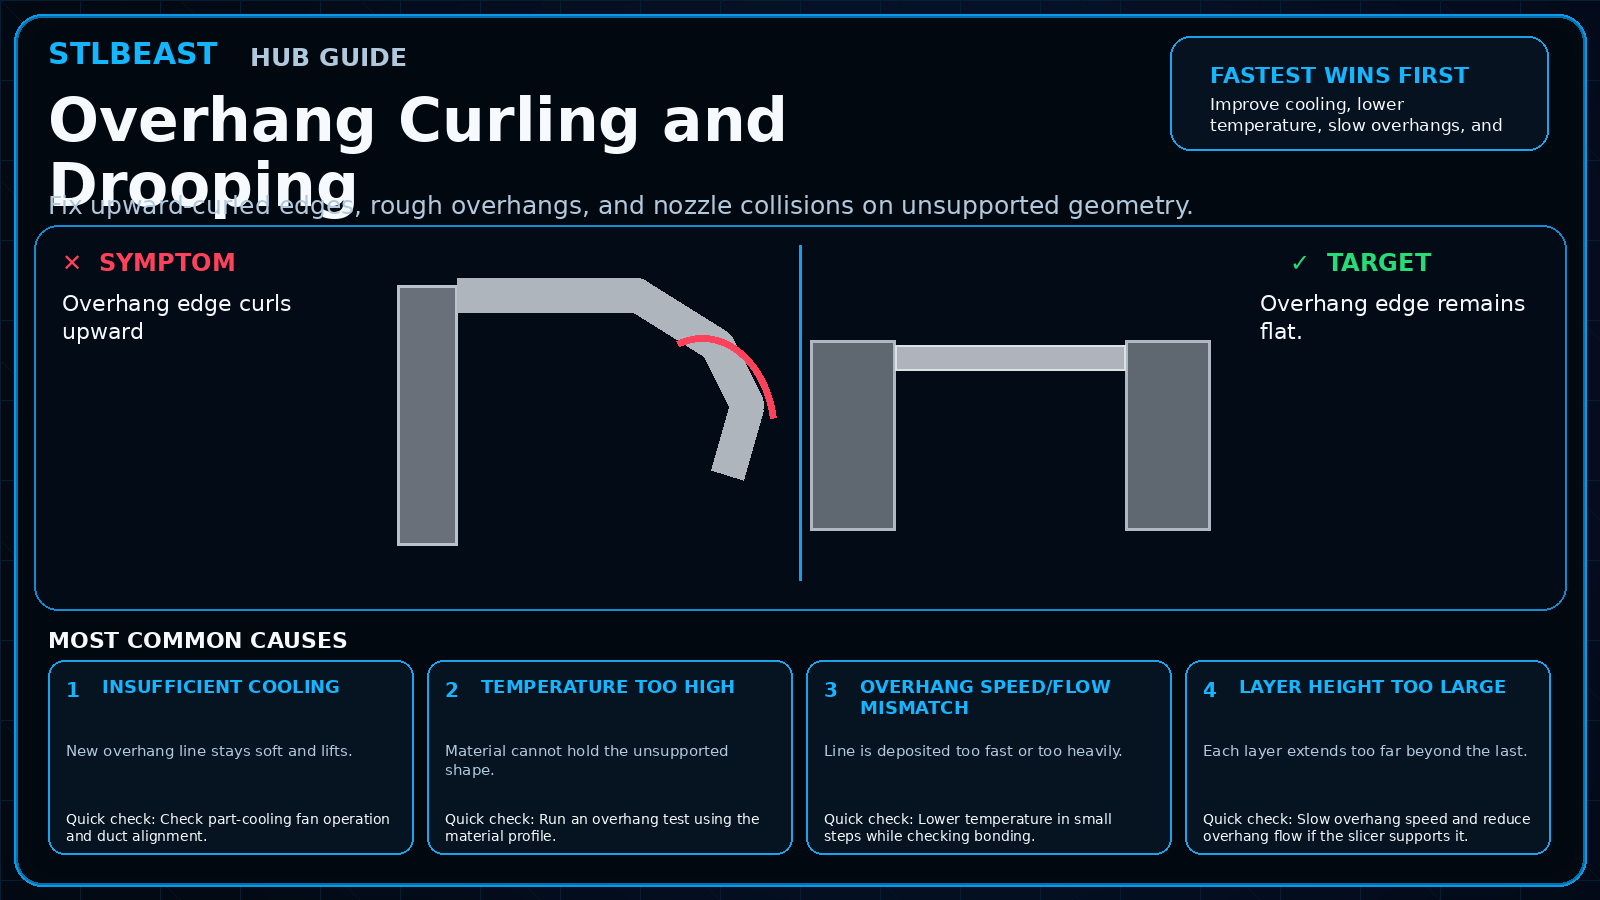 Supports
Overhang edge curls upward. Start by checking Insufficient cooling. Improve cooling, lower temperature, slow overhangs, and reduce layer height—then support or…
Open repair path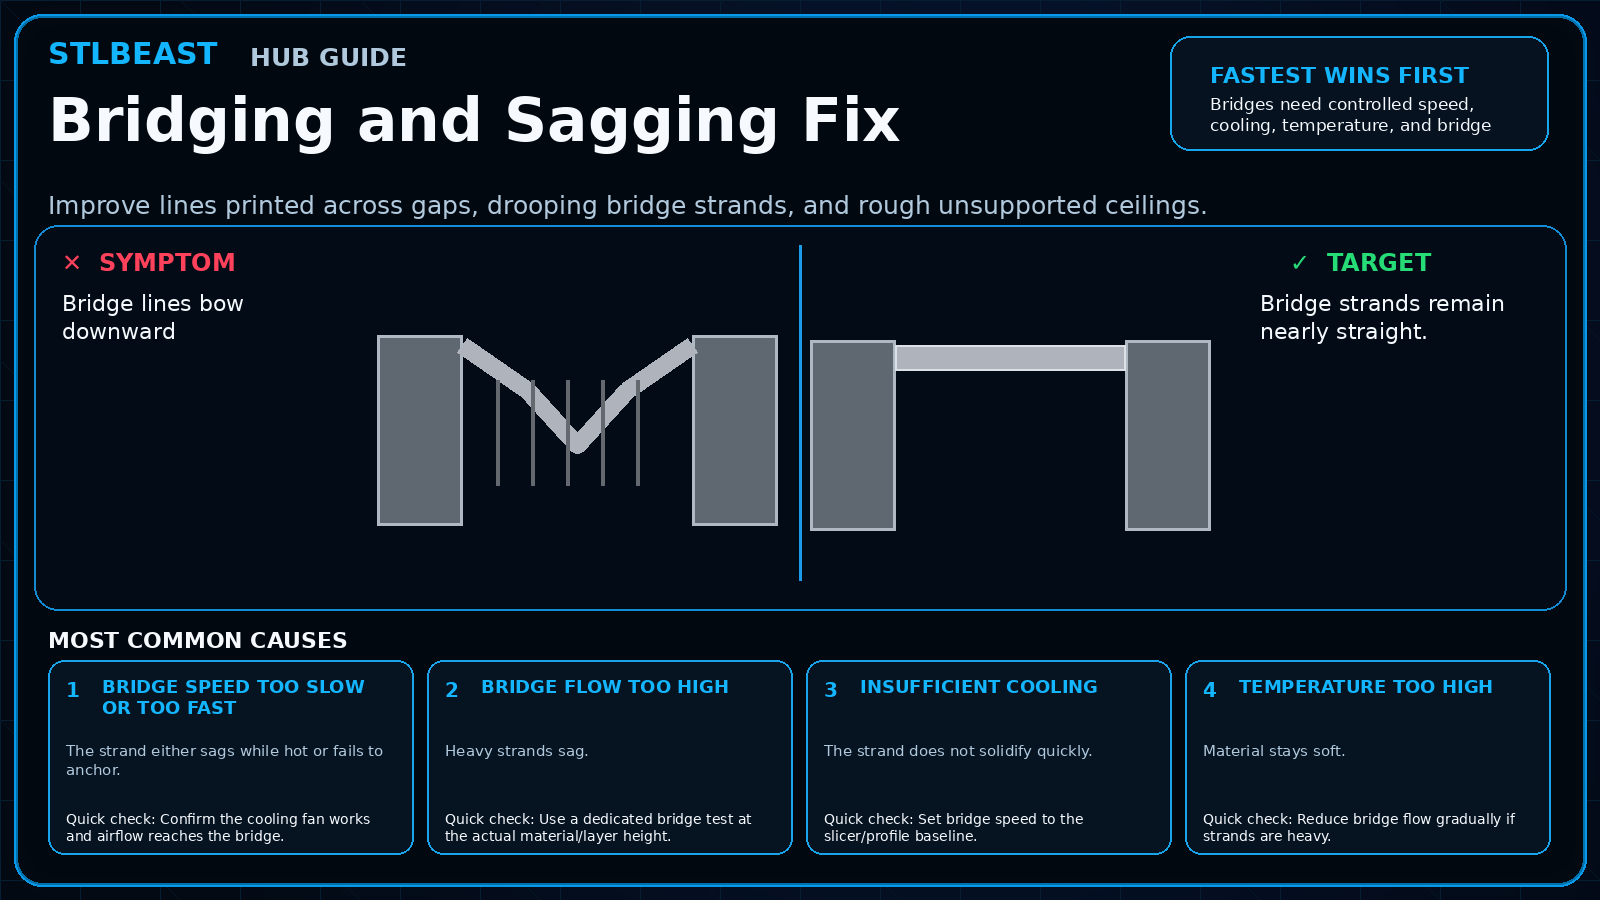 Supports
Bridge lines bow downward. Start by checking Bridge speed too slow or too fast. Bridges need controlled speed, cooling, temperature, and bridge flow. Tune with a…
Open repair pathRanked troubleshooting paths, controlled checks and verification steps.
 Supports & Geometry
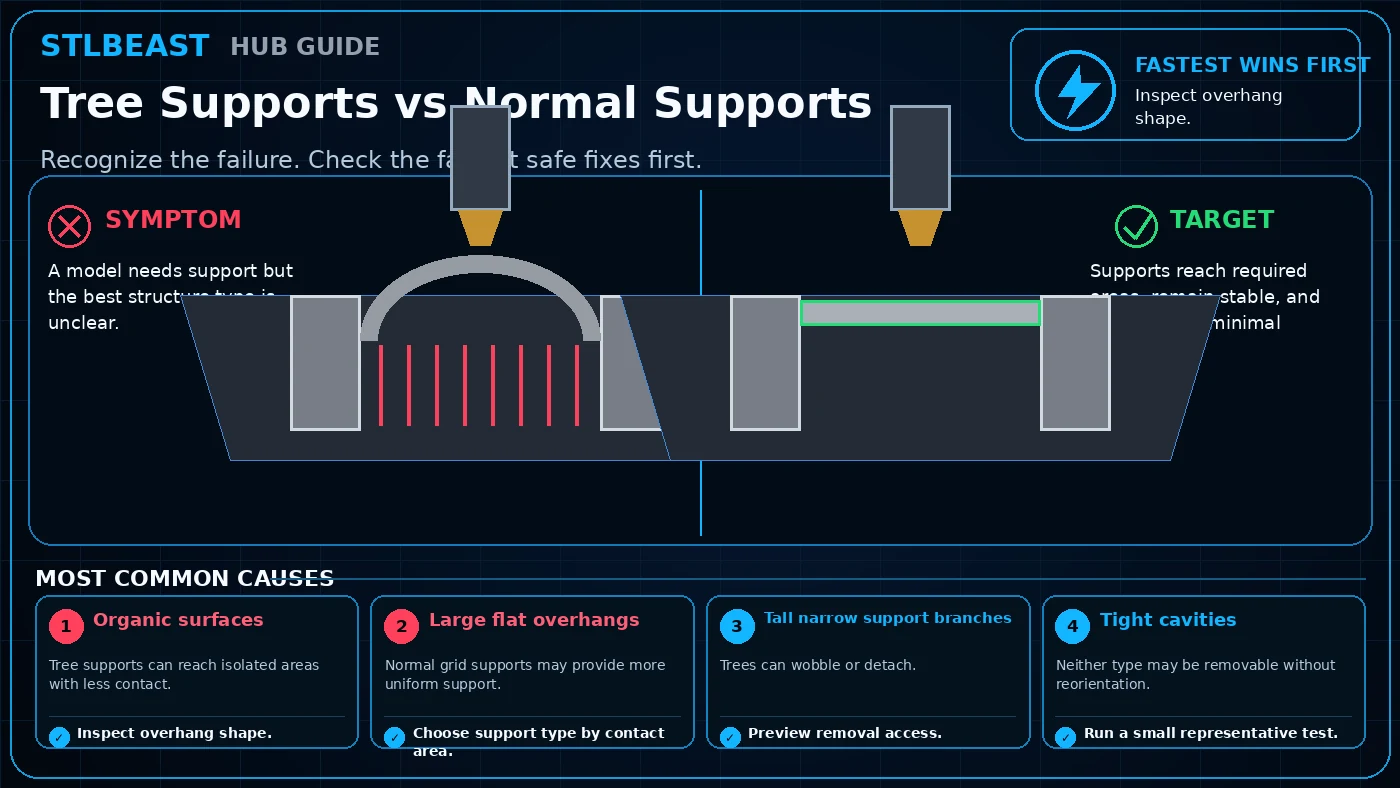
A model needs support but the best structure type is unclear. Start by checking Organic surfaces. Start with inspect overhang shape, then choose support type by…
Open repair path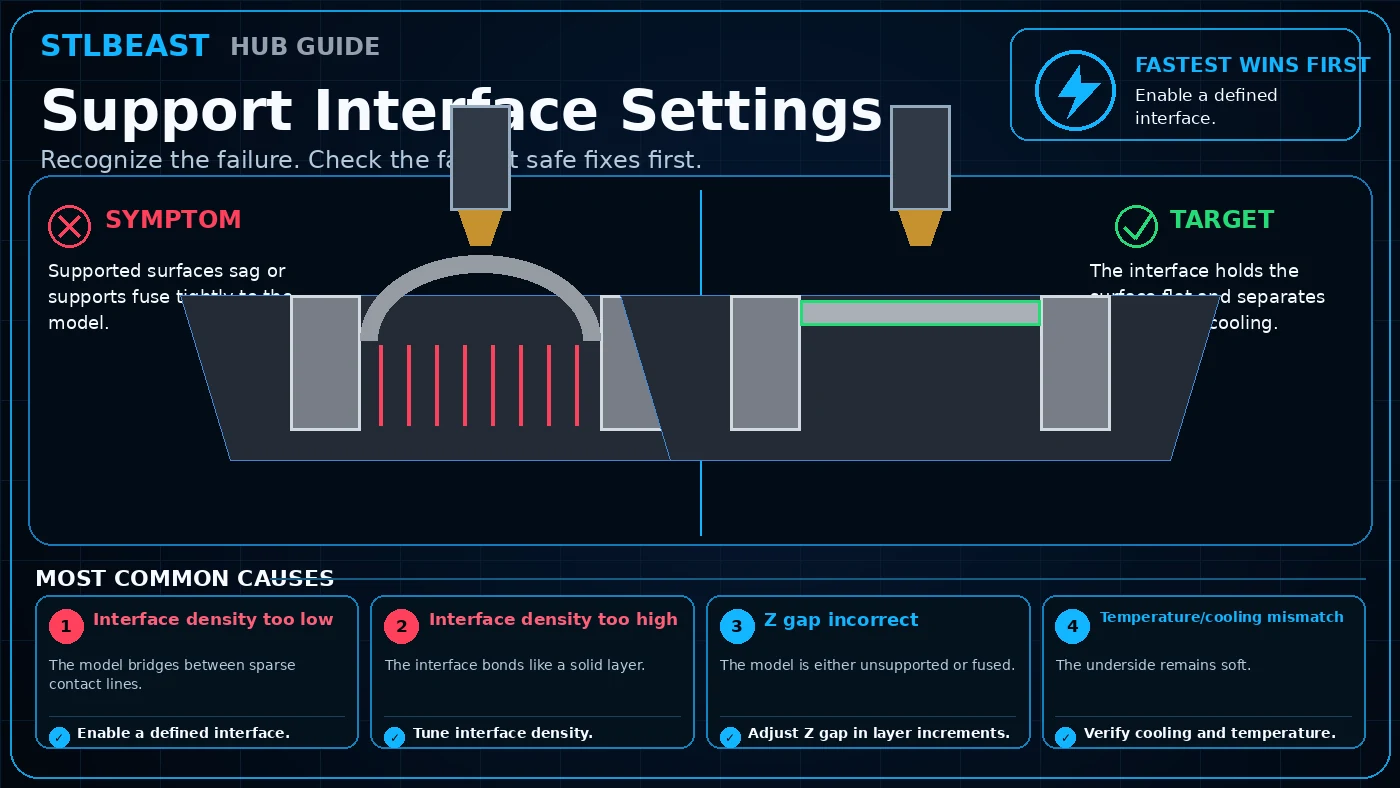 Supports & Geometry
Supported surfaces sag or supports fuse tightly to the model. Start by checking Interface density too low. Start with enable a defined interface, then tune interface…
Open repair path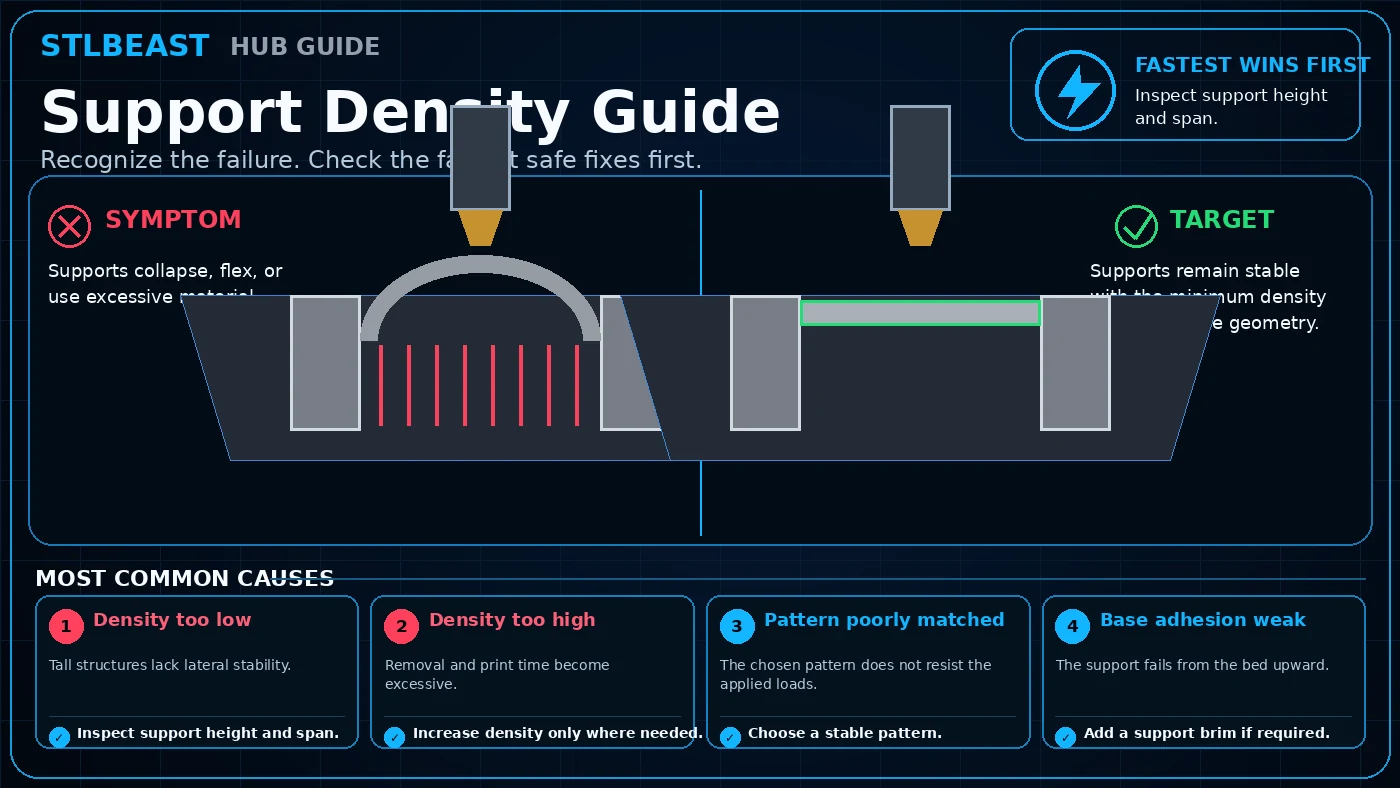 Supports & Geometry
Supports collapse, flex, or use excessive material. Start by checking Density too low. Start with inspect support height and span, then increase density only where…
Open repair path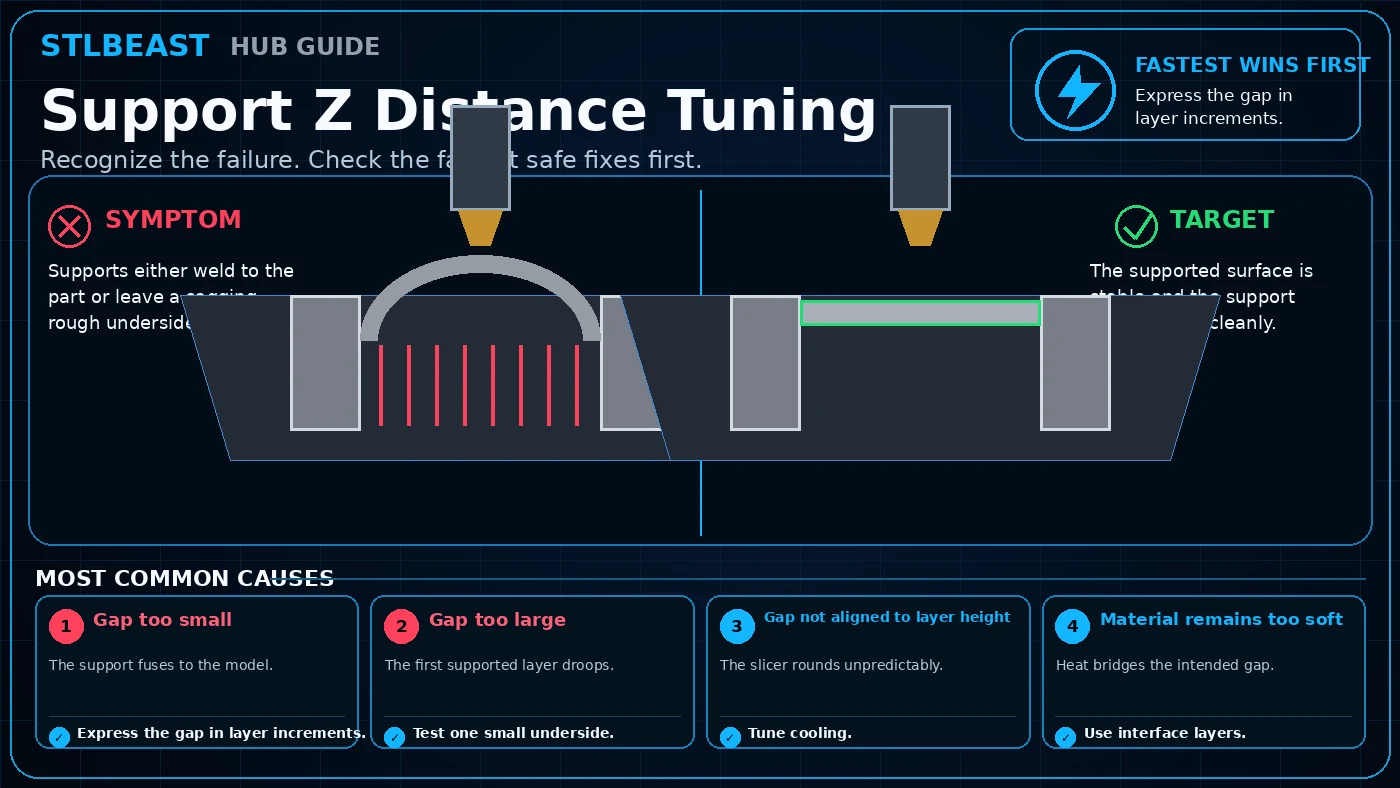 Supports & Geometry
Supports either weld to the part or leave a sagging rough underside. Start by checking Gap too small. Start with express the gap in layer increments, then test one…
Open repair path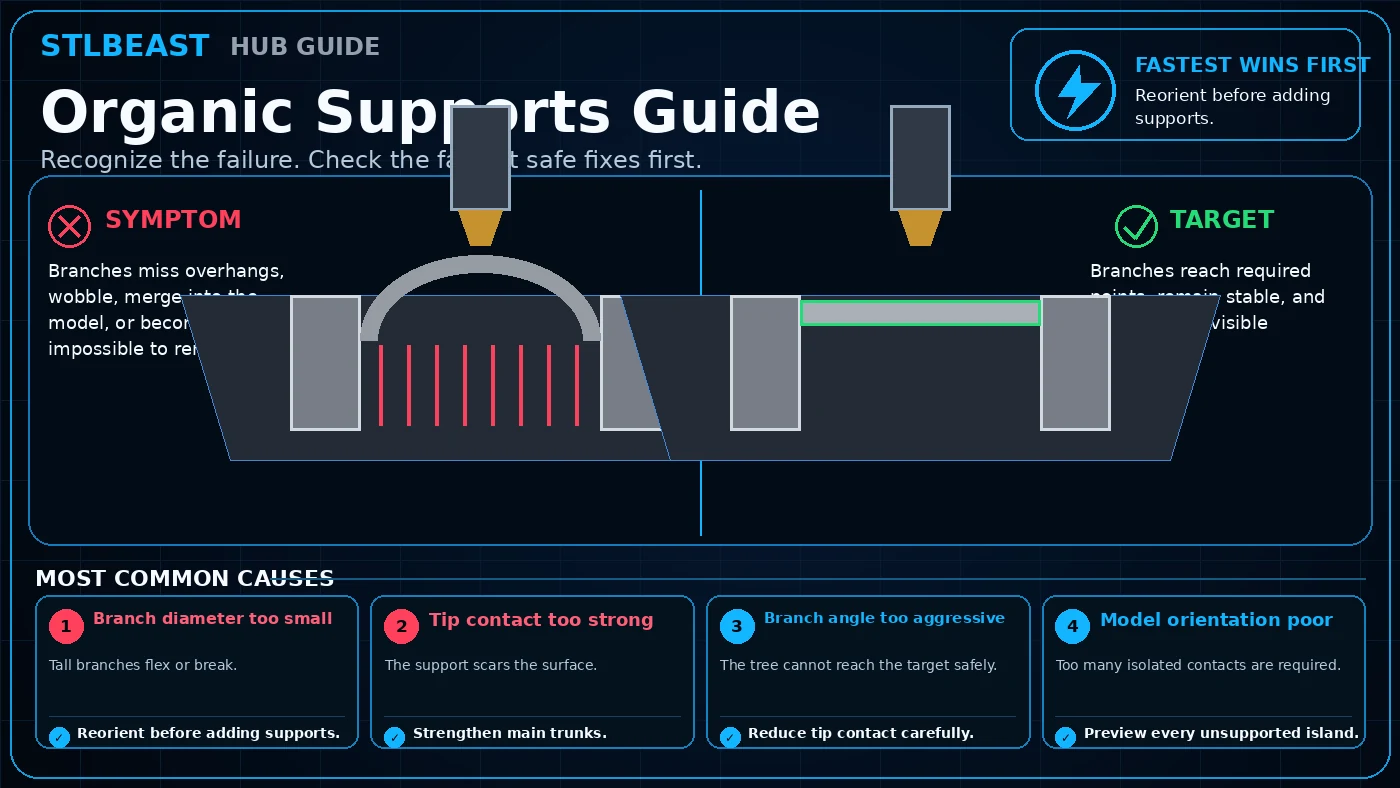 Supports & Geometry
Branches miss overhangs, wobble, merge into the model, or become impossible to remove. Start by checking Branch diameter too small. Start with reorient before adding…
Open repair path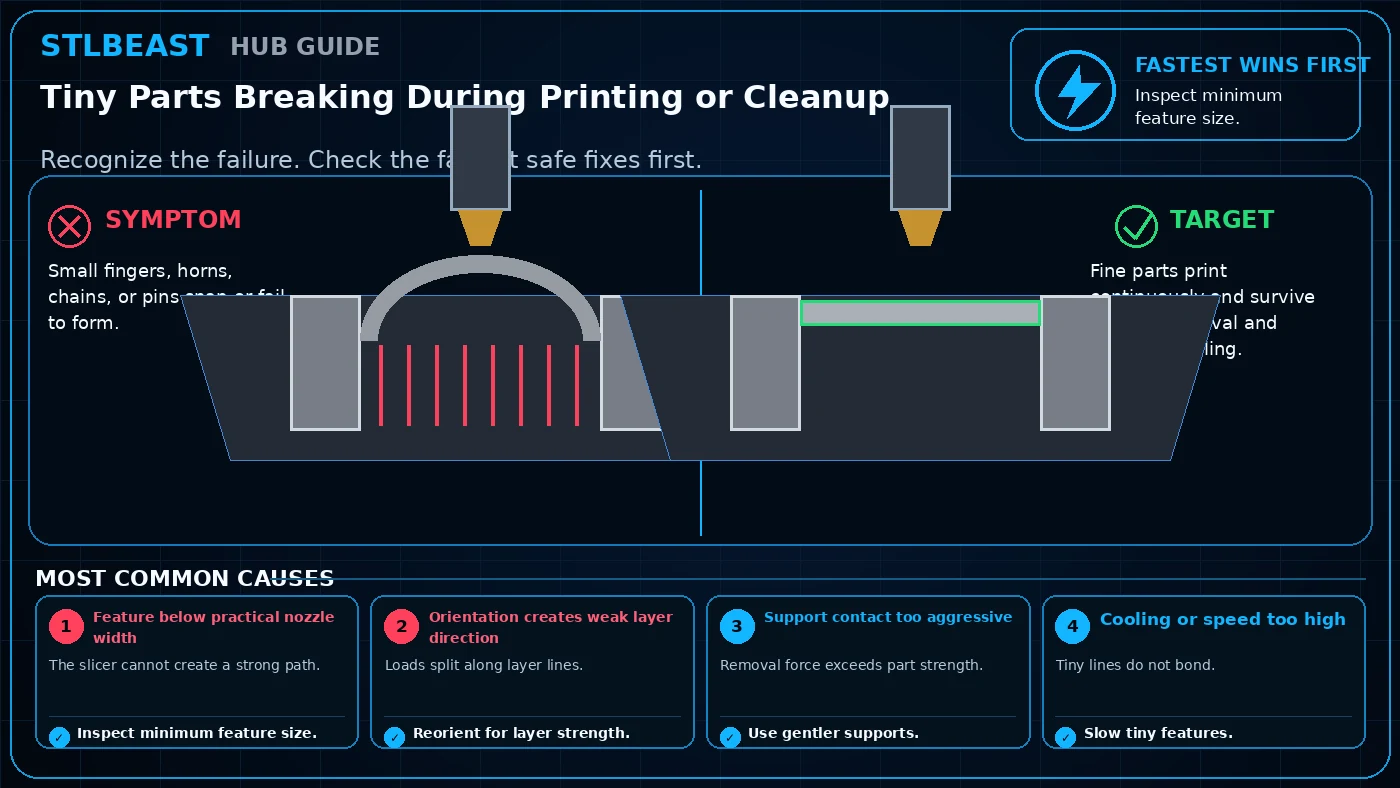 Supports & Geometry
Small fingers, horns, chains, or pins snap or fail to form. Start by checking Feature below practical nozzle width. Start with inspect minimum feature size, then…
Open repair path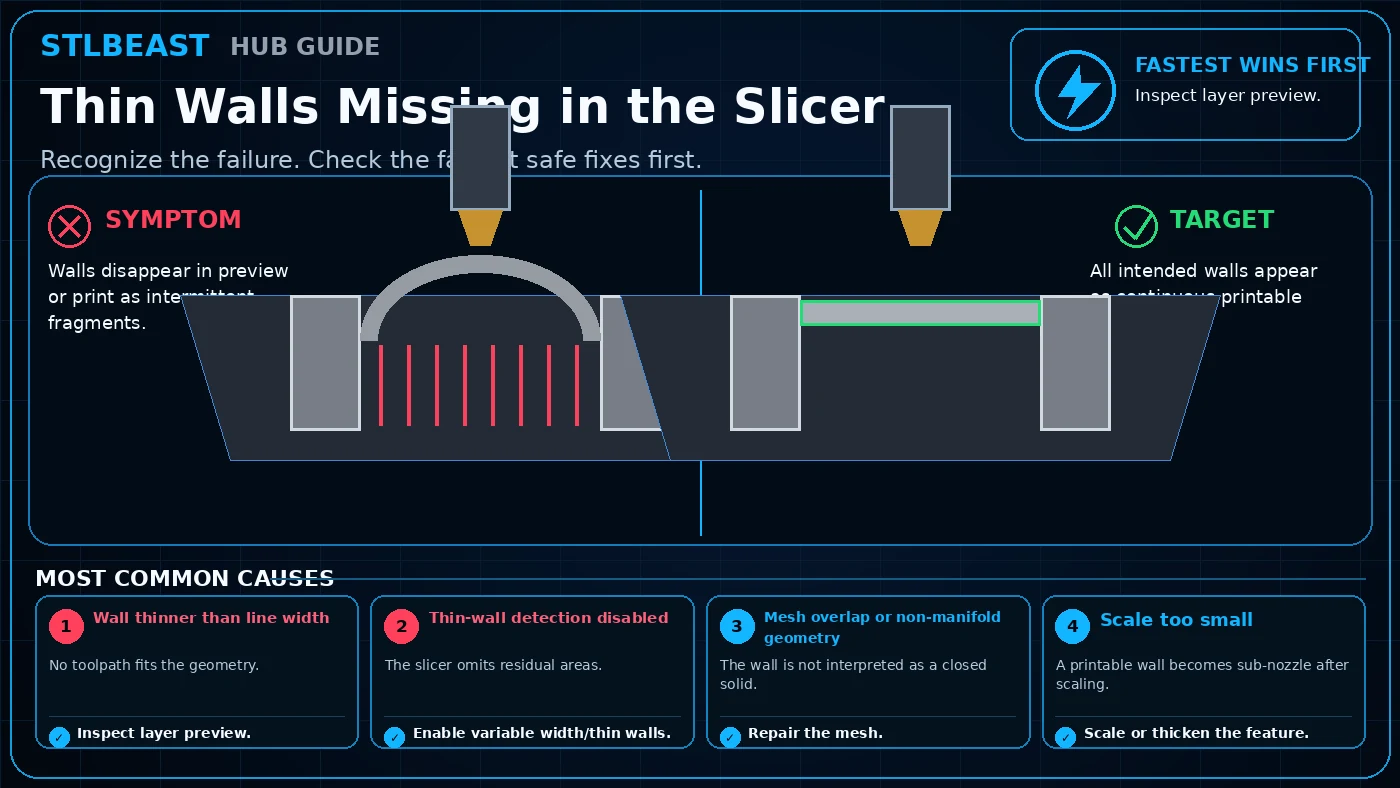 Supports & Geometry
Walls disappear in preview or print as intermittent fragments. Start by checking Wall thinner than line width. Start with inspect layer preview, then enable variable…
Open repair path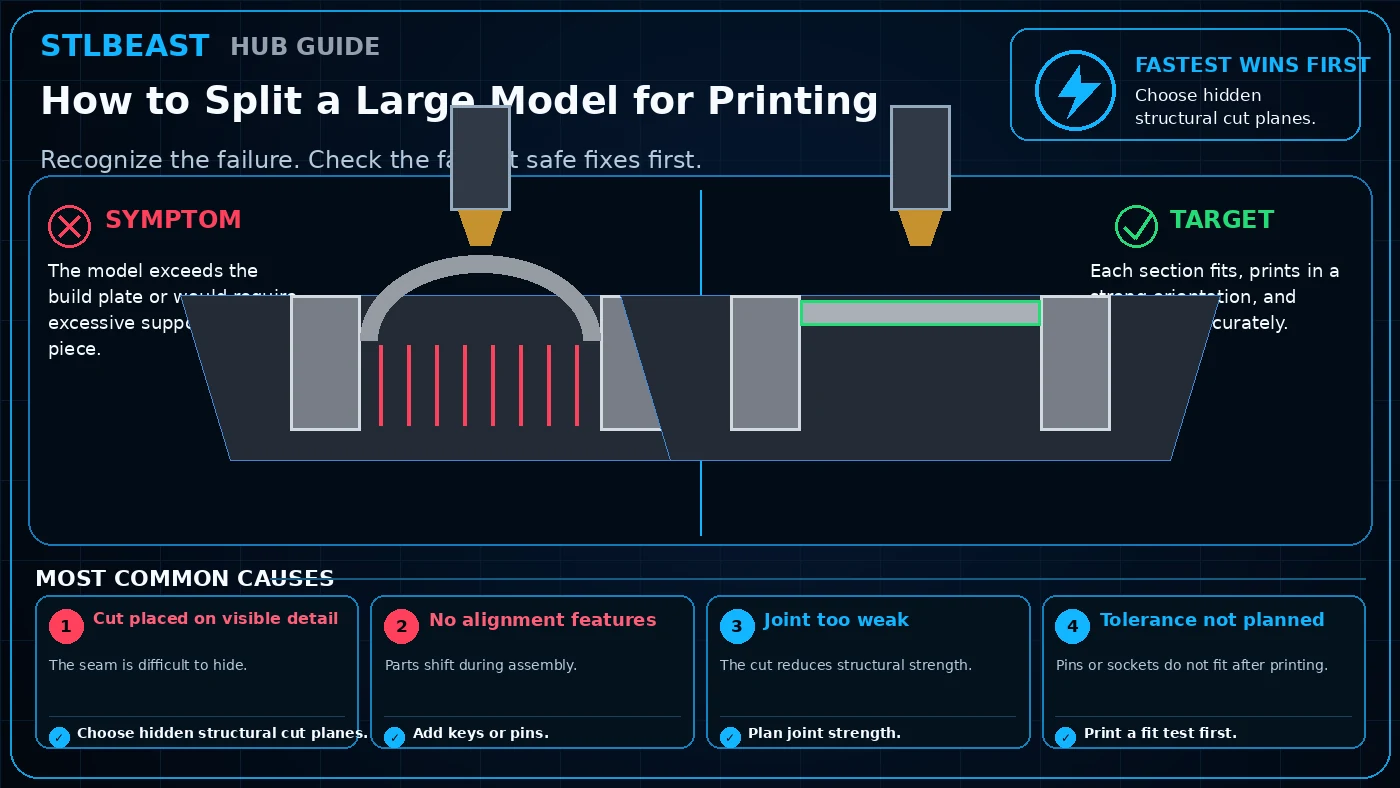 Supports & Geometry
The model exceeds the build plate or would require excessive support as one piece. Start by checking Cut placed on visible detail. Start with choose hidden structural…
Open repair path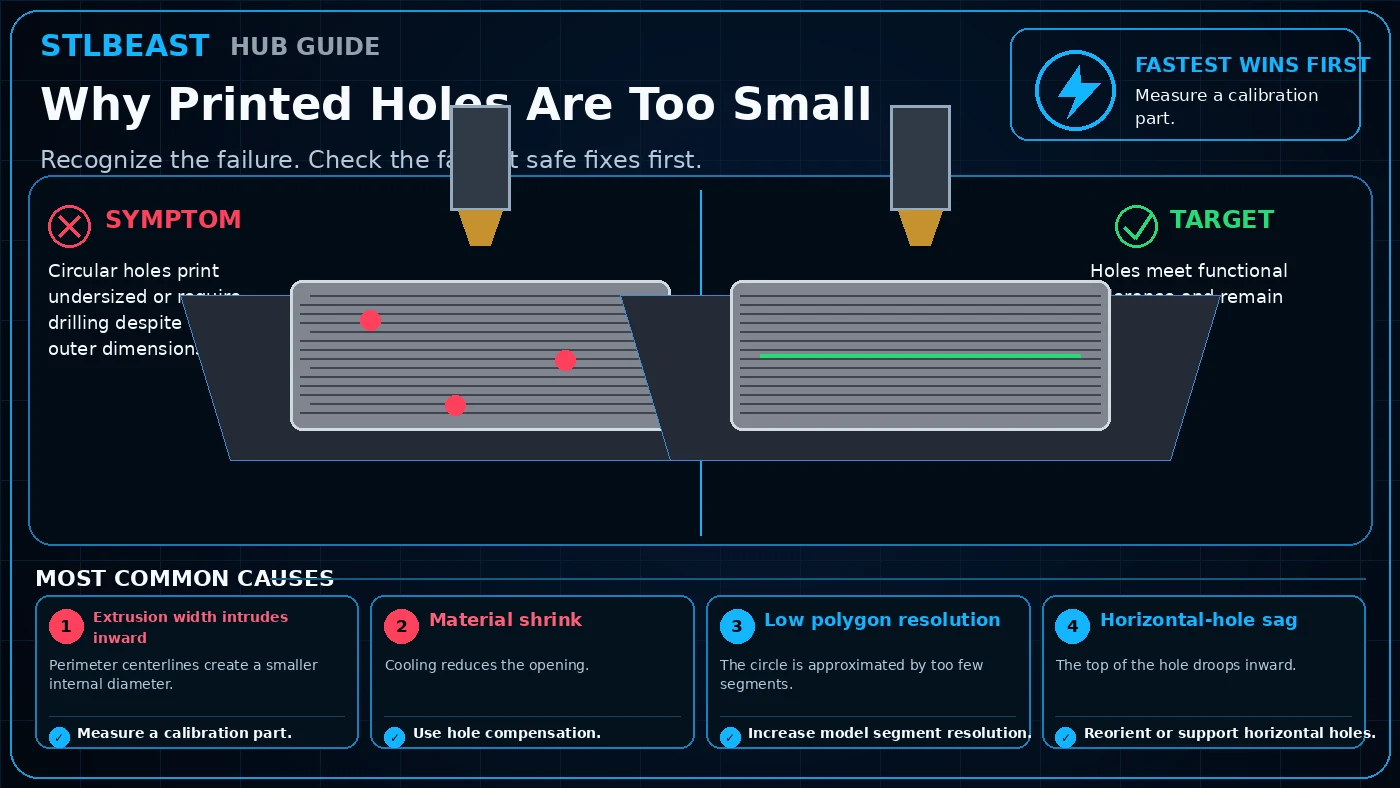 Supports & Geometry
Circular holes print undersized or require drilling despite correct outer dimensions. Start by checking Extrusion width intrudes inward. Start with measure a…
Open repair path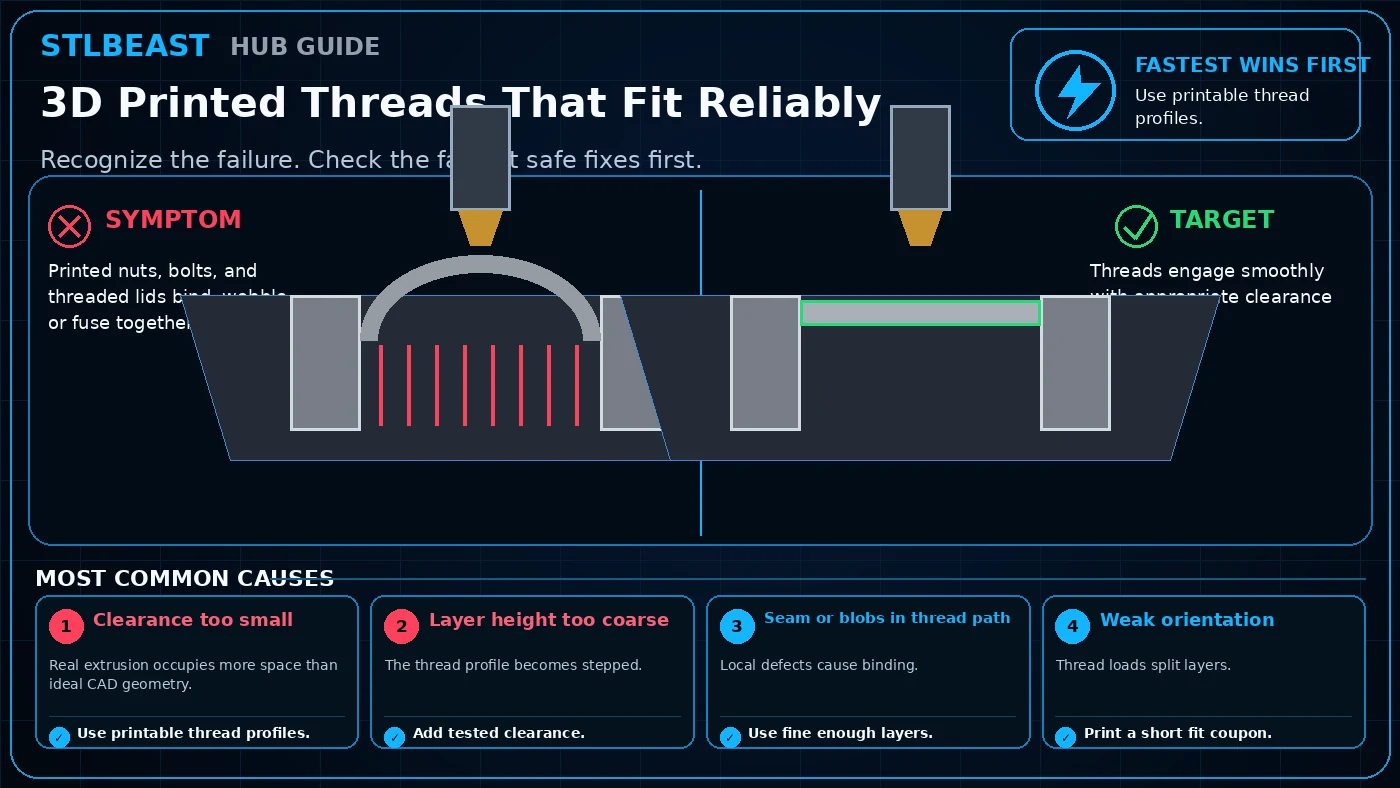 Supports & Geometry
Printed nuts, bolts, and threaded lids bind, wobble, or fuse together. Start by checking Clearance too small. Start with use printable thread profiles, then add…
Open repair pathStringing, seams, blobs, ringing, rough walls and top-surface defects.
 Surface Quality
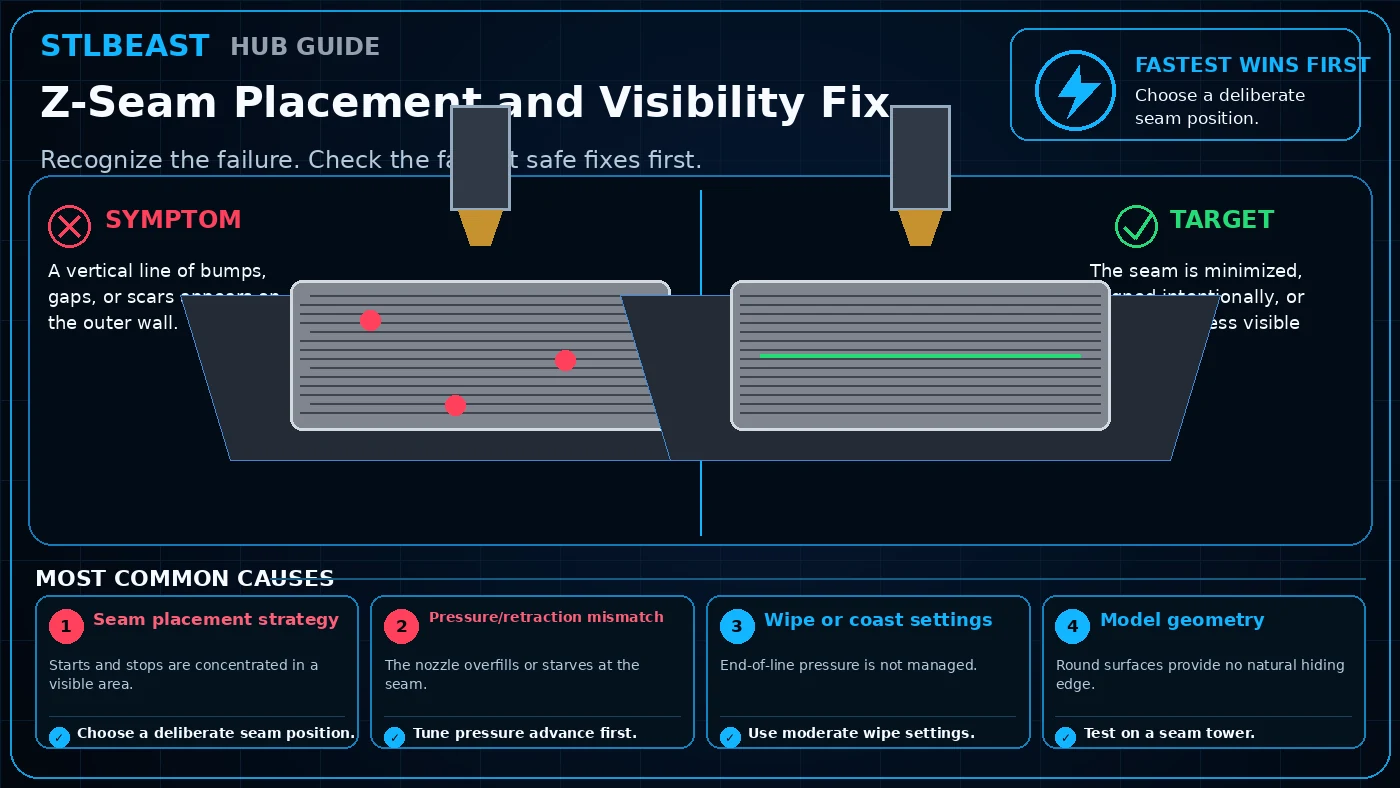
A vertical line of bumps, gaps, or scars appears on the outer wall. Start by checking Seam placement strategy. Start with choose a deliberate seam position, then tune…
Open repair path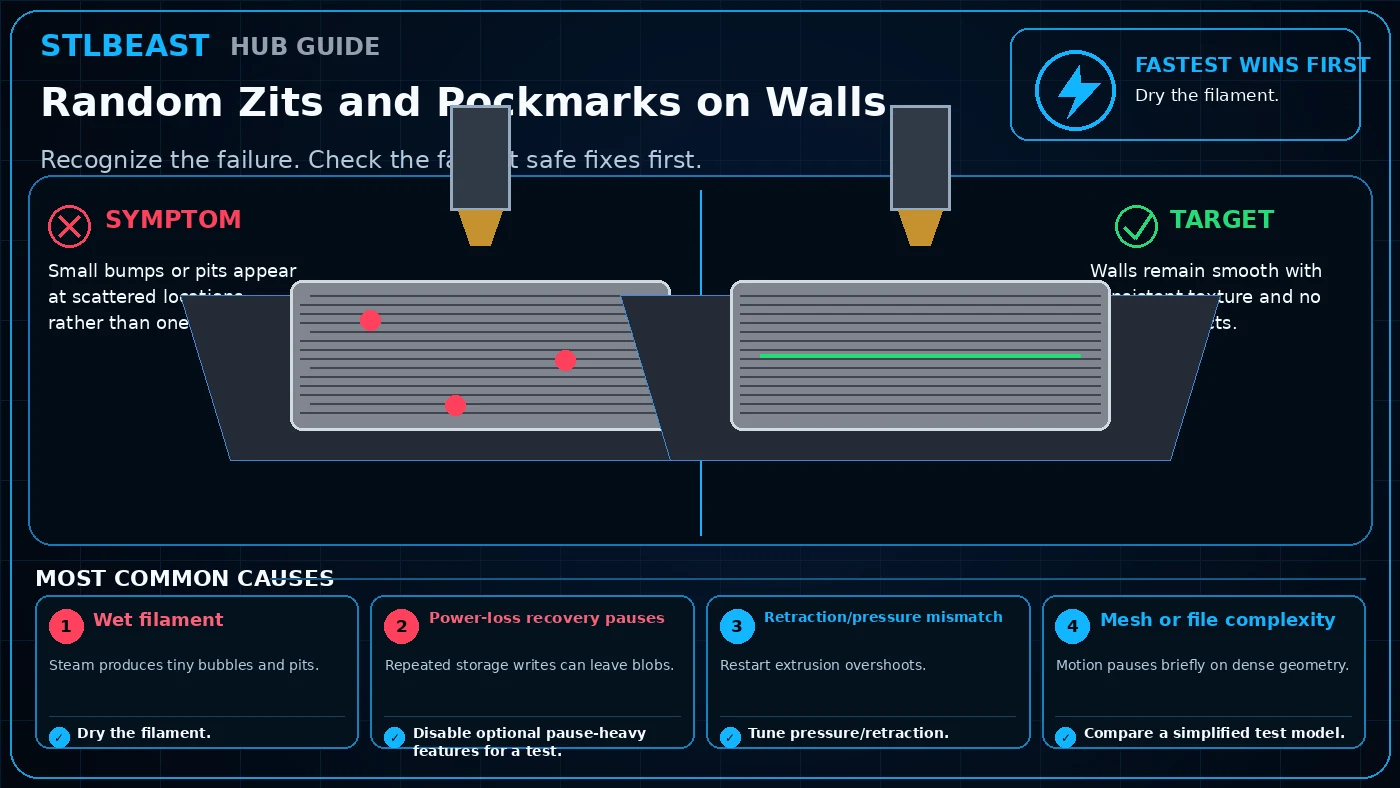 Surface Quality
Small bumps or pits appear at scattered locations rather than one seam line. Start by checking Wet filament. Start with dry the filament, then disable optional…
Open repair path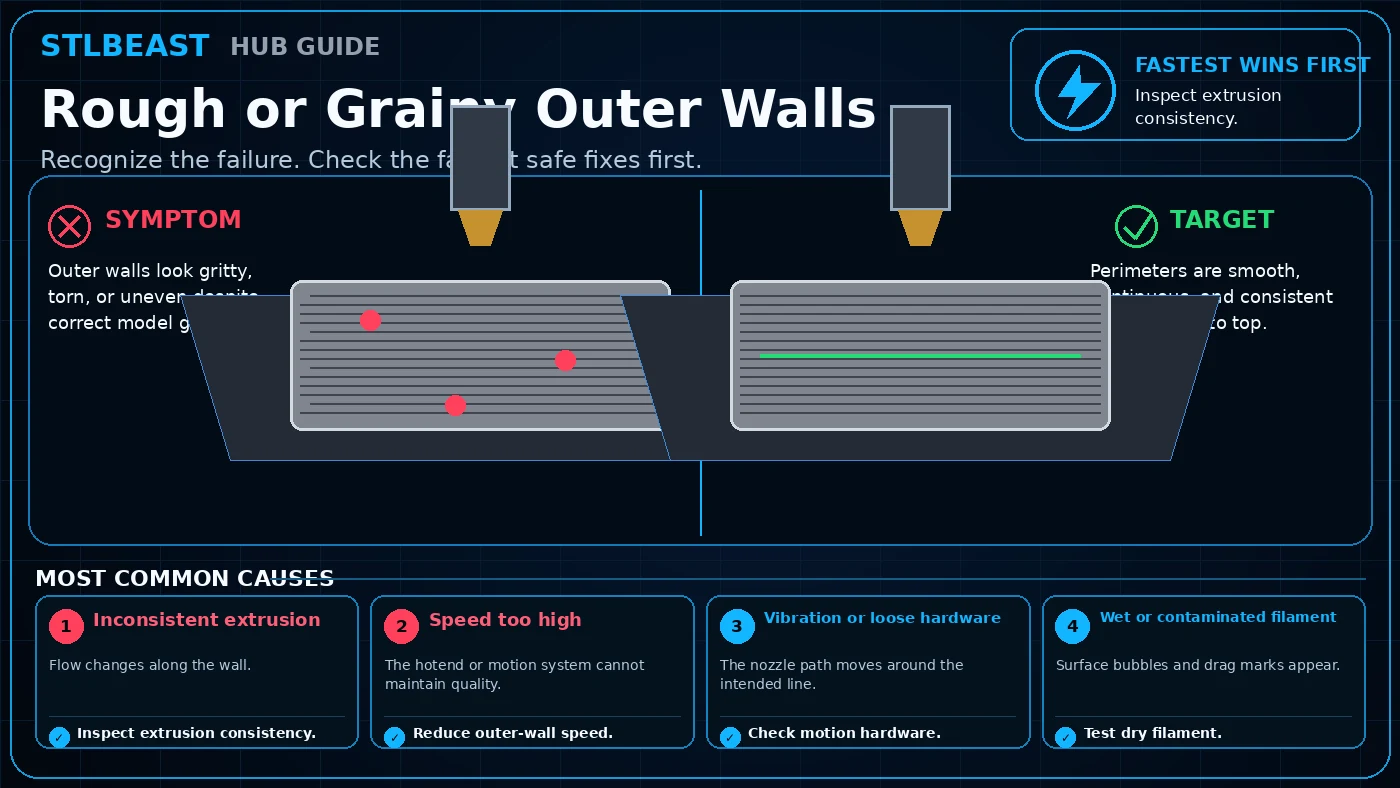 Surface Quality
Outer walls look gritty, torn, or uneven despite correct model geometry. Start by checking Inconsistent extrusion. Start with inspect extrusion consistency, then…
Open repair path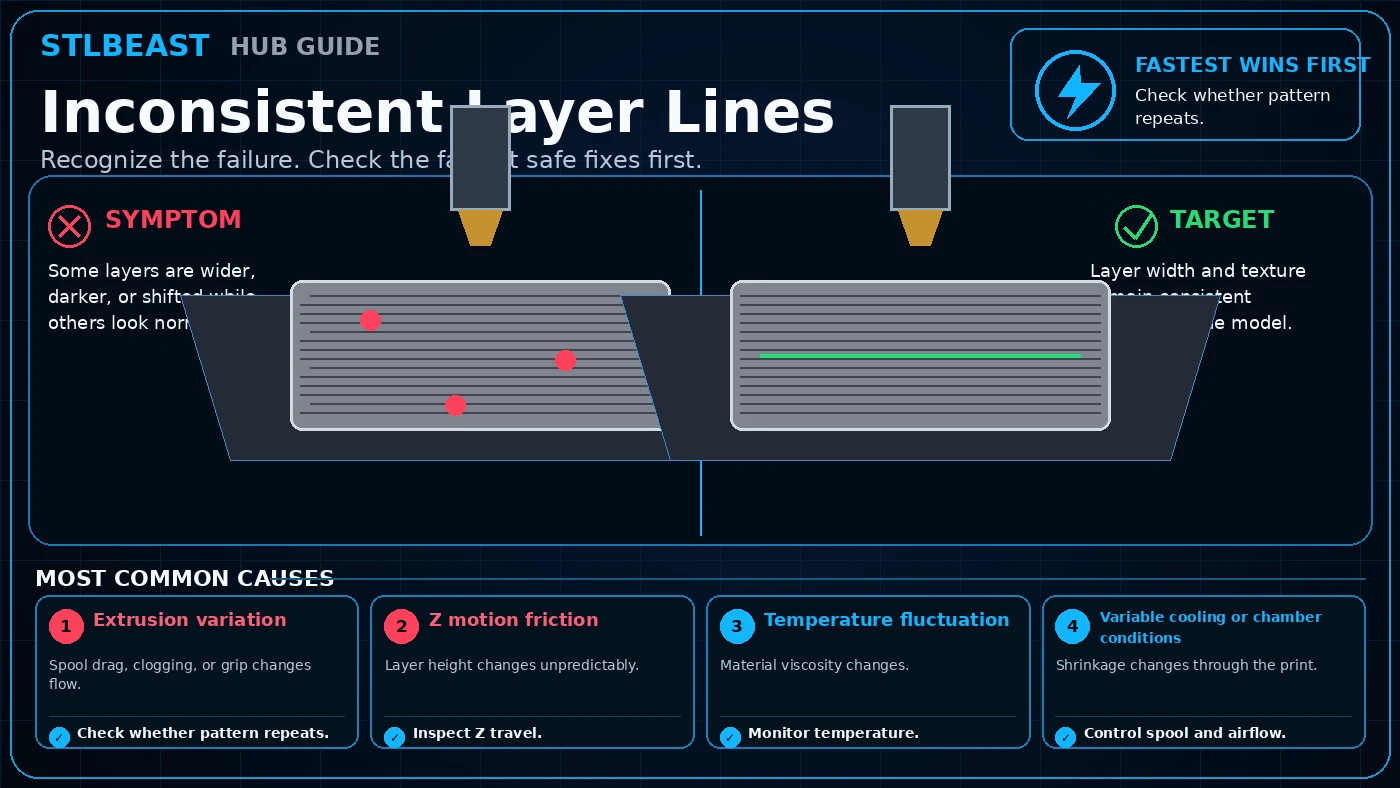 Surface Quality
Some layers are wider, darker, or shifted while others look normal. Start by checking Extrusion variation. Start with check whether pattern repeats, then inspect z…
Open repair path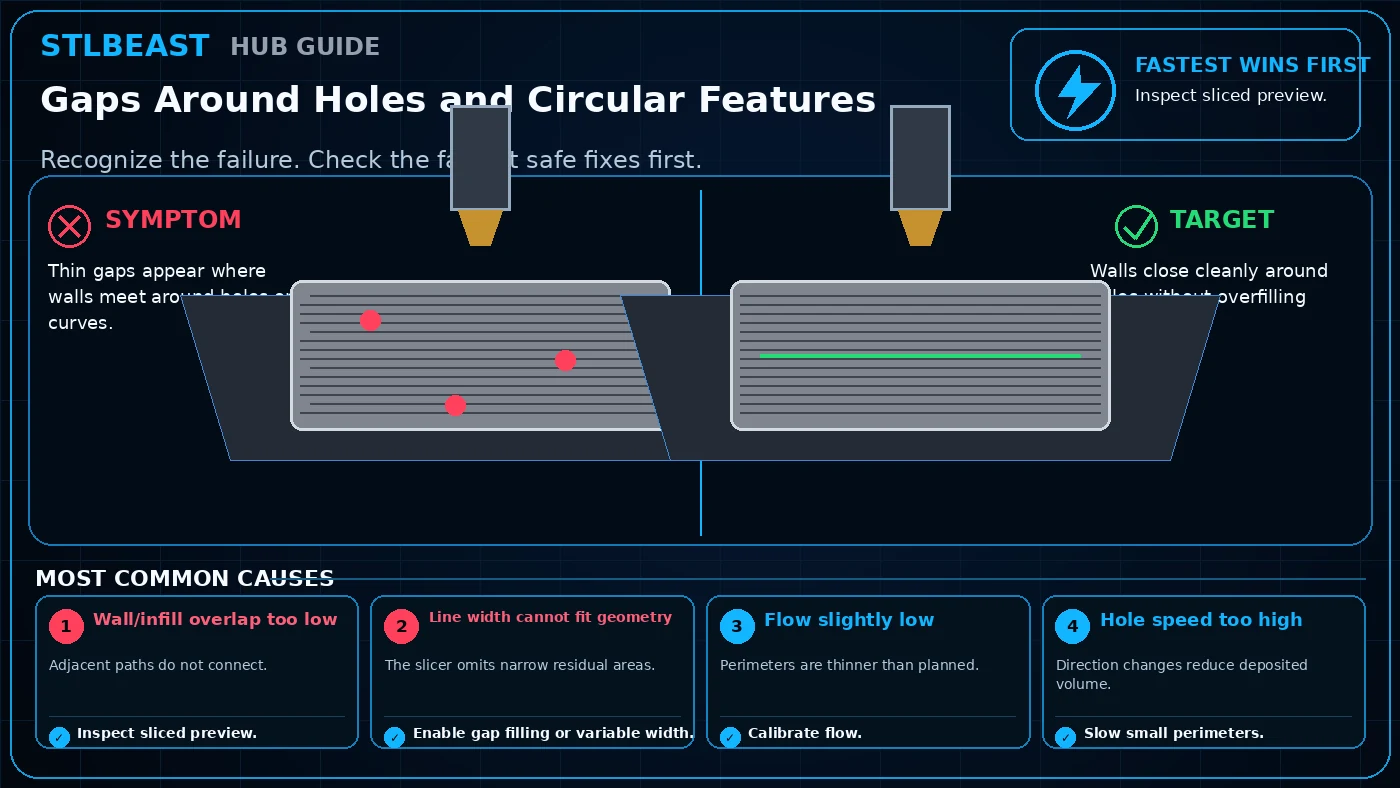 Surface Quality
Thin gaps appear where walls meet around holes or curves. Start by checking Wall/infill overlap too low. Start with inspect sliced preview, then enable gap filling or…
Open repair path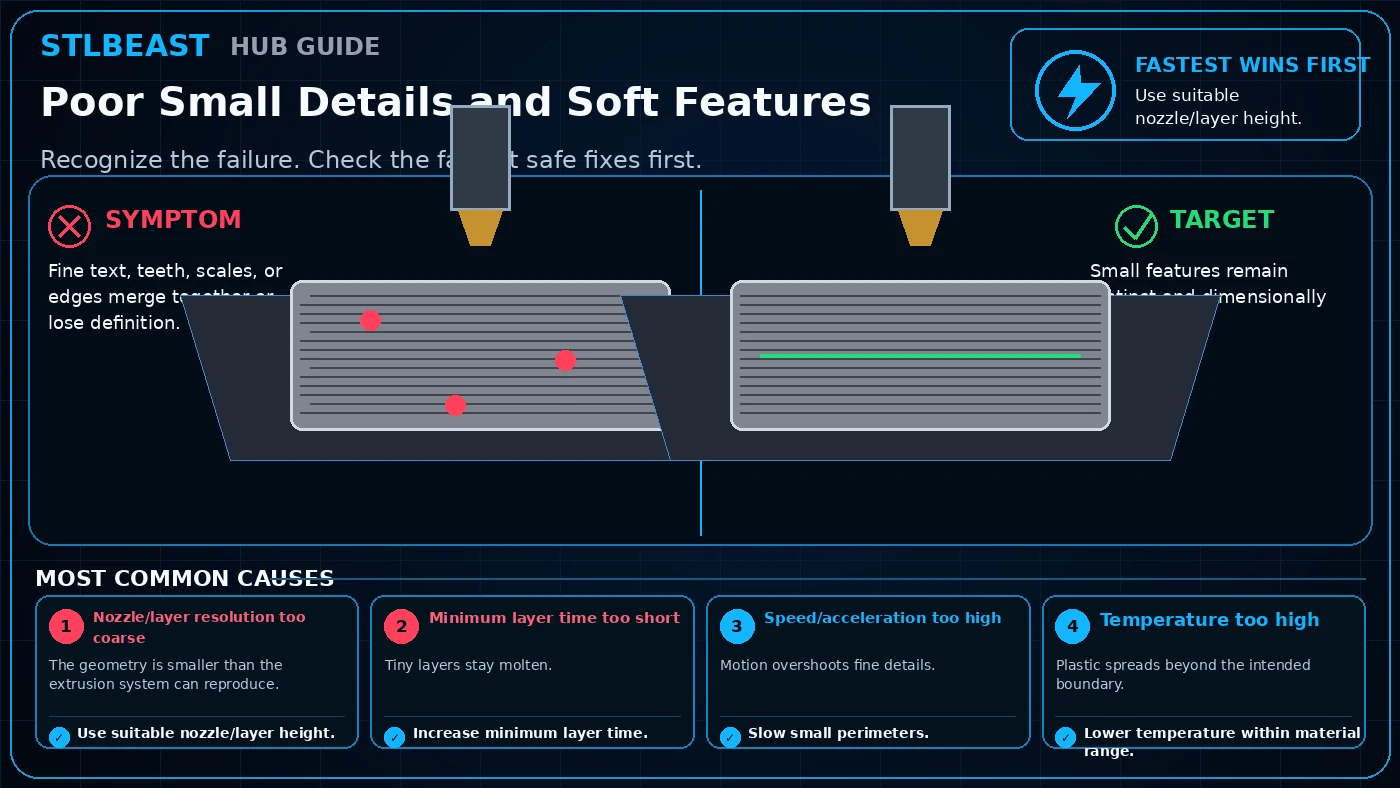 Surface Quality
Fine text, teeth, scales, or edges merge together or lose definition. Start by checking Nozzle/layer resolution too coarse. Start with use suitable nozzle/layer…
Open repair path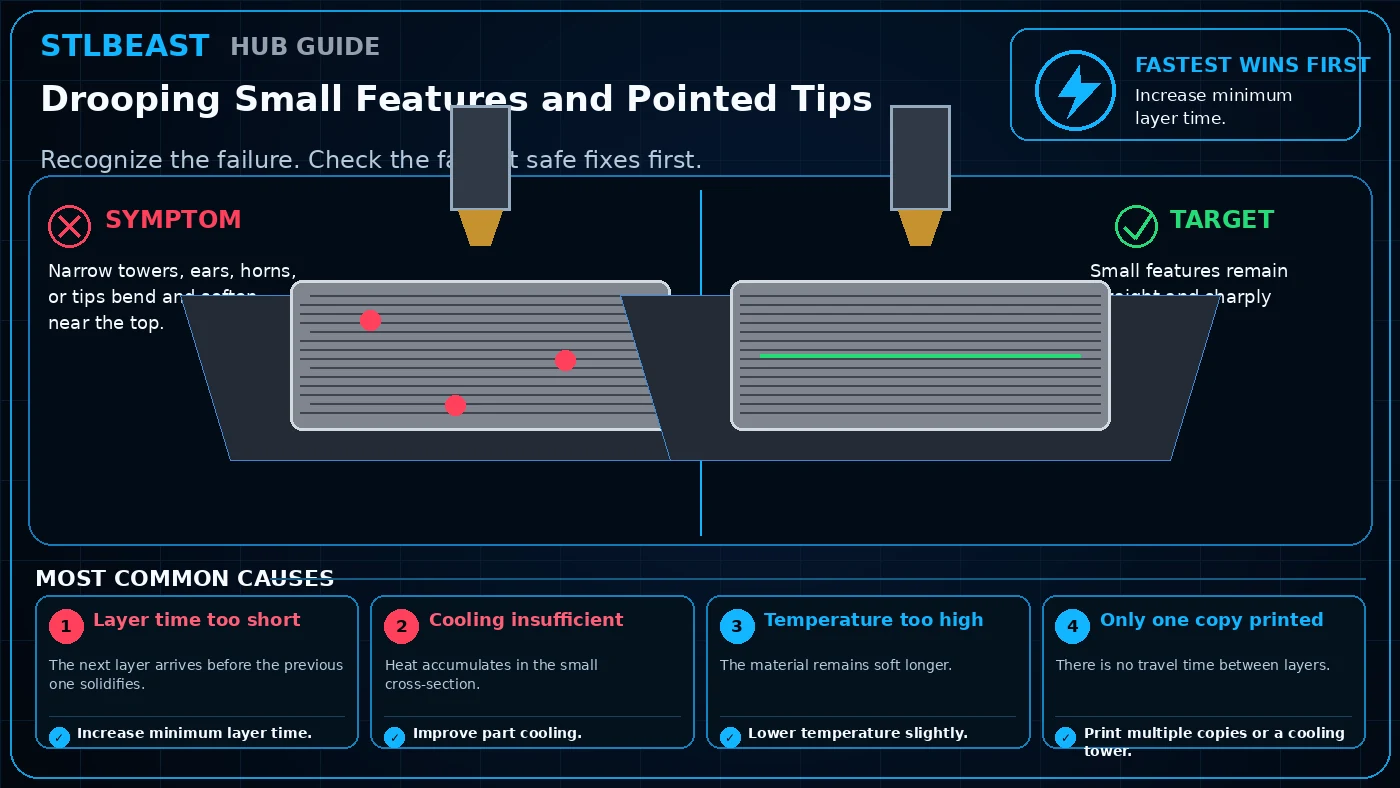 Surface Quality
Narrow towers, ears, horns, or tips bend and soften near the top. Start by checking Layer time too short. Start with increase minimum layer time, then improve part…
Open repair path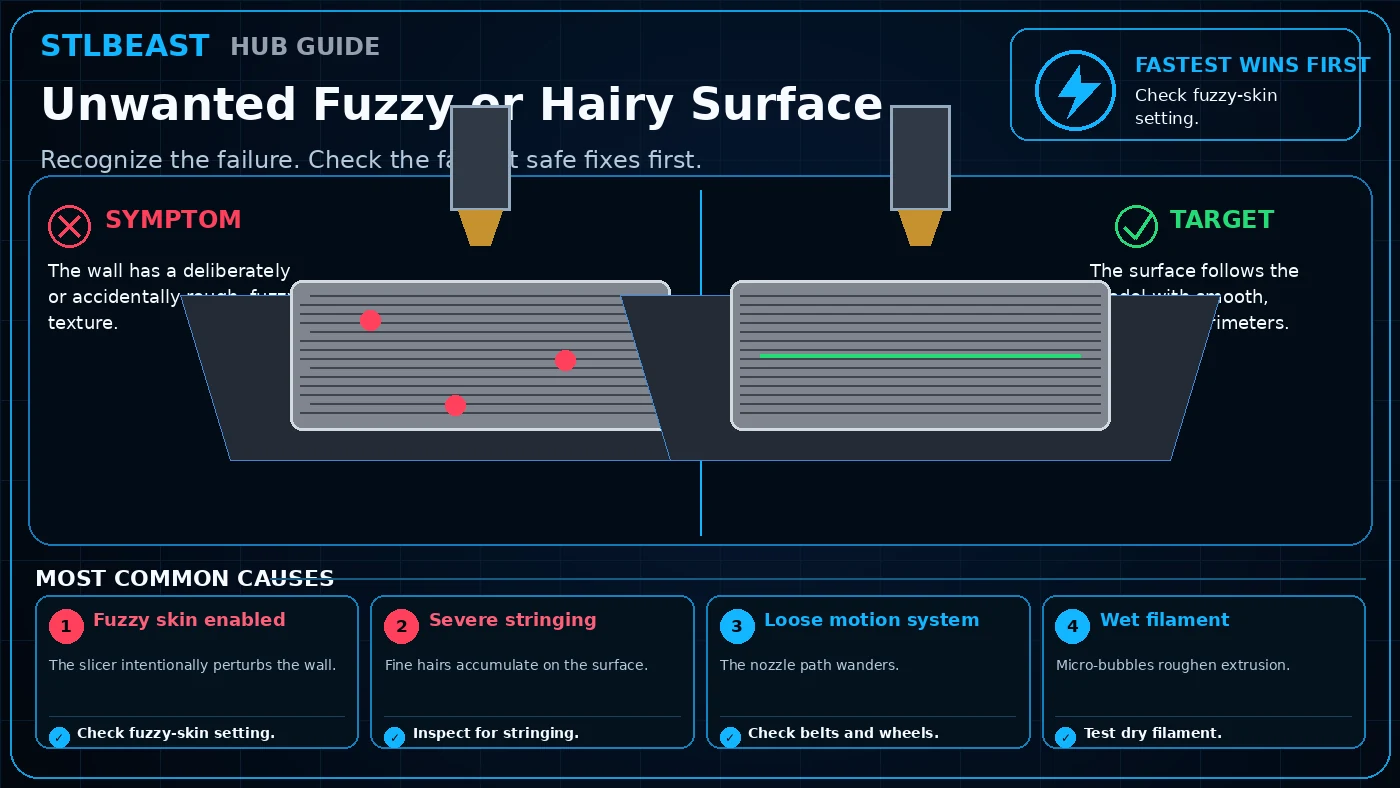 Surface Quality
The wall has a deliberately or accidentally rough, fuzzy texture. Start by checking Fuzzy skin enabled. Start with check fuzzy-skin setting, then inspect for…
Open repair path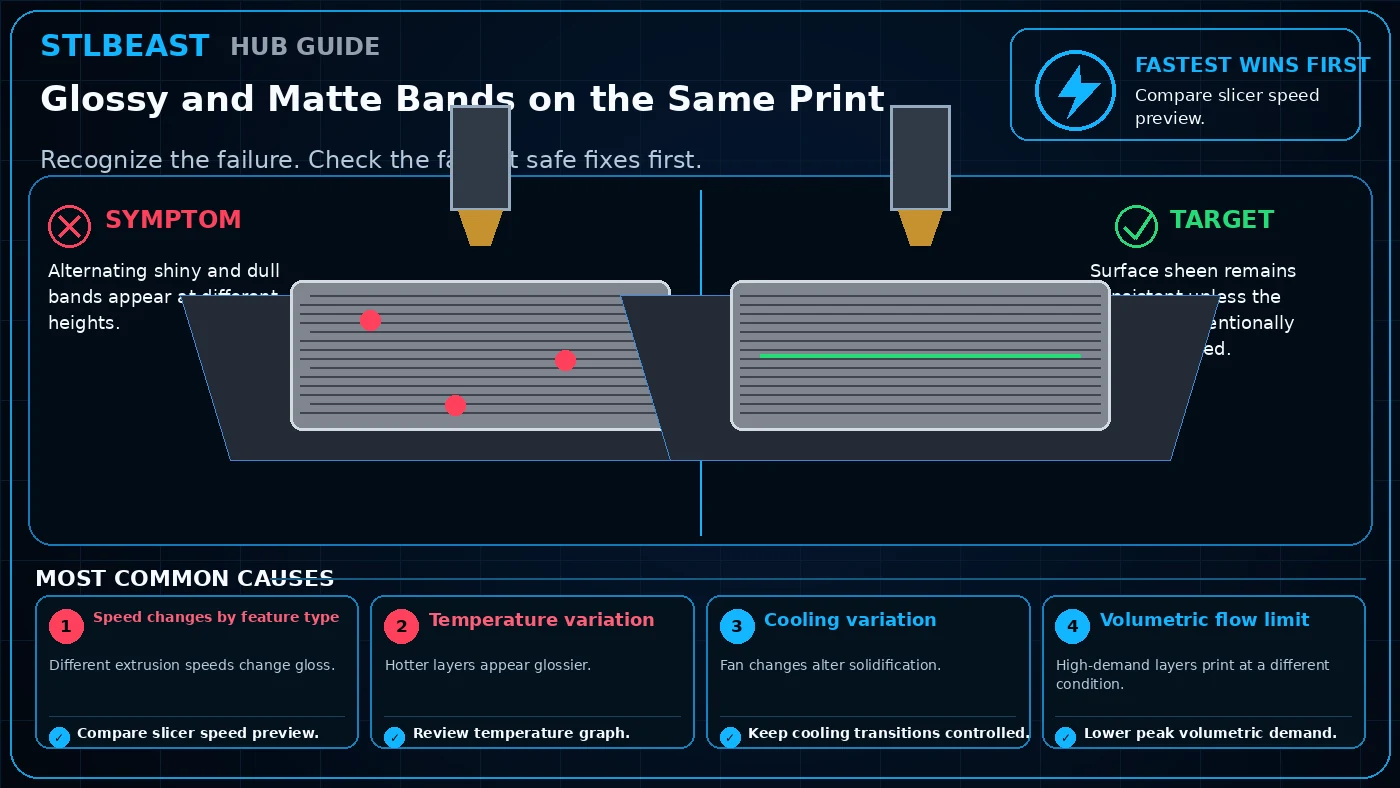 Surface Quality
Alternating shiny and dull bands appear at different heights. Start by checking Speed changes by feature type. Start with compare slicer speed preview, then review…
Open repair path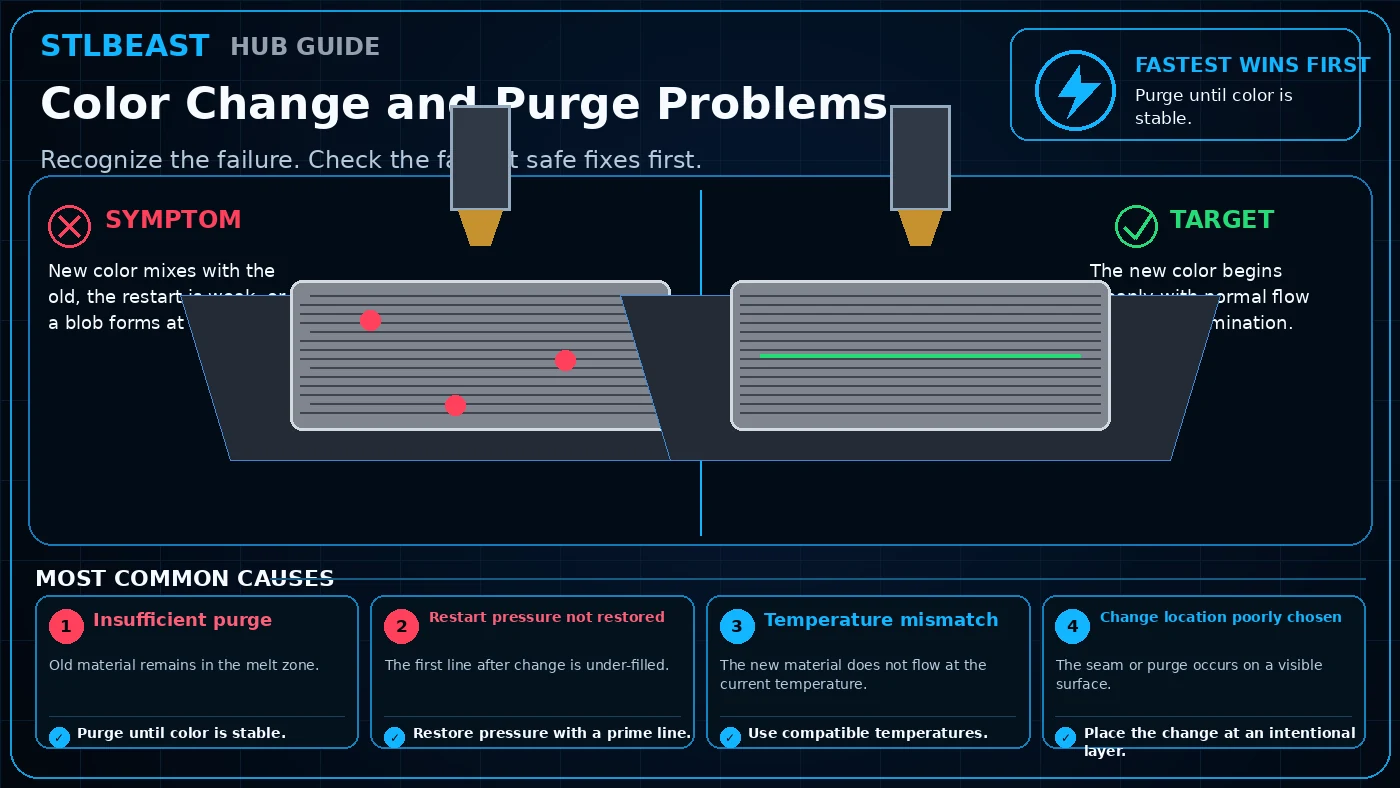 Surface Quality
New color mixes with the old, the restart is weak, or a blob forms at the change. Start by checking Insufficient purge. Start with purge until color is stable, then…
Open repair path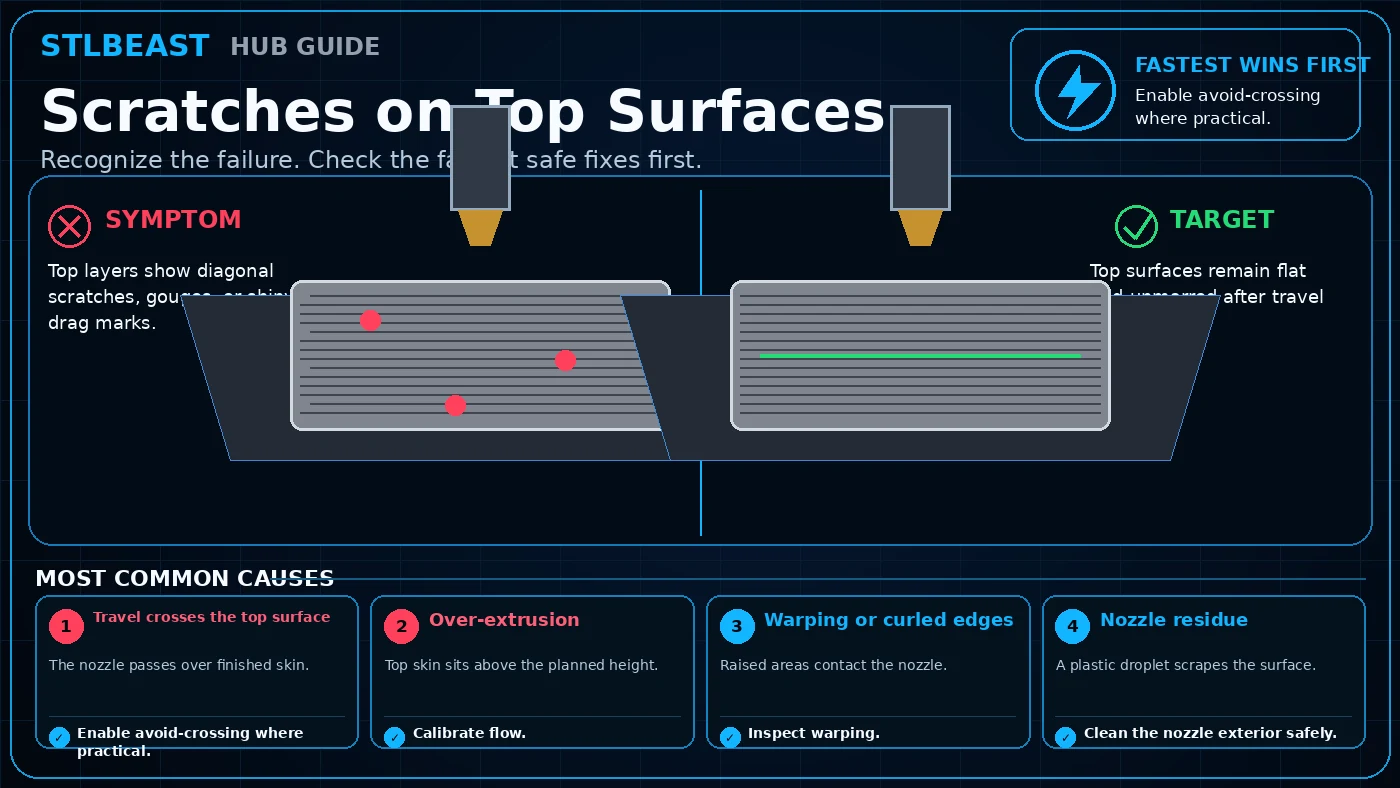 Surface Quality
Top layers show diagonal scratches, gouges, or shiny drag marks. Start by checking Travel crosses the top surface. Start with enable avoid-crossing where practical,…
Open repair path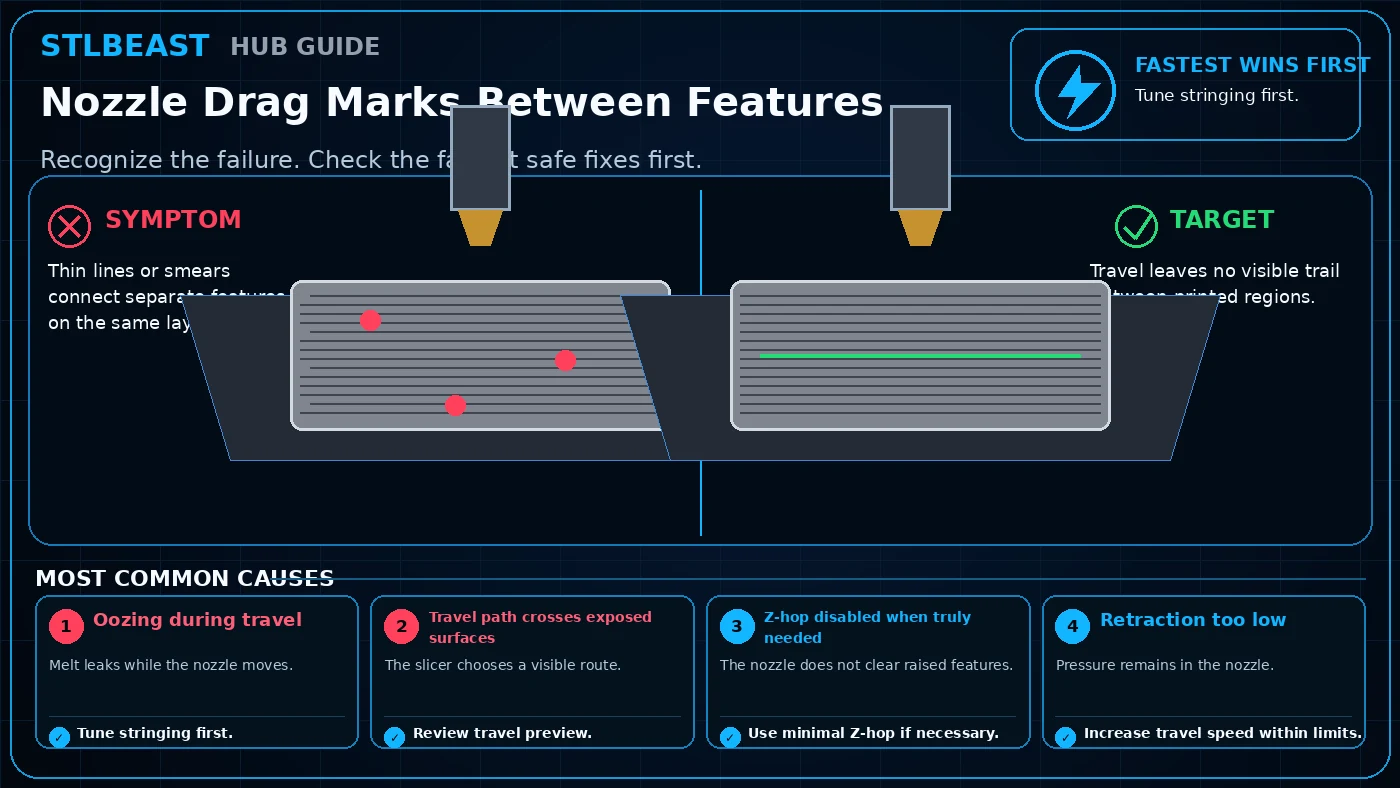 Surface Quality
Thin lines or smears connect separate features on the same layer. Start by checking Oozing during travel. Start with tune stringing first, then review travel preview.…
Open repair path
Pair practical Hub guidance with a matched STLBEAST collection, release alerts, or complete member tools.