
Choose final scale first
Check the full height, base footprint, printer Z clearance, nozzle size, and the smallest visible details. Scaling after supports are generated can weaken tips and alter support gaps.
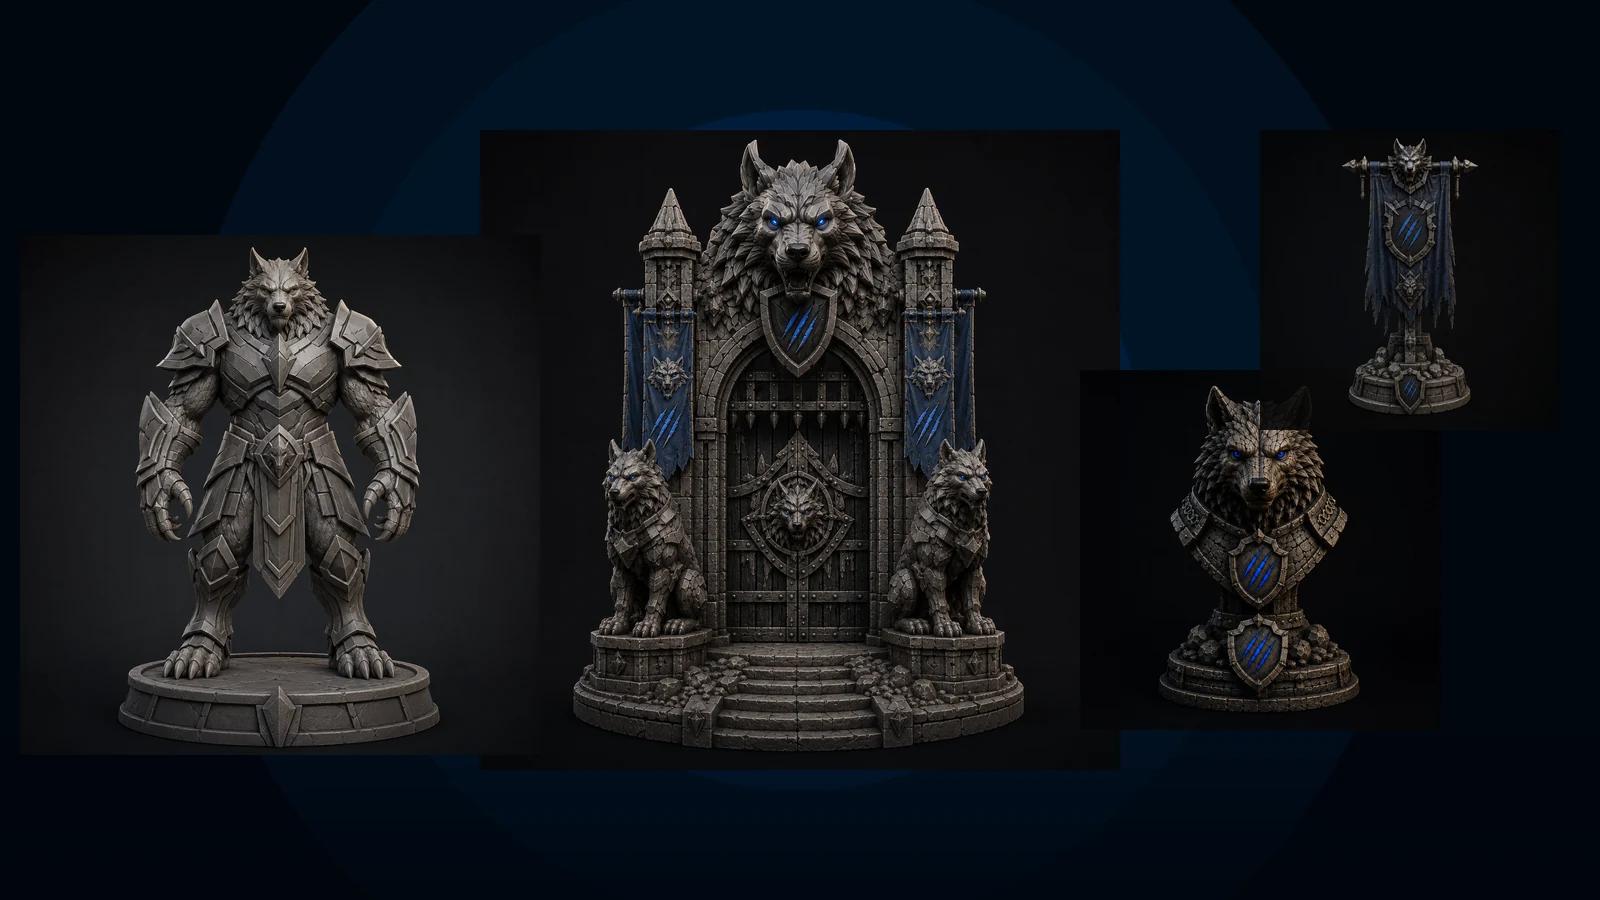
Tall armor, pointed ears, layered fur, architectural arches, banners, and stone textures all fail differently. Use this order to plan the model before support generation and protect the most visible surfaces.
Check the full height, base footprint, printer Z clearance, nozzle size, and the smallest visible details. Scaling after supports are generated can weaken tips and alter support gaps.
Keep the face, chest, shields, and main gate facade away from dense support contact. Rotate the model so support marks land on rear armor, hidden stone, or assembly seams.
Inspect ears, claws, fur tips, banner edges, crossbars, teeth, chains, and arch overhangs layer by layer. These need deliberate support rather than a global support increase.
Use adequate brims, stable orientation, slower outer walls, and conservative acceleration for banners, towers, ears, and long vertical armor points.
For very large gates or statues, use existing armor lines, masonry courses, pedestal layers, or hidden rear surfaces as logical separation points.
Preview every island, support interface, bridge, thin wall, and seam. Then print a small detail test when the full model will consume significant time or material.
Use AI Doctor for failure analysis, Printer Settings Finder for a safe starting profile, and Profile Vault to preserve the settings that worked.