Repair sequence
Work from top to bottom. Stop when the failure is resolved, verify it with a small test and record the successful setup.
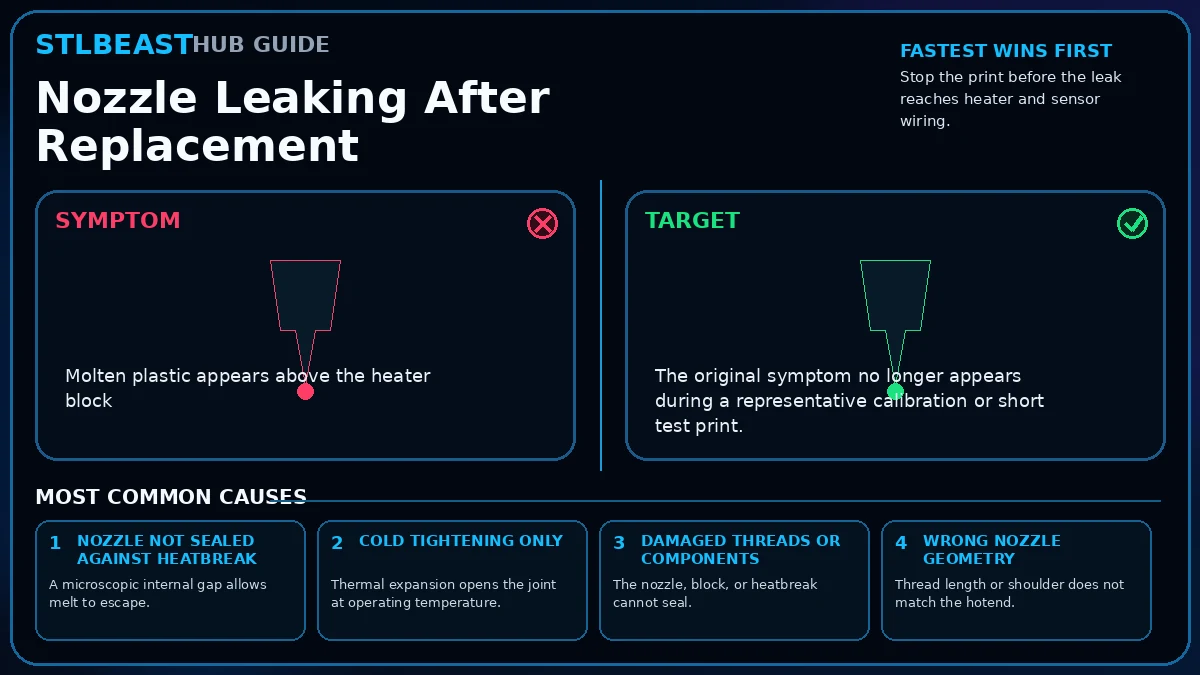
- Stop the print before the leak reaches heater and sensor wiring.
- Allow the hotend to cool, disconnect power, and remove accessible plastic safely.
- Inspect nozzle, block, heatbreak, heater, thermistor, and threads for damage.
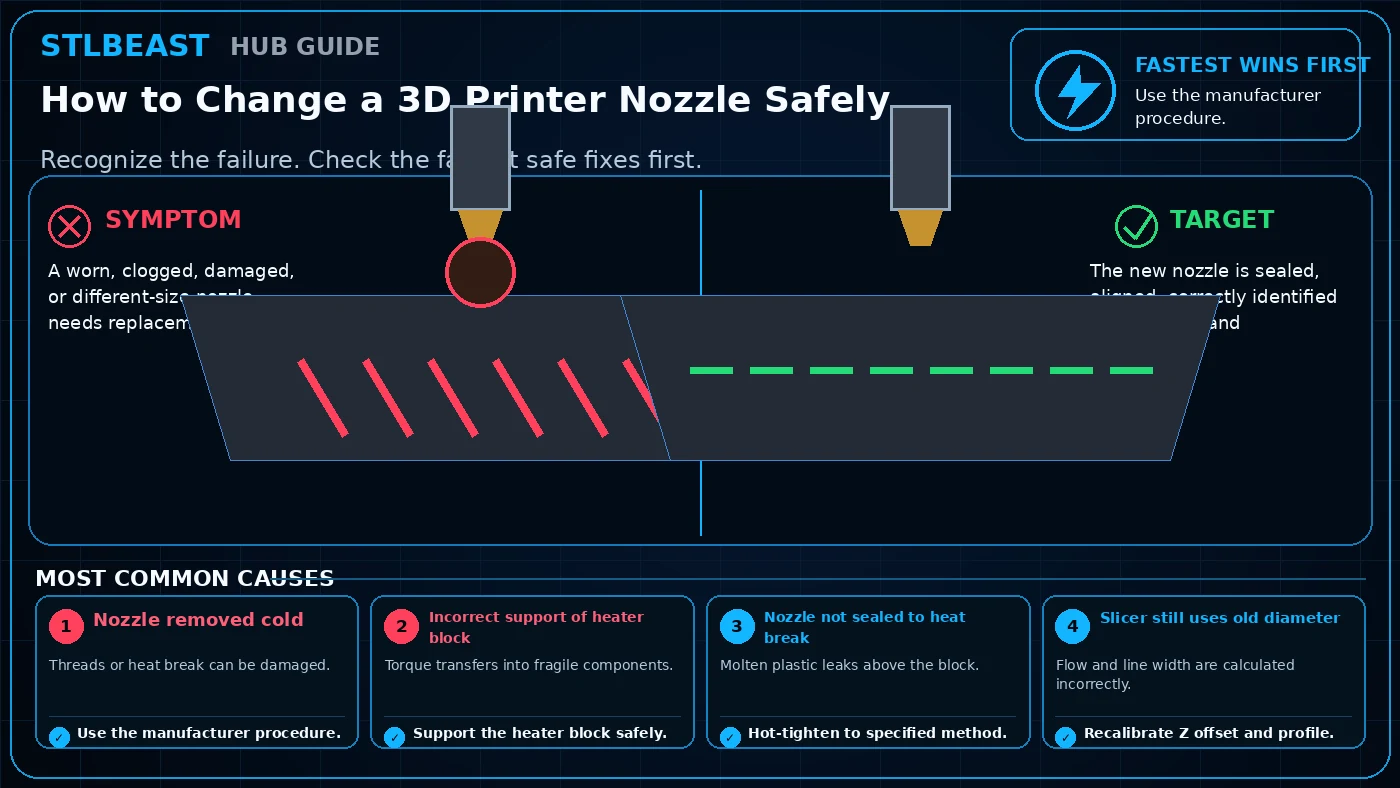
- Confirm the replacement nozzle is compatible in thread, length, and seating geometry.
- Reassemble with the nozzle and heatbreak meeting internally according to the official procedure.
- Heat to the specified service temperature while supporting the heater block with the proper tool.
- Apply the manufacturer torque or snugging method without twisting wires.
- Run a supervised heat and extrusion test, then recheck for seepage.
Safety and accuracyStay within the printer, material, resin, hotend, build-surface, electrical, ventilation, and personal-protection limits published by the manufacturers. Stop immediately for heater errors, smoke, electrical damage, severe binding, uncontrolled motion, or resin exposure.