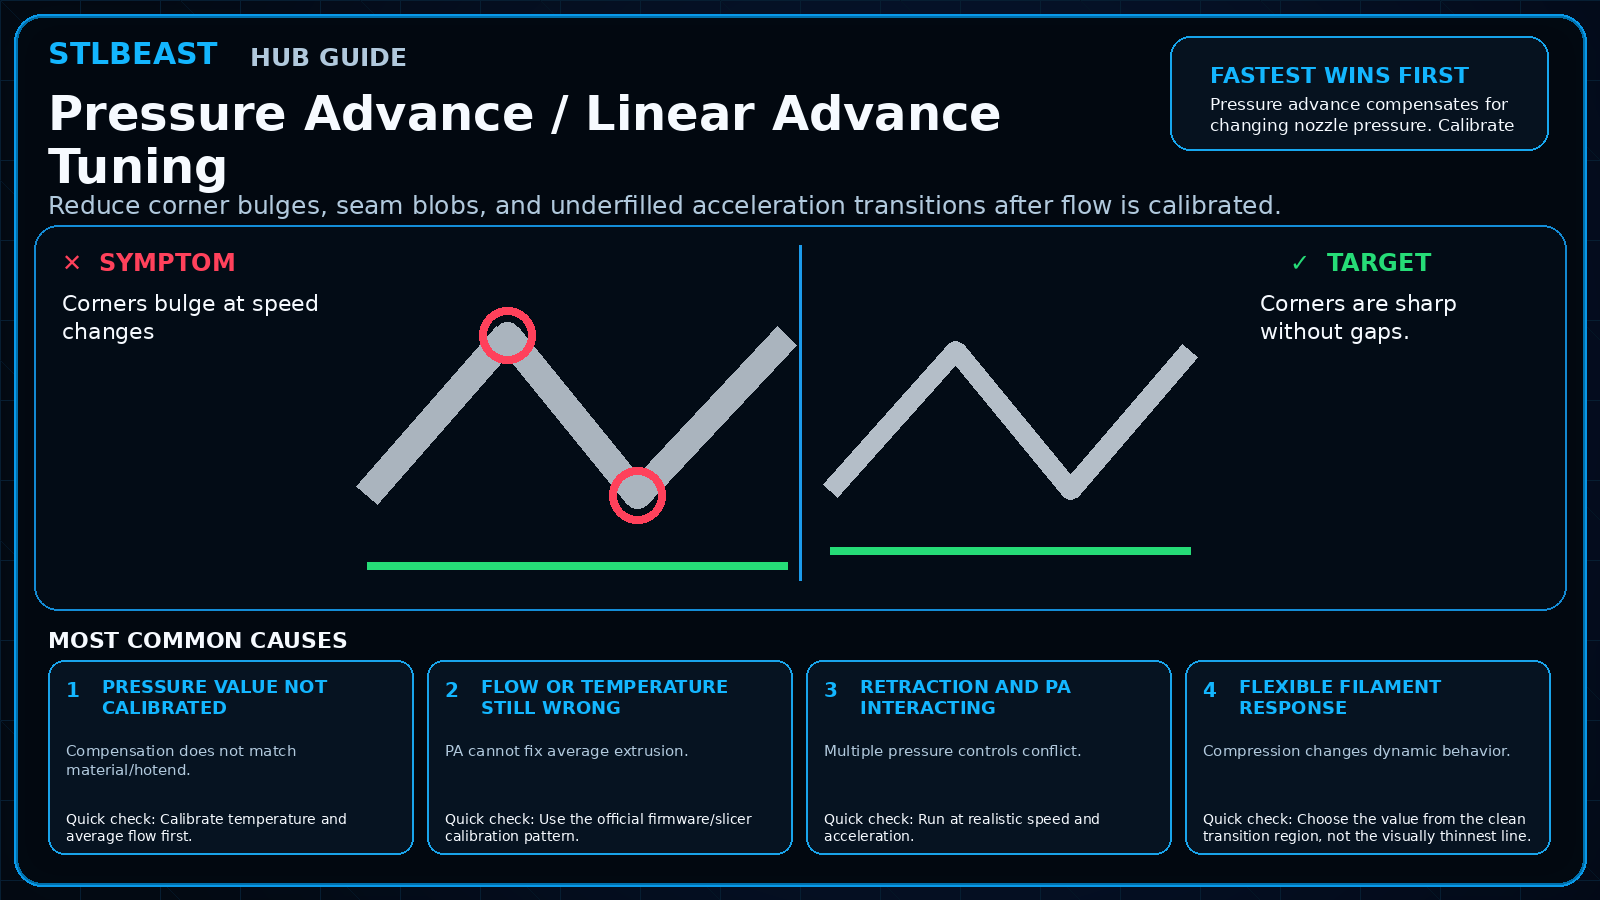
Reduce corner bulges, seam blobs, and underfilled acceleration transitions after flow is calibrated.
Fast answer
Pressure advance compensates for changing nozzle pressure. Calibrate it after temperature and flow, using the printer firmware and slicer’s supported method.
Work from top to bottom. Stop when the failure is resolved, verify it with a small test, and record the successful setup.
Calibrate temperature and average flow first.
Use the official firmware/slicer calibration pattern.
Run at realistic speed and acceleration.
Choose the value from the clean transition region, not the visually thinnest line.
Verify corners, seams, and small features on a second model.
Retune after major nozzle, hotend, tube, or material changes.
Use caution with flexible materials and extreme values.
Safety and accuracyChange one variable at a time and keep every adjustment inside the printer, hotend, build-surface, and filament manufacturer limits.
Fast decision path
1If you see evidence of pressure value not calibrated
Compensation does not match material/hotend. Confirm it with the smallest safe test before continuing.
2If you see evidence of flow or temperature still wrong
PA cannot fix average extrusion. Confirm it with the smallest safe test before continuing.
3If you see evidence of retraction and pa interacting
Multiple pressure controls conflict. Confirm it with the smallest safe test before continuing.
Settings to review
Setting
How to use it
Pressure advance value
Printer/firmware-specific; never copy blindly.
Acceleration
Calibration should resemble actual profile.
Retraction
Review after PA, but do not eliminate necessary retraction automatically.
Material notes
PLA/PETG
Commonly benefit once flow is calibrated.
TPU
Dynamic compression can make tuning difficult.
Printer context
Bedslinger
Check bed seating, gantry alignment, belts, eccentric wheels, and first-layer consistency across the plate.
CoreXY
Start from the official machine profile; inspect belt balance, input shaping, flow, pressure advance, and chamber conditions.
Delta
Confirm delta calibration, tower movement, belt tension, effector stability, and full-bed mapping.
Resin / SLA
Use resin-specific exposure, lift, support, temperature, wash, cure, and personal-protection procedures.
Where to look in the slicer
OrcaSlicer / Bambu Studio
Process → Quality, Strength, Speed, Support and Filament settings; use calibration tools for temperature, flow and pressure advance.
PrusaSlicer
Print Settings, Filament Settings and Printer Settings; inspect the sliced preview and layer slider before export.
Cura / Creality Print
Quality, Walls, Top/Bottom, Material, Speed, Travel, Cooling, Support and Build Plate Adhesion.
Resin slicers
Printer/resin profile, exposure, lift/retract, support contact, raft and hollow/drain settings.
How to verify the fix
Corners are sharp without gaps.
Line width remains stable through speed changes.
Seams are reduced without restart under-extrusion.
Value is repeatable.
Prevent it next time
Save by material/hotend.
Retune after hardware changes.
Do not use PA to compensate for a clog.
Keep firmware/slicer method documented.
Printer Settings preview
Useful sample now. Full personalized profile for members.
Every visitor can use the guide and receive a practical sample. Members unlock the complete printer/material profile, exact adjustment order, copy/export controls, saved Profile Vault history, and deeper AI Doctor linkage.
Pressure advance valuePrinter/firmware-specific; never copy blindly.
AccelerationCalibration should resemble actual profile.
STLBEAST ecosystemFix and learn on Hub. Build with validated files on STLBEAST.com.
Disclosure: Hub.STLBEAST is an educational resource. Some recommended-tool links may be affiliate links, including Amazon Associate links, and STLBEAST may earn from qualifying purchases at no extra cost to you.