
Private on-device repair evidence
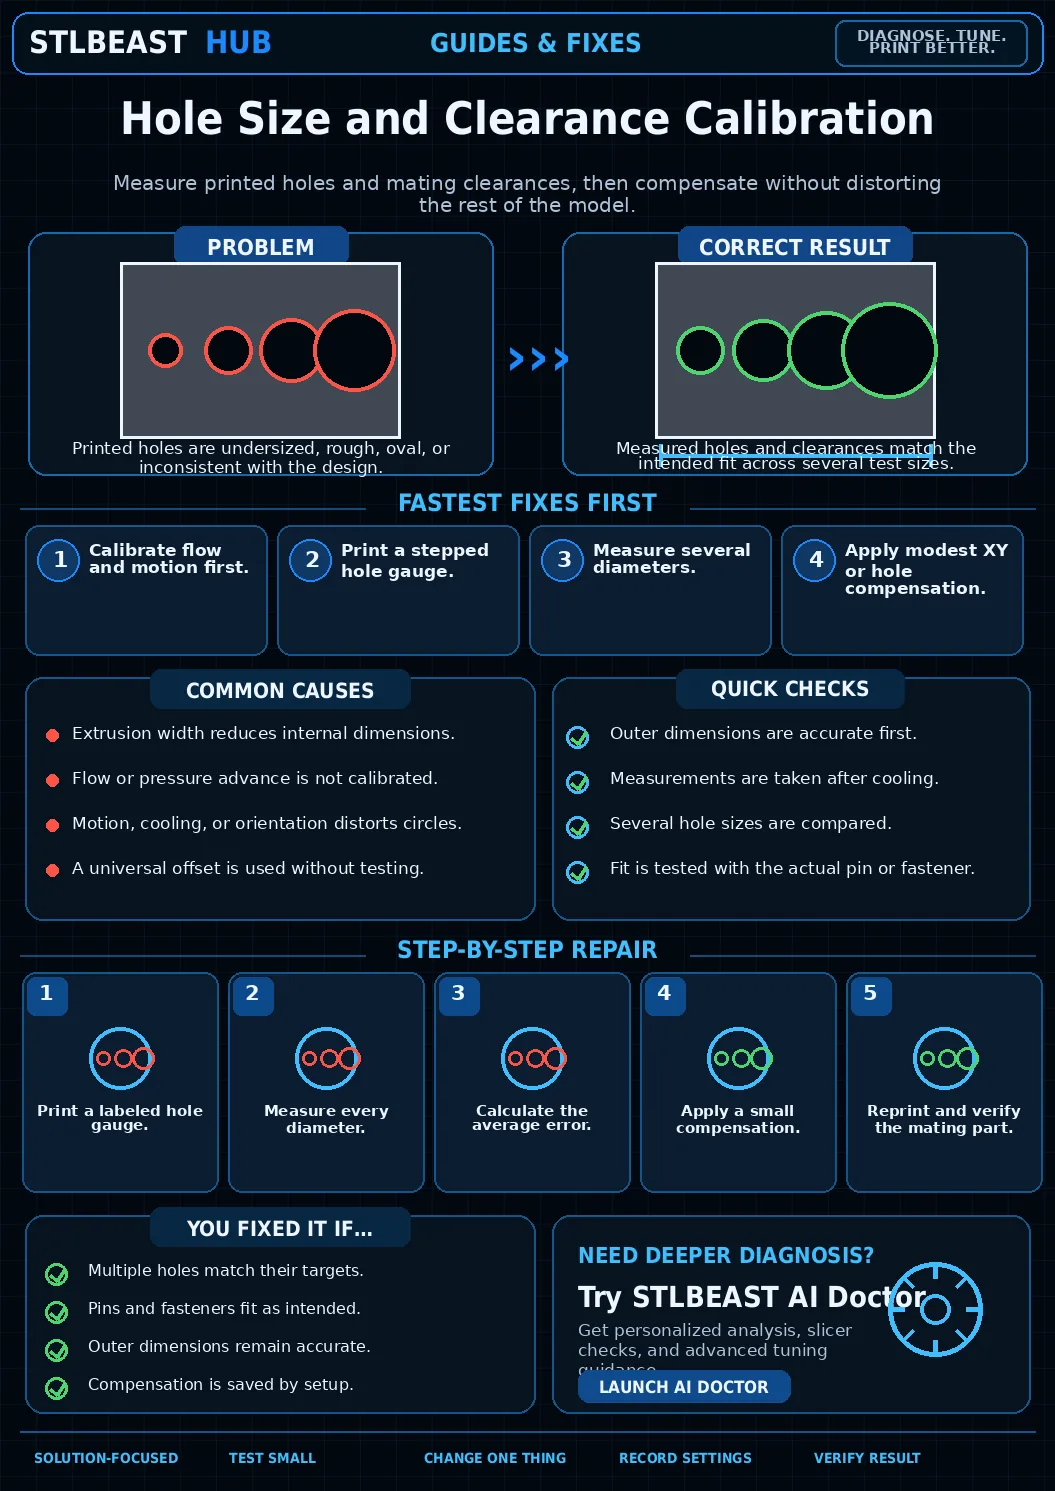
Hole Size and Clearance Calibration
A detailed STLBEAST repair guide to create reliable internal dimensions for functional parts. Learn how to recognize the symptom, rank the likely causes, apply safe fixes in order, verify the result, and prevent the failure from returning.
Not started0 of 8 stepsNot yet saved
Record the setup that produced this result
Saved only in this browser with the repair. Nothing is uploaded.
Add before and after photos for this report
Photos stay in this open page only and are never stored or uploaded. They appear in the printed report while the page remains open.
Controlled test history
No controlled tests have been logged yet. Return to Workshop Mode and record each change before running another test.
Step completion
- 1Document the failure and confirm that it matches this guide: Pins fit outside dimensions but holes and sockets are too tight.Not completed
- 2Return extreme overrides to a known printer, nozzle, material, and slicer profile so the diagnosis starts from a stable baseline.Not completed
- 3Check hole shrink/line-center effect. Print a stepped hole gauge.Not completed
- 4Check horizontal-hole sag. Measure by orientation.Not completed
- 5Inspect elephant foot. Apply slicer/CAD compensation.Not completed
- 6Rule out material/profile-specific shrink. Save per-material values.Not completed
- 7Change only the single setting or hardware condition supported by the evidence, then run a small test that reproduces the original failure.Not completed
- 8Compare the test against the target condition, record the successful value, and save it in a printer/material profile before repeating the full print.Not completed
Observations and winning values
No notes recorded.
Verification test
- Model
- Small representative test print
- Setup
- Use the same printer, material, slicer and key settings as the failed model.
- Pass
- The original symptom is absent and the target feature is repeatable.
- If unchanged
- The symptom remains in the same location or stage.
Matched next step
Fix the first layer, then print something worth keeping.
Use the free calibration path, then keep the successful settings with AI Doctor and a matched maker collectible.