Identify moisture before changing slicer settings, then dry and store filament safely.
Fast answer
Compare against a known-dry sample and follow the filament manufacturer’s drying limits. Moisture can imitate retraction, temperature, and extrusion problems.
Use the visual comparison first, then follow the ordered checks below.
Before you change settings
Confirm the exact printer, material, nozzle or resin, slicer, and recent hardware changes.
Check the spool history, storage humidity, drying record, and manufacturer temperature range.
Return extreme overrides to a known profile and change one variable at a time.
Use a small calibration object or representative model section before repeating a long print.
What it looks like
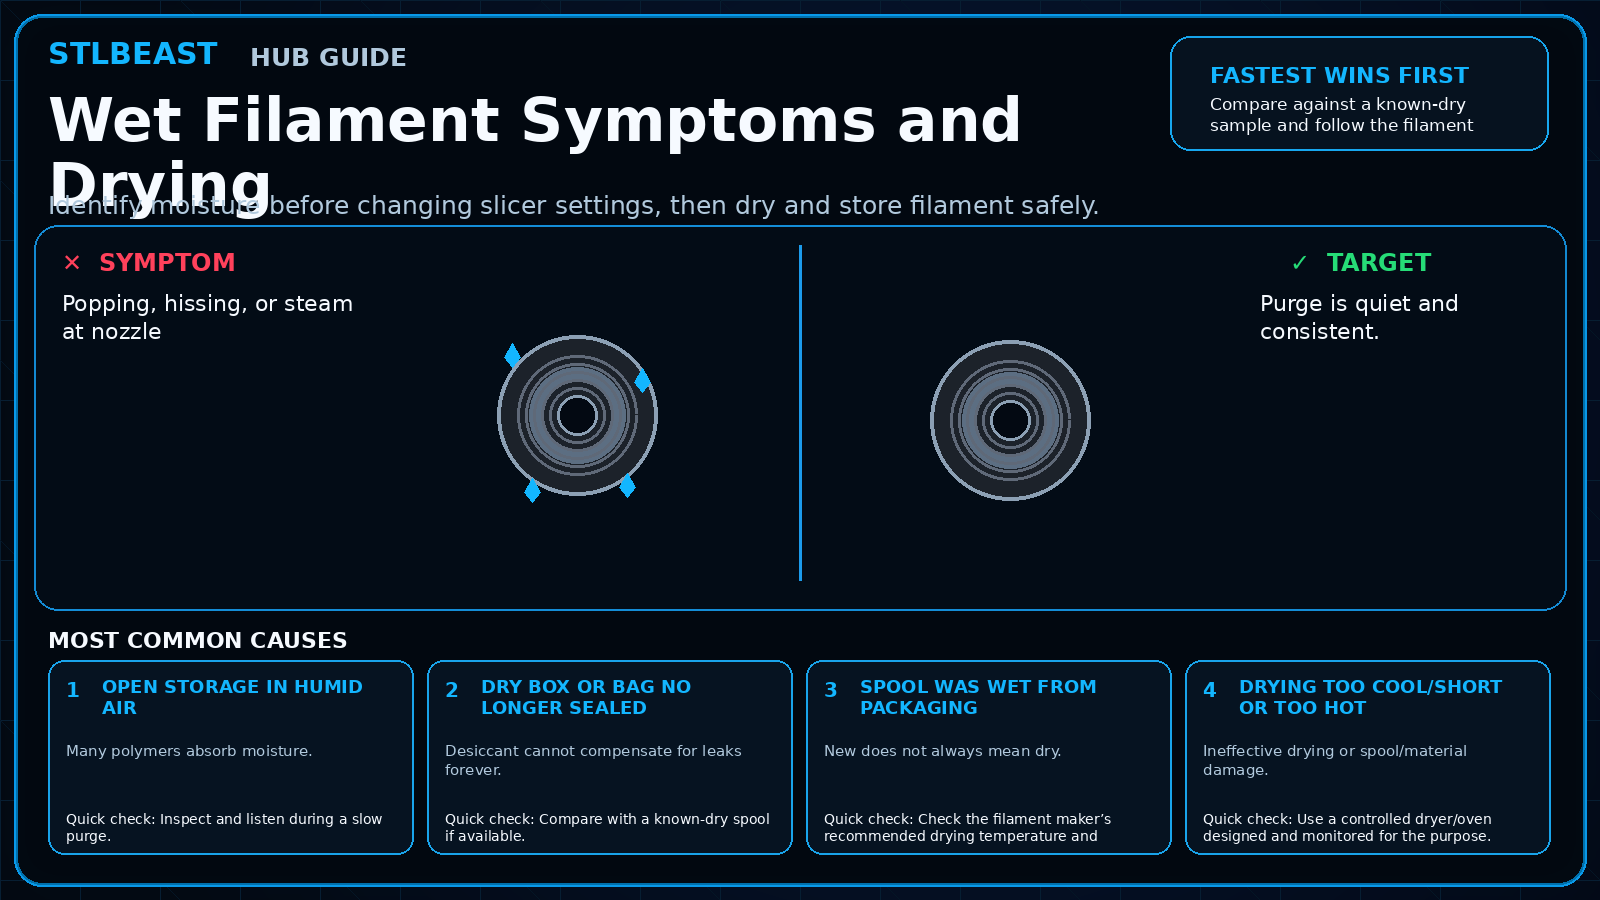
Popping, hissing, or steam at nozzle
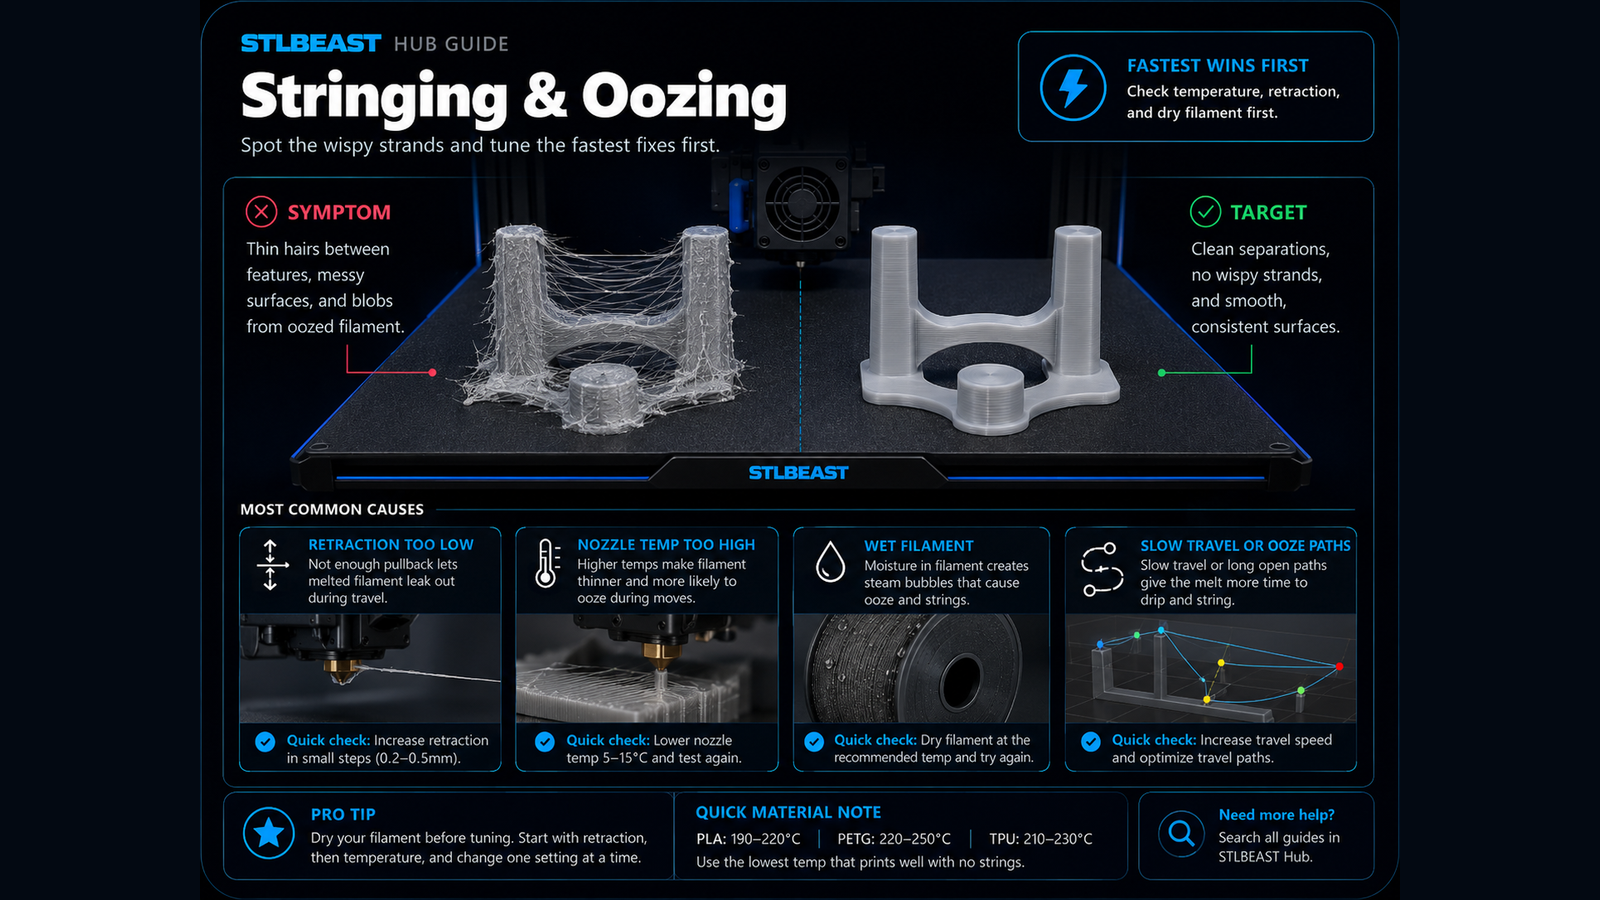
Sudden stringing on a known-good profile
Rough, foamy, or matte surface
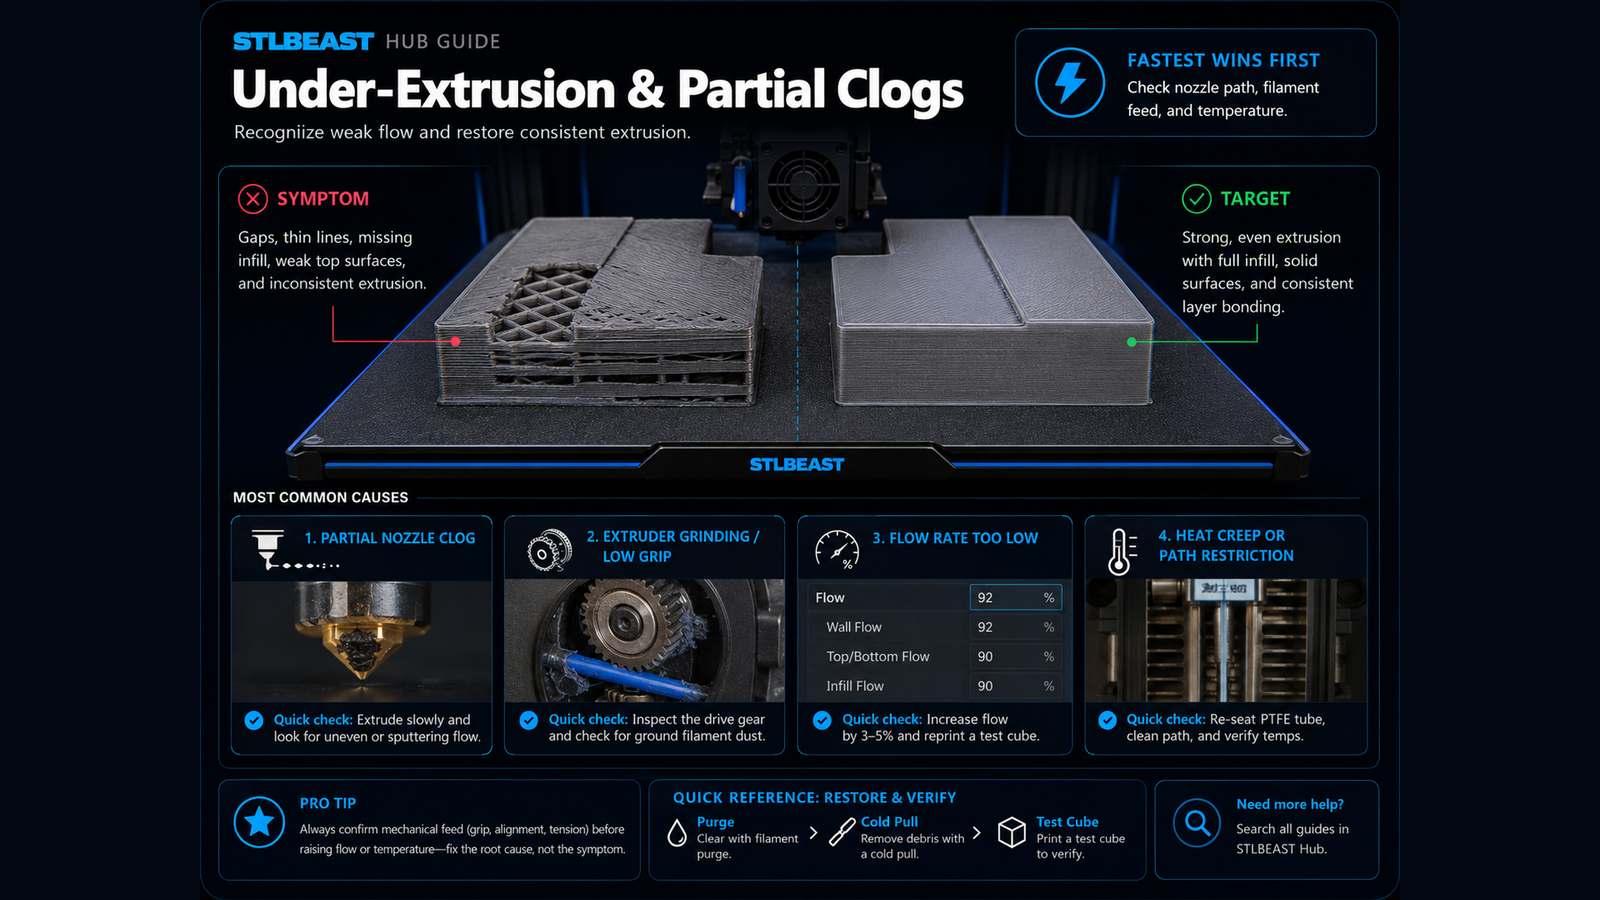
Brittle filament or inconsistent extrusion
Most likely causes
Open storage in humid airMany polymers absorb moisture.
Dry box or bag no longer sealedDesiccant cannot compensate for leaks forever.
Spool was wet from packagingNew does not always mean dry.
Drying too cool/short or too hotIneffective drying or spool/material damage.
Repair sequence
Work from top to bottom. Stop when the failure is resolved, verify it with a small test, and record the successful setup.
Inspect and listen during a slow purge.
Compare with a known-dry spool if available.
Check the filament maker’s recommended drying temperature and duration.
Use a controlled dryer/oven designed and monitored for the purpose.
Allow the spool to cool in a dry environment.
Store sealed with fresh desiccant.
Reprint the same small test without changing slicer settings.
Safety and accuracyChange one variable at a time and keep every adjustment inside the printer, hotend, build-surface, and filament manufacturer limits.
Fast decision path
1If you see evidence of open storage in humid air
Many polymers absorb moisture. Confirm it with the smallest safe test before continuing.
2If you see evidence of dry box or bag no longer sealed
Desiccant cannot compensate for leaks forever. Confirm it with the smallest safe test before continuing.
3If you see evidence of spool was wet from packaging
New does not always mean dry. Confirm it with the smallest safe test before continuing.
Settings to review
Setting
How to use it
Drying temperature
Use the manufacturer value; excessive heat can deform spools or degrade material.
Drying time
Depends on material, spool size, and moisture level.
Storage humidity
A dry box is more useful when monitored and sealed.
Material notes
PLA
Can become brittle or stringy when wet.
PETG
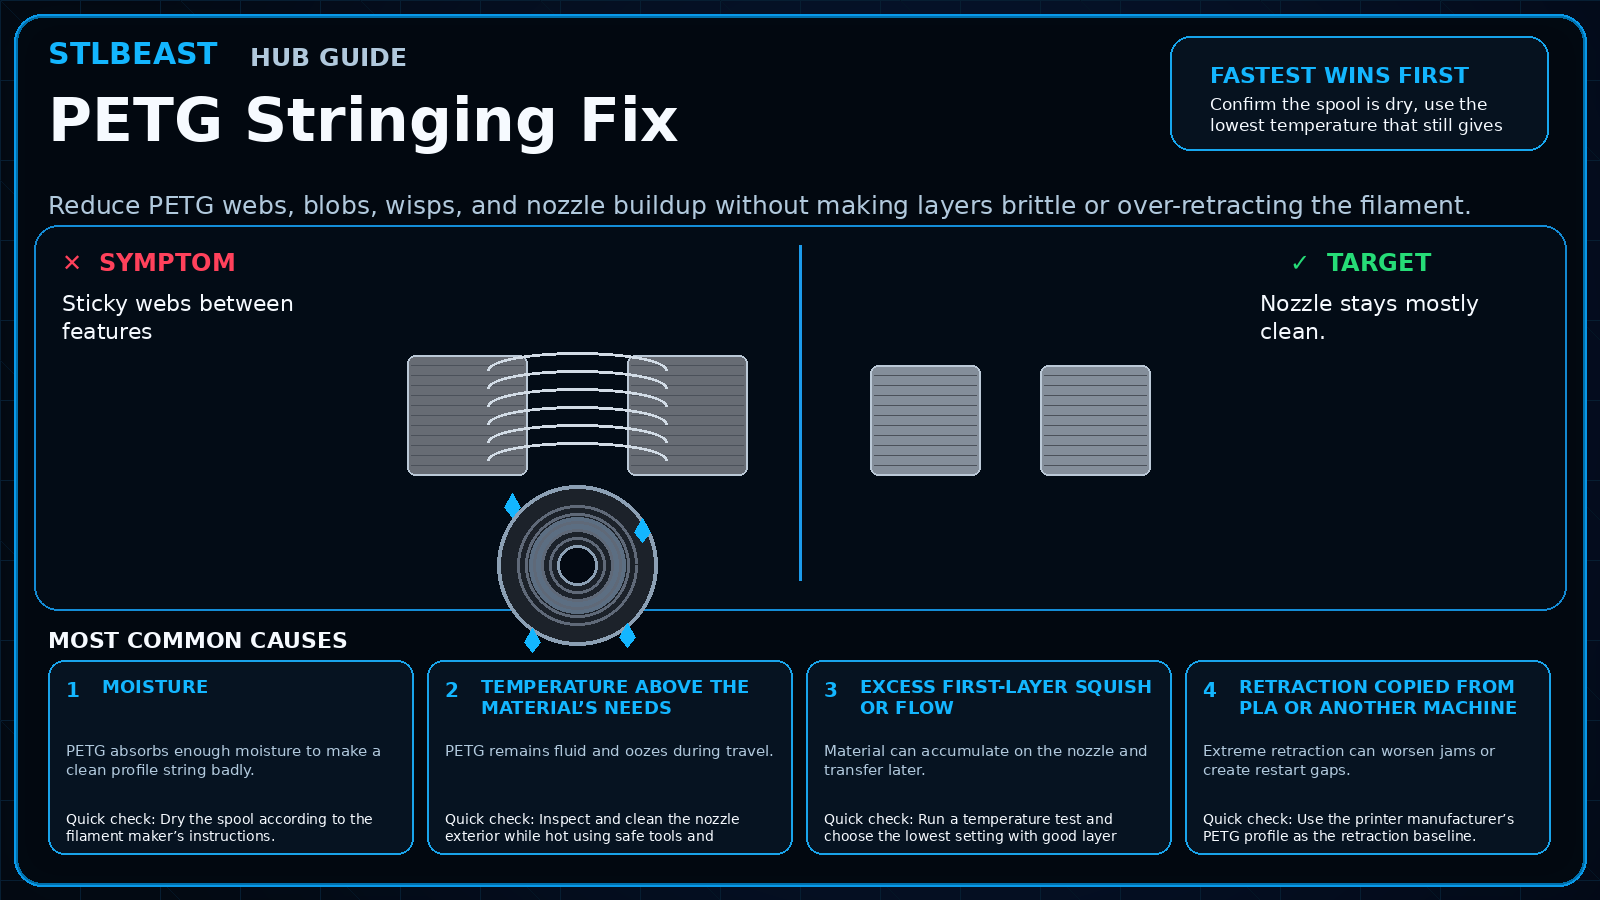
Commonly shows strings, bubbles, and rough surface.
TPU/Nylon
Often absorb moisture quickly and benefit from active dry storage.
ABS/ASA
Still require dry storage even if symptoms differ.
Printer context
Bedslinger
Check bed seating, gantry alignment, belts, eccentric wheels, and first-layer consistency across the plate.
CoreXY
Start from the official machine profile; inspect belt balance, input shaping, flow, pressure advance, and chamber conditions.
Delta
Confirm delta calibration, tower movement, belt tension, effector stability, and full-bed mapping.
Resin / SLA
Use resin-specific exposure, lift, support, temperature, wash, cure, and personal-protection procedures.
Where to look in the slicer
OrcaSlicer / Bambu Studio
Process → Quality, Strength, Speed, Support and Filament settings; use calibration tools for temperature, flow and pressure advance.
PrusaSlicer
Print Settings, Filament Settings and Printer Settings; inspect the sliced preview and layer slider before export.
Cura / Creality Print
Quality, Walls, Top/Bottom, Material, Speed, Travel, Cooling, Support and Build Plate Adhesion.
Resin slicers
Printer/resin profile, exposure, lift/retract, support contact, raft and hollow/drain settings.
How to verify the fix
Purge is quiet and consistent.
Stringing returns to the known profile level.
Surface becomes smooth and strong.
Spool remains usable after sealed storage.
Prevent it next time
Label drying date.
Use humidity indicators.
Keep desiccant maintained.
Feed hygroscopic materials from a dry box when practical.
Printer Settings preview
Useful sample now. Full personalized profile for members.
Every visitor can use the guide and receive a practical sample. Members unlock the complete printer/material profile, exact adjustment order, copy/export controls, saved Profile Vault history, and deeper AI Doctor linkage.
Drying temperatureUse the manufacturer value; excessive heat can deform spools or degrade material.
Drying timeDepends on material, spool size, and moisture level.
STLBEAST ecosystemFix and learn on Hub. Build with validated files on STLBEAST.com.
Disclosure: Hub.STLBEAST is an educational resource. Some recommended-tool links may be affiliate links, including Amazon Associate links, and STLBEAST may earn from qualifying purchases at no extra cost to you.