Hardware & SafetyIntermediate16 minReviewed 2026

Heated Bed Not Heating or Heating Unevenly

Inspect the bed cable, connector, heater, thermistor, power delivery, mounting, and insulation before compensating with higher temperatures.

Fast answer

Inspect the bed cable, connector, heater, thermistor, power delivery, mounting, and insulation before compensating with higher temperatures.

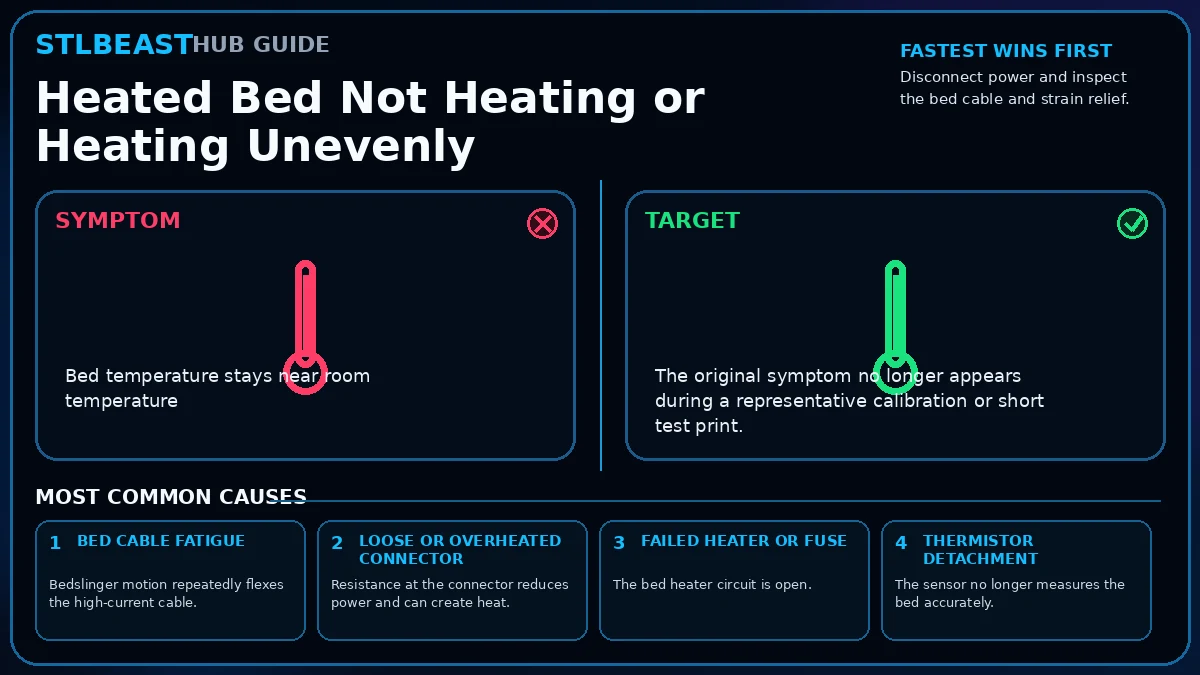
Visual diagnosis for heated bed not heating or heating unevenly
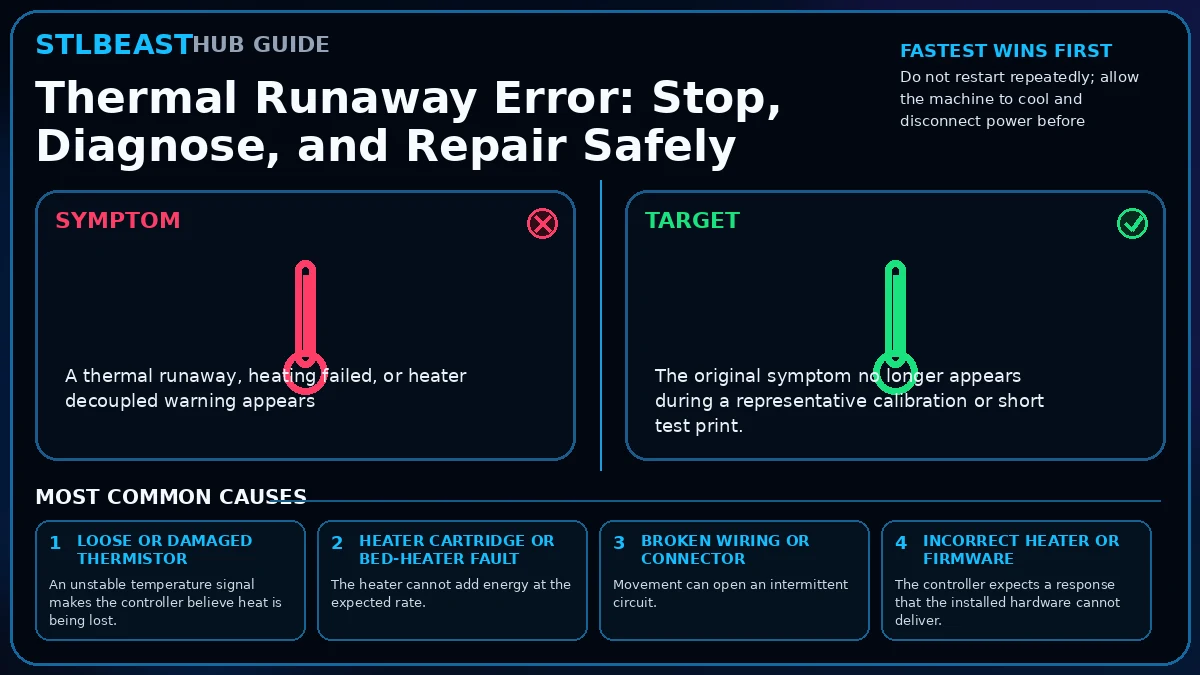
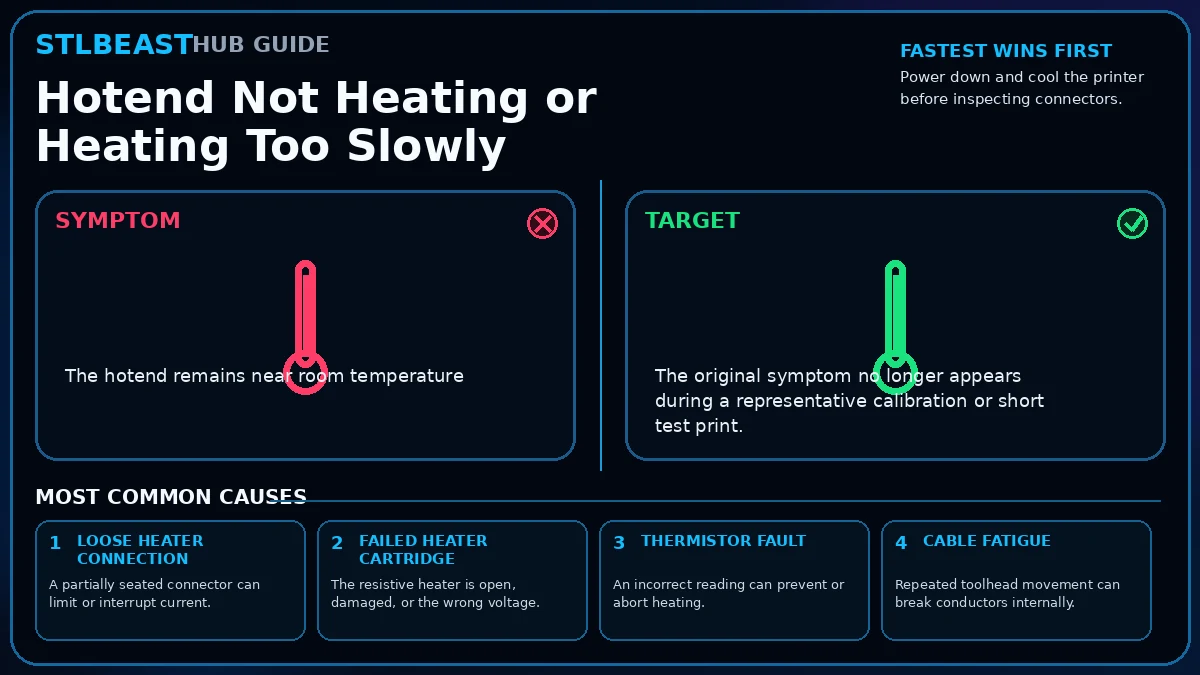
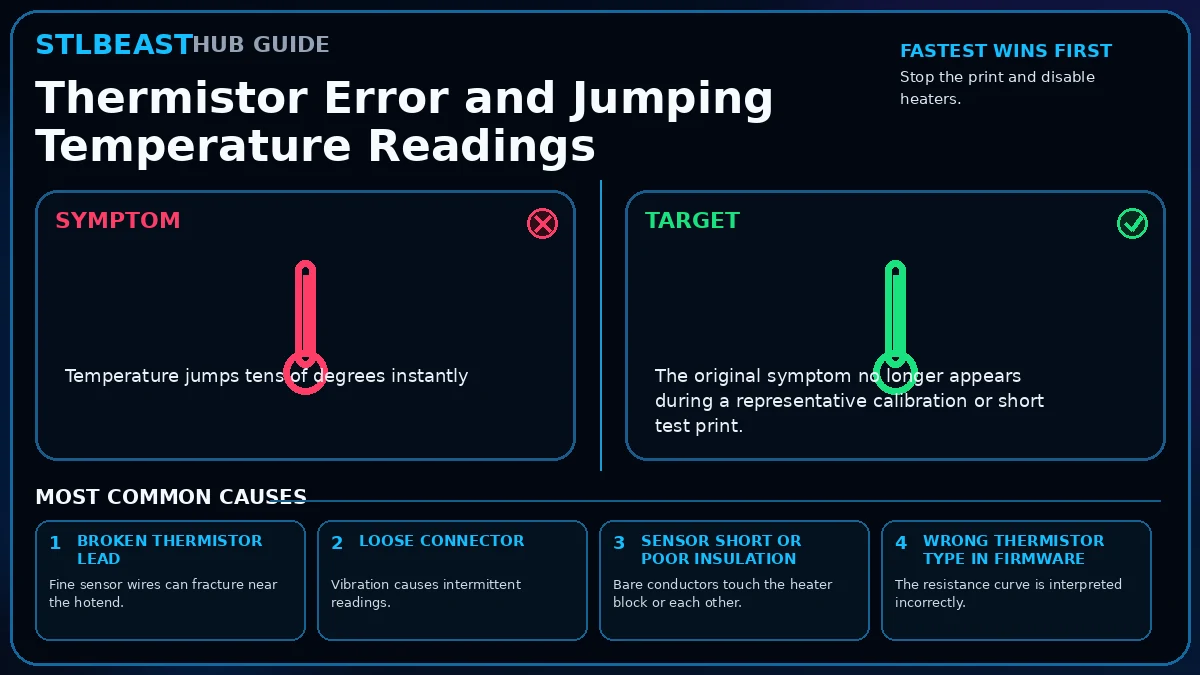
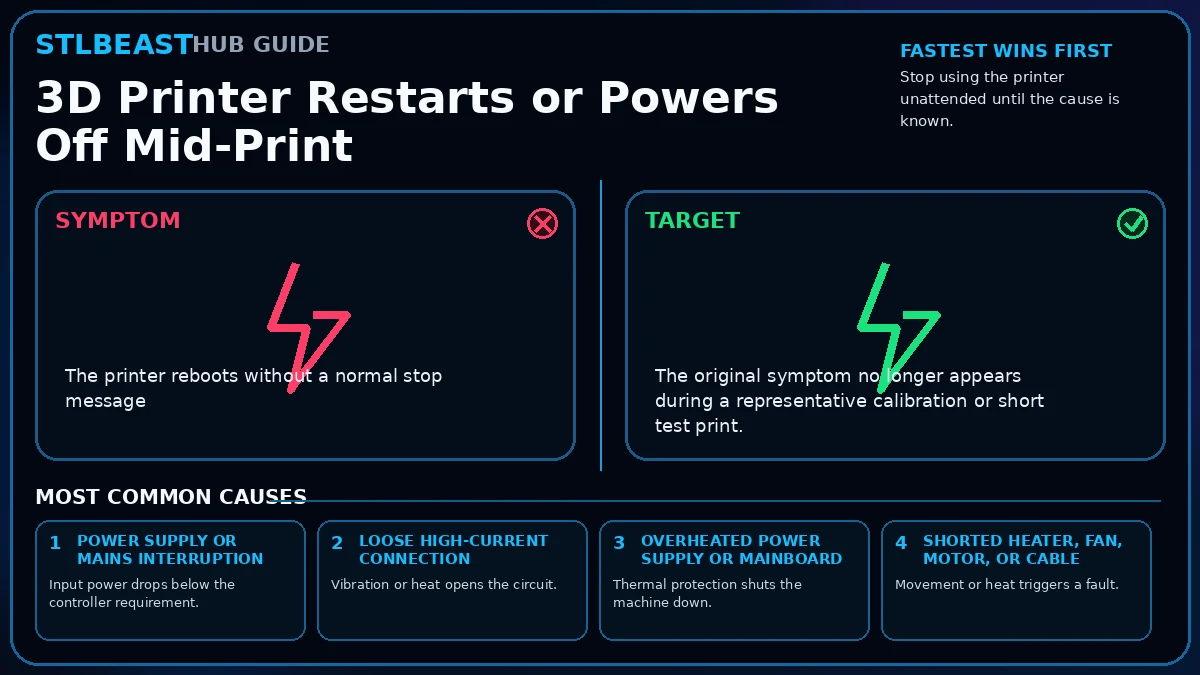
Compare the symptom and target, then follow the ranked checks.

Before you change settings

  • Confirm the exact printer, material, nozzle or resin, slicer, and recent hardware changes.
  • Photograph the failure before removing the print so the evidence is not lost.
  • Return extreme overrides to a known profile and change one variable at a time.
  • Use a small calibration object or representative section before repeating a long print.

What it looks like

  • Bed temperature stays near room temperature
  • The bed heats only in one area
  • Temperature falls when the bed moves
  • Heating fails or times out before printing

Most likely causes

  1. Bed cable fatigueBedslinger motion repeatedly flexes the high-current cable.
  2. Loose or overheated connectorResistance at the connector reduces power and can create heat.
  3. Failed heater or fuseThe bed heater circuit is open.
  4. Thermistor detachmentThe sensor no longer measures the bed accurately.
  5. Missing insulation or severe airflowHeat loss makes the bed slow and uneven.

Repair sequence

Work from top to bottom. Stop when the failure is resolved, verify it with a small test and record the successful setup.

  1. Disconnect power and inspect the bed cable and strain relief.
  2. Look for browned connectors, melted housings, loose screws, damaged insulation, or sharp bends.
  3. Confirm the thermistor is firmly attached in its intended location.
  4. Check the bed is mechanically flat and mounted without severe stress.
  5. Use the printer diagnostic or manufacturer procedure to test the heater circuit.
  6. Add only manufacturer-approved insulation or replacement parts.
  7. Run a supervised heat soak and compare centre and edge temperatures if safe tools are available.
  8. Verify first-layer consistency after the bed reaches a stable temperature.
Safety and accuracyStay within the printer, material, resin, hotend, build-surface, electrical, ventilation, and personal-protection limits published by the manufacturers. Stop immediately for heater errors, smoke, electrical damage, severe binding, uncontrolled motion, or resin exposure.

Settings to review

SettingHow to use it
Bed targetUse the validated material profile while testing.
Heat soakLarge beds may require extra time after reaching the displayed target.
Mesh levelingRe-run after bed hardware or mounting changes.

Material notes

Large-format printers

Longer heat-up and edge loss are common; power and connector condition are critical.

Glass plates

The surface temperature can lag behind the sensor.

Magnetic sheets

Confirm the sheet is fully seated and not trapping debris.

Printer context

Bedslinger

Check bed seating, gantry alignment, belts, wheels and first-layer consistency across the plate.

CoreXY

Start with the official profile; inspect belt balance, input shaping, flow, pressure advance and chamber conditions.

Delta

Confirm delta calibration, tower movement, belt tension, effector stability and full-bed mapping.

Resin / SLA

Use resin-specific exposure, lift, support, temperature, wash, cure and protective procedures.

Where to look in the slicer

OrcaSlicer / Bambu Studio

Quality, Strength, Speed, Support and Filament; use built-in calibration for temperature, flow and pressure advance.

PrusaSlicer

Print, Filament and Printer Settings; inspect the layer preview before export.

Cura / Creality Print

Quality, Walls, Top/Bottom, Material, Speed, Travel, Cooling, Support and Adhesion.

Resin slicers

Printer/resin profile, exposure, lift/retract, support contact, raft, hollowing and drain settings.

How to verify the fix

  • The original symptom no longer appears during a representative calibration or short test print.
  • Measurements, temperatures, motion, feed, or exposure remain stable through the complete test.
  • No new warning, collision, leak, electrical smell, unusual heat, or material damage appears.
  • The successful change is recorded with printer, material, slicer, nozzle or resin, and date.

Prevent it next time

  • Keep a known-good baseline profile and duplicate it before experimenting.
  • Inspect the relevant hardware, feed path, surface, or material condition during routine maintenance.
  • Change one variable at a time and use short calibration prints before repeating a long job.
  • Recheck the setup after nozzle, hotend, plate, firmware, slicer, material, or major maintenance changes.
Printer Settings

Useful public sample. Complete personalized profile for members.

Everyone can use the full guide and receive a safe starting sample. Members unlock all machine/material values, adjustment order, saved Profile Vault history and deeper AI Doctor linkage.

Bed targetUse the validated material profile while testing.
Heat soakLarge beds may require extra time after reaching the displayed target.

Frequently asked questions

What should I check first for heated bed not heating or heating unevenly?

Start with the first repair step and the highest-ranked cause: bed cable fatigue. It is the fastest low-risk way to separate the main failure from unrelated settings.

Can slicer settings alone cause heated bed not heating?

Sometimes, but mechanical, electrical, material, and file conditions must be ruled out before using extreme slicer values as a workaround.

Should I change several settings at once?

No. Multiple simultaneous changes hide the real cause and make the successful setup difficult to reproduce.

When should I stop and seek qualified service?

Stop for heater errors, smoke, electrical damage, severe binding, liquid or resin inside electronics, damaged mains wiring, uncontrolled motion, or any condition outside the manufacturer safety procedure.

Guide success feedback

Did this fix your print?

Your anonymous answer improves the guide order and AI Doctor paths.

STLBEAST ecosystemUse Hub to solve the print. Use STLBEAST to print something worth keeping.