Repair sequence
Work from top to bottom. Stop when the failure is resolved, verify it with a small test and record the successful setup.
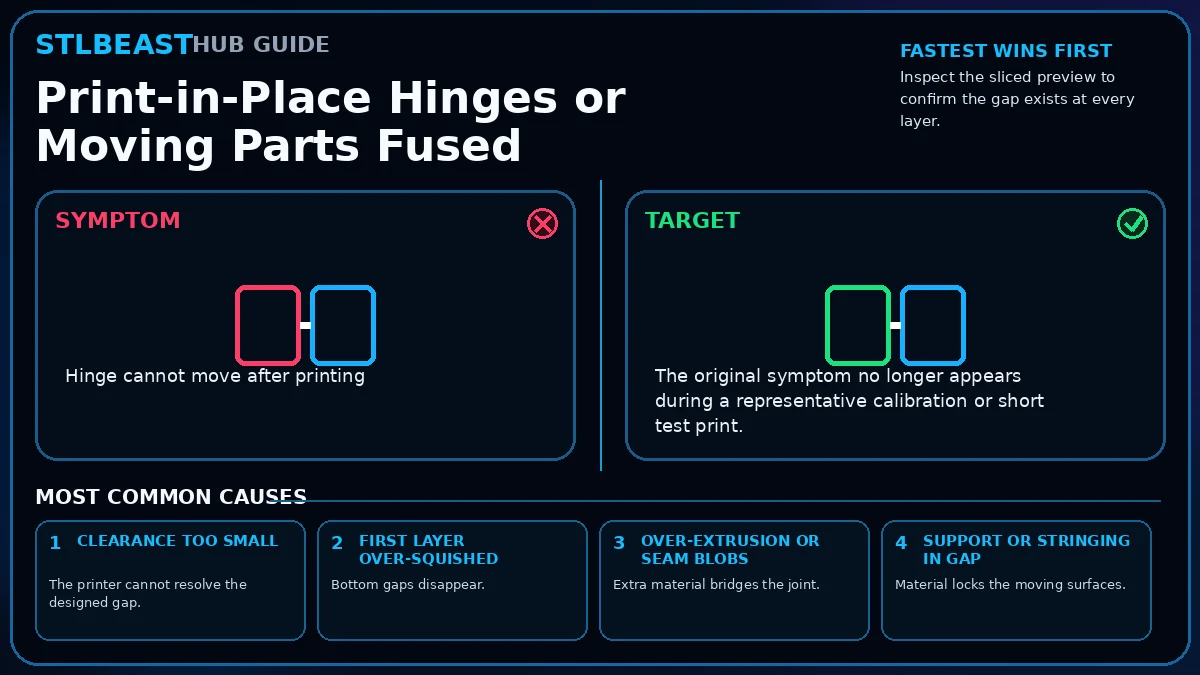
- Inspect the sliced preview to confirm the gap exists at every layer.
- Correct Z offset and elephant foot.
- Calibrate flow and pressure advance.
- Print a clearance coupon using the same settings and material.
- Place seams away from moving interfaces.
- Reduce stringing and unnecessary support inside joints.
- Improve cooling and slow small features if needed.
- Free the joint only with safe controlled motion; do not force fragile parts.
Safety and accuracyStay within the printer, material, resin, hotend, build-surface, electrical, ventilation, and personal-protection limits published by the manufacturers. Stop immediately for heater errors, smoke, electrical damage, severe binding, uncontrolled motion, or resin exposure.