Repair sequence
Work from top to bottom. Stop when the failure is resolved, verify it with a small test and record the successful setup.
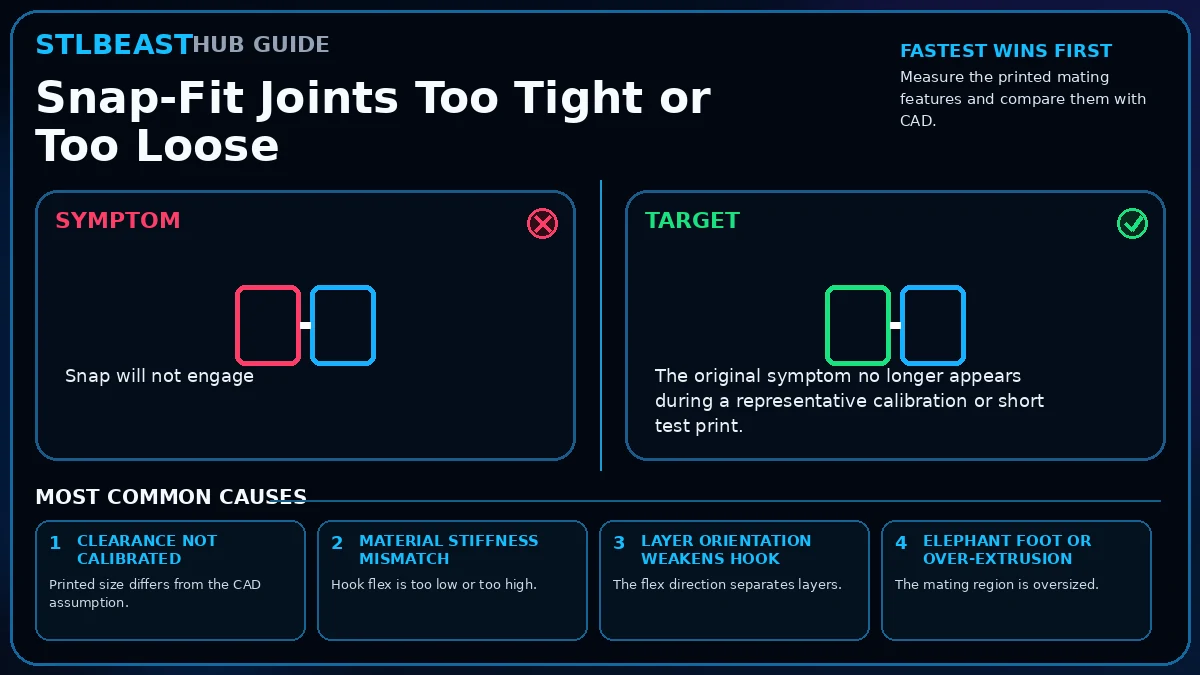
- Measure the printed mating features and compare them with CAD.
- Correct flow, elephant foot, and dimensional calibration first.
- Print a small stepped-clearance coupon in the same material and orientation.
- Adjust clearance rather than scaling the entire model.
- Add a root radius and controlled lead-in where design allows.
- Orient the hook so layers support the bending load.
- Use the intended material and service temperature.
- Cycle-test the joint before committing to a large print.
Safety and accuracyStay within the printer, material, resin, hotend, build-surface, electrical, ventilation, and personal-protection limits published by the manufacturers. Stop immediately for heater errors, smoke, electrical damage, severe binding, uncontrolled motion, or resin exposure.