Cooling & FansEasy12 minReviewed 2026

Part Cooling Fan Not Spinning or Weak

Check slicer fan commands, fan ducts, debris, connector, voltage, and fan direction before increasing cooling percentages.

Fast answer

Check slicer fan commands, fan ducts, debris, connector, voltage, and fan direction before increasing cooling percentages.

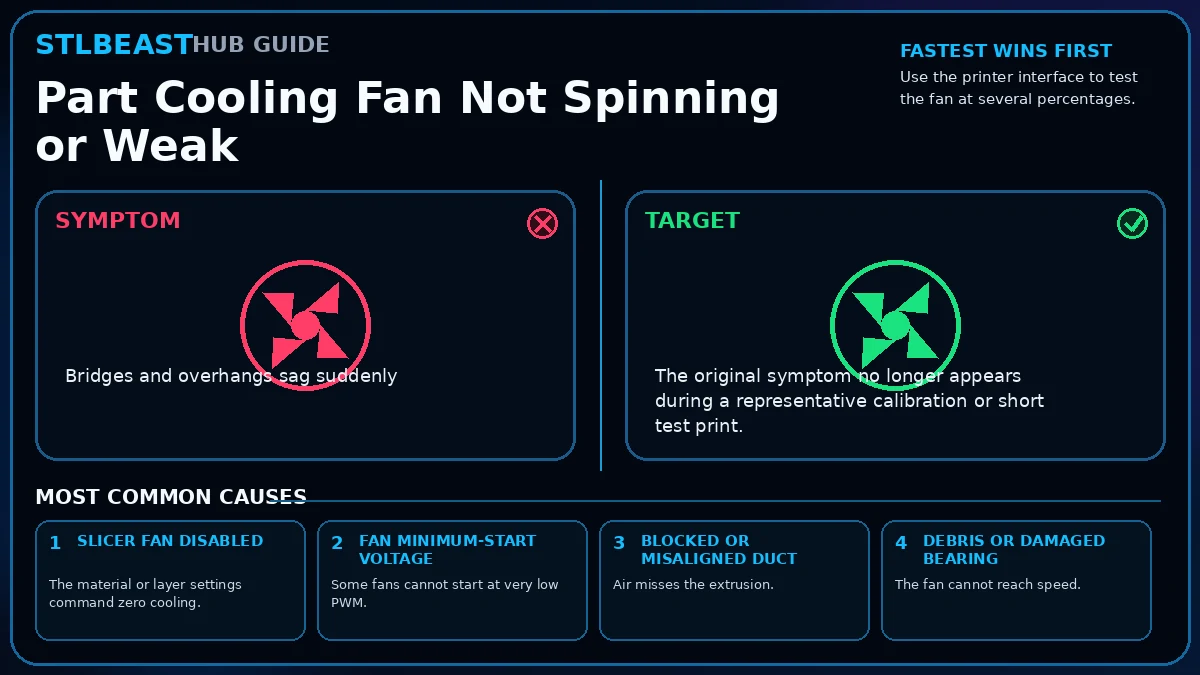
Visual diagnosis for part cooling fan not spinning or weak
Compare the symptom and target, then follow the ranked checks.

Before you change settings

  • Confirm the exact printer, material, nozzle or resin, slicer, and recent hardware changes.
  • Photograph the failure before removing the print so the evidence is not lost.
  • Return extreme overrides to a known profile and change one variable at a time.
  • Use a small calibration object or representative section before repeating a long print.

What it looks like

  • Bridges and overhangs sag suddenly
  • Fan percentage shows active but airflow is weak
  • Fan runs during manual test but not during printing
  • Fan rattles, stalls, or starts only at high percentage

Most likely causes

  1. Slicer fan disabledThe material or layer settings command zero cooling.
  2. Fan minimum-start voltageSome fans cannot start at very low PWM.
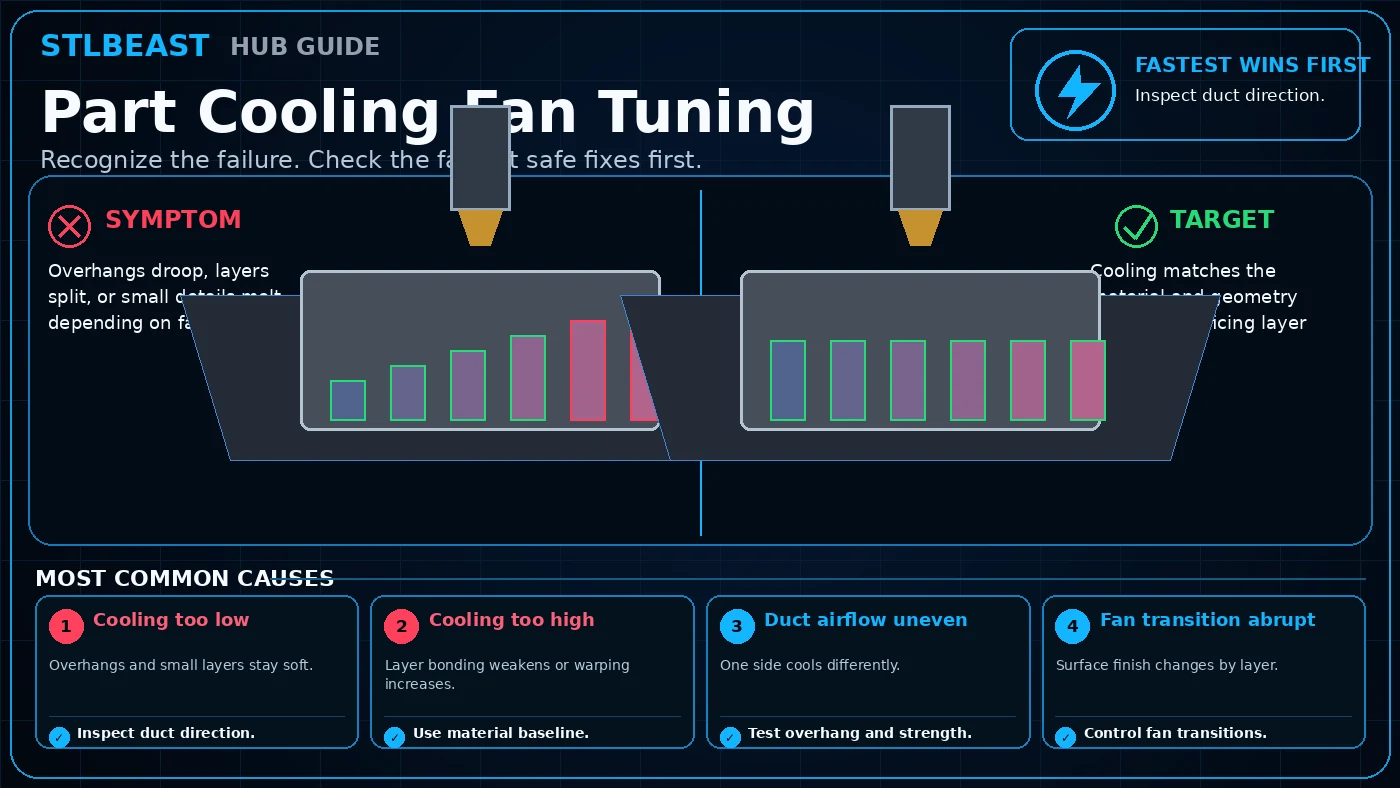
  3. Blocked or misaligned ductAir misses the extrusion.
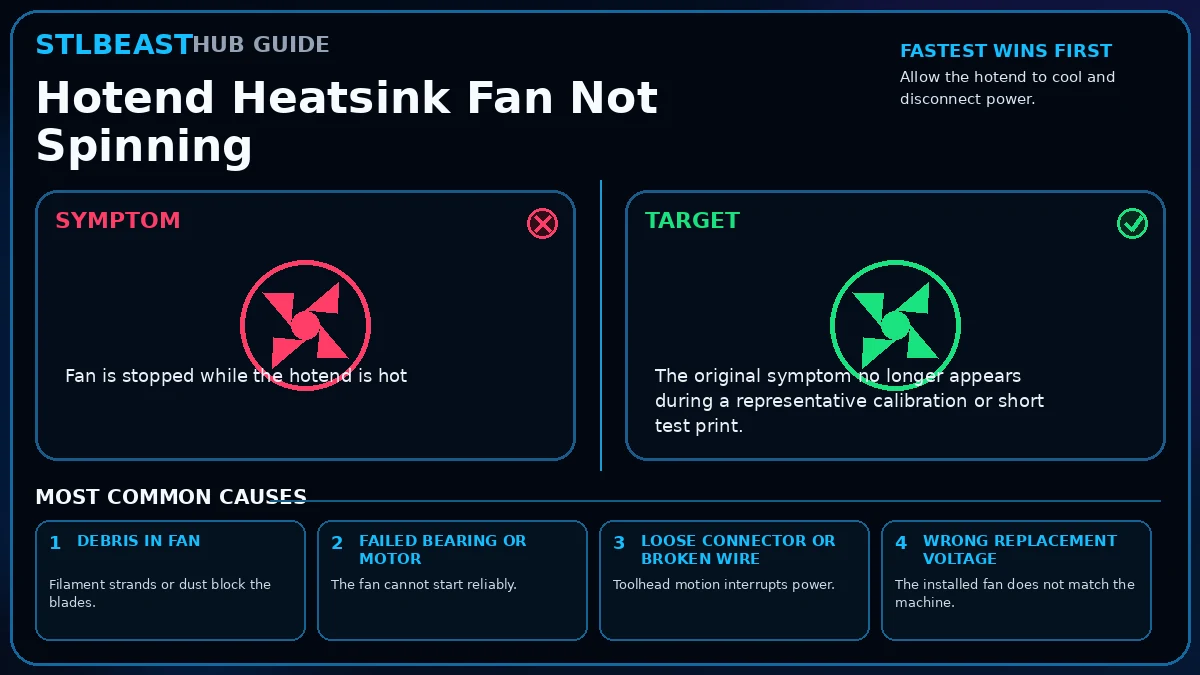
  4. Debris or damaged bearingThe fan cannot reach speed.
  5. Wrong fan or wiringVoltage, polarity, or connector is incompatible.

Repair sequence

Work from top to bottom. Stop when the failure is resolved, verify it with a small test and record the successful setup.

  1. Use the printer interface to test the fan at several percentages.
  2. Inspect and clean the blades and duct.
  3. Confirm the duct points below the nozzle without touching the print.
  4. Review first-layer and material fan settings in the slicer.
  5. Set a supported minimum fan speed if the fan stalls at low PWM.
  6. Inspect connector and cable during toolhead movement.
  7. Replace a noisy, cracked, or unreliable fan with a compatible part.
  8. Verify using a bridge or overhang test.
Safety and accuracyStay within the printer, material, resin, hotend, build-surface, electrical, ventilation, and personal-protection limits published by the manufacturers. Stop immediately for heater errors, smoke, electrical damage, severe binding, uncontrolled motion, or resin exposure.

Settings to review

SettingHow to use it
First-layer fanOften reduced or off for adhesion.
Minimum fan speedSet high enough for reliable startup, then tune cooling.
Bridge fanMay use a separate override in the slicer.

Material notes

PLA

Usually benefits from strong cooling after early layers.

PETG

Often needs moderate cooling to balance strength and shape.

ABS/ASA

Usually uses limited cooling in a stable enclosure.

TPU

Cooling depends on speed, geometry, and layer bonding needs.

Printer context

Bedslinger

Check bed seating, gantry alignment, belts, wheels and first-layer consistency across the plate.

CoreXY

Start with the official profile; inspect belt balance, input shaping, flow, pressure advance and chamber conditions.

Delta

Confirm delta calibration, tower movement, belt tension, effector stability and full-bed mapping.

Resin / SLA

Use resin-specific exposure, lift, support, temperature, wash, cure and protective procedures.

Where to look in the slicer

OrcaSlicer / Bambu Studio

Quality, Strength, Speed, Support and Filament; use built-in calibration for temperature, flow and pressure advance.

PrusaSlicer

Print, Filament and Printer Settings; inspect the layer preview before export.

Cura / Creality Print

Quality, Walls, Top/Bottom, Material, Speed, Travel, Cooling, Support and Adhesion.

Resin slicers

Printer/resin profile, exposure, lift/retract, support contact, raft, hollowing and drain settings.

How to verify the fix

  • The original symptom no longer appears during a representative calibration or short test print.
  • Measurements, temperatures, motion, feed, or exposure remain stable through the complete test.
  • No new warning, collision, leak, electrical smell, unusual heat, or material damage appears.
  • The successful change is recorded with printer, material, slicer, nozzle or resin, and date.

Prevent it next time

  • Keep a known-good baseline profile and duplicate it before experimenting.
  • Inspect the relevant hardware, feed path, surface, or material condition during routine maintenance.
  • Change one variable at a time and use short calibration prints before repeating a long job.
  • Recheck the setup after nozzle, hotend, plate, firmware, slicer, material, or major maintenance changes.
Printer Settings

Useful public sample. Complete personalized profile for members.

Everyone can use the full guide and receive a safe starting sample. Members unlock all machine/material values, adjustment order, saved Profile Vault history and deeper AI Doctor linkage.

First-layer fanOften reduced or off for adhesion.
Minimum fan speedSet high enough for reliable startup, then tune cooling.

Frequently asked questions

What should I check first for part cooling fan not spinning or weak?

Start with the first repair step and the highest-ranked cause: slicer fan disabled. It is the fastest low-risk way to separate the main failure from unrelated settings.

Can slicer settings alone cause part cooling fan not spinning?

Sometimes, but mechanical, electrical, material, and file conditions must be ruled out before using extreme slicer values as a workaround.

Should I change several settings at once?

No. Multiple simultaneous changes hide the real cause and make the successful setup difficult to reproduce.

When should I stop and seek qualified service?

Stop for heater errors, smoke, electrical damage, severe binding, liquid or resin inside electronics, damaged mains wiring, uncontrolled motion, or any condition outside the manufacturer safety procedure.

Guide success feedback

Did this fix your print?

Your anonymous answer improves the guide order and AI Doctor paths.

STLBEAST ecosystemUse Hub to solve the print. Use STLBEAST to print something worth keeping.