Repair sequence
Work from top to bottom. Stop when the failure is resolved, verify it with a small test and record the successful setup.
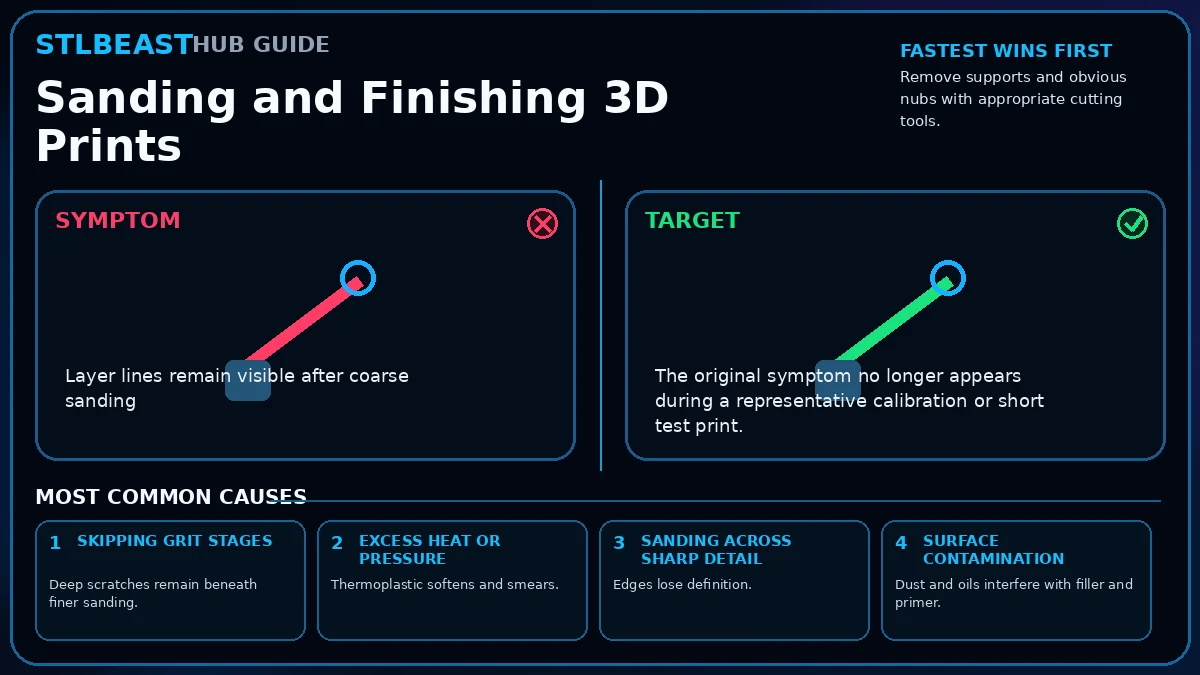
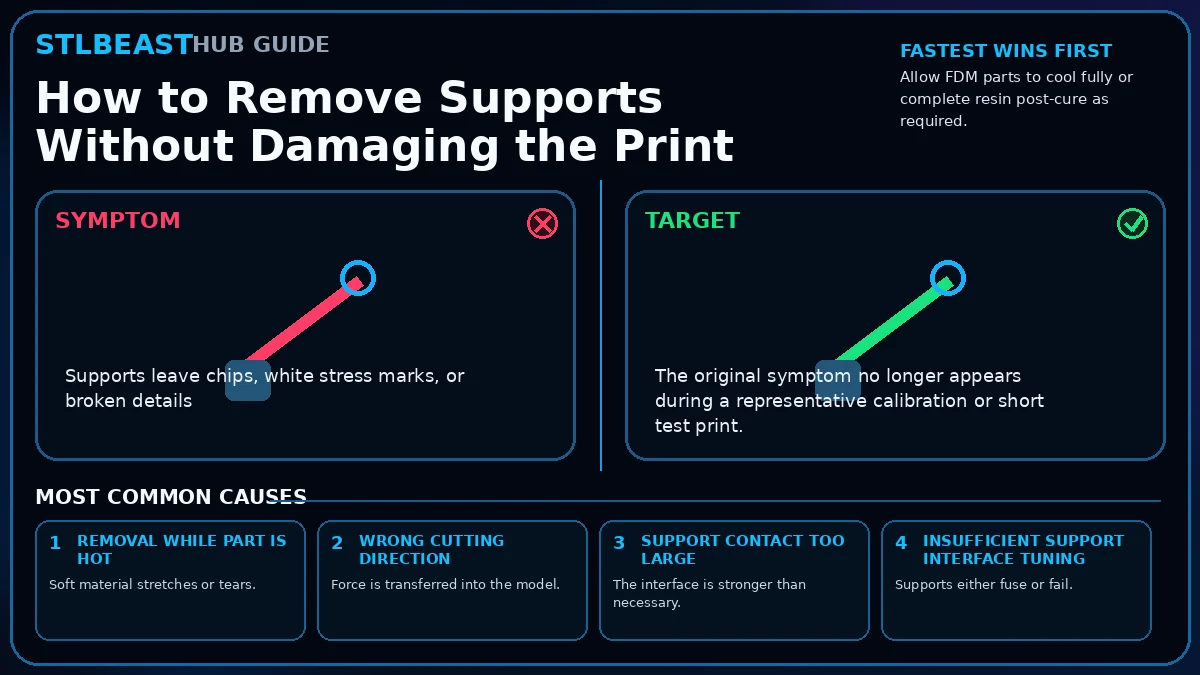
- Remove supports and obvious nubs with appropriate cutting tools.
- Wear suitable respiratory and eye protection and control dust.
- Start with the least aggressive grit that removes the defect.
- Sand in controlled directions and protect crisp edges.
- Progress through finer grits after the previous scratches are uniform.
- Use wet sanding only when the material and cleanup method permit it.
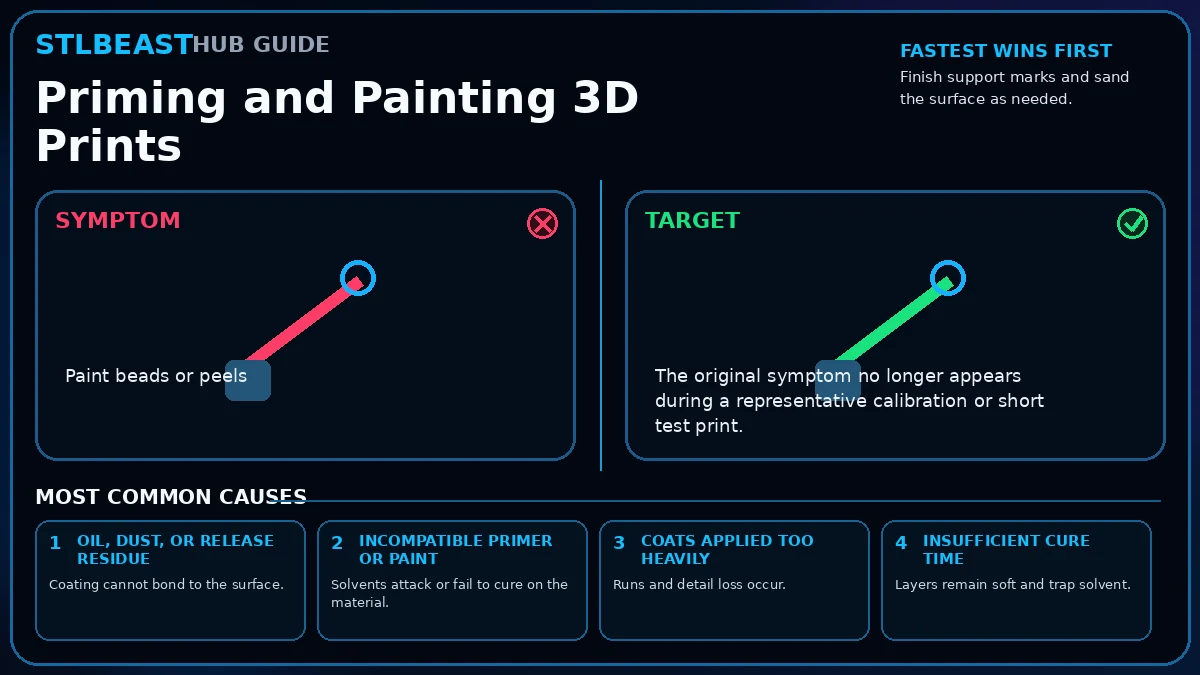
- Clean and dry the part completely before filler or primer.
- Test coatings on scrap before finishing the final model.
Safety and accuracyStay within the printer, material, resin, hotend, build-surface, electrical, ventilation, and personal-protection limits published by the manufacturers. Stop immediately for heater errors, smoke, electrical damage, severe binding, uncontrolled motion, or resin exposure.