Bowden Coupler Slipping or PTFE Tube Pulling Out
Replace worn coupler teeth or damaged PTFE, fully seat the tube against the internal stop, install the locking clip, and remove excessive feed resistance.

See the sequence before you start
Match the visible symptom, work through the four visual checkpoints, and prove the result with a small test.
Start fast or open every detail
Quick Fix keeps the safest first checks and proof steps in view. Full Guide reveals the complete settings, printer context, advanced tests, sources and FAQs.
Quick Fix mode is active.
The fitting no longer grips the tube.
- The original symptom no longer appears during a representative calibration or short test print.
- Measurements, temperatures, motion, feed, or exposure remain stable through the complete test.
Use the smallest useful test, keep the winning change, and record the result.
Make this guide easier to apply to your setup
Select what you use. The page highlights relevant material, slicer and printer notes without hiding the complete source-backed guide.
Choose any setup details above to emphasize matching notes and produce a safer starting summary.
Know what to do now—and what comes next
Follow one controlled path. Do not stack unrelated changes before the proof test.
- 1Confirm the visual clue
Compare the failed area with the problem and target visuals.
- 2Run the safest first checks
Run the first safe check and change one variable at a time.
- 3Print the proof test
A small representative test no longer shows the original symptom.
- 4Escalate only if needed
Use the next-route guides only when the original symptom remains.
Which description is closest to what you see?
Select the closest match. This does not replace inspection; it moves the most relevant starting point to the front.
Before you change settings
- Confirm the exact printer, material, nozzle or resin, slicer, and recent hardware changes.
- Photograph the failure before removing the print so the evidence is not lost.
- Return extreme overrides to a known profile and change one variable at a time.
- Use a small calibration object or representative section before repeating a long print.
Recognize it, check safely, prove the fix
Use this map before changing multiple settings. The detailed procedure and source references follow below.
Fastest safe order
- Unload filament and cool the hotend.
- Remove the tube using the correct collar procedure.
- Cut the tube end square with a sharp PTFE cutter if permitted.
- Inspect the coupler and replace it if teeth are worn or uneven.
Stop immediately for
- Stay within the printer, material, resin, hotend, build-surface, electrical, ventilation, and personal-protection limits published by the manufacturers.
- Stop immediately for heater errors, smoke, electrical damage, severe binding, uncontrolled motion, or resin exposure.

Proof of success
The original symptom no longer appears during a representative calibration or short test print.
What it looks like
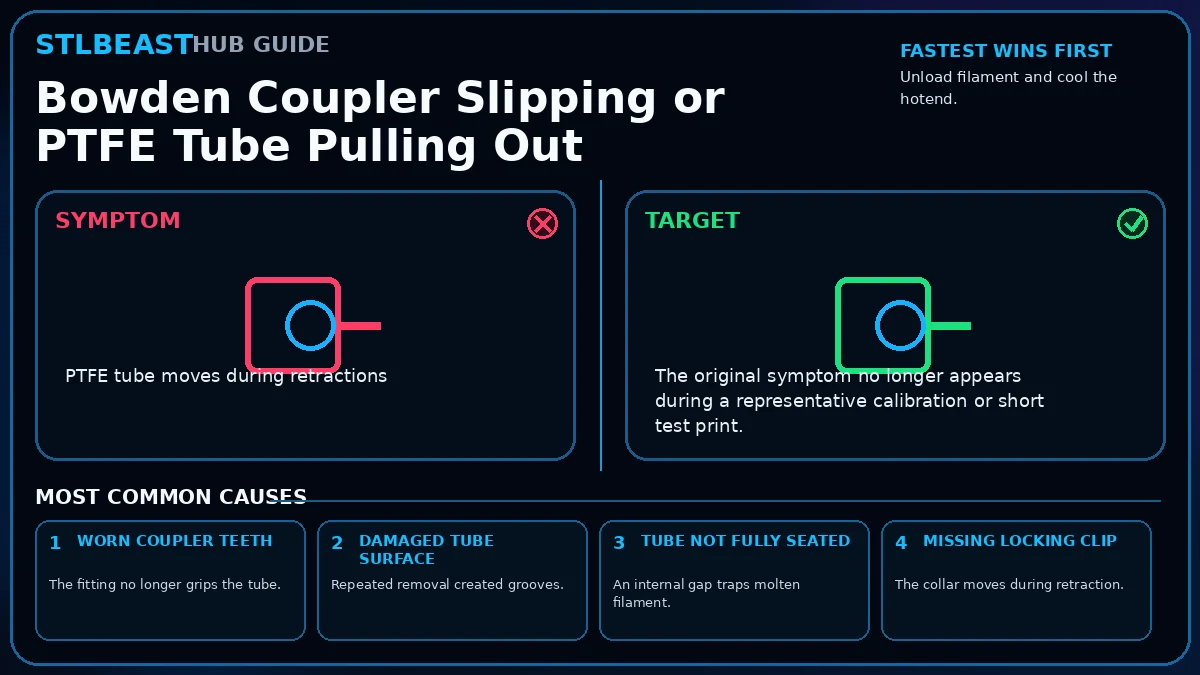
- PTFE tube moves during retractions
- Tube pulls out of the extruder or hotend
- A gap forms inside the hotend and causes clogs
- Retraction becomes inconsistent
Most likely causes
- Worn coupler teethThe fitting no longer grips the tube.
- Damaged tube surfaceRepeated removal created grooves.
- Tube not fully seatedAn internal gap traps molten filament.
- Missing locking clipThe collar moves during retraction.
- Excessive friction or retractionThe feed path loads the fitting beyond normal.
Repair sequence
Work from top to bottom. Stop when the failure is resolved, verify it with a small test and record the successful setup.
- Step 1Unload filament and cool the hotend.
- Step 2Remove the tube using the correct collar procedure.
- Step 3Cut the tube end square with a sharp PTFE cutter if permitted.
- Step 4Inspect the coupler and replace it if teeth are worn or uneven.
- Step 5Seat the tube fully against the internal stop while the hotend is prepared according to the manufacturer method.
- Step 6Install the retaining clip.
- Step 7Check spool drag, bends, sensor path, and retraction values.
- Step 8Mark the tube and run a retraction test to confirm it no longer moves.
Settings to review
| Setting | How to use it |
|---|---|
| Retraction distance | Use the minimum effective distance for the Bowden length. |
| Retraction speed | Excess speed increases coupler shock. |
| Tube length / routing | Avoid tight bends and unnecessary drag. |
Material notes
Molten leakage can occur if a hotend gap develops.
Bowden friction and compression can worsen feeding.
Use tubing and hotend components rated for the temperature.
Printer context
Check bed seating, gantry alignment, belts, wheels and first-layer consistency across the plate.
Start with the official profile; inspect belt balance, input shaping, flow, pressure advance and chamber conditions.
Confirm delta calibration, tower movement, belt tension, effector stability and full-bed mapping.
Use resin-specific exposure, lift, support, temperature, wash, cure and protective procedures.
Where to look in the slicer
Quality, Strength, Speed, Support and Filament; use built-in calibration for temperature, flow and pressure advance.
Print, Filament and Printer Settings; inspect the layer preview before export.
Quality, Walls, Top/Bottom, Material, Speed, Travel, Cooling, Support and Adhesion.
Printer/resin profile, exposure, lift/retract, support contact, raft, hollowing and drain settings.
Controlled test method
Do not repeat the full print while guessing. Use a small test that reproduces the same feature and record the result.
- Save the current profile or photograph every relevant setting.
- Choose one suspected cause from the ranked list and change only the matching variable.
- Print the smallest useful test with the same material, nozzle, plate, and environment.
- Compare the result with the target visual, keep the winning change, and then test the real model.
Confirm the repair before repeating the full print
Use the same nozzle, material and hotend temperature planned for the print.
Flow is smooth and the wall is continuous with stable width.
Clicking, gaps, pulsing or inconsistent line width remains.
Inspect spool path, gears, heat break, nozzle and calibrated flow.
Recheck the visual diagnosis →How to verify the fix
- The original symptom no longer appears during a representative calibration or short test print.
- Measurements, temperatures, motion, feed, or exposure remain stable through the complete test.
- No new warning, collision, leak, electrical smell, unusual heat, or material damage appears.
- The successful change is recorded with printer, material, slicer, nozzle or resin, and date.
Choose a result after the print so the guide can point you to the correct next action.
Prevent it next time
- Keep a known-good baseline profile and duplicate it before experimenting.
- Inspect the relevant hardware, feed path, surface, or material condition during routine maintenance.
- Change one variable at a time and use short calibration prints before repeating a long job.
- Recheck the setup after nozzle, hotend, plate, firmware, slicer, material, or major maintenance changes.
Useful public sample. Complete personalized profile for members.
Everyone can use the full guide and receive a safe starting sample. Members unlock all machine/material values, adjustment order, saved Profile Vault history and deeper AI Doctor linkage.
Frequently asked questions
What should I check first for bowden coupler slipping or ptfe tube pulling out?
Start with the first repair step and the highest-ranked cause: worn coupler teeth. It is the fastest low-risk way to separate the main failure from unrelated settings.
Can slicer settings alone cause bowden coupler slipping?
Sometimes, but mechanical, electrical, material, and file conditions must be ruled out before using extreme slicer values as a workaround.
Should I change several settings at once?
No. Multiple simultaneous changes hide the real cause and make the successful setup difficult to reproduce.
When should I stop and seek qualified service?
Stop for heater errors, smoke, electrical damage, severe binding, liquid or resin inside electronics, damaged mains wiring, uncontrolled motion, or any condition outside the manufacturer safety procedure.
Tools matched to this repair path
These links are selected from the page topic instead of showing the same unrelated product everywhere.
Relevant STLBEAST toolSTLBEAST Nozzle Triage Station V1A physically validated four-bay station for sorting ready, inspect, clean, and retired nozzles.
$4.99 CAD · View product →
Relevant STLBEAST toolSTLBEAST Nozzle Rescue Dock V1A physically validated service dock for cleaning needles, tools, removed nozzles, and maintenance debris.
$4.99 CAD · View product →
Relevant STLBEAST toolSTLBEAST Hotend Rebuild Station V1A compact hotend maintenance station for nozzles, heater hardware, thermistors, spacers and rebuild tools.
$8.99 CAD · View product →Did this fix your print?
Your anonymous answer improves the guide order and AI Doctor paths.