Repair sequence
Work from top to bottom. Stop when the failure is resolved, verify it with a small test and record the successful setup.
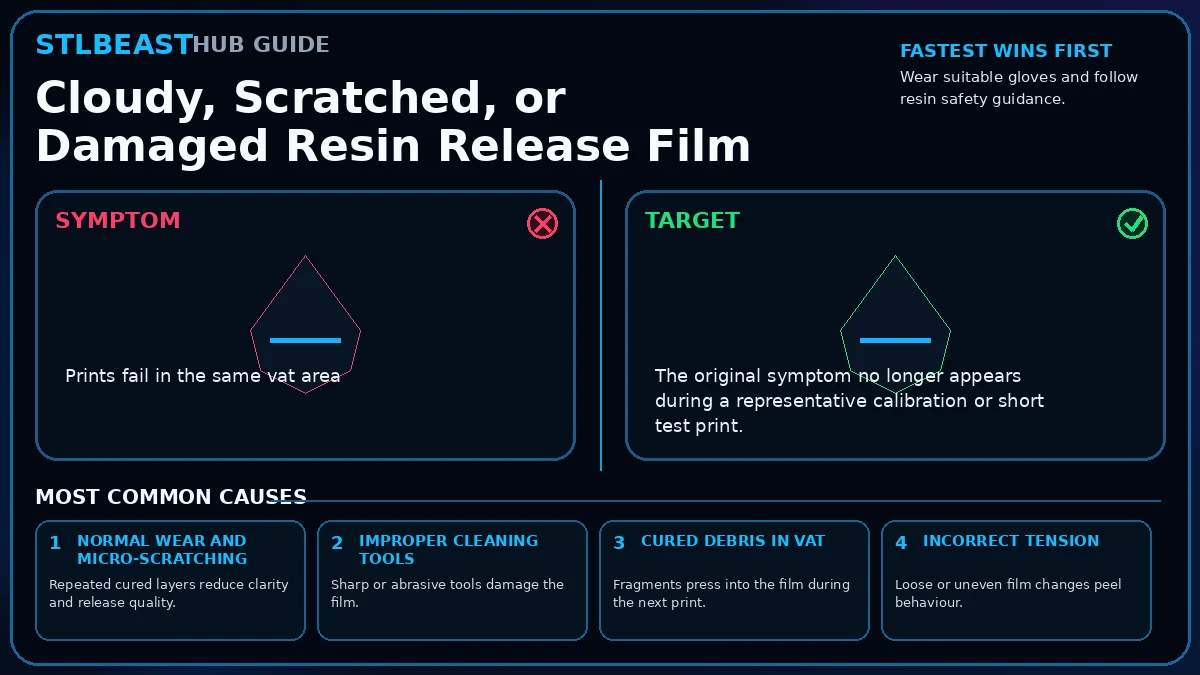
- Wear suitable gloves and follow resin safety guidance.
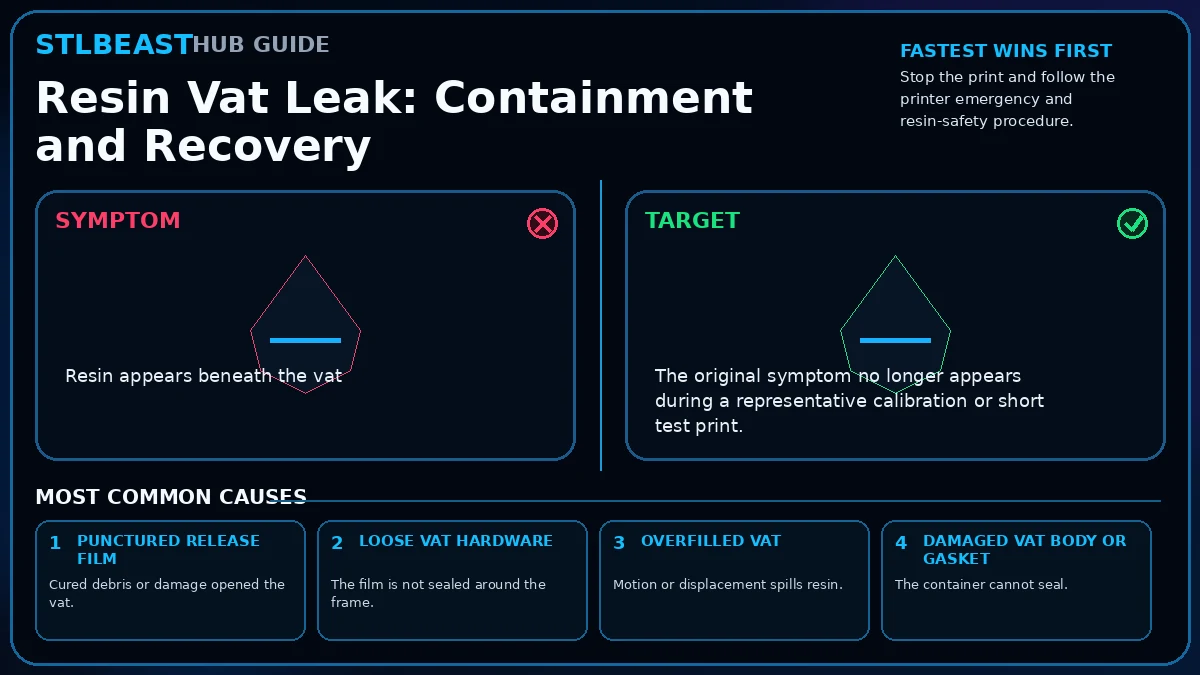
- Drain resin through a filter into a compatible opaque container.
- Use the vat-clean function or approved method to remove cured fragments.
- Inspect the film from both sides under angled light.
- Do not scrape with metal or sharp tools.
- Replace the film if punctured, deeply scratched, creased, loose, or persistently cloudy.
- Tension and fasten the replacement according to the vat design.
- Leak-test with a safe method before returning resin to the vat.
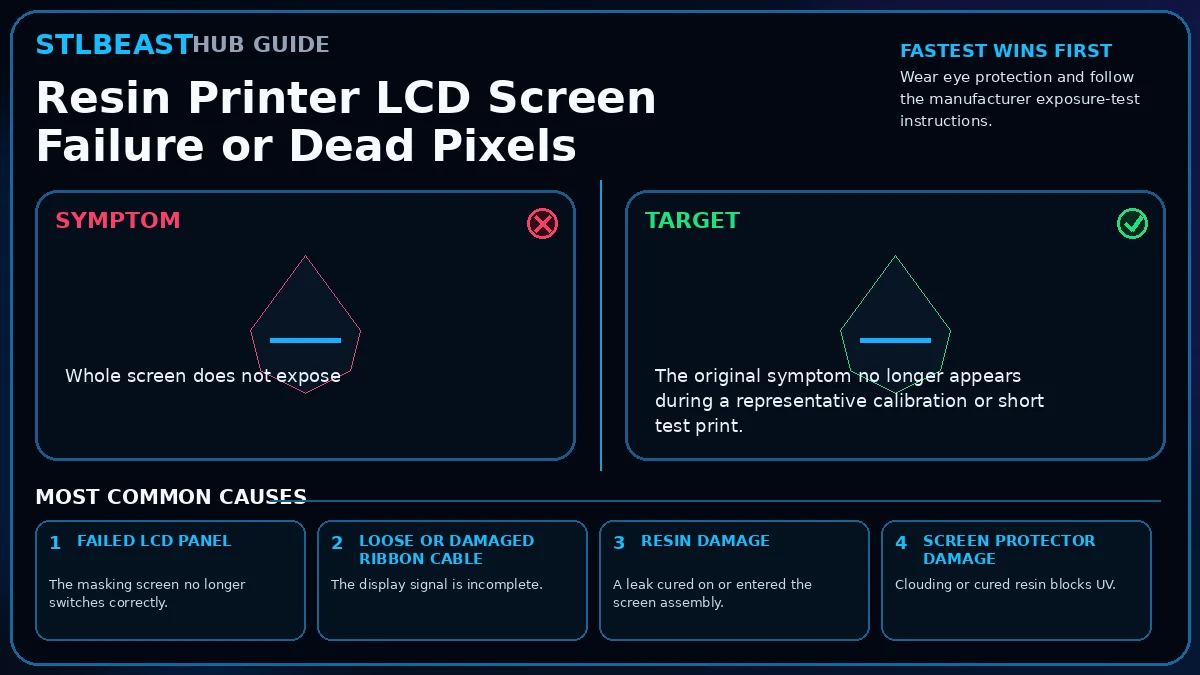
Safety and accuracyStay within the printer, material, resin, hotend, build-surface, electrical, ventilation, and personal-protection limits published by the manufacturers. Stop immediately for heater errors, smoke, electrical damage, severe binding, uncontrolled motion, or resin exposure.