Repair sequence
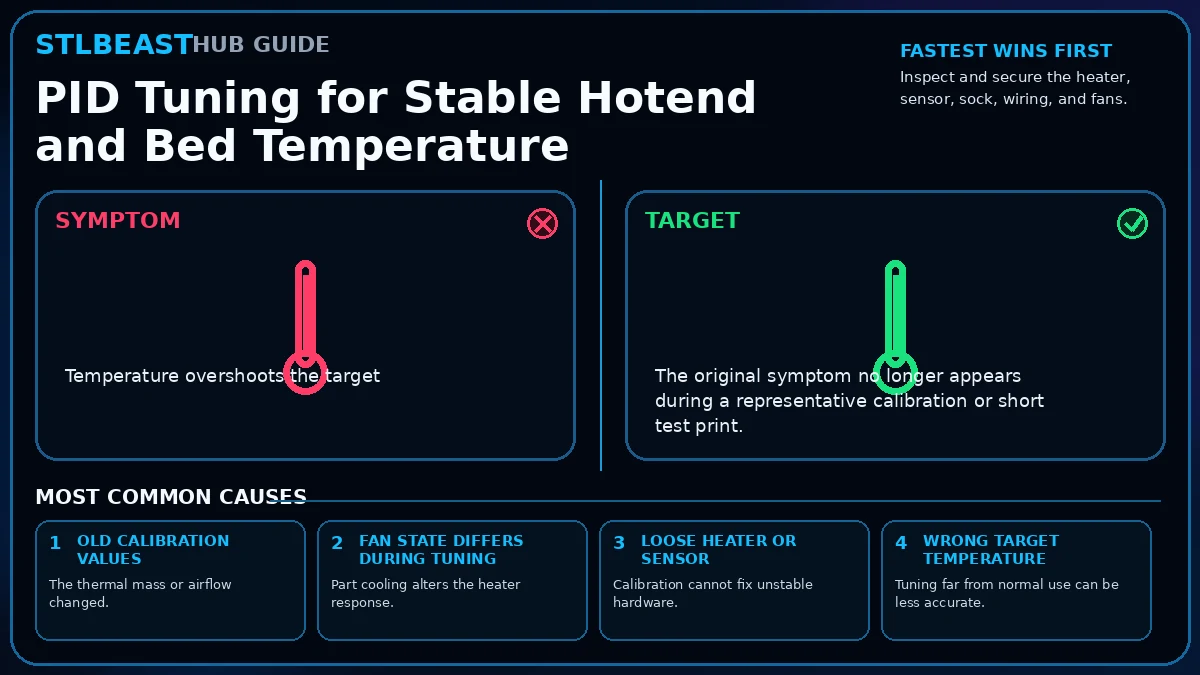
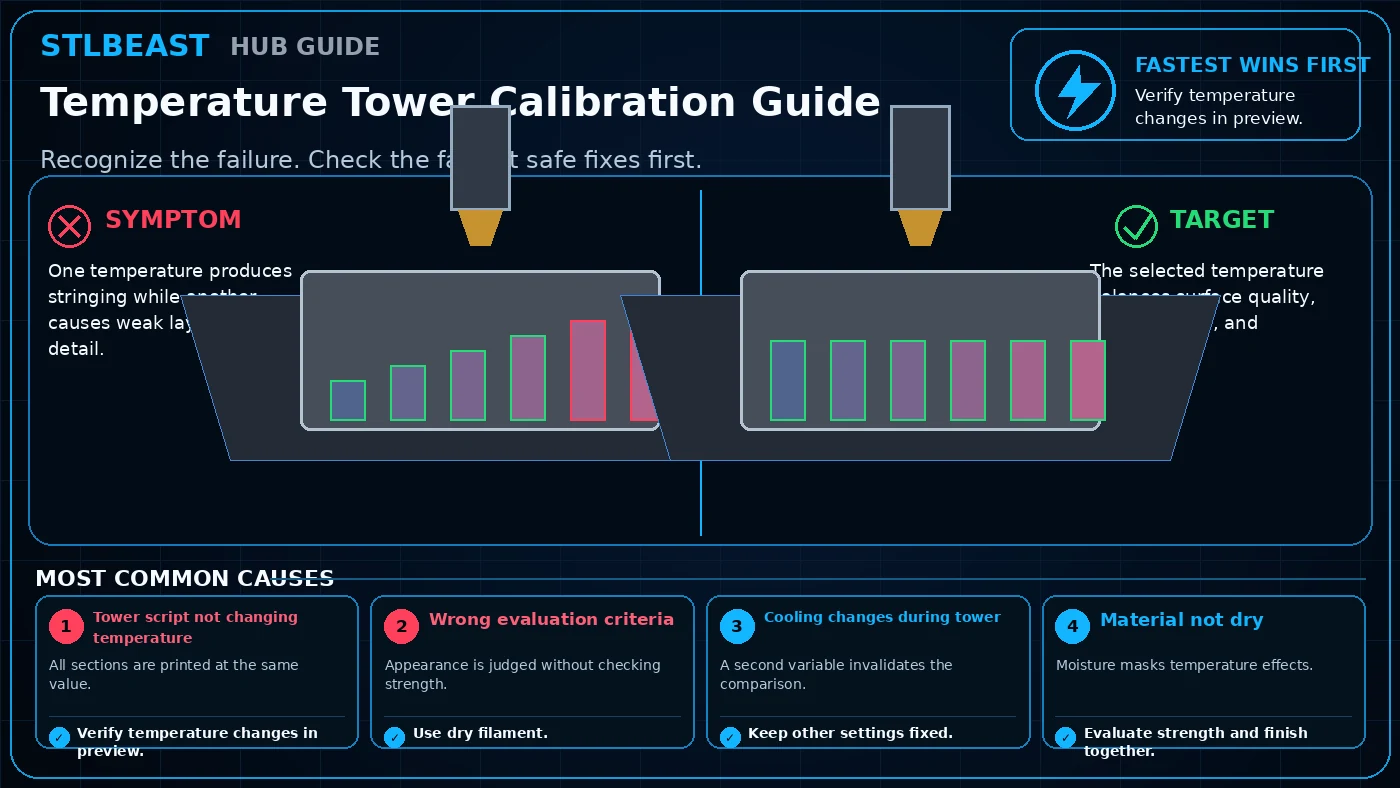
Work from top to bottom. Stop when the failure is resolved, verify it with a small test and record the successful setup.
- Inspect and secure the heater, sensor, sock, wiring, and fans.
- Choose a representative temperature for the material you use most.
- Set the fan state recommended by the printer manufacturer.
- Run the built-in PID, heater calibration, or autotune command.
- Allow all requested cycles to complete without touching the machine.
- Save the result using the manufacturer workflow.
- Restart and confirm the values remain active.
- Verify with a monitored heat-up and short print.
Safety and accuracyStay within the printer, material, resin, hotend, build-surface, electrical, ventilation, and personal-protection limits published by the manufacturers. Stop immediately for heater errors, smoke, electrical damage, severe binding, uncontrolled motion, or resin exposure.