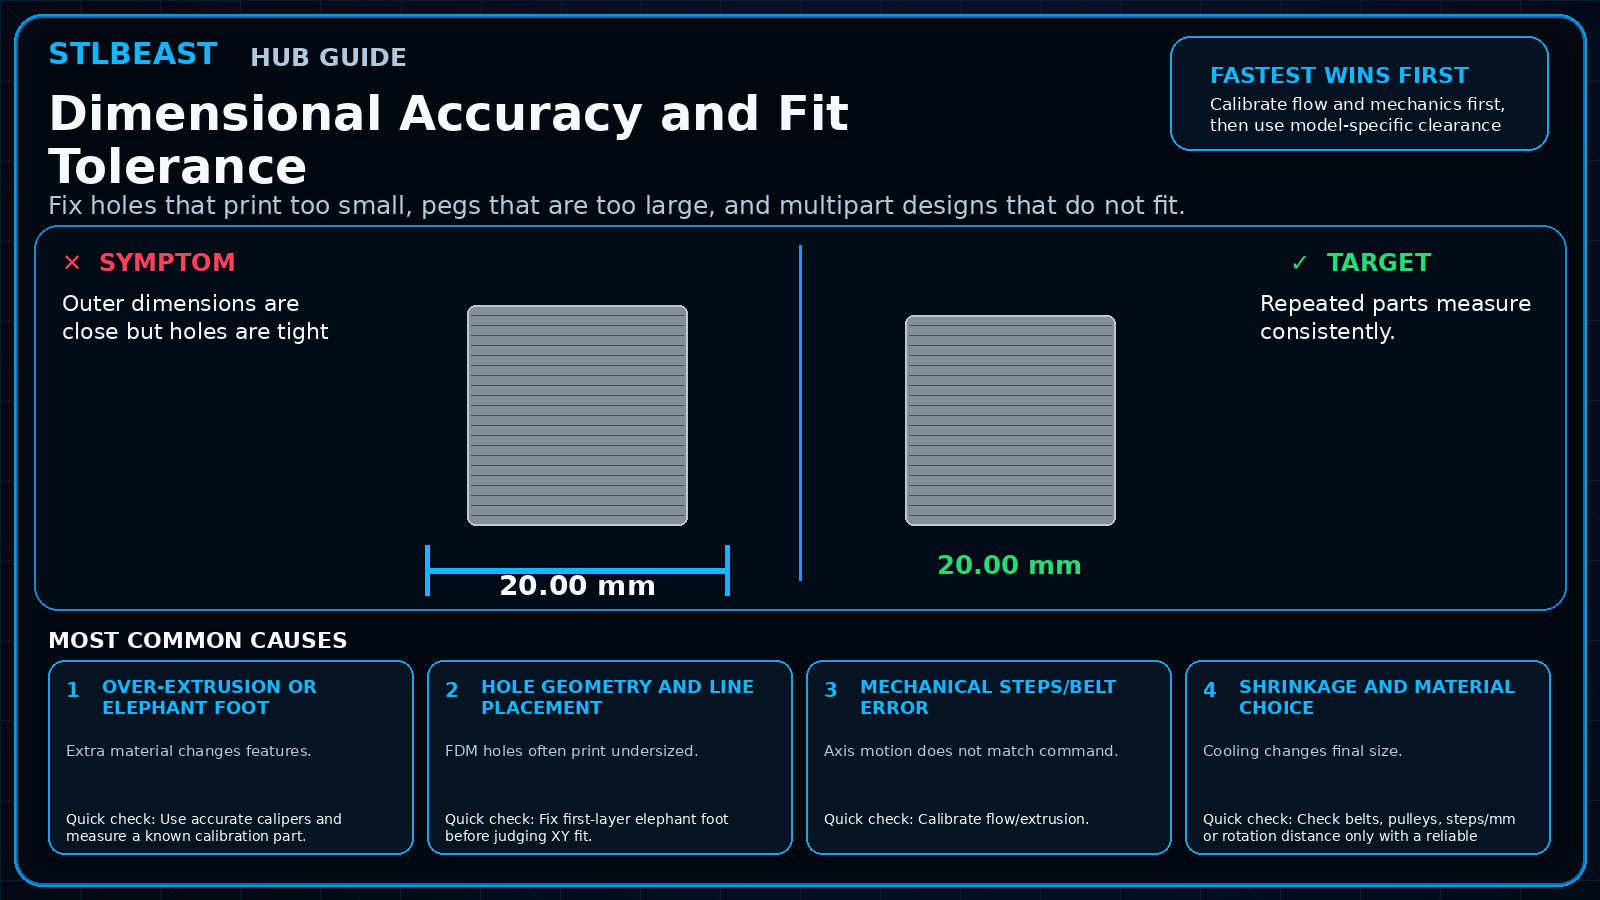
Fix holes that print too small, pegs that are too large, and multipart designs that do not fit.
Fast answer
Calibrate flow and mechanics first, then use model-specific clearance or hole compensation. Do not globally scale an axis until measurement proves a true axis error.
Use the visual comparison first, then follow the ordered checks below.
Before you change settings
Confirm the exact printer, material, nozzle or resin, slicer, and recent hardware changes.
Photograph the failure before removing the print so the evidence is not lost.
Return extreme overrides to a known profile and change one variable at a time.
Use a small calibration object or representative model section before repeating a long print.
What it looks like
Outer dimensions are close but holes are tight
Pegs and slots do not assemble
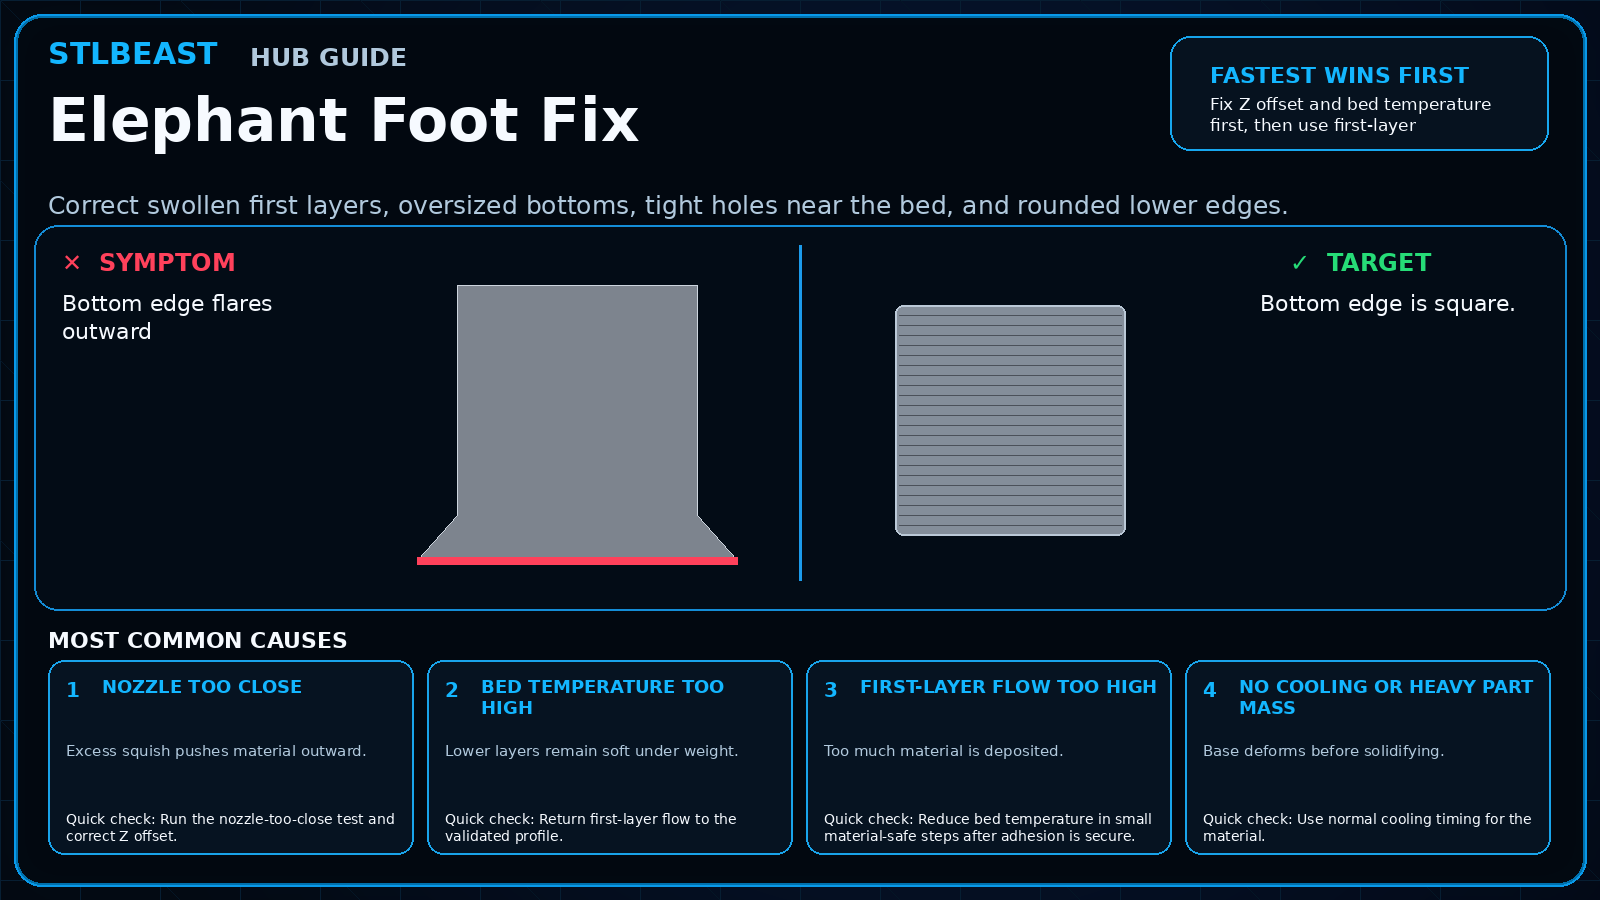
Bottom dimensions are swollen
Different orientations produce different fit
Most likely causes
Over-extrusion or elephant footExtra material changes features.
Hole geometry and line placementFDM holes often print undersized.
Mechanical steps/belt errorAxis motion does not match command.
Shrinkage and material choiceCooling changes final size.
Model clearance is too small for the processCAD assumes perfect manufacturing.
Repair sequence
Work from top to bottom. Stop when the failure is resolved, verify it with a small test, and record the successful setup.
Use accurate calipers and measure a known calibration part.
Fix first-layer elephant foot before judging XY fit.
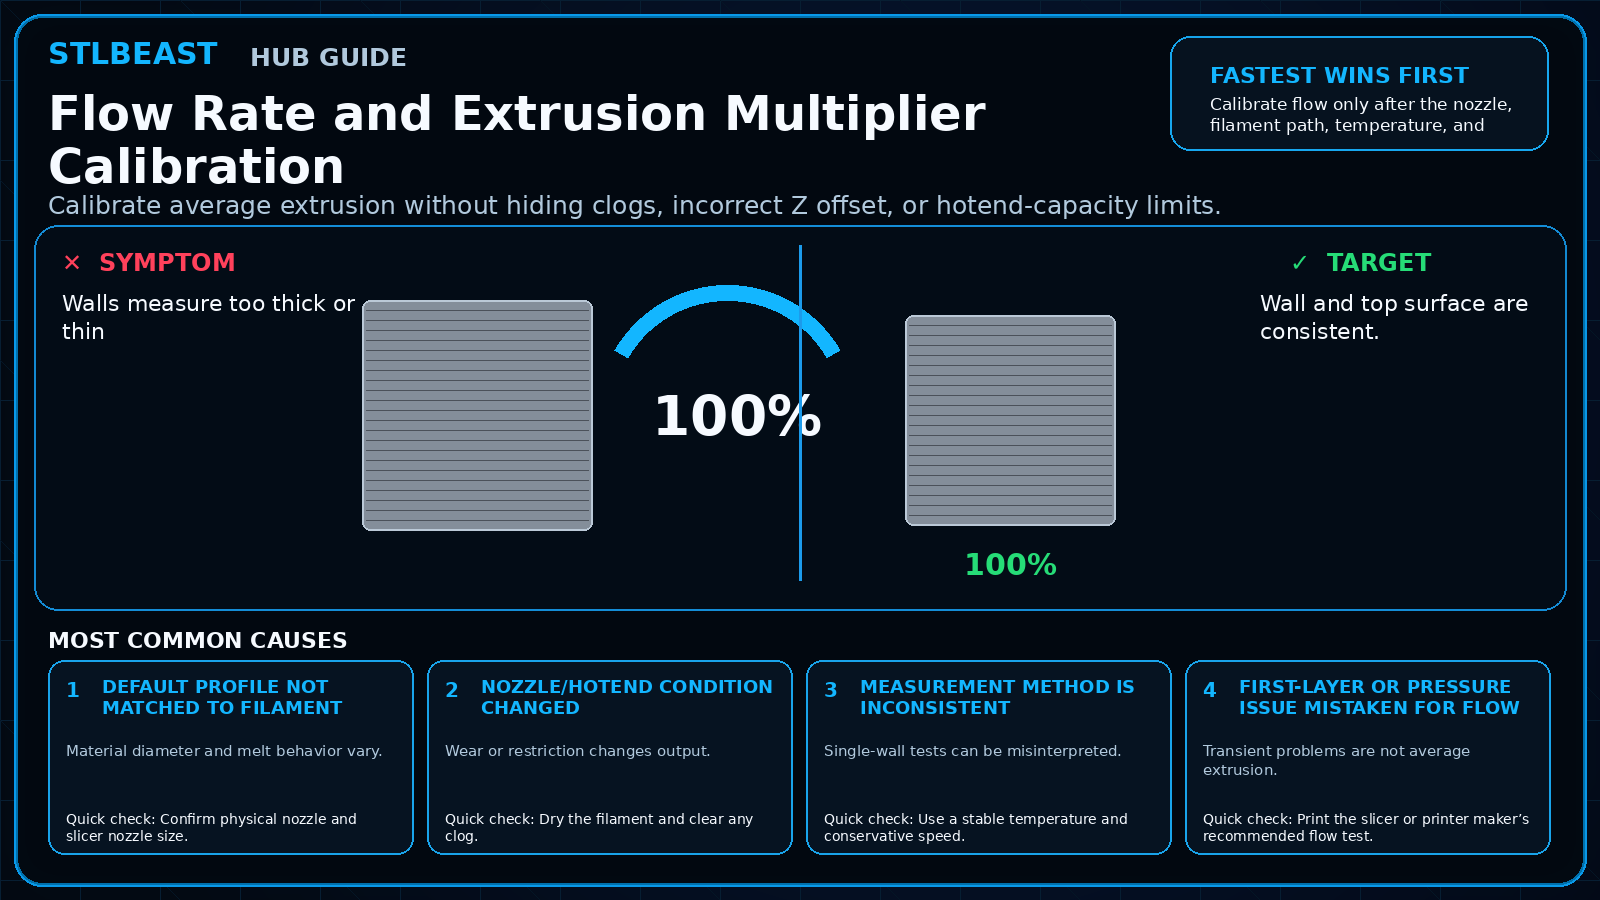
Calibrate flow/extrusion.
Check belts, pulleys, steps/mm or rotation distance only with a reliable measurement method.
Test holes/pegs in the same orientation as the real part.
Use slicer hole/XY compensation only after mechanics and flow are correct.
Update CAD clearance based on repeated process capability.
Safety and accuracyChange one variable at a time and keep every adjustment inside the printer, hotend, build-surface, and filament manufacturer limits.
Fast decision path
1If you see evidence of over-extrusion or elephant foot
Extra material changes features. Confirm it with the smallest safe test before continuing.
2If you see evidence of hole geometry and line placement
FDM holes often print undersized. Confirm it with the smallest safe test before continuing.
3If you see evidence of mechanical steps/belt error
Axis motion does not match command. Confirm it with the smallest safe test before continuing.
Settings to review
Setting
How to use it
XY compensation
Apply cautiously; it affects many features.
Hole compensation
Prefer when only internal holes are consistently small.
First-layer compensation
Use for elephant foot, not global size.
Wall order
Can influence dimensional accuracy.
Material notes
PLA
Stable for many fit tests.
PETG
Flexible/sticky behavior can affect snap fits.
ABS/ASA
Shrinkage and enclosure conditions matter.
Printer context
Bedslinger
Check bed seating, gantry alignment, belts, eccentric wheels, and first-layer consistency across the plate.
CoreXY
Start from the official machine profile; inspect belt balance, input shaping, flow, pressure advance, and chamber conditions.
Delta
Confirm delta calibration, tower movement, belt tension, effector stability, and full-bed mapping.
Resin / SLA
Use resin-specific exposure, lift, support, temperature, wash, cure, and personal-protection procedures.
Where to look in the slicer
OrcaSlicer / Bambu Studio
Process → Quality, Strength, Speed, Support and Filament settings; use calibration tools for temperature, flow and pressure advance.
PrusaSlicer
Print Settings, Filament Settings and Printer Settings; inspect the sliced preview and layer slider before export.
Cura / Creality Print
Quality, Walls, Top/Bottom, Material, Speed, Travel, Cooling, Support and Build Plate Adhesion.
Resin slicers
Printer/resin profile, exposure, lift/retract, support contact, raft and hollow/drain settings.
How to verify the fix
Repeated parts measure consistently.
Fit works in the intended orientation.
Bottom and upper dimensions match.
Compensation is documented per printer/material.
Prevent it next time
Design test coupons.
Record measured clearance.
Avoid relying on one calibration cube.
Recalibrate after nozzle or motion changes.
Printer Settings preview
Useful sample now. Full personalized profile for members.
Every visitor can use the guide and receive a practical sample. Members unlock the complete printer/material profile, exact adjustment order, copy/export controls, saved Profile Vault history, and deeper AI Doctor linkage.
XY compensationApply cautiously; it affects many features.
Hole compensationPrefer when only internal holes are consistently small.
STLBEAST ecosystemFix and learn on Hub. Build with validated files on STLBEAST.com.
Disclosure: Hub.STLBEAST is an educational resource. Some recommended-tool links may be affiliate links, including Amazon Associate links, and STLBEAST may earn from qualifying purchases at no extra cost to you.