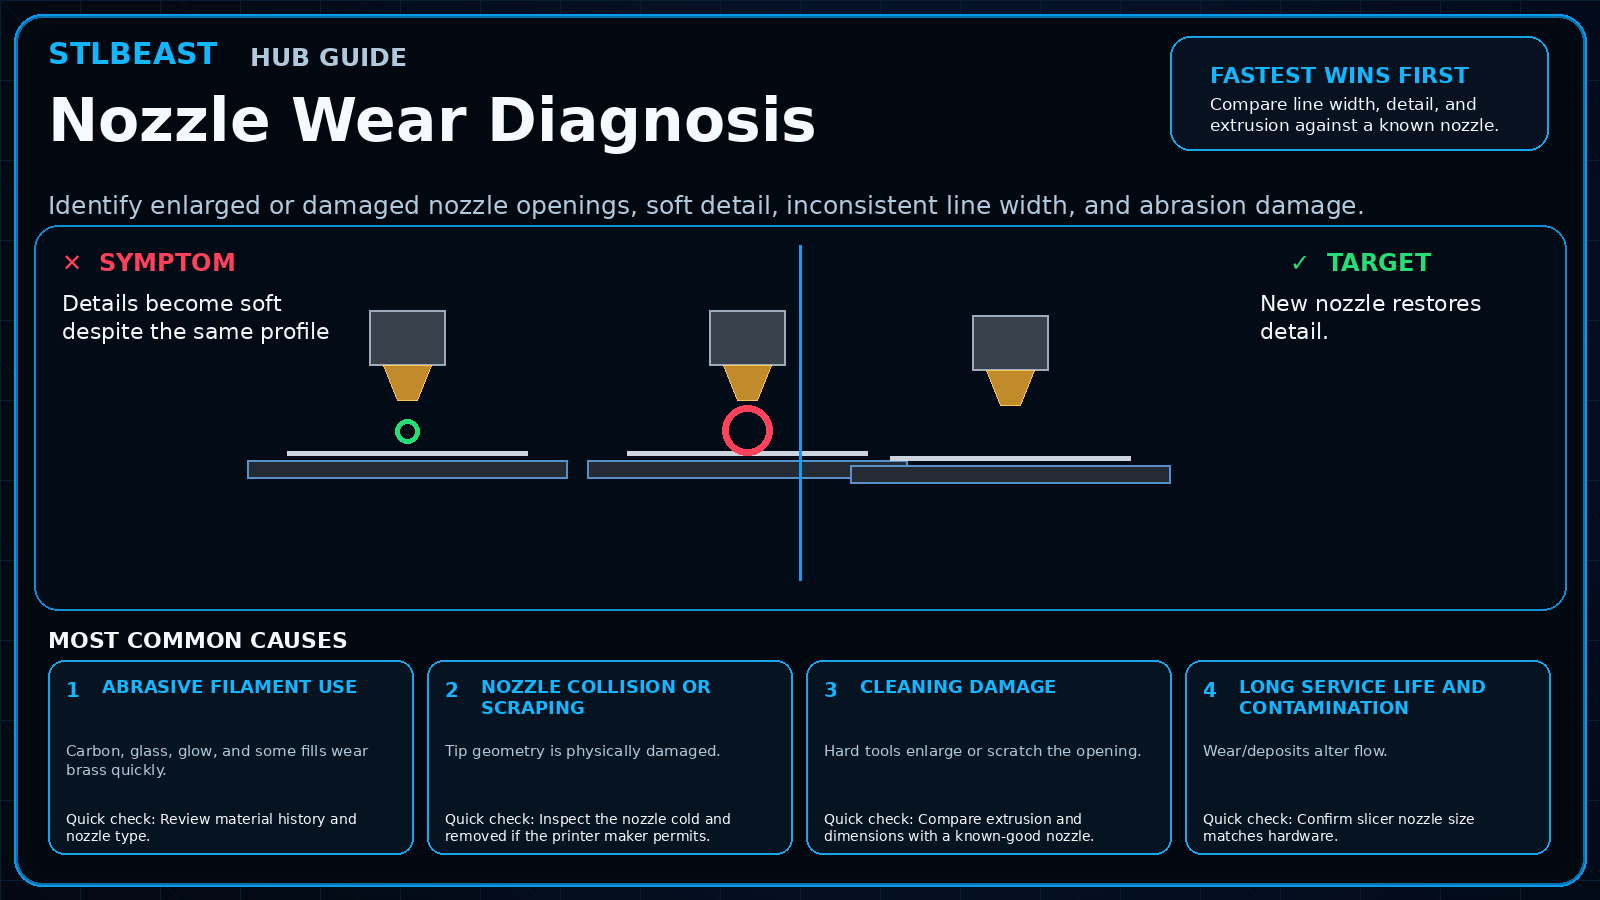
Identify enlarged or damaged nozzle openings, soft detail, inconsistent line width, and abrasion damage.
Start hereCompare line width, detail, and extrusion against a known nozzle. Abrasive filaments can enlarge soft nozzles and change both quality and dimensions.
First safe actionRun the first safe check and change one variable at a time.
Proof targetA small representative test no longer shows the original symptom.
Match the failed area to the visual before changing a setting.
Repair progress0 of 6 complete
Step 1 of 6
Review material history and nozzle type.
Keep the problem and target visual open while you make this change.
Why this matters
Carbon, glass, glow, and some fills wear brass quickly.
Setting or checkNozzle material
Use abrasion-resistant material for abrasive filament.
Expected result
New nozzle restores detail.
Step 2 of 6
Inspect the nozzle cold and removed if the printer maker permits.
Keep the problem and target visual open while you make this change.
Why this matters
Tip geometry is physically damaged.
Setting or checkNozzle size profile
Update slicer and printer settings.
Expected result
Line width and dimensions normalize.
Step 3 of 6
Compare extrusion and dimensions with a known-good nozzle.
Keep the problem and target visual open while you make this change.
Why this matters
Hard tools enlarge or scratch the opening.
Setting or checkTemperature
Different nozzle materials may transfer heat differently.
Expected result
Purge strand is consistent.
Step 4 of 6
Confirm slicer nozzle size matches hardware.
Keep the problem and target visual open while you make this change.
Why this matters
Wear/deposits alter flow.
Setting or checkNozzle material
Use abrasion-resistant material for abrasive filament.
Expected result
No scraping or leaks.
Step 5 of 6
Replace the nozzle if the opening/tip is damaged or wear is confirmed.
Keep the problem and target visual open while you make this change.
Why this matters
Carbon, glass, glow, and some fills wear brass quickly.
Setting or checkNozzle size profile
Update slicer and printer settings.
Expected result
New nozzle restores detail.
Step 6 of 6
Recalibrate Z offset, flow, and pressure settings after replacement.
Keep the problem and target visual open while you make this change.
Why this matters
Tip geometry is physically damaged.
Setting or checkTemperature
Different nozzle materials may transfer heat differently.
Expected result
Line width and dimensions normalize.
Controlled test log
Change one variable, then record what happened
This keeps temperature, retraction, speed, mechanical, and material tests from blending together. The history stays private in this browser.

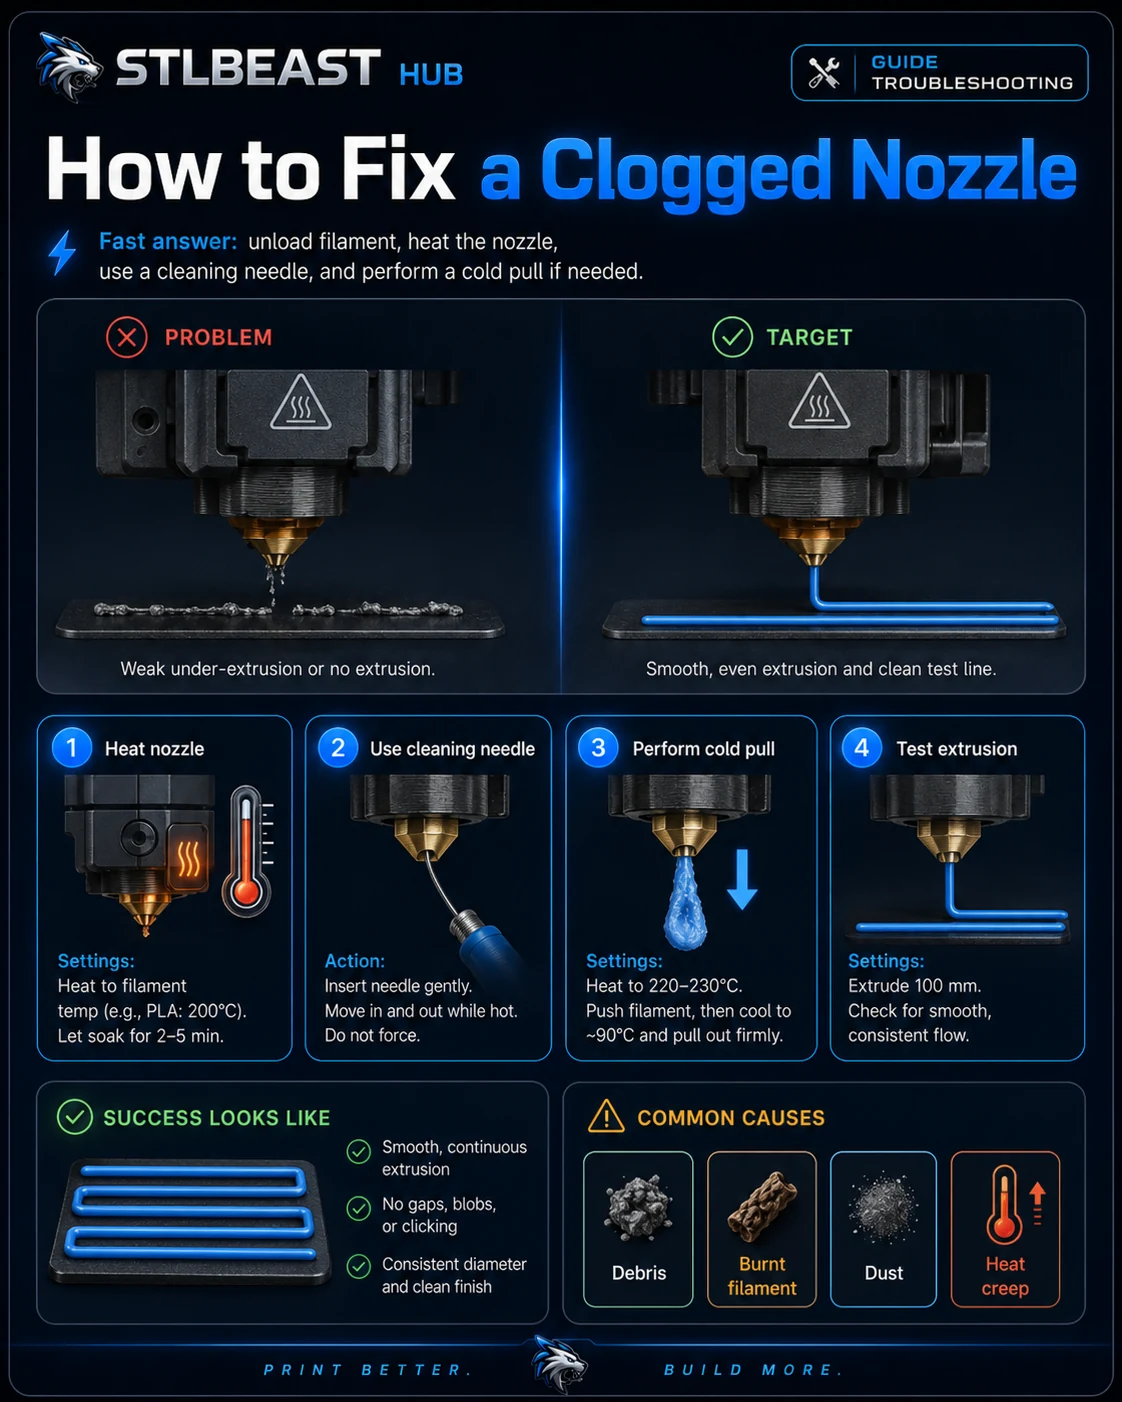 ExtrusionPartial or Clogged Nozzle Fix
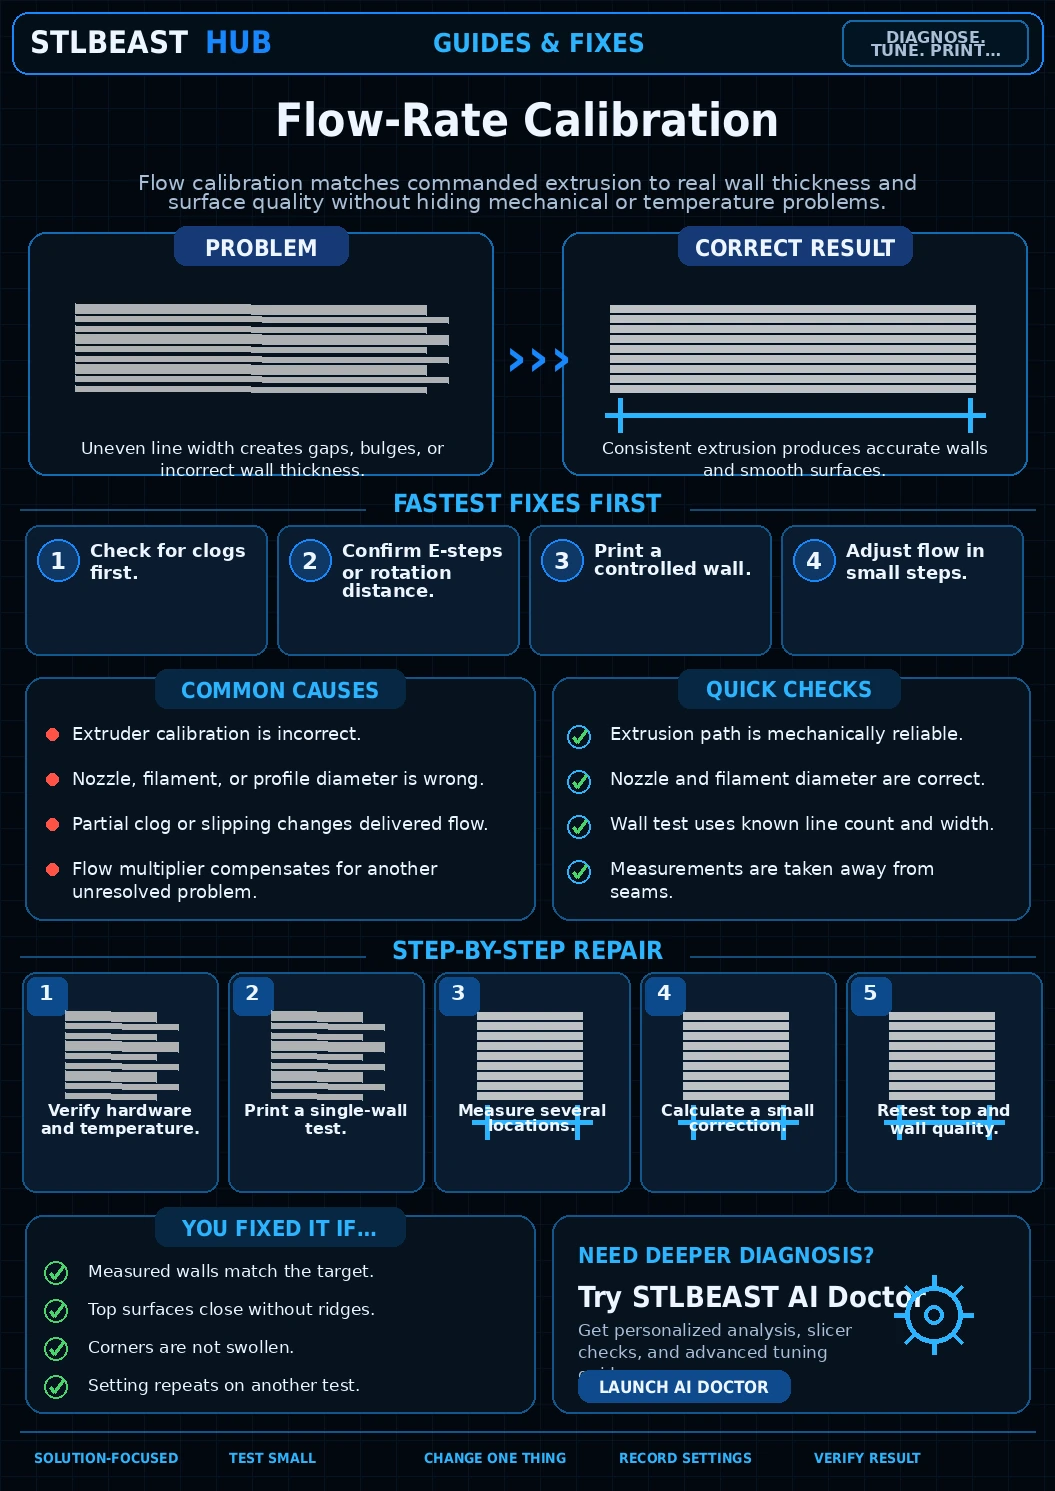 CalibrationFlow Rate and Extrusion Multiplier Calibration
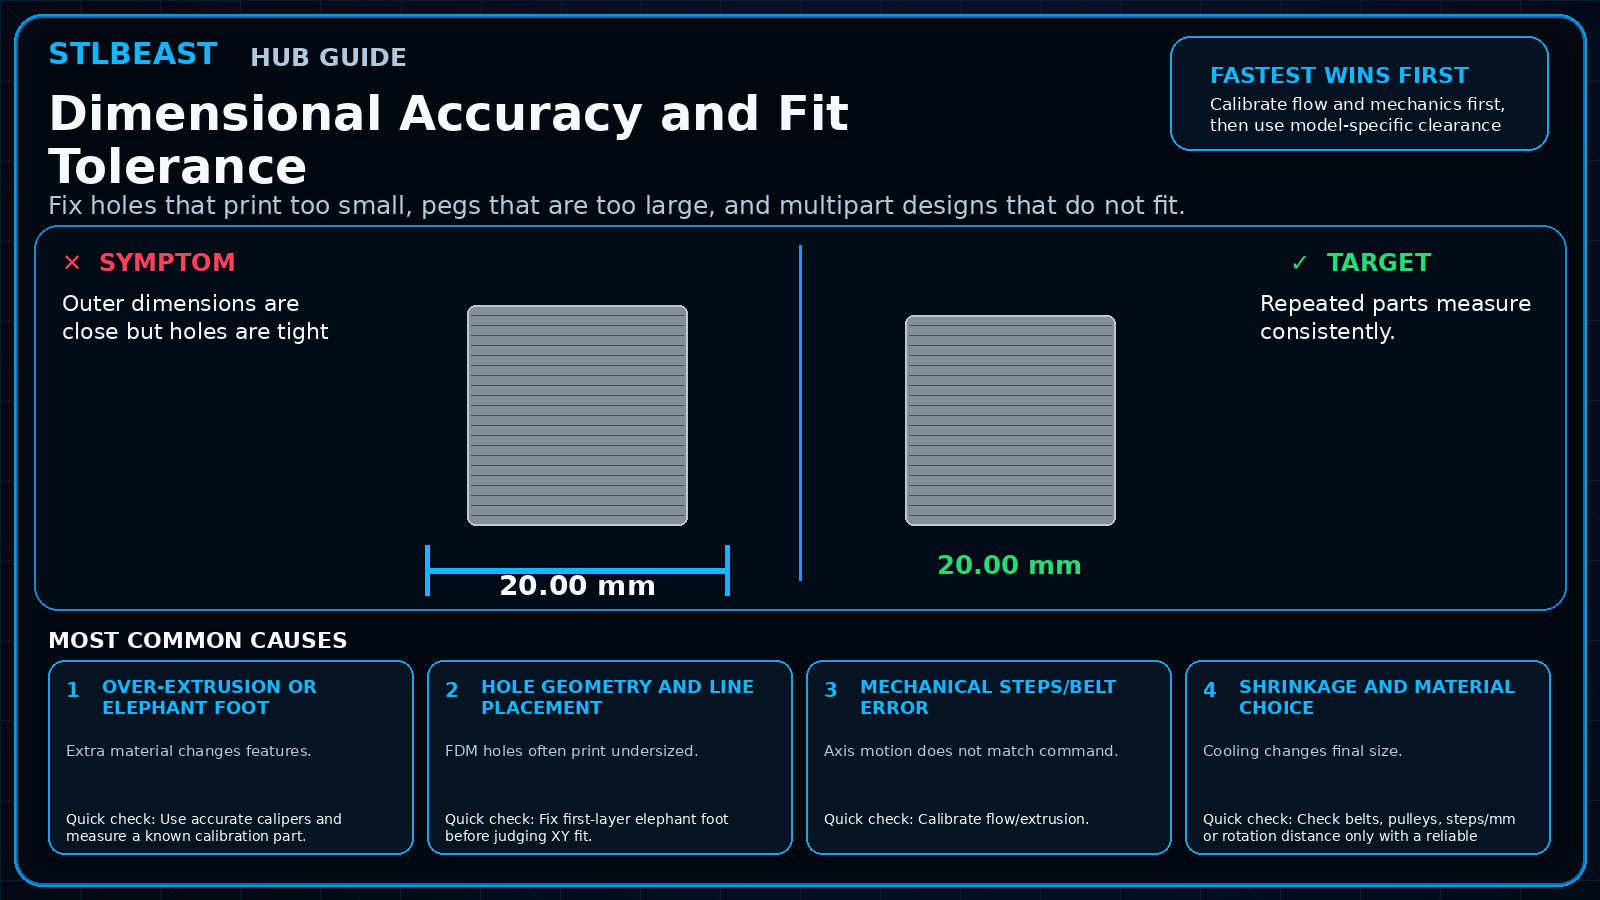 CalibrationDimensional Accuracy and Fit Tolerance