HUB.STLBEAST3D printing knowledge hubFix · learn · print
Material SettingsMedium17 minReviewed 18 Jul 2026

TPU Flexible Filament Settings Guide

Tune flexible filament speed, feed path, retraction, temperature, and support behavior. Use the ranked checks, controlled repair order, and proof test below to isolate the cause without stacking unrelated changes.

Fast answer

Print TPU slowly through a constrained low-friction path, keep retraction conservative, and dry the spool before chasing slicer settings.

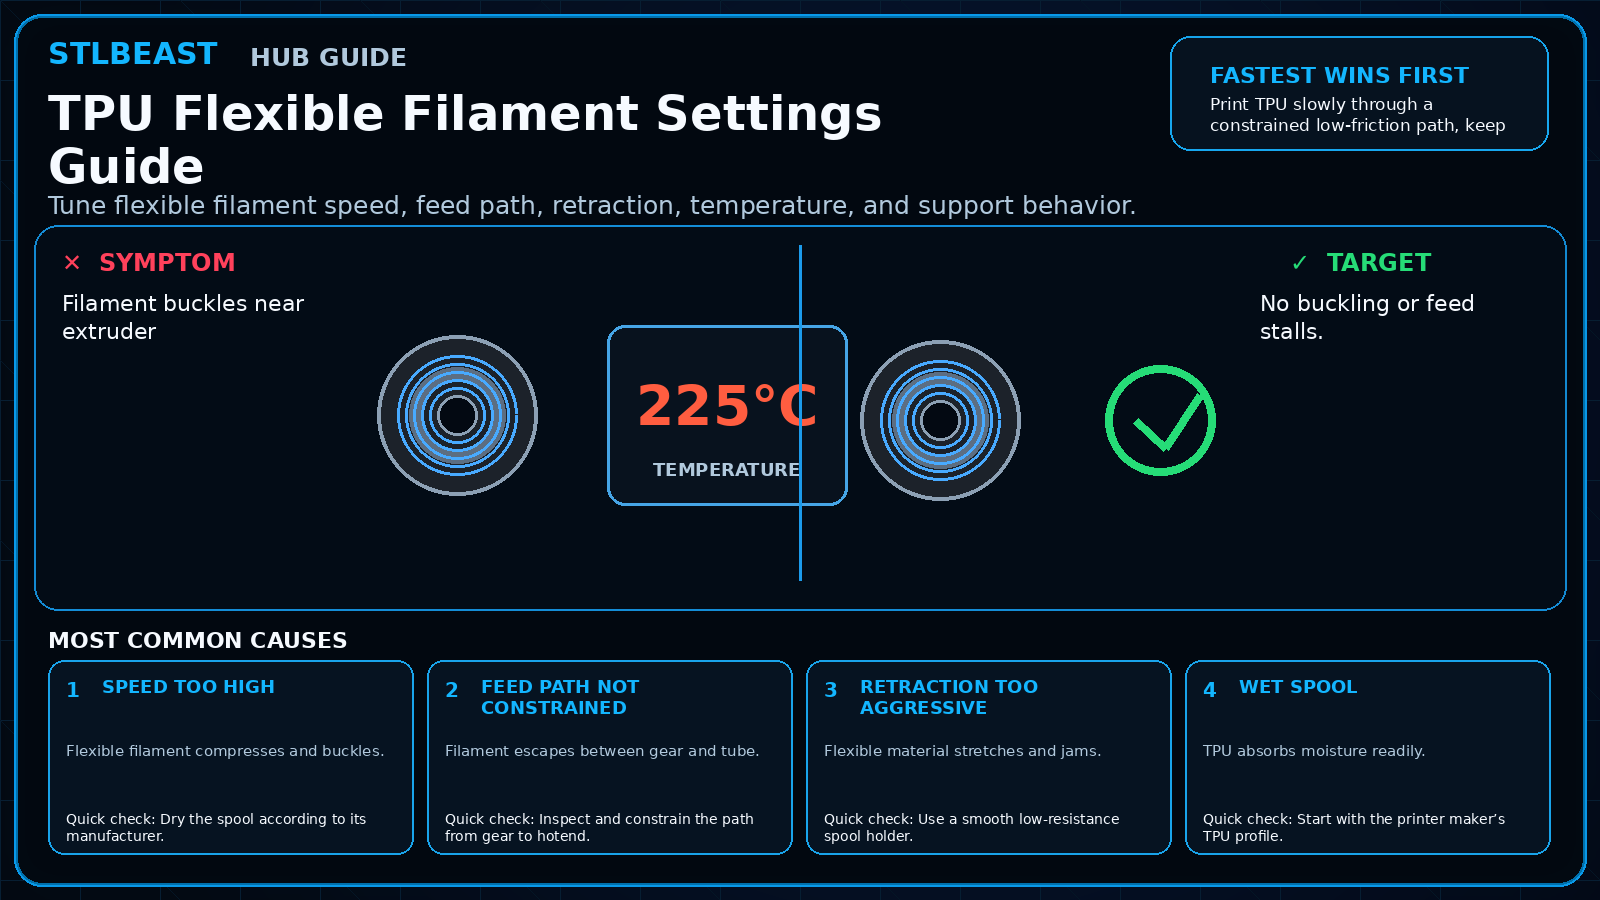
Verified diagnostic visualVisual guide showing the problem, target result and repair path for tpu flexible filament settings guide
See it before changing settings.Filament buckles near extruder Compare your print with the visual, then follow the repair order below.
Visual repair path

See the sequence before you start

Match the visible symptom, work through the four visual checkpoints, and prove the result with a small test.

Target resultNo buckling or feed stalls.
Choose how you want to troubleshoot

Start fast or open every detail

Quick Fix keeps the safest first checks and proof steps in view. Full Guide reveals the complete settings, printer context, advanced tests, sources and FAQs.

Quick Fix mode is active.

Start hereSpeed too high

Flexible filament compresses and buckles.

Success should look like
  • No buckling or feed stalls.
  • Walls are continuous.
Safe workflowOne change at a time

Use the smallest useful test, keep the winning change, and record the result.

Optional context

Make this guide easier to apply to your setup

Select what you use. The page highlights relevant material, slicer and printer notes without hiding the complete source-backed guide.

General guide view

Choose any setup details above to emphasize matching notes and produce a safer starting summary.

Guided repair journey

Know what to do now—and what comes next

Follow one controlled path. Do not stack unrelated changes before the proof test.

Typical first pass 10–30 min
  1. 1
    Confirm the visual clue

    Compare the failed area with the problem and target visuals.

  2. 2
    Run the safest first checks

    Run the first safe check and change one variable at a time.

  3. 3
    Print the proof test

    A small representative test no longer shows the original symptom.

  4. 4
    Escalate only if needed

    Use the next-route guides only when the original symptom remains.

Visual symptom selector

Which description is closest to what you see?

Select the closest match. This does not replace inspection; it moves the most relevant starting point to the front.

Best first starting point
Speed too high

Flexible filament compresses and buckles.

Open step 1 →

Before you change settings

  • Confirm the exact printer, material, nozzle or resin, slicer, and recent hardware changes.
  • Photograph the failure before removing the print so the evidence is not lost.
  • Return extreme overrides to a known profile and change one variable at a time.
  • Use a small calibration object or representative section before repeating a long print.
STLBEAST diagnostic map

Recognize it, check safely, prove the fix

Use this map before changing multiple settings. The detailed procedure and source references follow below.

ProblemFilament buckles near extruder
Target resultNo buckling or feed stalls.

Fastest safe order

  1. Dry the spool according to its manufacturer.
  2. Inspect and constrain the path from gear to hotend.
  3. Use a smooth low-resistance spool holder.
  4. Start with the printer maker’s TPU profile.

Stop immediately for

  • Change one variable at a time and keep every adjustment inside the printer, hotend, build-surface, and filament manufacturer limits.

Proof of success

No buckling or feed stalls.

What it looks like

  • Filament buckles near extruder
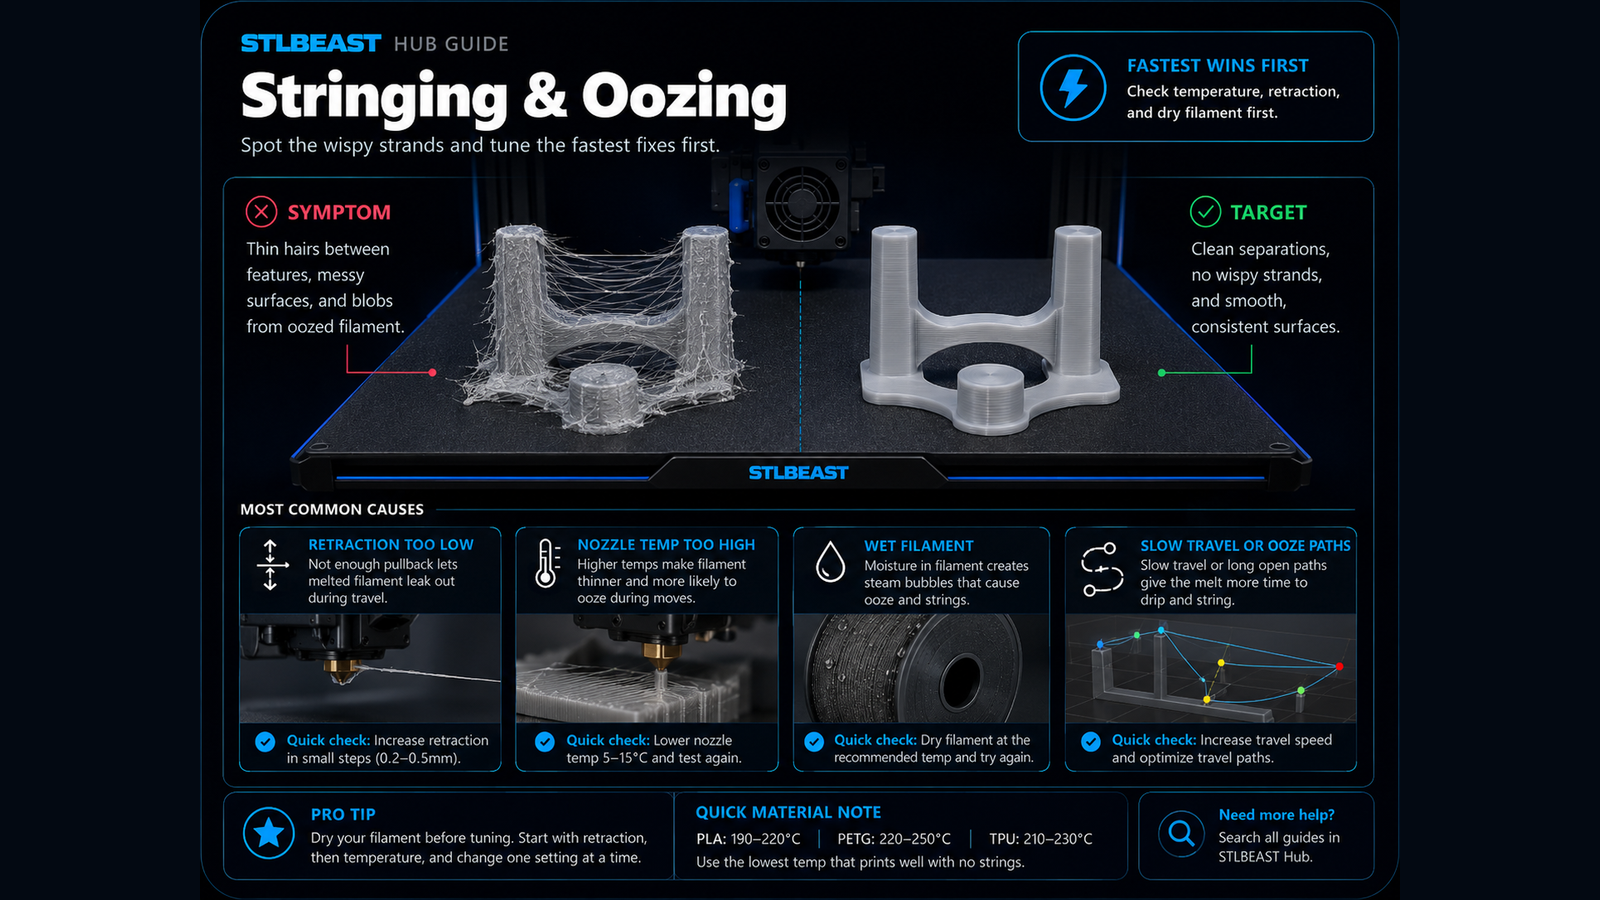
  • Heavy stringing
  • Inconsistent or missing extrusion
  • Supports weld to flexible surfaces

Most likely causes

  1. Speed too highFlexible filament compresses and buckles.
  2. Feed path not constrainedFilament escapes between gear and tube.
  3. Retraction too aggressiveFlexible material stretches and jams.
  4. Wet spoolTPU absorbs moisture readily.
  5. Spool dragSoft filament cannot overcome resistance.
Action plan

Repair sequence

Work from top to bottom. Stop when the failure is resolved, verify it with a small test and record the successful setup.

  1. Step 1
    Dry the spool according to its manufacturer.
  2. Step 2
    Inspect and constrain the path from gear to hotend.
  3. Step 3
    Use a smooth low-resistance spool holder.
  4. Step 4
    Start with the printer maker’s TPU profile.
  5. Step 5
    Reduce speed and volumetric demand.
  6. Step 6
    Use low retraction and tune cautiously.
  7. Step 7
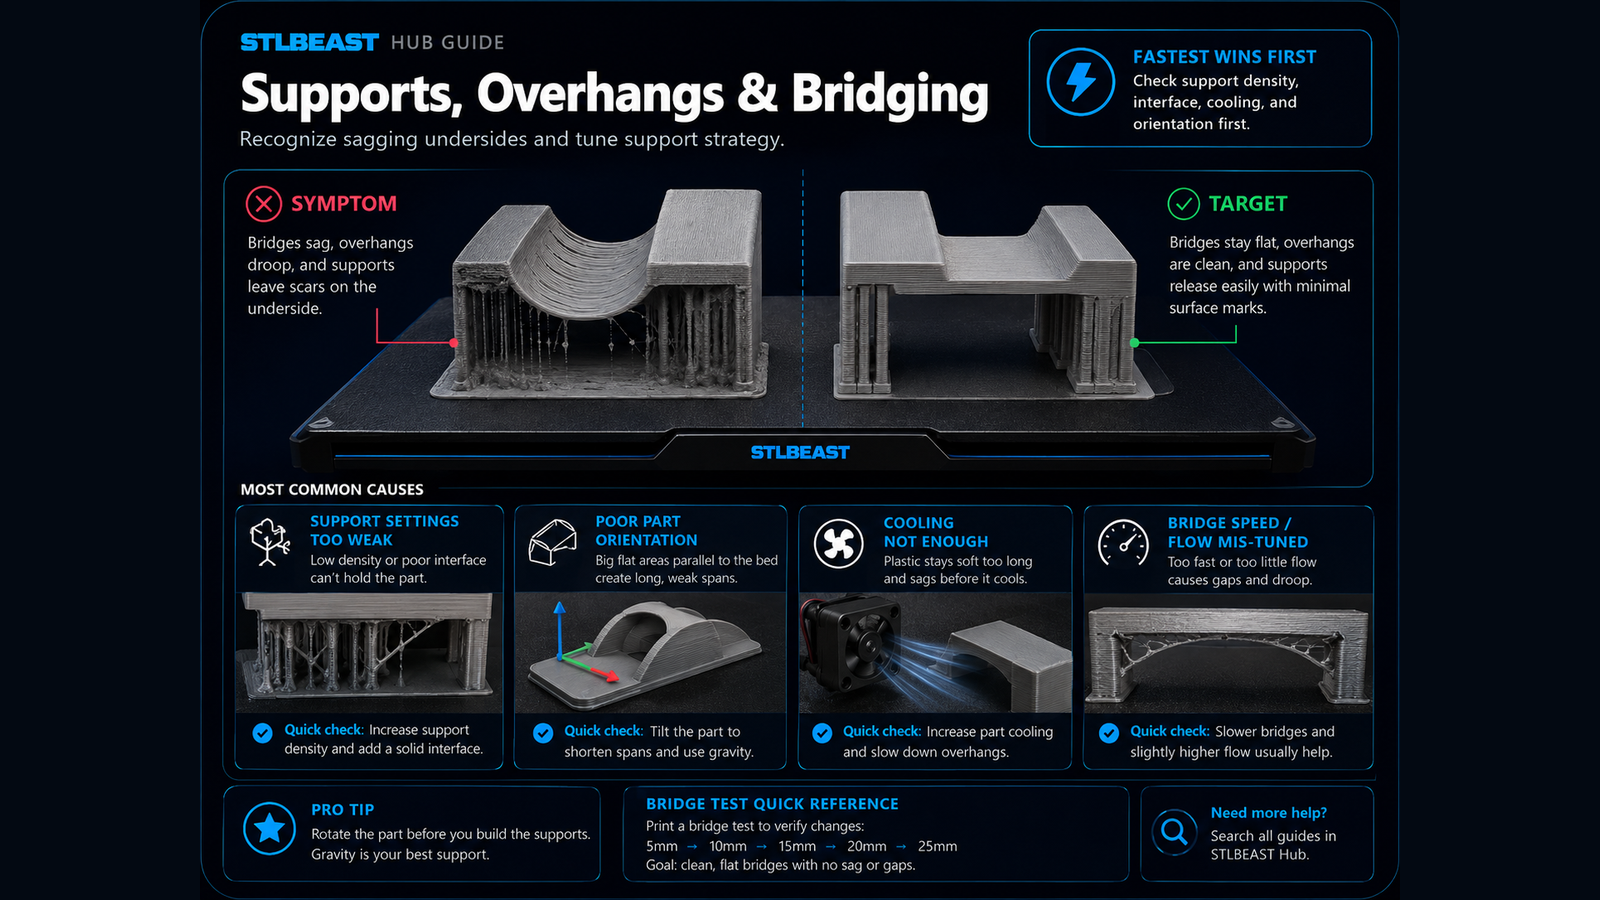
    Test supports and bridge limits on a small sample.
Safety and accuracyChange one variable at a time and keep every adjustment inside the printer, hotend, build-surface, and filament manufacturer limits.
Tune carefully

Settings to review

SettingHow to use it
SpeedUsually much slower than rigid materials.
RetractionLow and conservative.
Pressure advanceUse only with validated flexible-filament guidance.
FanDepends on hardness and detail needs.

Material notes

95A TPU

Easier than very soft grades on many printers.

Very soft TPU

May require specialized direct-drive hardware.

Printer context

Bedslinger

Check bed seating, gantry alignment, belts, wheels and first-layer consistency across the plate.

CoreXY

Start with the official profile; inspect belt balance, input shaping, flow, pressure advance and chamber conditions.

Delta

Confirm delta calibration, tower movement, belt tension, effector stability and full-bed mapping.

Resin / SLA

Use resin-specific exposure, lift, support, temperature, wash, cure and protective procedures.

Where to look in the slicer

OrcaSlicer / Bambu Studio

Quality, Strength, Speed, Support and Filament; use built-in calibration for temperature, flow and pressure advance.

PrusaSlicer

Print, Filament and Printer Settings; inspect the layer preview before export.

Cura / Creality Print

Quality, Walls, Top/Bottom, Material, Speed, Travel, Cooling, Support and Adhesion.

Resin slicers

Printer/resin profile, exposure, lift/retract, support contact, raft, hollowing and drain settings.

Controlled test method

Do not repeat the full print while guessing. Use a small test that reproduces the same feature and record the result.

  1. Save the current profile or photograph every relevant setting.
  2. Choose one suspected cause from the ranked list and change only the matching variable.
  3. Print the smallest useful test with the same material, nozzle, plate, and environment.
  4. Compare the result with the target visual, keep the winning change, and then test the real model.
Standardized proof test

Confirm the repair before repeating the full print

Test modelSmall representative test print
Setup

Use the same printer, material, slicer and key settings as the failed model.

Pass condition

The original symptom is absent and the target feature is repeatable.

If it still fails

The symptom remains in the same location or stage.

Next controlled action

Return to the ranked causes and test the next single variable.

Recheck the visual diagnosis →
If the proof test still fails

Do not repeat the same change—follow the next strongest path

These crawlable, issue-specific links give visitors and search engines a clear relationship between overlapping 3D-printing failures.

Proof before you move on

How to verify the fix

  • No buckling or feed stalls.
  • Walls are continuous.
  • Stringing is acceptable.
  • Part flexibility is consistent.
Run the smallest useful test first.

Choose a result after the print so the guide can point you to the correct next action.

Keep the winning setup

Prevent it next time

  • Feed from dry box.
  • Minimize path bends.
  • Keep spool rolling freely.
  • Save profile by Shore hardness.
Printer Settings

Useful public sample. Complete personalized profile for members.

Everyone can use the full guide and receive a safe starting sample. Members unlock all machine/material values, adjustment order, saved Profile Vault history and deeper AI Doctor linkage.

SpeedUsually much slower than rigid materials.
RetractionLow and conservative.

Frequently asked questions

Can a Bowden printer print TPU?

Some can print firmer TPU slowly with a well-constrained path, but capability varies.

Should I use zero retraction?

Start from the printer profile; very low or zero may help some setups but increases stringing.

Why does TPU stop mid-print?

Spool drag, path buckling, heat creep, or excessive speed are common.

Problem-matched recommendations

Tools matched to this repair path

These links are selected from the page topic instead of showing the same unrelated product everywhere.

Guide success feedback

Did this fix your print?

Your anonymous answer improves the guide order and AI Doctor paths.

Caffeine Monster
Matched next step

Keep the useful workflow going.

Pair practical Hub guidance with Caffeine Monster and the clear three-product Character Collectibles Starter Pack.

STLBEAST ecosystemSolve the print on Hub. Discover the next project in the Store.