
Z-Banding and Repeating Layer Lines
Diagnose repeating horizontal bands, wobble, lead-screw artifacts, and periodic surface variation. Use the ranked checks, controlled repair order, and proof test below to isolate the cause without stacking unrelated changes.
Repeating bands at regular intervals usually point to Z mechanics or a periodic extrusion issue. Measure the spacing before changing slicer cosmetics.

See the sequence before you start
Match the visible symptom, work through the four visual checkpoints, and prove the result with a small test.
Start fast or open every detail
Quick Fix keeps the safest first checks and proof steps in view. Full Guide reveals the complete settings, printer context, advanced tests, sources and FAQs.
Quick Fix mode is active.
Z motion deviates periodically.
- Simple column has uniform wall width.
- Band spacing disappears or no longer repeats.
Use the smallest useful test, keep the winning change, and record the result.
Make this guide easier to apply to your setup
Select what you use. The page highlights relevant material, slicer and printer notes without hiding the complete source-backed guide.
Choose any setup details above to emphasize matching notes and produce a safer starting summary.
Know what to do now—and what comes next
Follow one controlled path. Do not stack unrelated changes before the proof test.
- 1Confirm the visual clue
Compare the failed area with the problem and target visuals.
- 2Run the safest first checks
Run the first safe check and change one variable at a time.
- 3Print the proof test
A small representative test no longer shows the original symptom.
- 4Escalate only if needed
Use the next-route guides only when the original symptom remains.
Which description is closest to what you see?
Select the closest match. This does not replace inspection; it moves the most relevant starting point to the front.
Z motion deviates periodically.
See the failure, understand the cause, and follow the correct repair order
This consistent visual story combines the issue-specific comparison, four repair checkpoints, verification criteria, and common causes. Open it full size, then use the source-backed guide below.
Select the image to open the full-resolution guide. Numeric values are safe starting ranges only; follow the detailed instructions and manufacturer limits for your equipment.
Responsive WebP delivery keeps the mobile guide readable without loading the full desktop image unnecessarily.
Before you change settings
- Confirm the exact printer, material, nozzle or resin, slicer, and recent hardware changes.
- Photograph the failure before removing the print so the evidence is not lost.
- Return extreme overrides to a known profile and change one variable at a time.
- Use a small calibration object or representative section before repeating a long print.
What it looks like
- Bands repeat at a regular vertical interval
- Walls alternate wider and narrower
- Pattern appears on every model
- Band spacing matches screw pitch or wheel rotation
Most likely causes
- Bent, constrained, or dirty lead screwZ motion deviates periodically.
- Misaligned coupler or anti-backlash assemblyThe screw pushes the carriage sideways.
- Loose Z wheels/rails or gantryLayer position changes under load.
- Periodic filament/extrusion variationSpool drag or eccentric gear creates repeating flow.
- Temperature oscillationPID instability changes melt flow.
Repair sequence
Work from top to bottom. Stop when the failure is resolved, verify it with a small test and record the successful setup.
- Step 1Measure the vertical distance between bands.
- Step 2Check Z screws for dirt, damage, and proper lubrication according to manufacturer guidance.
- Step 3Inspect couplers and mounts; do not force a lead screw into misalignment.
- Step 4Check gantry, wheels/rails, and Z synchronization.
- Step 5Watch spool and extruder gear rotation for periodic resistance.
- Step 6Review temperature graph for oscillation and run manufacturer PID calibration if needed.
- Step 7Print a simple vase/column at conservative speed to isolate mechanics from model complexity.
Settings to review
| Setting | How to use it |
|---|---|
| Layer height | A different layer height can help identify whether the pattern is mechanical or slicer-related. |
| Temperature control | Use verified PID settings and stable power. |
| Z hop | Disable temporarily for diagnosis if it introduces extra Z movement. |
Material notes
Check both sides remain synchronized.
Cable drag can affect tall prints.
Printer context
Check bed seating, gantry alignment, belts, wheels and first-layer consistency across the plate.
Start with the official profile; inspect belt balance, input shaping, flow, pressure advance and chamber conditions.
Confirm delta calibration, tower movement, belt tension, effector stability and full-bed mapping.
Use resin-specific exposure, lift, support, temperature, wash, cure and protective procedures.
Where to look in the slicer
Quality, Strength, Speed, Support and Filament; use built-in calibration for temperature, flow and pressure advance.
Print, Filament and Printer Settings; inspect the layer preview before export.
Quality, Walls, Top/Bottom, Material, Speed, Travel, Cooling, Support and Adhesion.
Printer/resin profile, exposure, lift/retract, support contact, raft, hollowing and drain settings.
Controlled test method
Do not repeat the full print while guessing. Use a small test that reproduces the same feature and record the result.
- Save the current profile or photograph every relevant setting.
- Choose one suspected cause from the ranked list and change only the matching variable.
- Print the smallest useful test with the same material, nozzle, plate, and environment.
- Compare the result with the target visual, keep the winning change, and then test the real model.
Confirm the repair before repeating the full print
Use the same printer, material, slicer and key settings as the failed model.
The original symptom is absent and the target feature is repeatable.
The symptom remains in the same location or stage.
Return to the ranked causes and test the next single variable.
Recheck the visual diagnosis →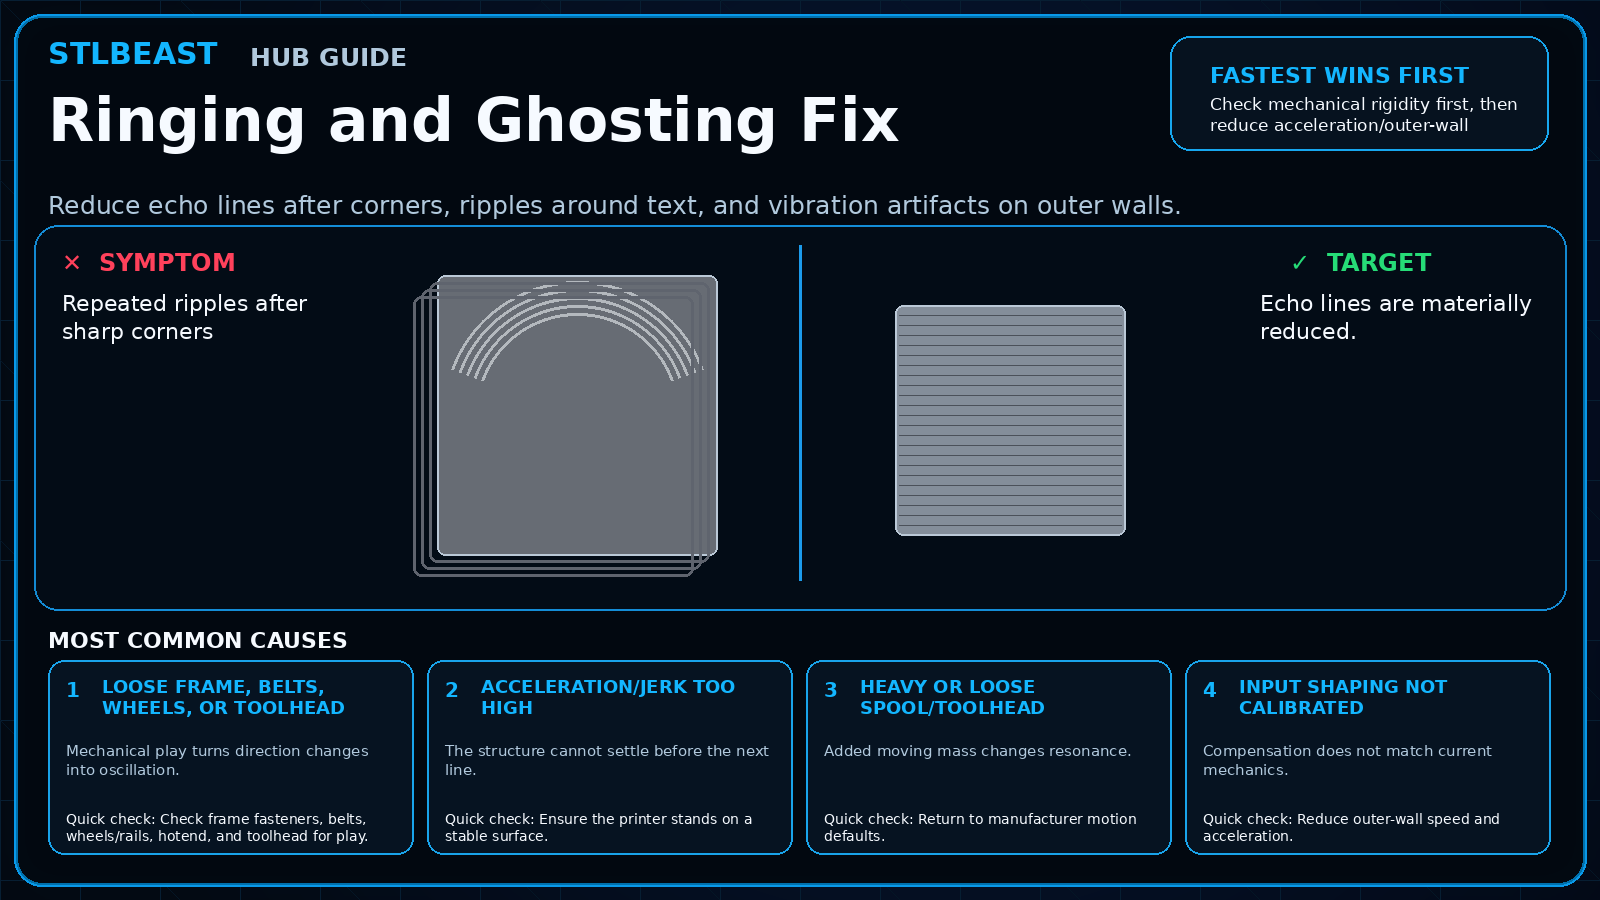 Next path 1Ringing and Ghosting Fix
Use this next when the print is aligned but repeated echoes remain around edges.
Open this guide →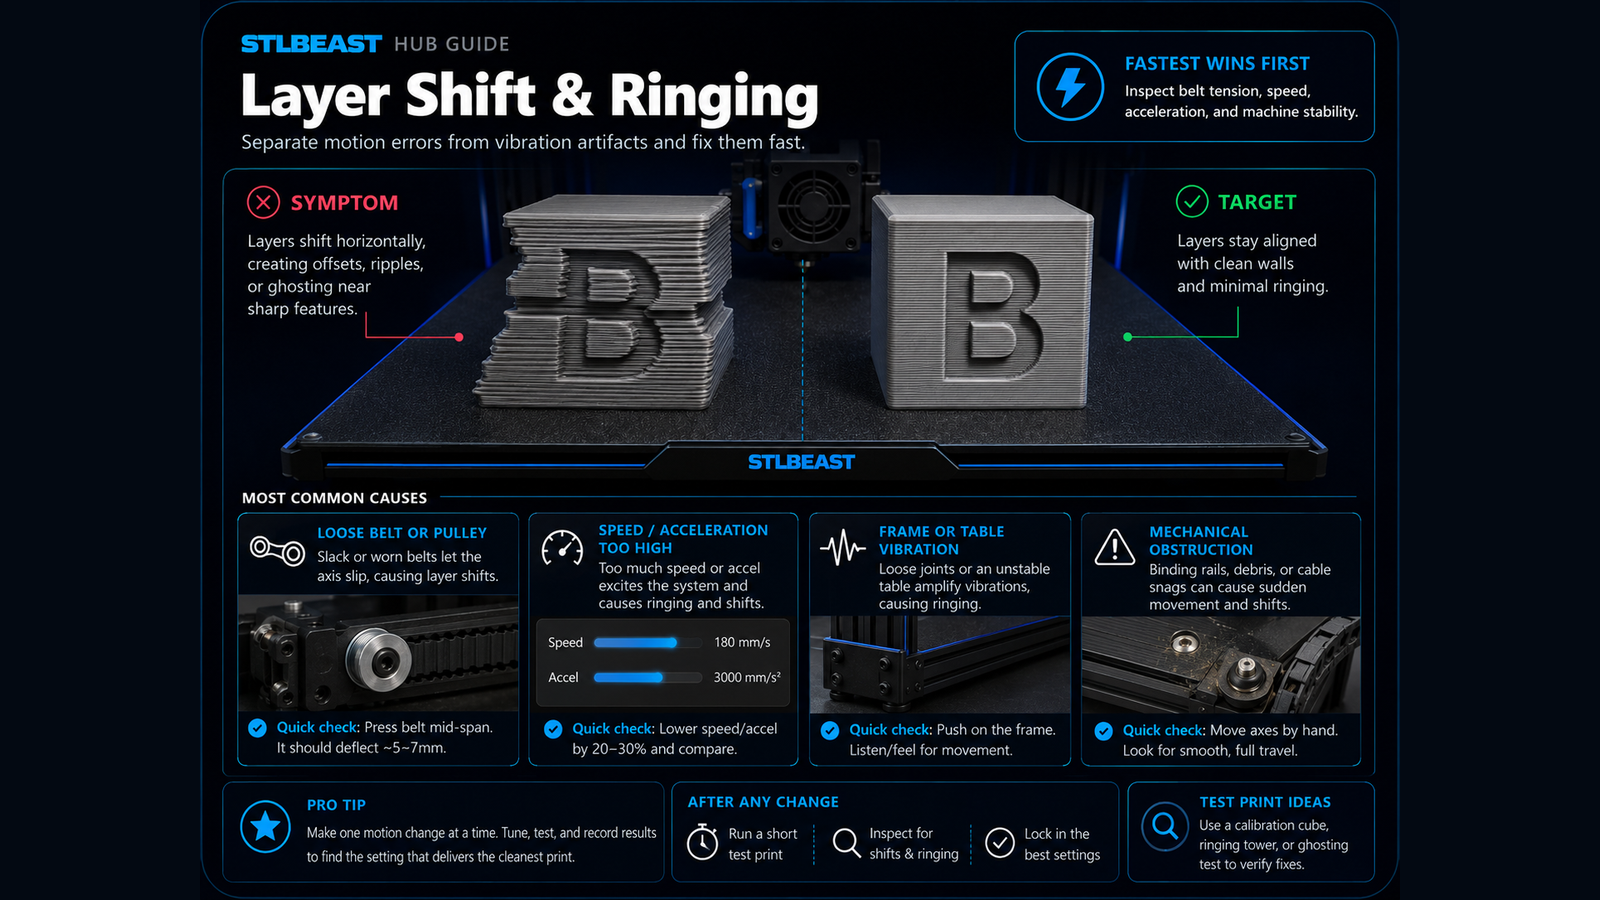 Next path 23D Printer Layer Shift
Open this related Motion guide when the first repair path does not fully explain the remaining symptom.
Open this guide →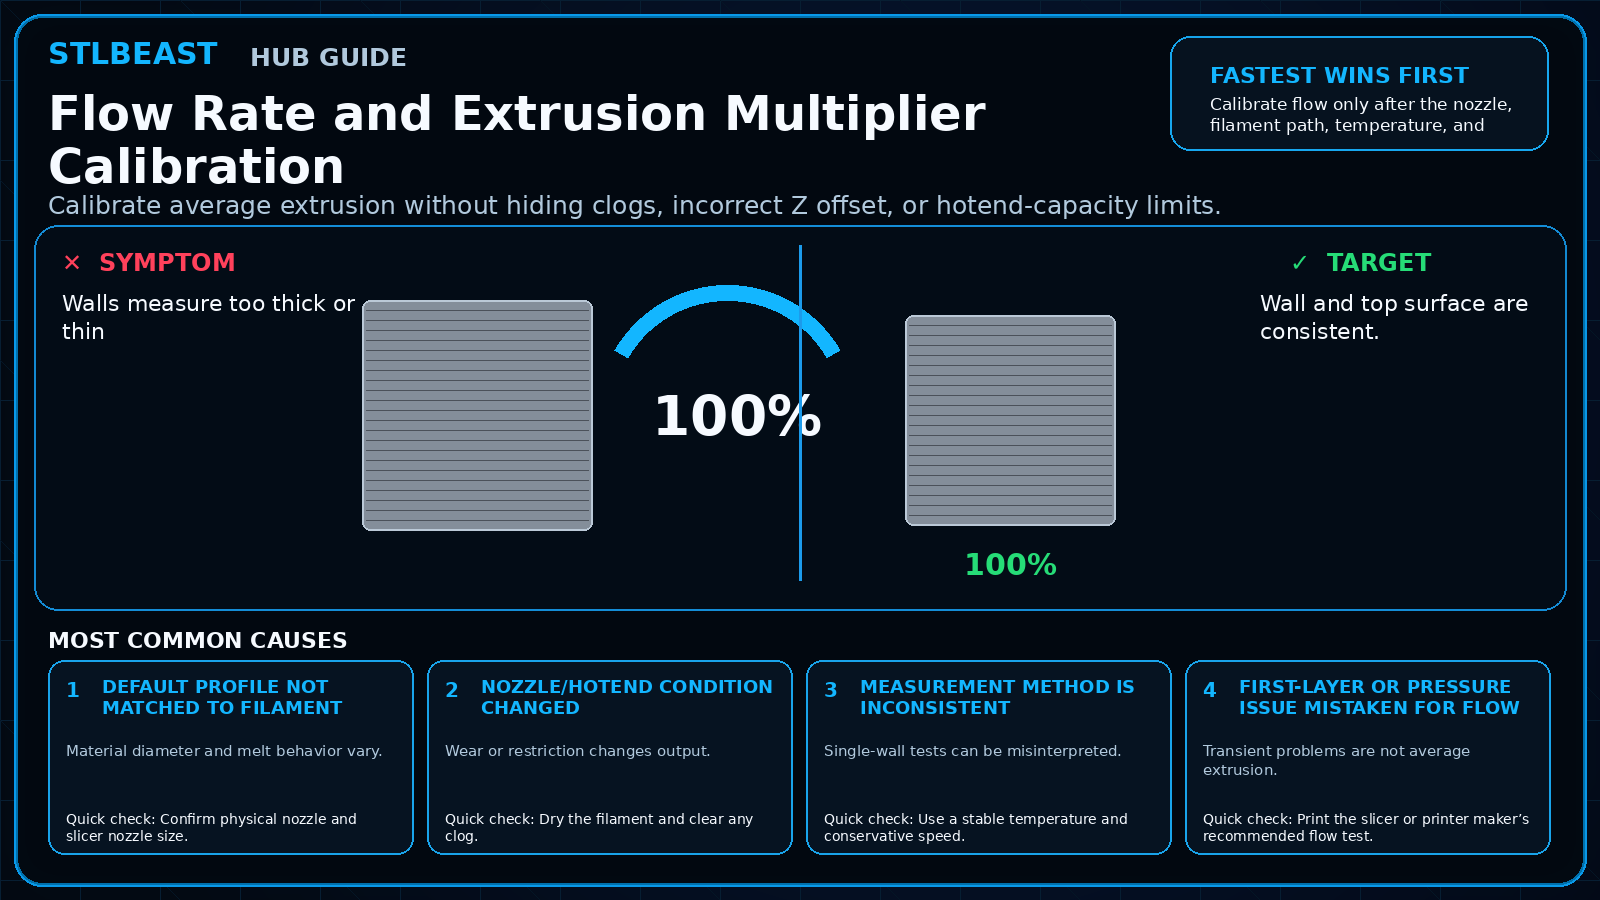 Next path 3Flow Rate and Extrusion Multiplier Calibration
Use this next when the symptom changes with extrusion width or wall thickness.
Open this guide →How to verify the fix
- Simple column has uniform wall width.
- Band spacing disappears or no longer repeats.
- Z axis moves smoothly end to end.
- Temperature remains stable.
Choose a result after the print so the guide can point you to the correct next action.
Prevent it next time
- Clean/lubricate only as the printer maker recommends.
- Do not rigidly constrain a lead screw that is designed to float.
- Keep spool path smooth.
- Check Z synchronization after transport.
Useful public sample. Complete personalized profile for members.
Everyone can use the full guide and receive a safe starting sample. Members unlock all machine/material values, adjustment order, saved Profile Vault history and deeper AI Doctor linkage.
Sources and further reading
These references support the troubleshooting sequence. Follow the printer, slicer, filament, resin, and build-surface manufacturer limits for your exact equipment.
Frequently asked questions
Is every horizontal line Z-banding?
No. Layer-time changes, infill transitions, and variable cooling can create non-periodic lines.
Should the lead screw be perfectly rigid at the top?
Not always; follow the printer design. Incorrect extra constraints can worsen wobble.
Can inconsistent filament diameter cause bands?
Yes, but a perfectly periodic pattern more often suggests rotating mechanics.
Related fixes
Tools matched to this repair path
These links are selected from the page topic instead of showing the same unrelated product everywhere.
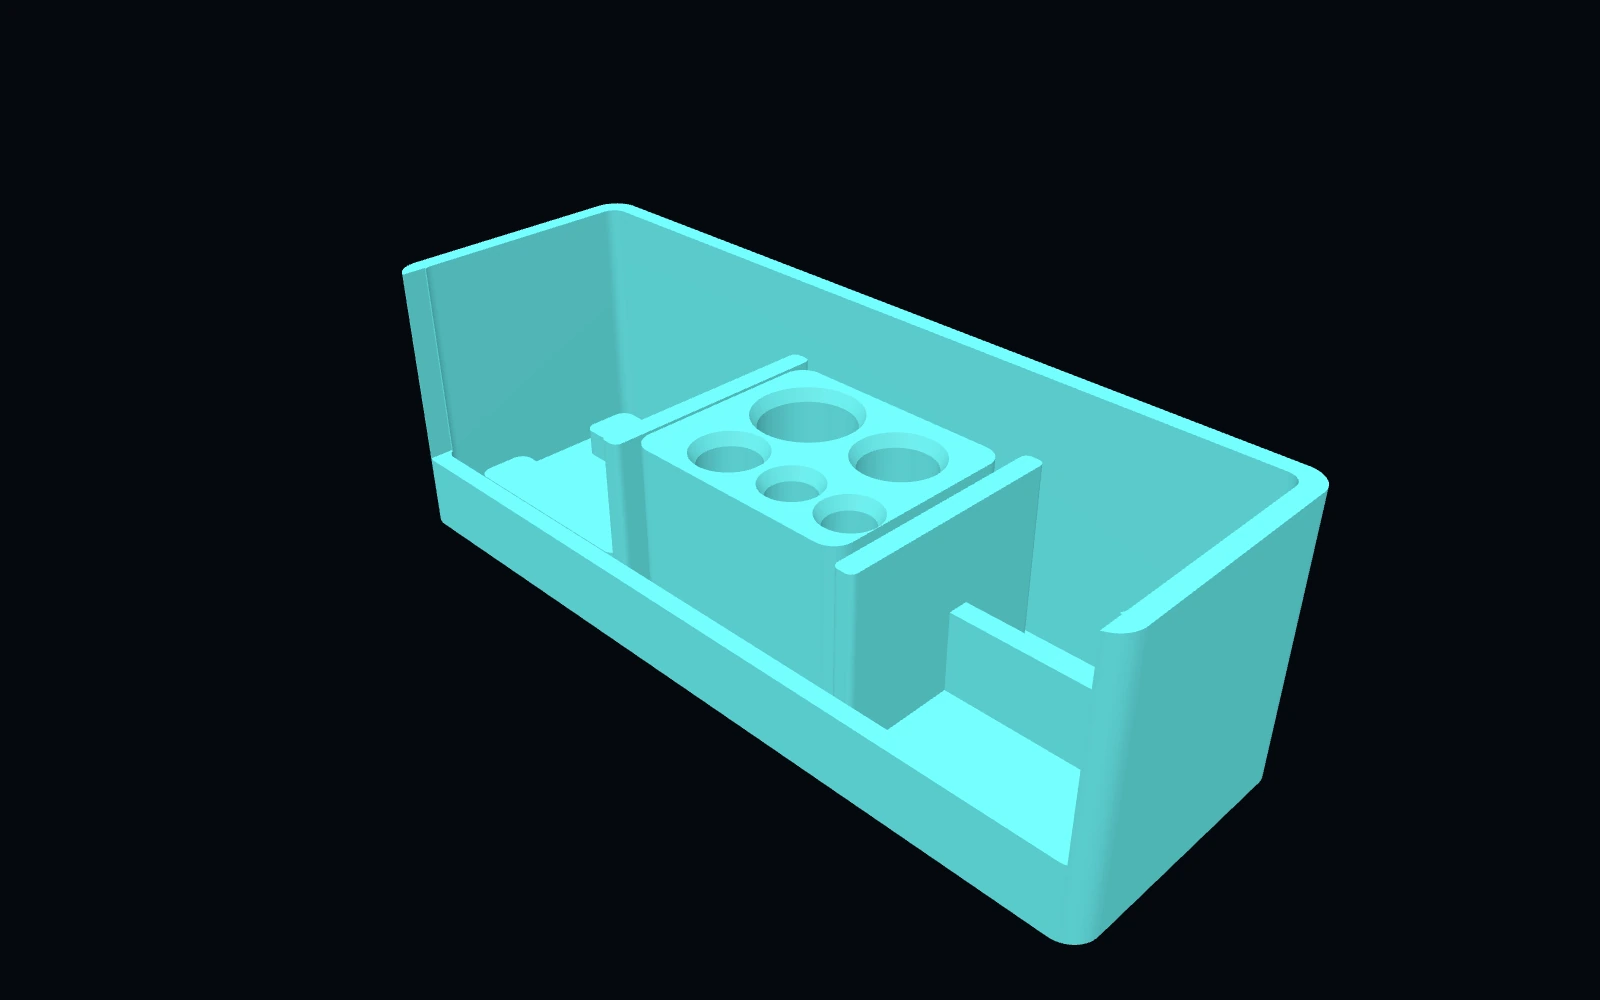 Relevant STLBEAST toolSTLBEAST Filament Path Rescue Station V5
A modular service station for clearing filament paths, staging cutters and picks, and organizing feed-system maintenance tools.
$8.99 CAD · View product → Relevant STLBEAST toolSTLBEAST Bed Prep Station V1
A physically validated four-zone station for wipes, scraper, adhesive, and build-plate preparation essentials.
$5.99 CAD · View product → Relevant STLBEAST toolSTLBEAST Support Cleanup Station V1
A physically validated cleanup station for support waste, cutters, precision tools, brushes, and finishing tools.
$5.99 CAD · View product →Did this fix your print?
Your anonymous answer improves the guide order and AI Doctor paths.