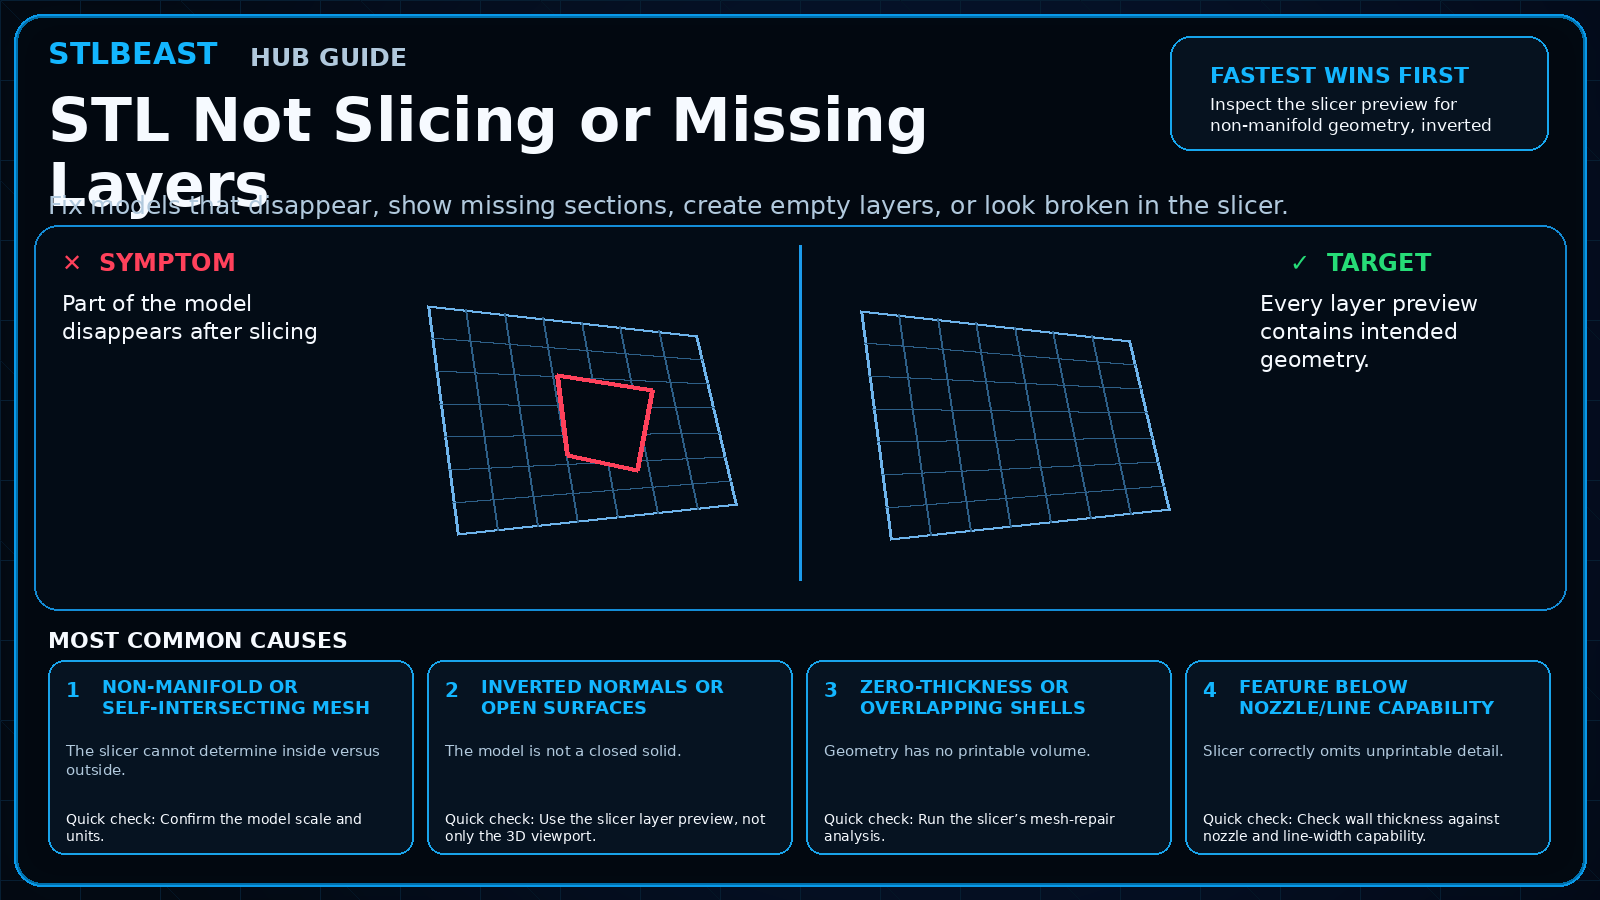
Fix models that disappear, show missing sections, create empty layers, or look broken in the slicer.
Fast answer
Inspect the slicer preview for non-manifold geometry, inverted surfaces, zero-thickness features, and walls below the printable line width before changing printer settings.
Corrupted or unit-scaled exportModel size or topology is wrong.
Repair sequence
Work from top to bottom. Stop when the failure is resolved, verify it with a small test, and record the successful setup.
Confirm the model scale and units.
Use the slicer layer preview, not only the 3D viewport.
Run the slicer’s mesh-repair analysis.
Check wall thickness against nozzle and line-width capability.
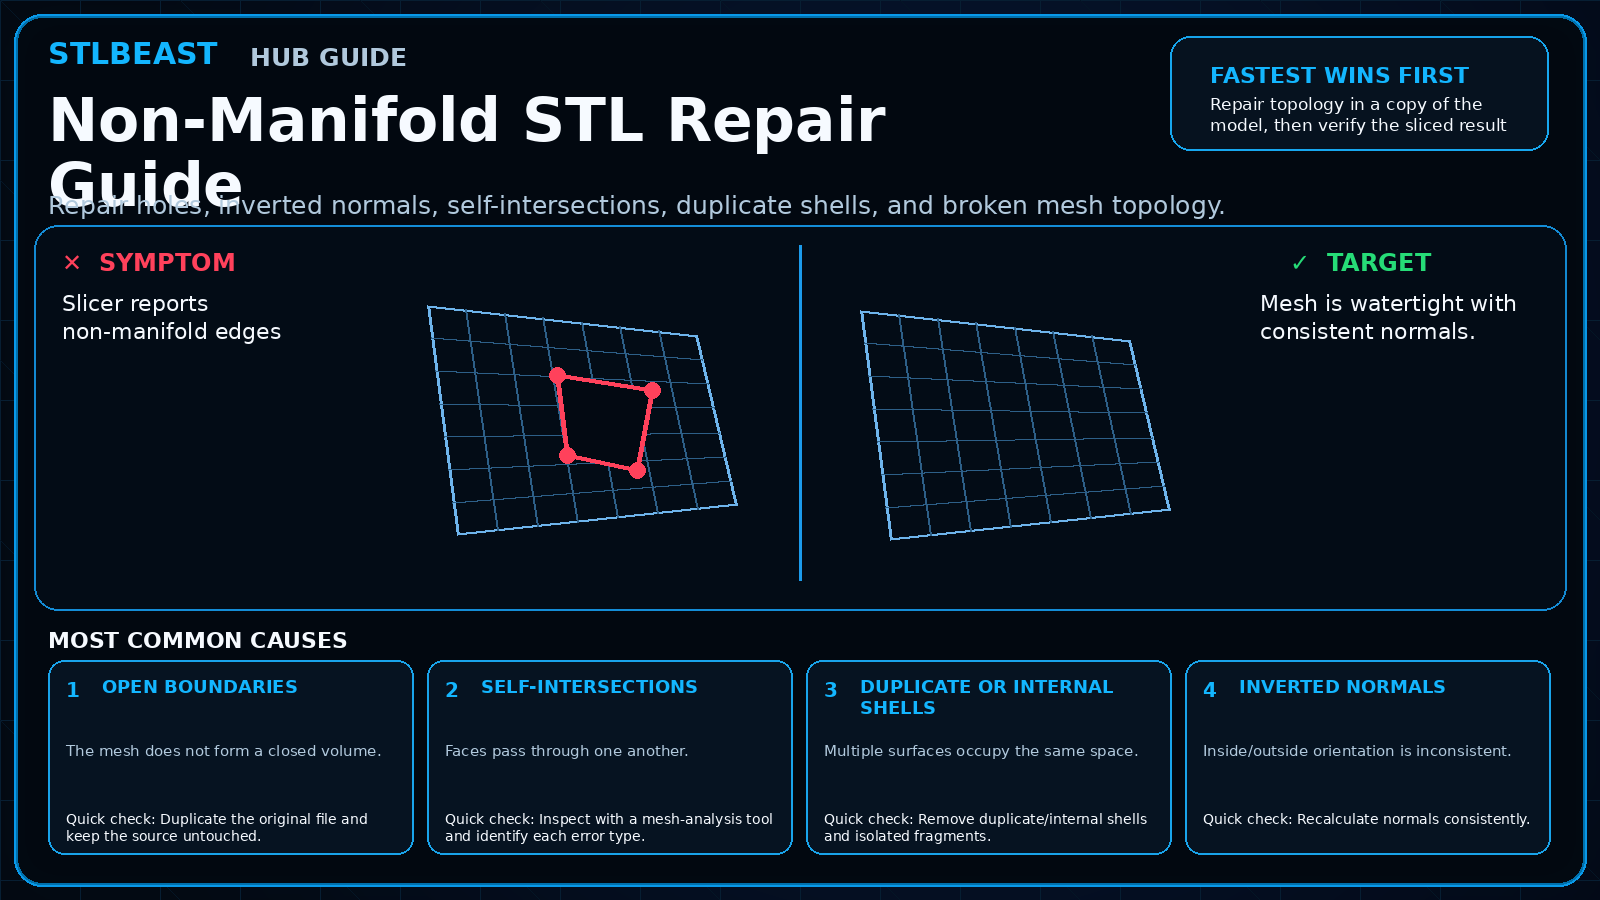
Repair non-manifold edges, holes, inverted normals, and self-intersections in a mesh tool.
Union overlapping solids and remove internal duplicate shells.
Re-export as a clean watertight mesh and compare preview before printing.
Safety and accuracyChange one variable at a time and keep every adjustment inside the printer, hotend, build-surface, and filament manufacturer limits.
Fast decision path
1If you see evidence of non-manifold or self-intersecting mesh
The slicer cannot determine inside versus outside. Confirm it with the smallest safe test before continuing.
2If you see evidence of inverted normals or open surfaces
The model is not a closed solid. Confirm it with the smallest safe test before continuing.
3If you see evidence of zero-thickness or overlapping shells
Geometry has no printable volume. Confirm it with the smallest safe test before continuing.
Settings to review
Setting
How to use it
Thin-wall detection
Can recover some features but cannot create real geometry or strength.
Arachne/variable line width
May print narrower details within limits.
Resolution
Overly coarse STL export can distort curves; overly dense files can slow repair.
Material notes
Resin printing
Can reproduce thinner details but still needs a valid closed model and supports.
FDM
Wall/nozzle relationship is central.
Printer context
Bedslinger
Check bed seating, gantry alignment, belts, eccentric wheels, and first-layer consistency across the plate.
CoreXY
Start from the official machine profile; inspect belt balance, input shaping, flow, pressure advance, and chamber conditions.
Delta
Confirm delta calibration, tower movement, belt tension, effector stability, and full-bed mapping.
Resin / SLA
Use resin-specific exposure, lift, support, temperature, wash, cure, and personal-protection procedures.
Where to look in the slicer
OrcaSlicer / Bambu Studio
Process → Quality, Strength, Speed, Support and Filament settings; use calibration tools for temperature, flow and pressure advance.
PrusaSlicer
Print Settings, Filament Settings and Printer Settings; inspect the sliced preview and layer slider before export.
Cura / Creality Print
Quality, Walls, Top/Bottom, Material, Speed, Travel, Cooling, Support and Build Plate Adhesion.
Resin slicers
Printer/resin profile, exposure, lift/retract, support contact, raft and hollow/drain settings.
How to verify the fix
Every layer preview contains intended geometry.
No repair warnings remain.
Wall count is visible where strength is needed.
Exported scale matches design.
Prevent it next time
Validate models before publishing.
Keep original CAD source.
Use sensible mesh resolution.
Inspect preview at critical thin sections.
Printer Settings preview
Useful sample now. Full personalized profile for members.
Every visitor can use the guide and receive a practical sample. Members unlock the complete printer/material profile, exact adjustment order, copy/export controls, saved Profile Vault history, and deeper AI Doctor linkage.
Thin-wall detectionCan recover some features but cannot create real geometry or strength.
Arachne/variable line widthMay print narrower details within limits.
STLBEAST ecosystemFix and learn on Hub. Build with validated files on STLBEAST.com.
Disclosure: Hub.STLBEAST is an educational resource. Some recommended-tool links may be affiliate links, including Amazon Associate links, and STLBEAST may earn from qualifying purchases at no extra cost to you.