
Match the symptom
Choose the family that most closely resembles the failed area.
You do not need the technical name. Match the visible evidence, open the closest repair family, and work through one controlled sequence instead of changing random settings.
The overview shows eight common symptom families, the visible clue for each one and the best next path. Open it full size when the failure name is not obvious.
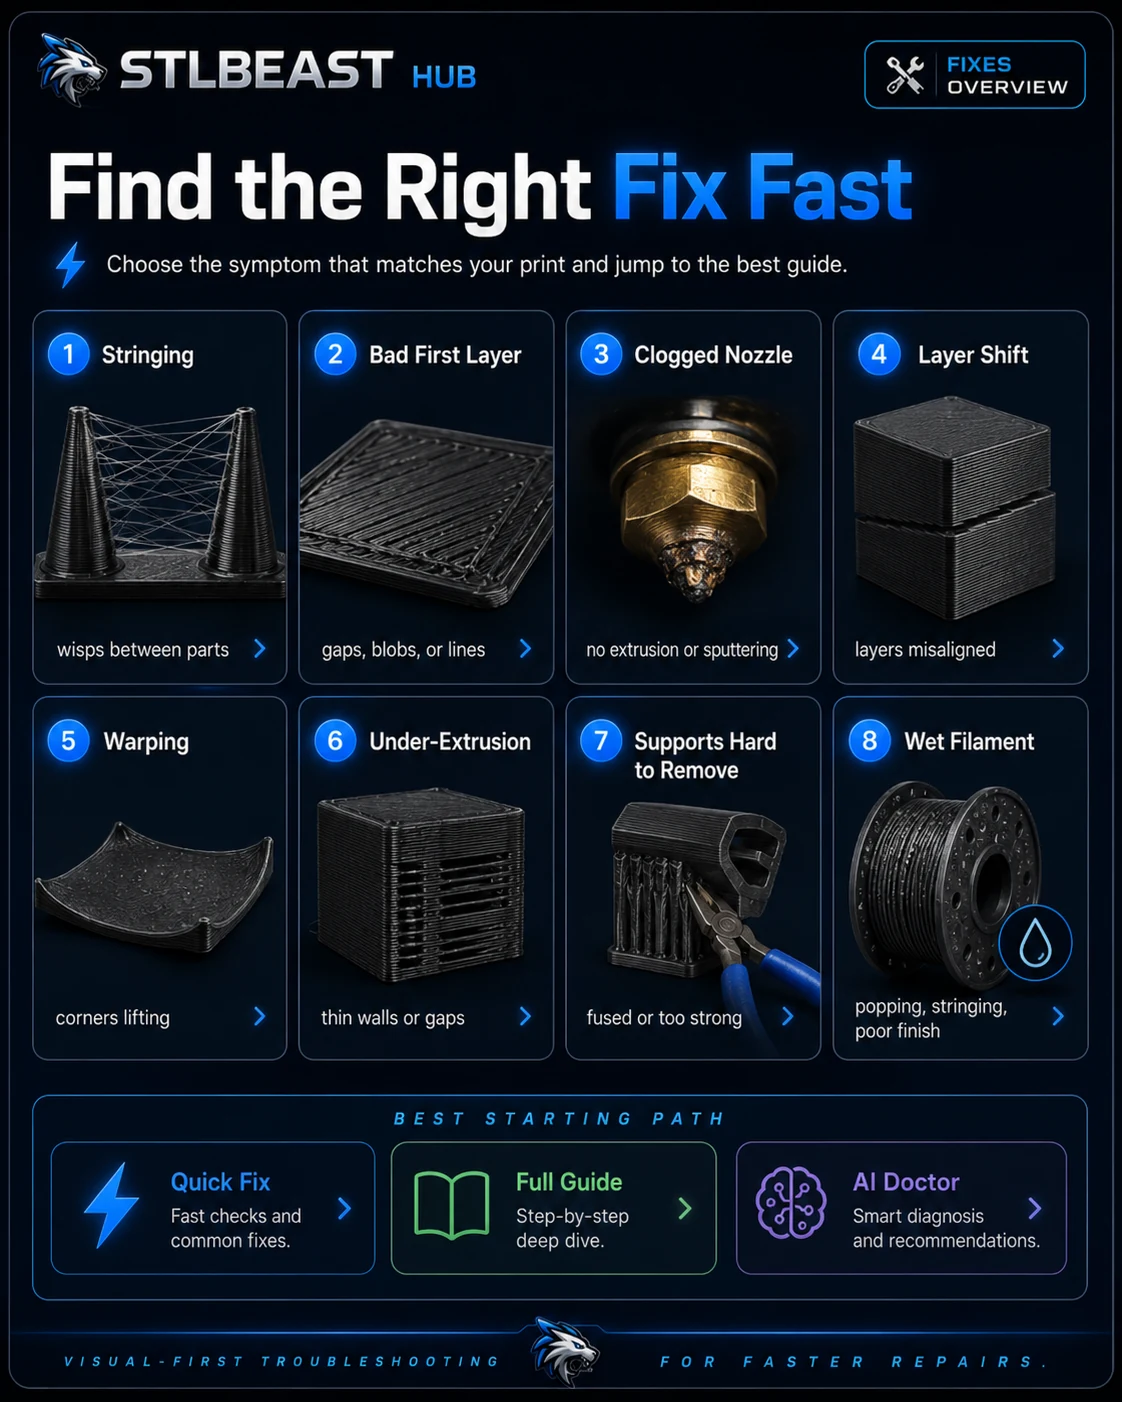
Choose the family that most closely resembles the failed area.
Start with the most likely and least disruptive cause.
Use a small test and keep only the change that improved the print.
You do not need the technical name. Select where the defect appears, when it begins, what it looks like, and any sound you hear. The strongest repair families move to the front.
Choose one or more clues to rank the most likely repair families.
Start with plate cleanliness, mesh, Z offset and first-layer flow.
Check material condition, extrusion, motion and temperature stability.
Review interface spacing, cooling, support contact and orientation.
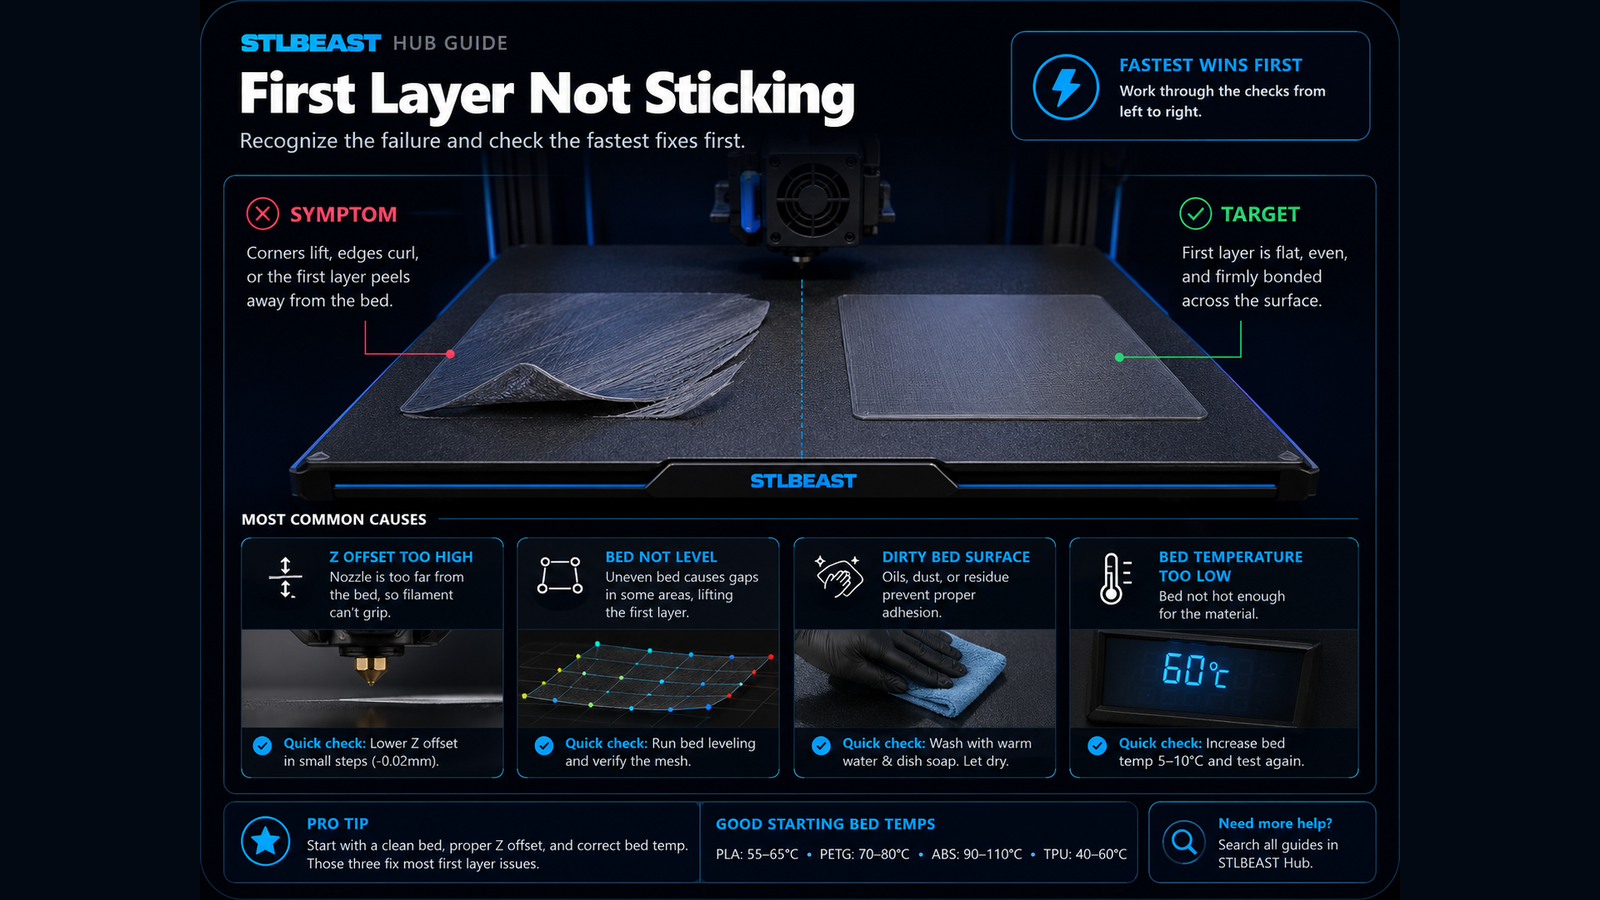
Loose lines, lifting edges, elephant foot, nozzle height and bed-mesh faults.
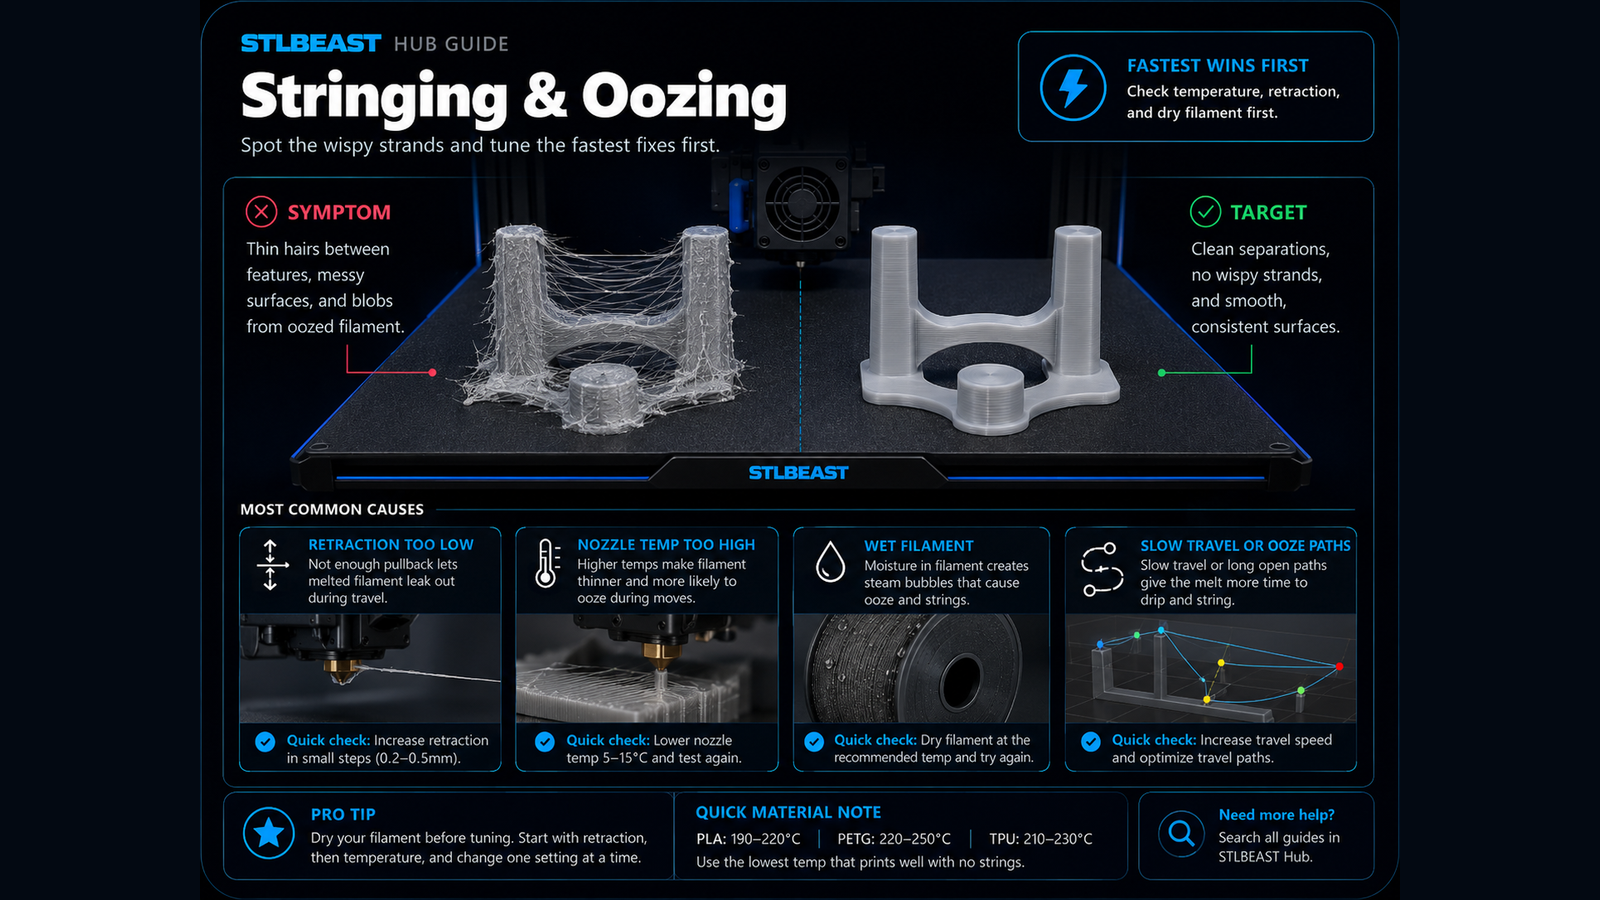
Fine hairs, thick webs, oozing, zits, poor seams and travel marks.
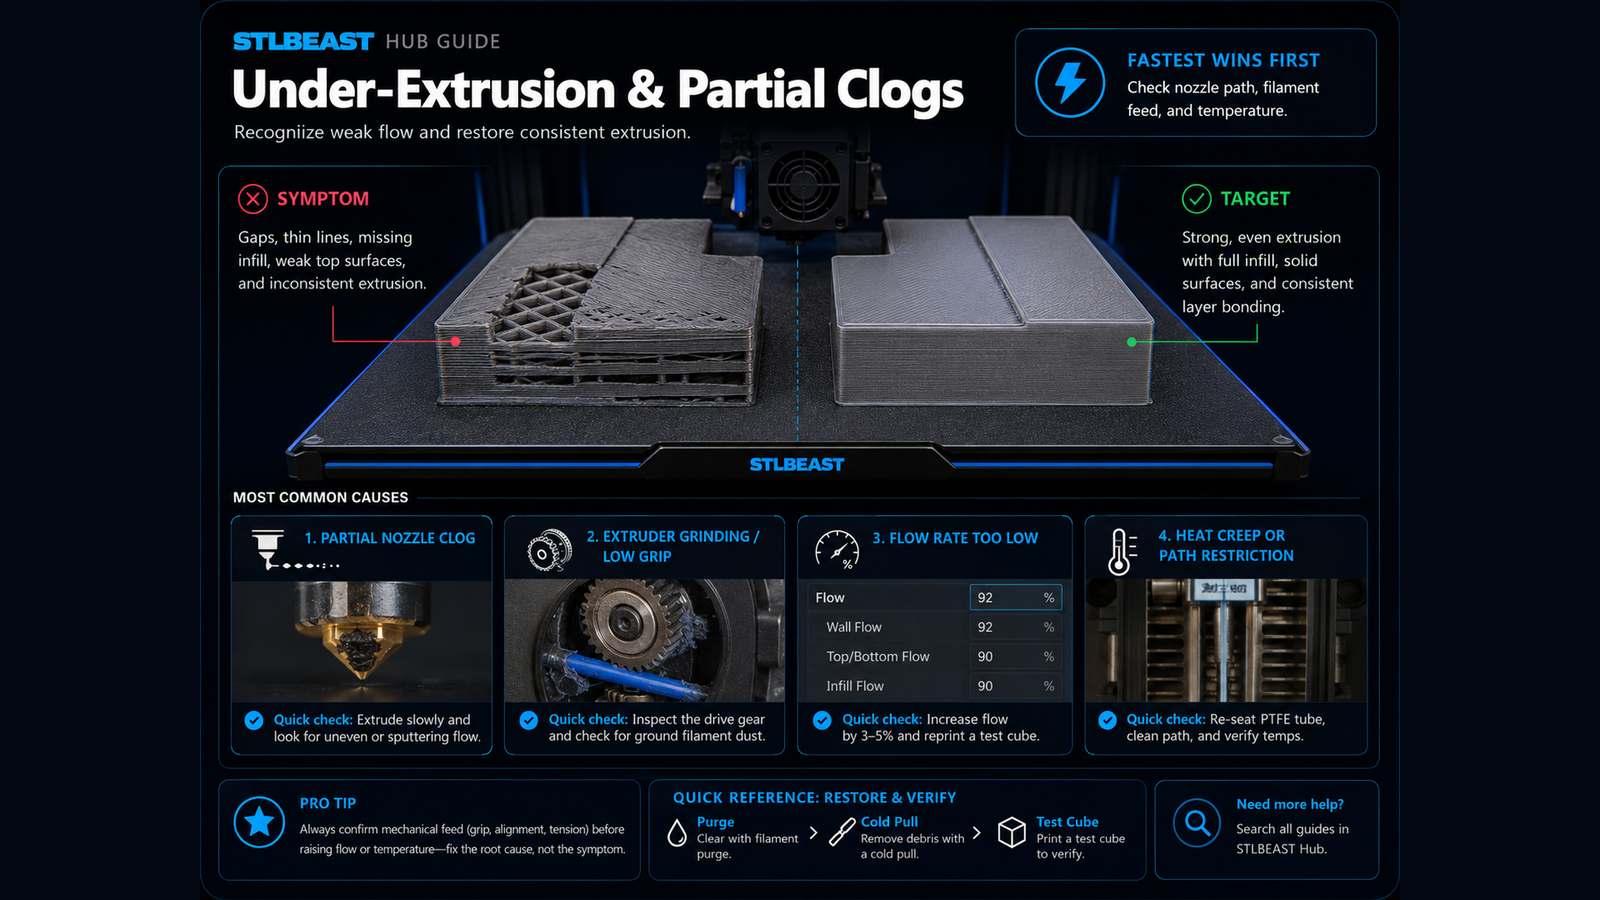
Thin walls, missing lines, clicking extruder, grinding filament and partial clogs.
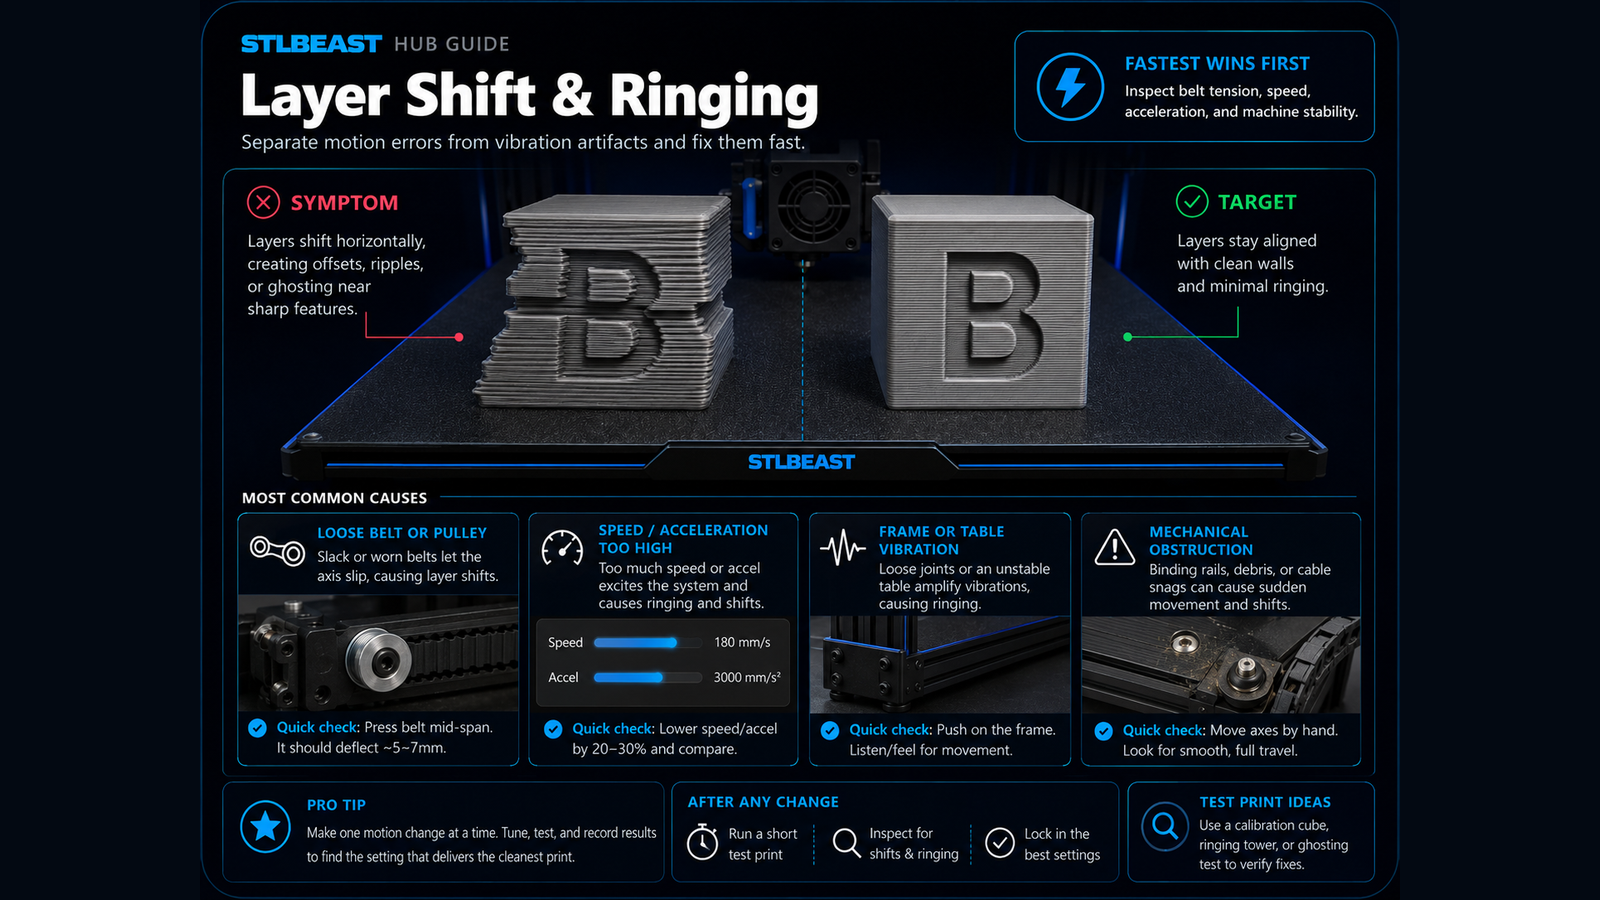
Shifted layers, ringing, ghosting, Z banding, wobble and skipped motion.
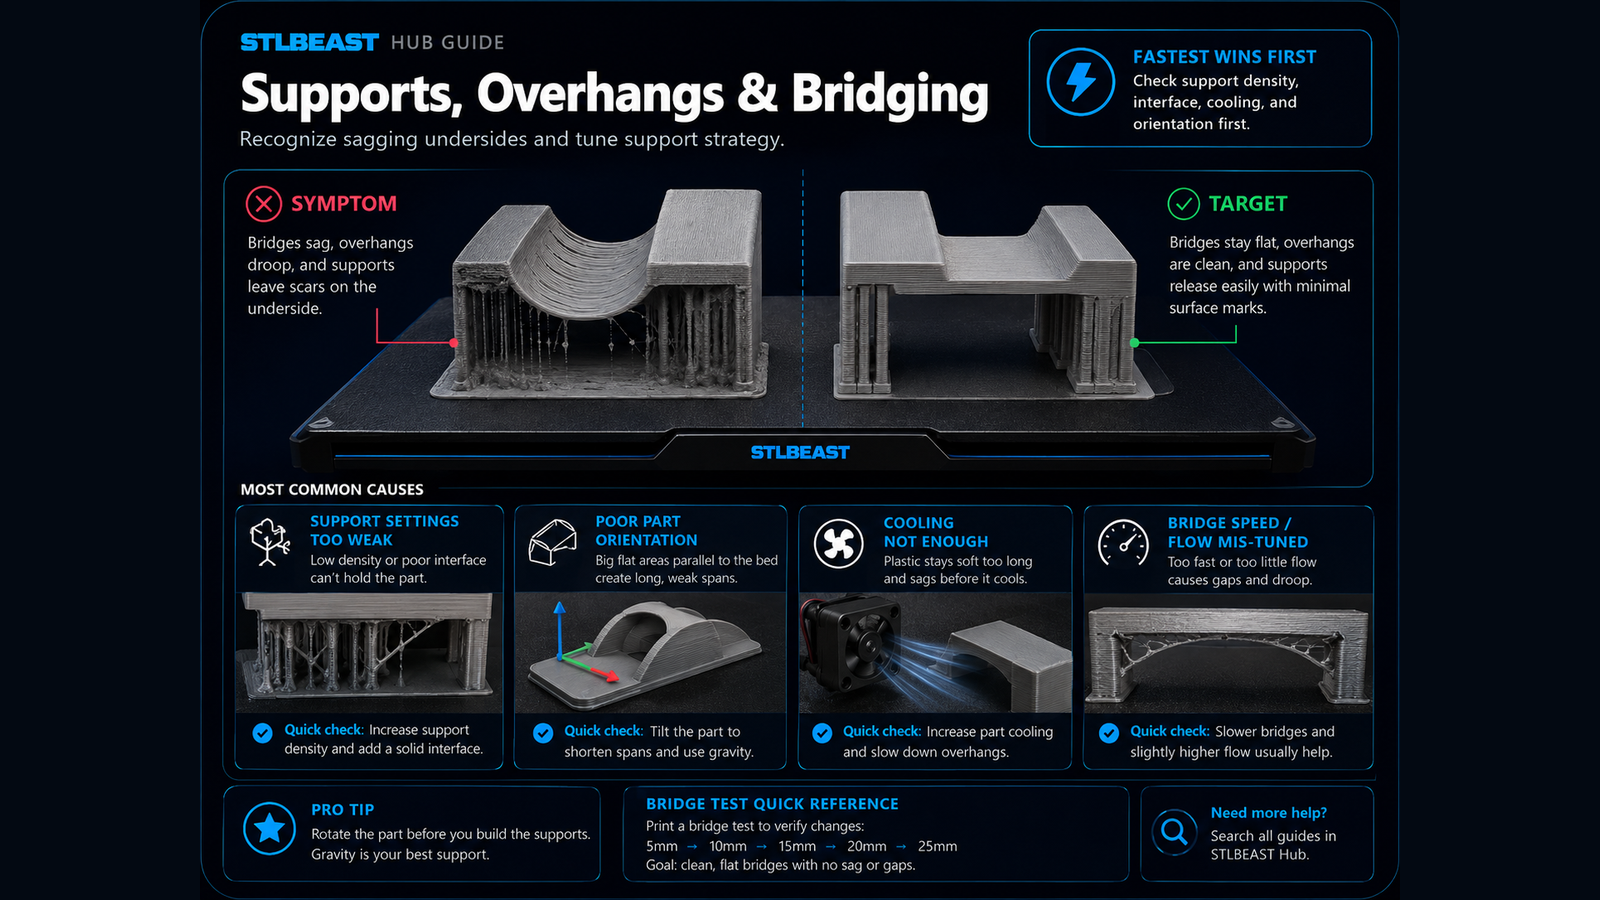
Support scars, rough undersides, sagging bridges and curling overhangs.
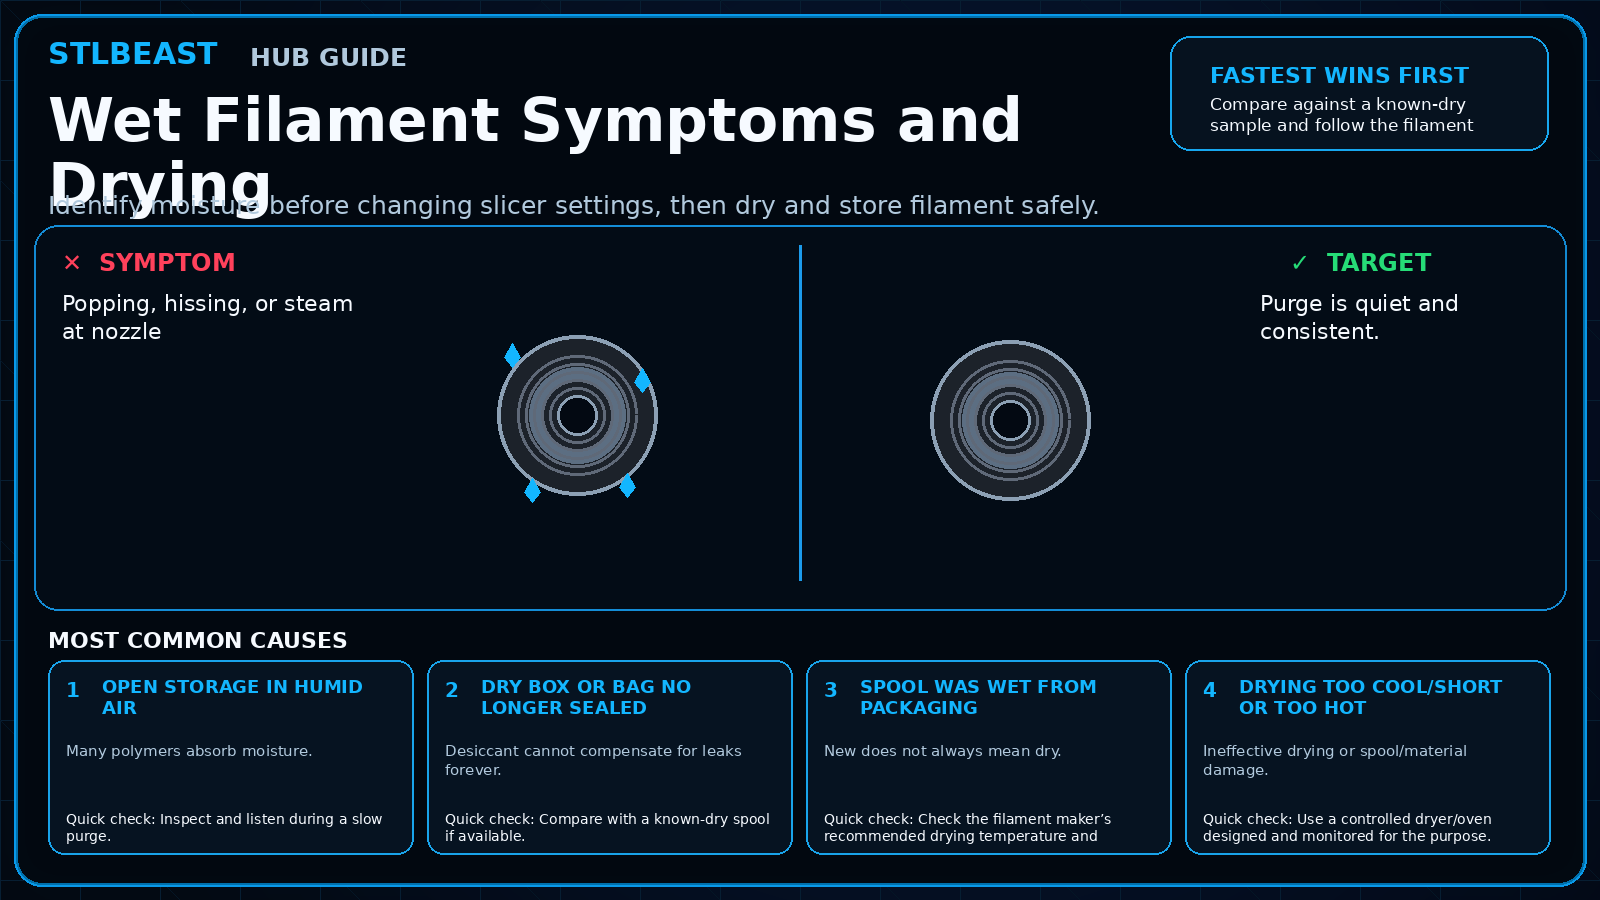
Wet filament, heat creep, warping, separation and material-specific faults.
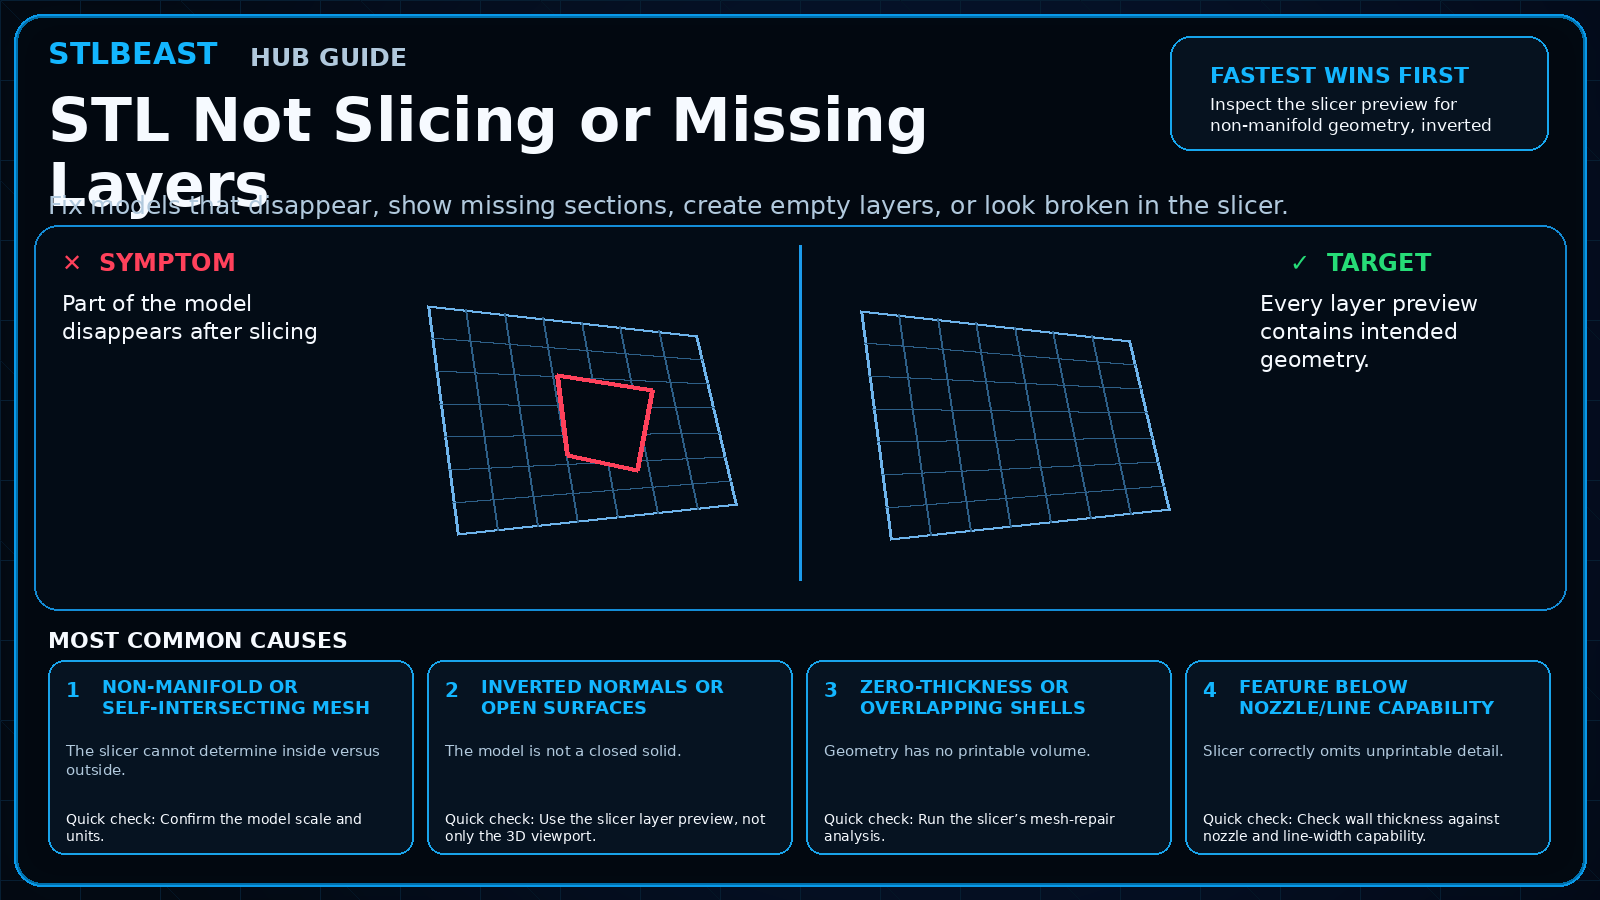
Models that disappear, fail to slice, contain holes or produce missing walls.
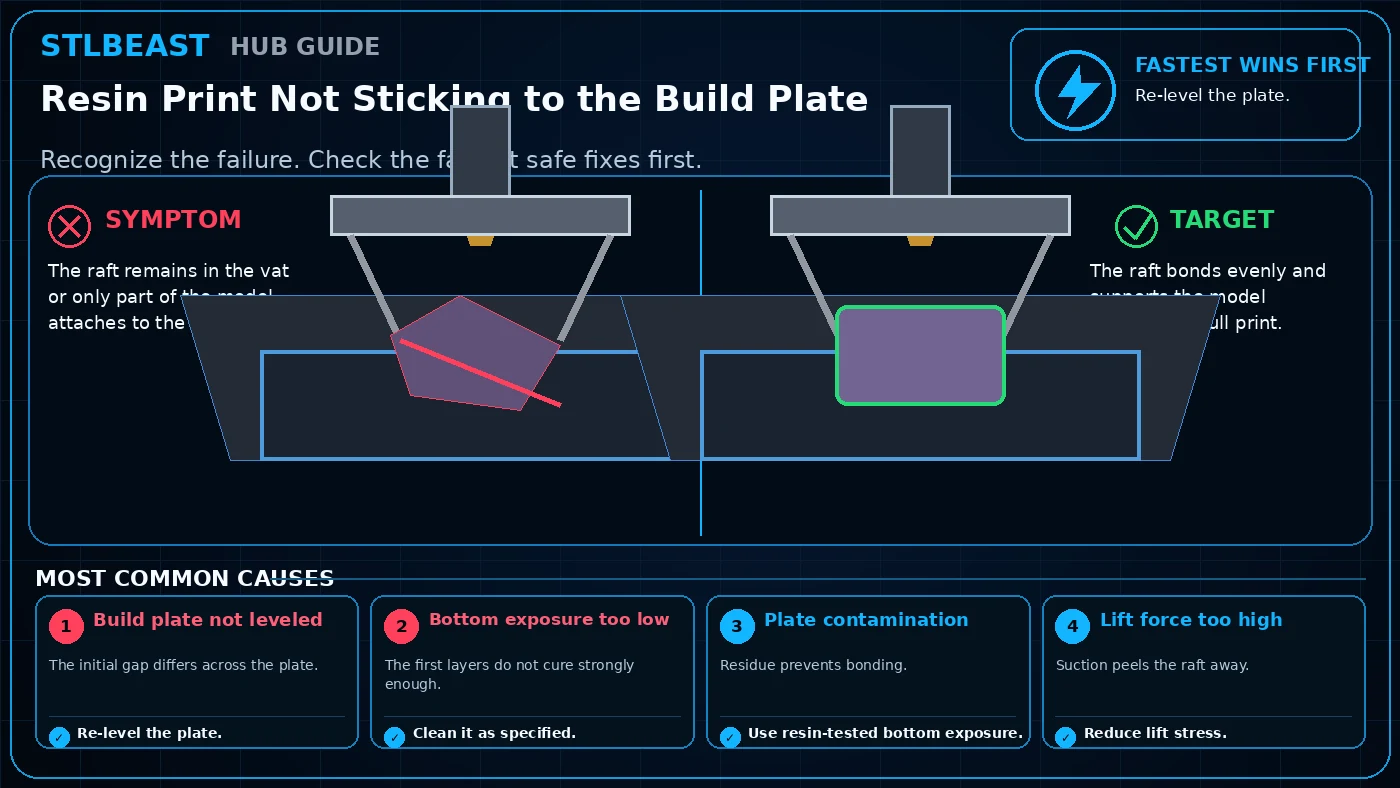
Pancakes, release-film adhesion, support failure, suction and exposure problems.
Try fewer words, use one visible symptom, or open the full Hub search.
OPEN FULL SEARCH →Fine hairs between parts usually point toward stringing, while thin walls or missing lines suggest under-extrusion. Lifted corners indicate adhesion or warping, and a sudden horizontal offset points toward a motion or layer-shift problem.
A fault limited to the first layer should be diagnosed differently from one that appears after an hour of printing. Note whether the problem begins at the plate, only on supports, during travel moves or after the hotend has been warm for a long time.
Open the closest visual family, begin with its safest high-probability check and change one variable at a time. Verify the result with a small representative test before repeating a long print or replacing hardware.
Upload or describe the failure, record the printer and material, and narrow the repair path before changing settings.