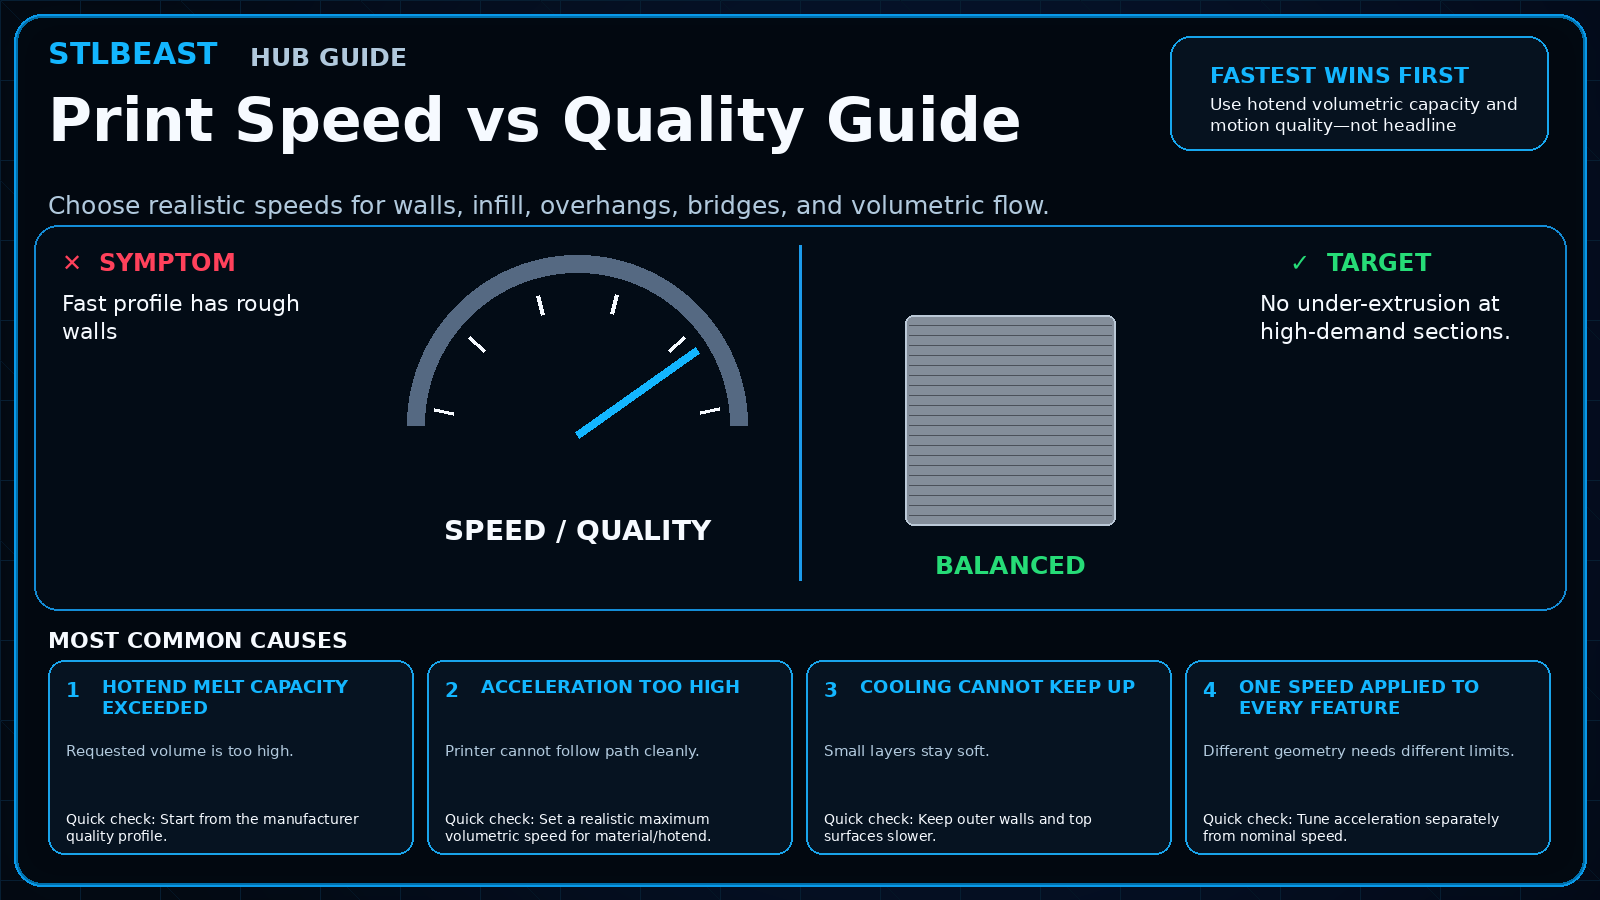
Print Speed vs Quality Guide
Choose realistic speeds for walls, infill, overhangs, bridges, and volumetric flow.
- Keyword match
- Title matches “quality”
- Direct-answer match
Use normal language such as “hairy PETG print,” “clicking extruder and thin lines,” or “resin part stuck to the film.” The engine translates common descriptions into technical causes and explains why each answer matched.
Results are ranked by symptom, title, cause and equipment context.
Choose realistic speeds for walls, infill, overhangs, bridges, and volumetric flow.
A detailed STLBEAST repair guide to remove weak transitions, color contamination, and blobs after filament swaps. Learn how to recognize the symptom, rank the likely causes, apply safe fixes in order, verify the result, and prevent the failure from returning.
A detailed STLBEAST repair guide to increase motion performance without ringing, shifts, or instability. Learn how to recognize the symptom, rank the likely causes, apply safe fixes in order, verify the result, and prevent the failure from returning.
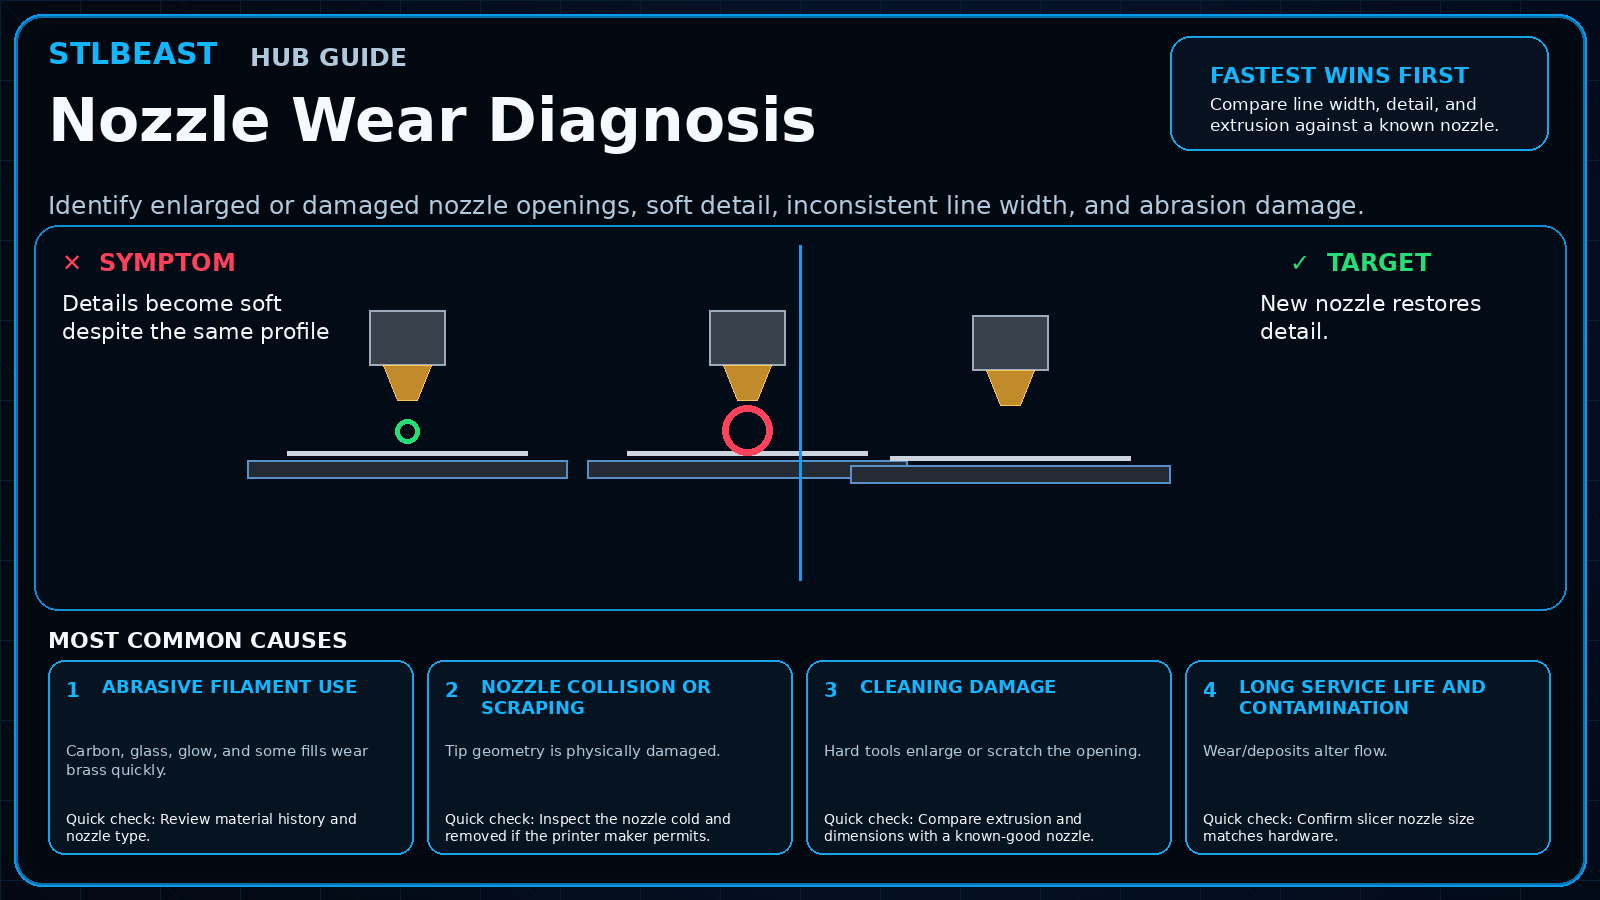
Identify enlarged or damaged nozzle openings, soft detail, inconsistent line width, and abrasion damage.
Drain and filter the resin, clean the vat safely, inspect the release film under good light, and replace it when cloudy, deeply scratched, loose, creased, or pu.
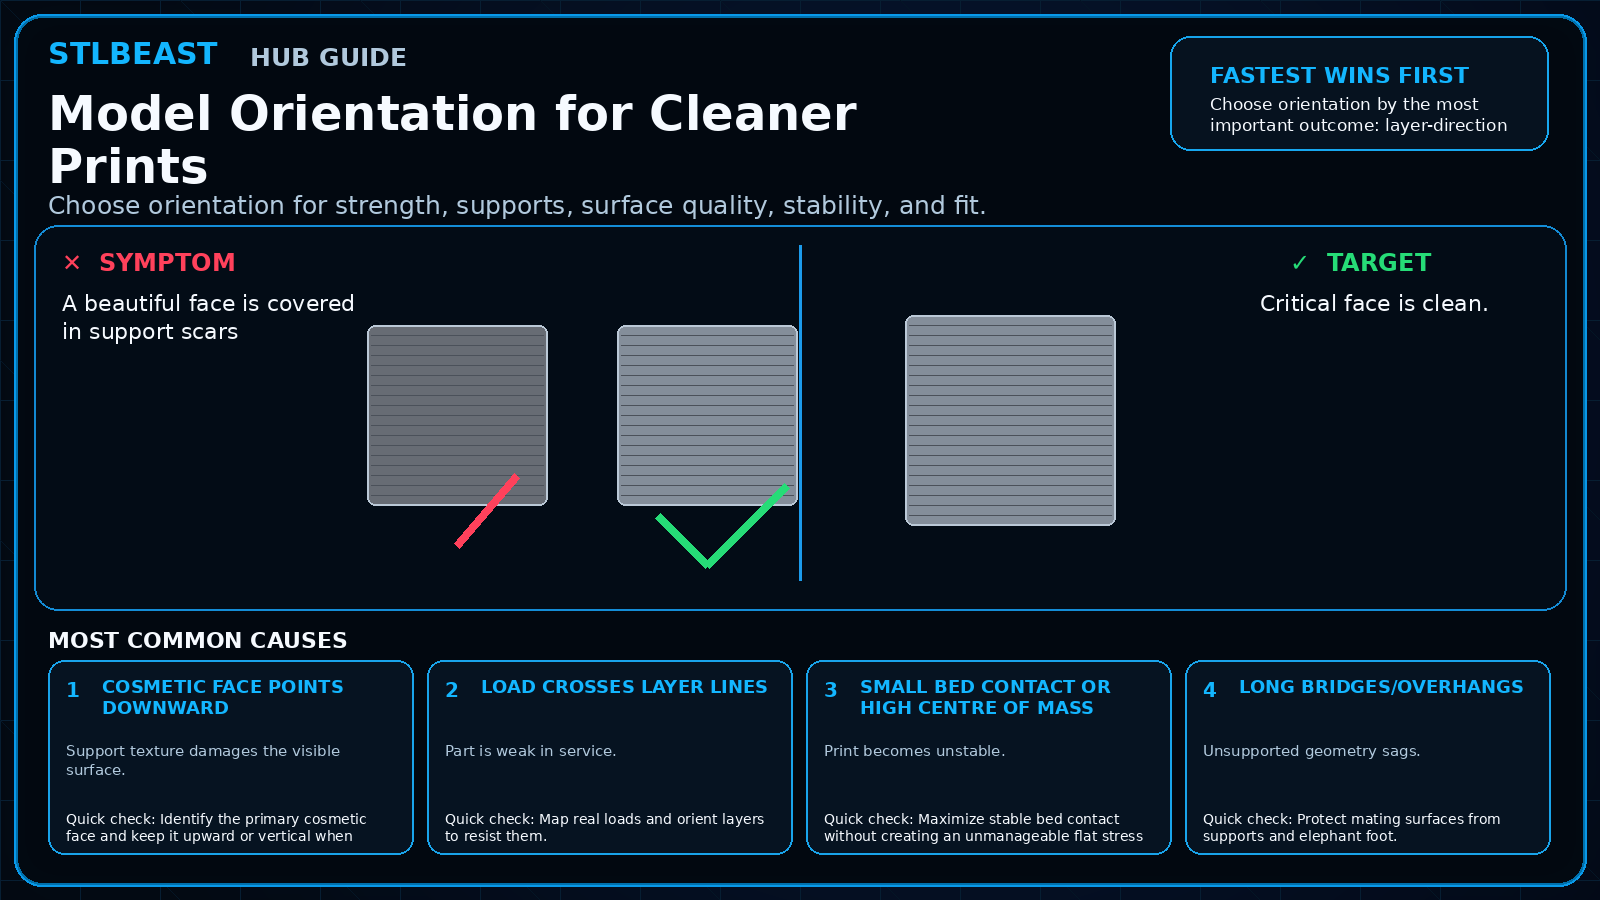
Choose orientation for strength, supports, surface quality, stability, and fit.
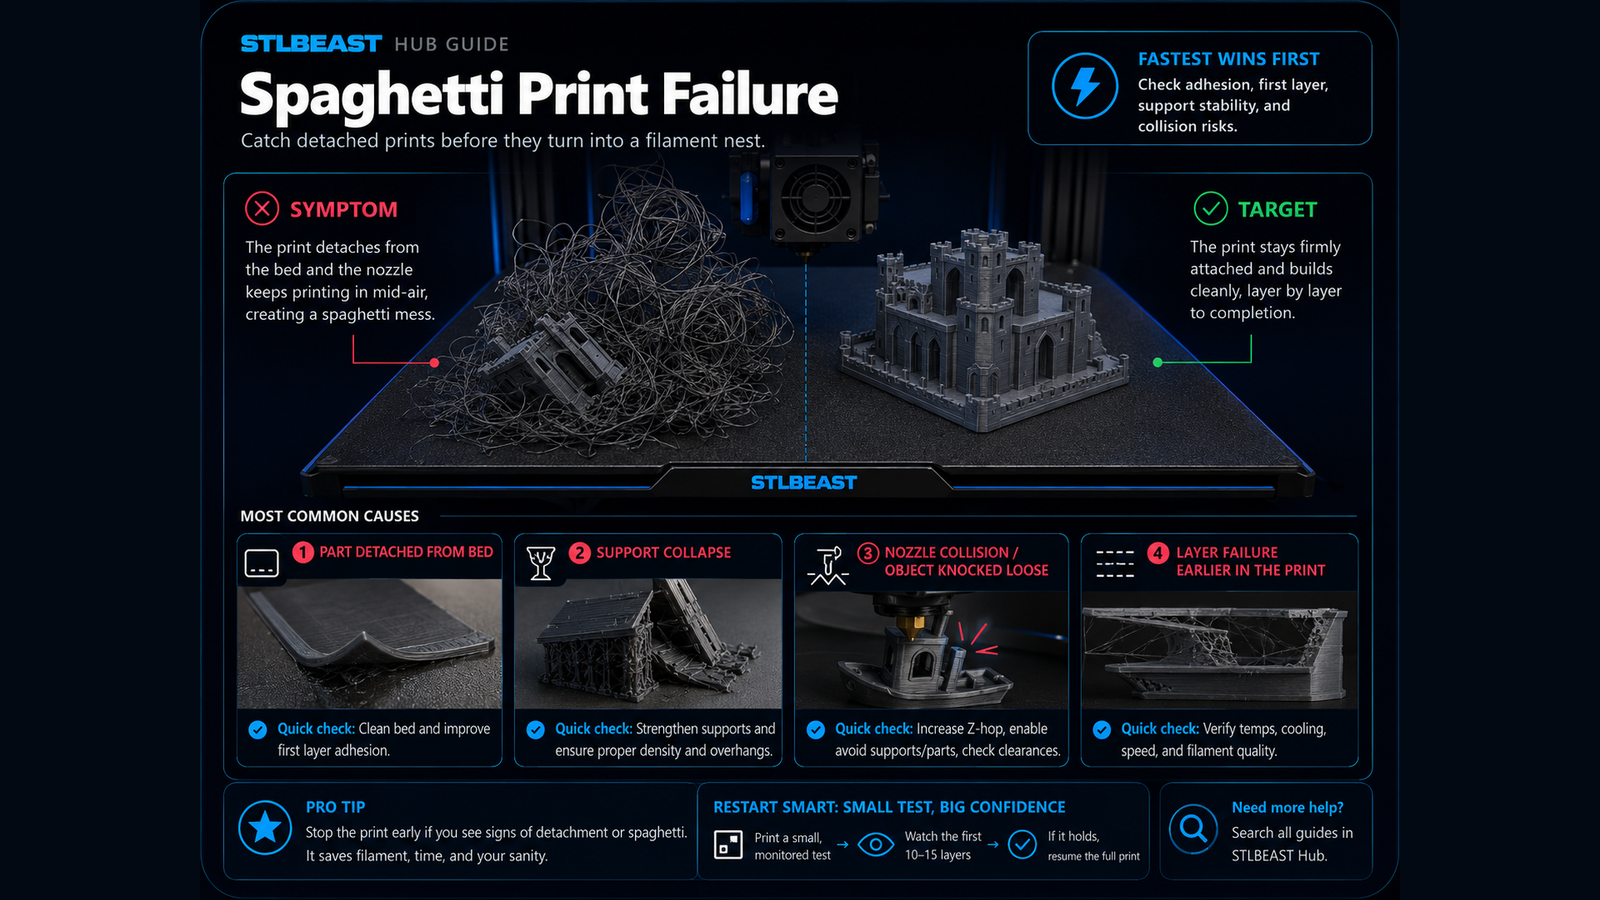
Fix prints that detach, shift, collapse, or continue extruding loose filament into a tangled spaghetti failure.
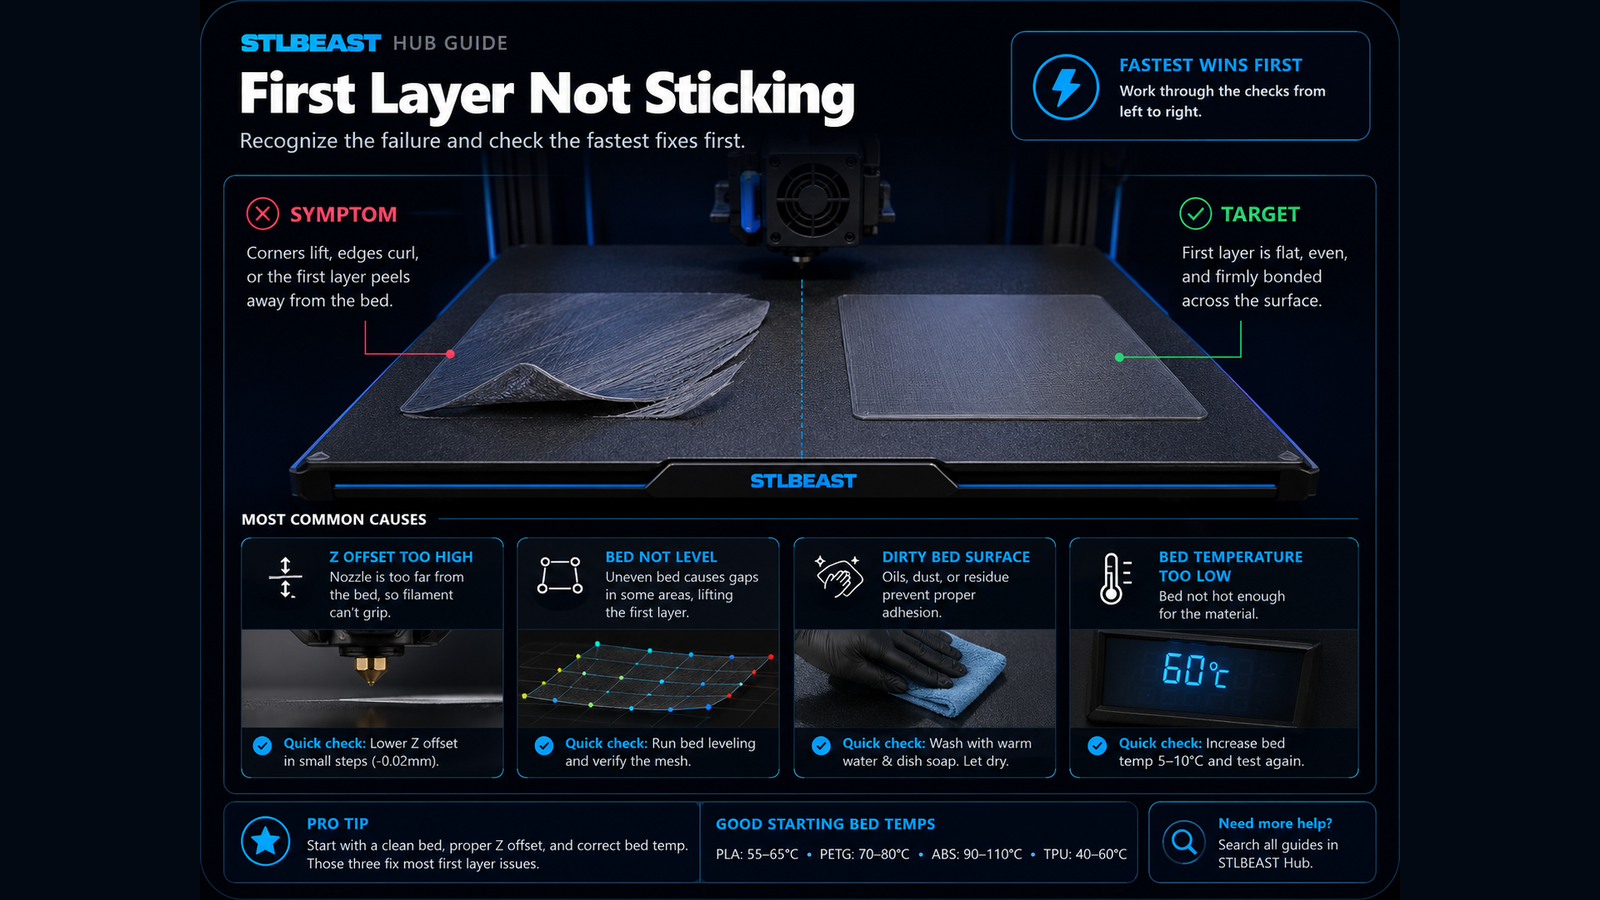
Fix poor bed adhesion, lifting first layers, loose corners, and prints that detach from the build plate.
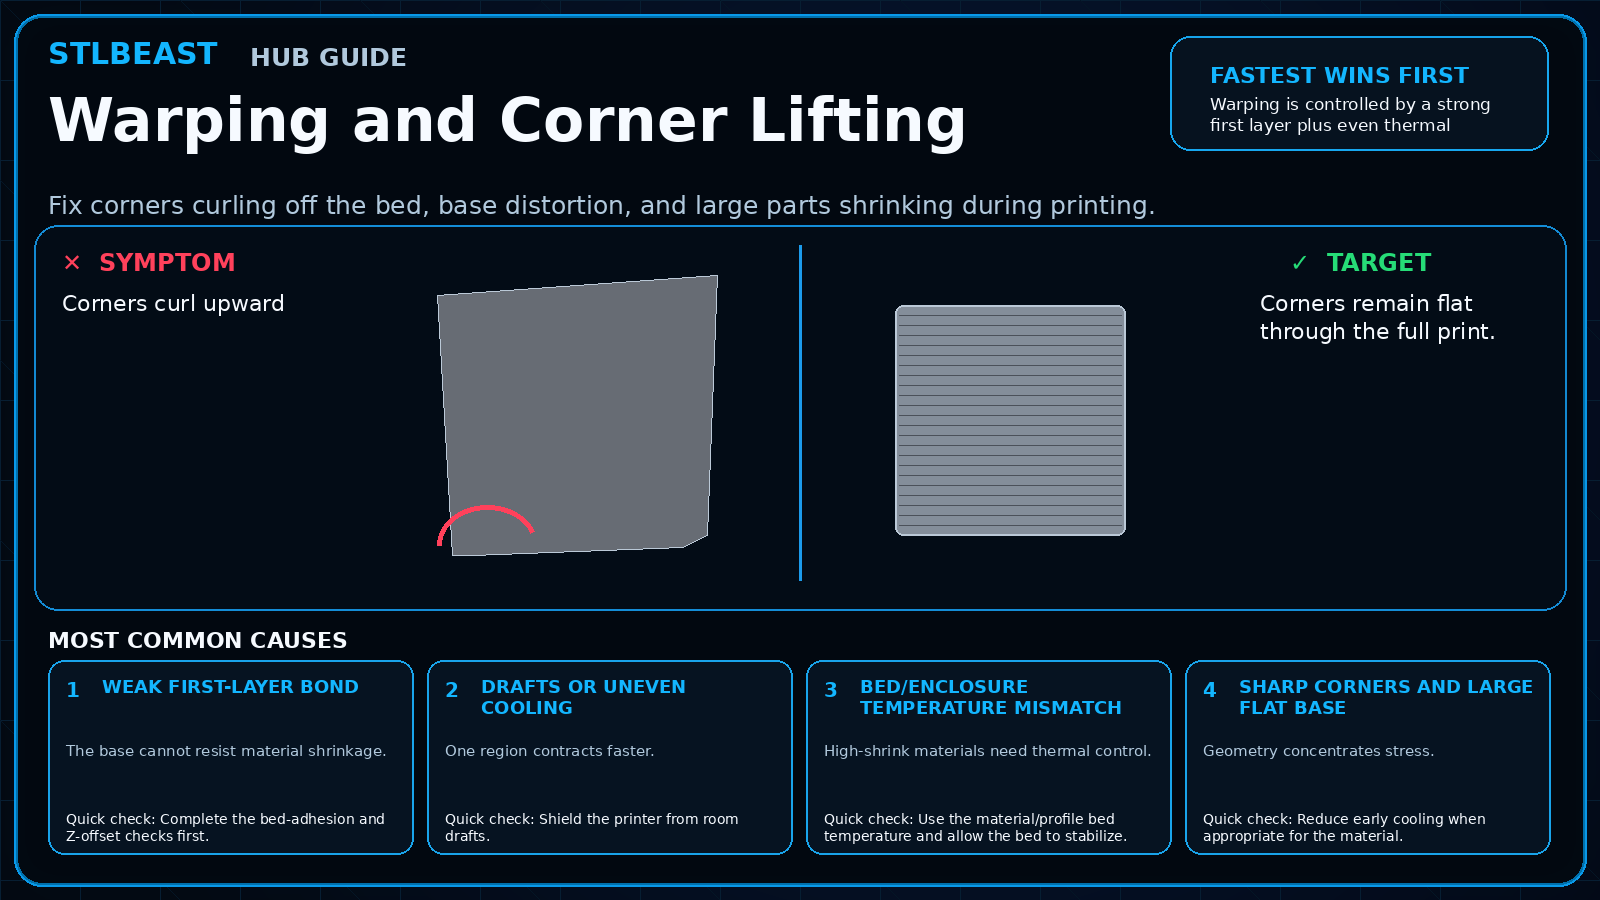
Fix corners curling off the bed, base distortion, and large parts shrinking during printing.
A detailed STLBEAST repair guide to design and tune functional threads for the process. Learn how to recognize the symptom, rank the likely causes, apply safe fixes in order, verify the result, and prevent the failure from returning.
A detailed STLBEAST repair guide to correct mechanical geometry before calibration. Learn how to recognize the symptom, rank the likely causes, apply safe fixes in order, verify the result, and prevent the failure from returning.
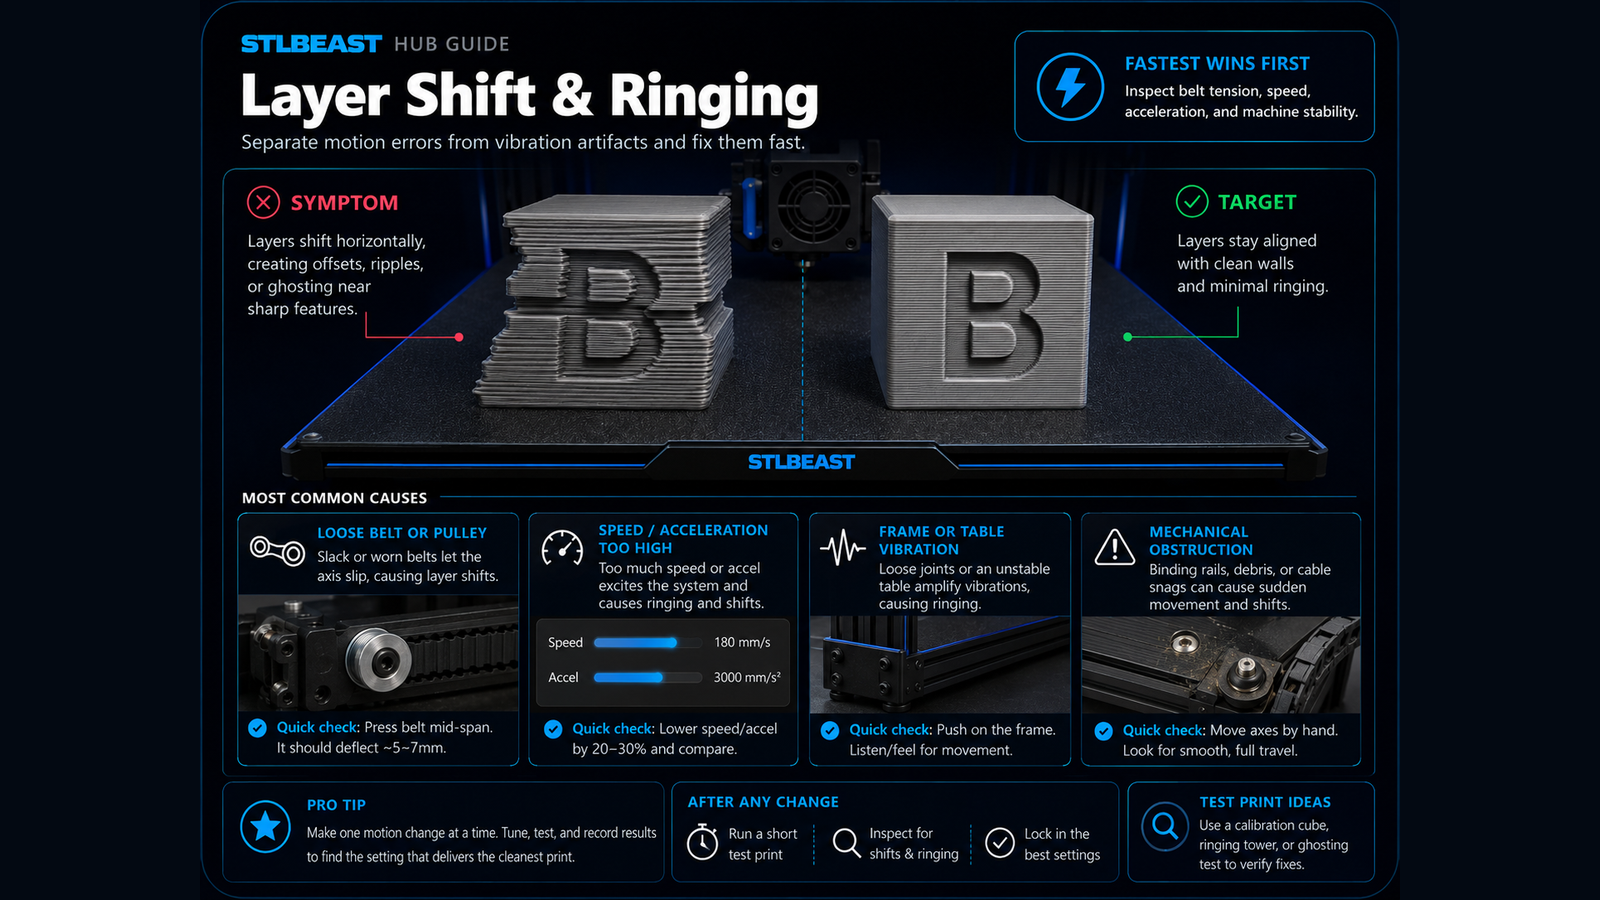
Fix sudden sideways offsets, shifted layers, skipped motion, and prints that move out of alignment.
Check power input, supply voltage, loose connectors, overheated electronics, shorts, heater wiring, and corrupted files before attempting another long print.
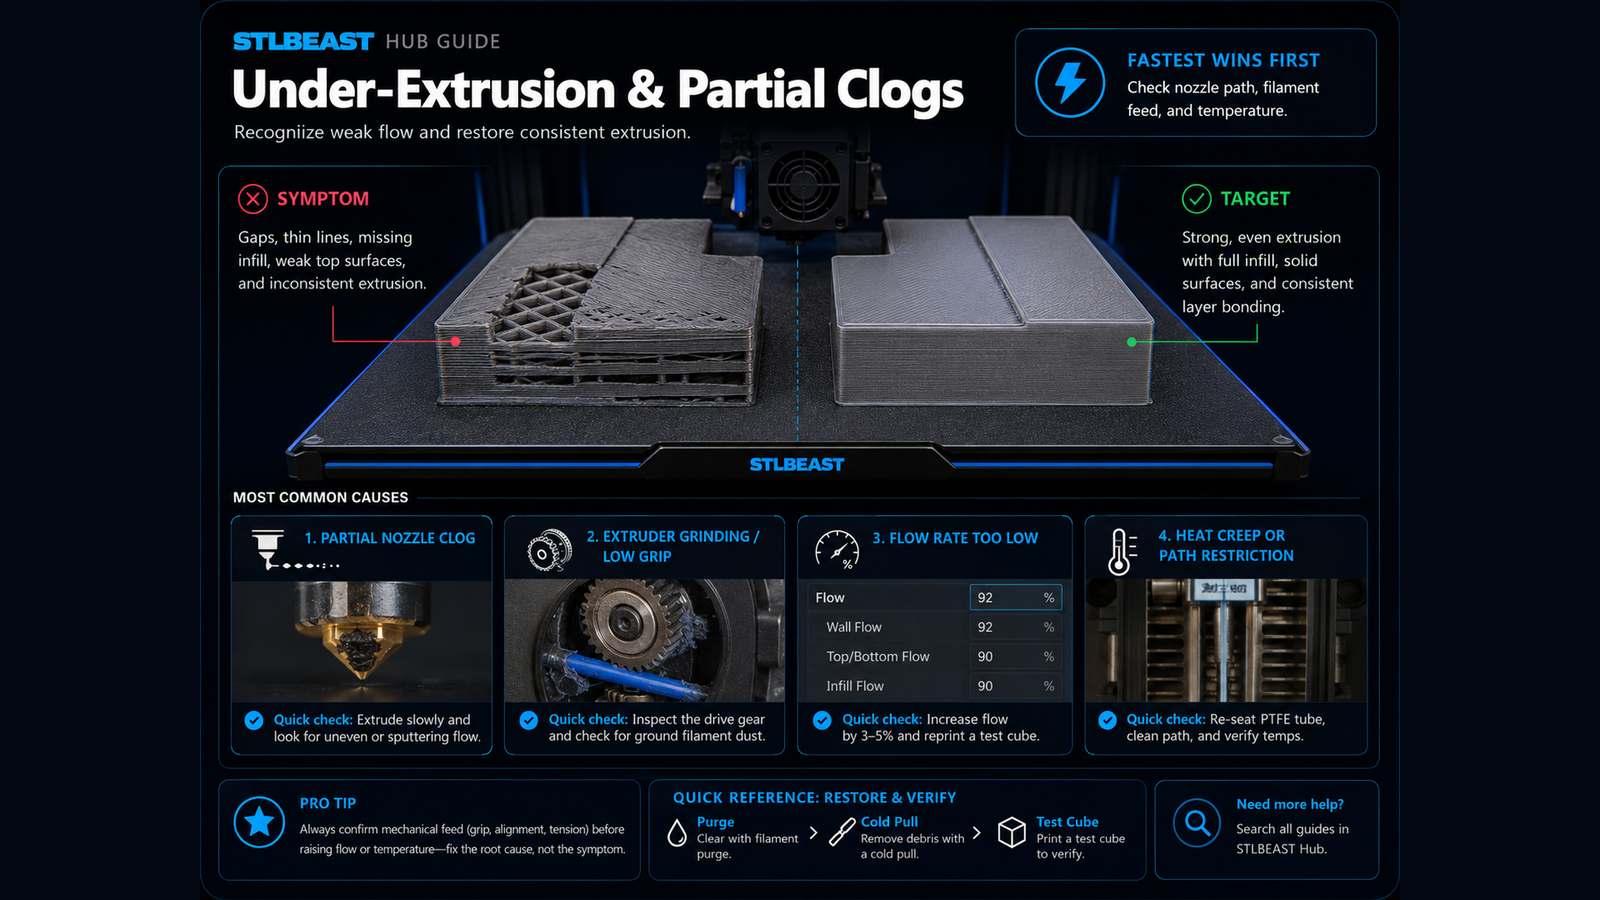
Fix thin walls, missing lines, weak layers, gaps, and inconsistent flow.
Choose a material rated for UV and service temperature, print for layer strength, protect the surface when appropriate, and test the actual environment before r.
Dry-fit and align parts first, prepare clean mating surfaces, choose an adhesive compatible with the material and joint load, clamp without distortion, and allo.
Design the correct pilot hole and surrounding wall, use a temperature-controlled insertion tool, press straight without force, stop at depth, and let the joint.
A detailed STLBEAST repair guide to replace a nozzle without leaks, thread damage, or wrong Z offset. Learn how to recognize the symptom, rank the likely causes, apply safe fixes in order, verify the result, and prevent the failure from returning.
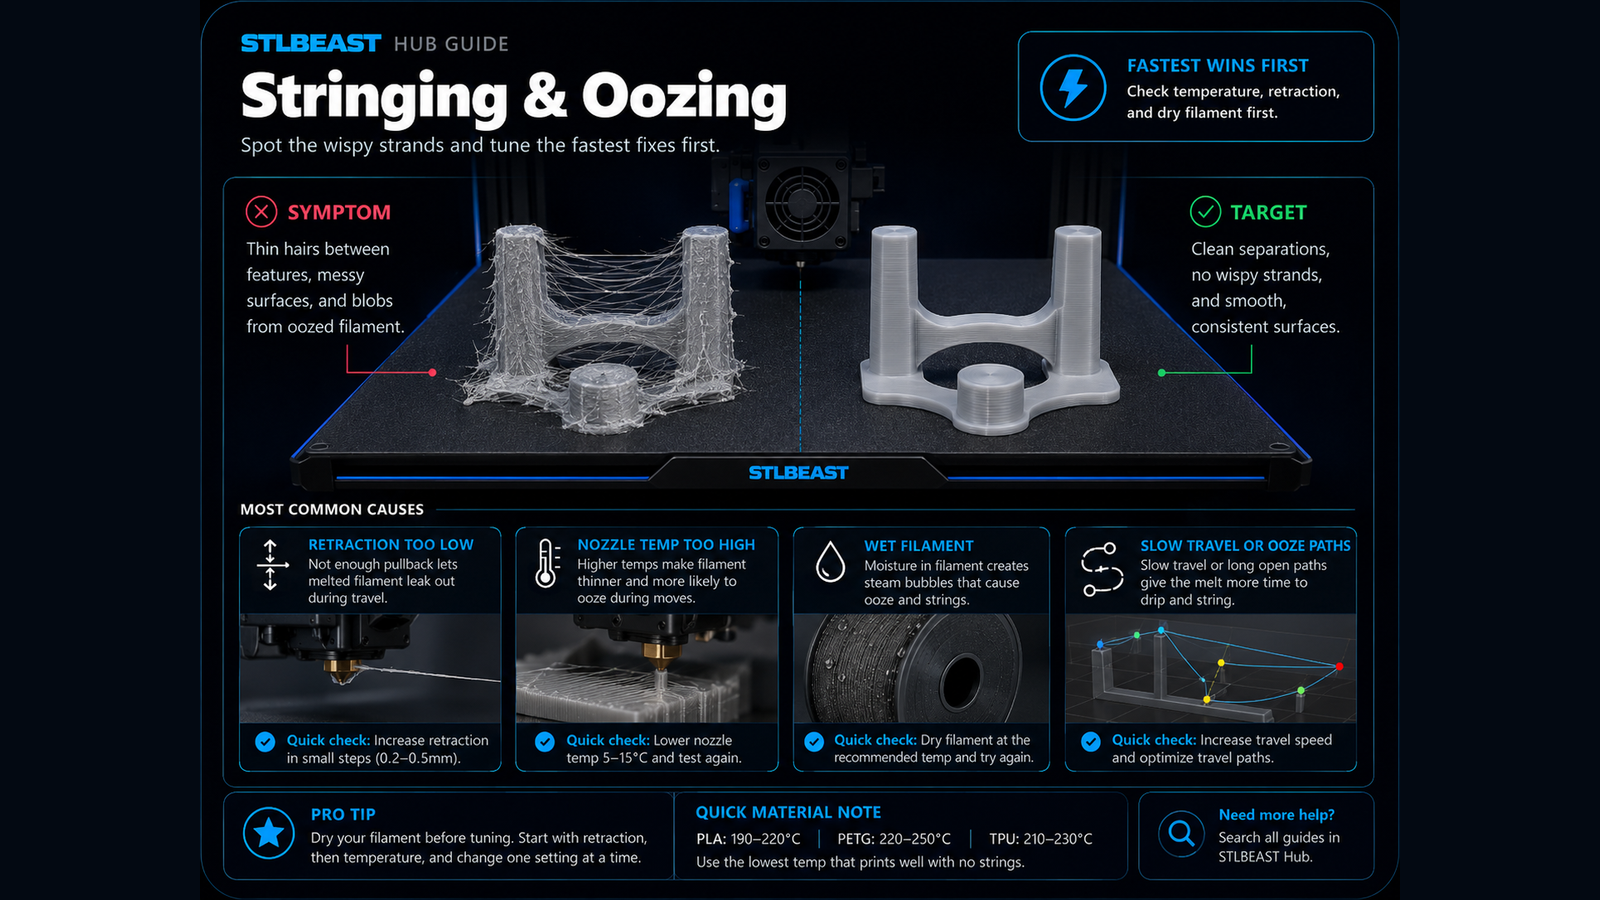
Stop fine hairs, heavy webs, oozing, and travel strings by testing moisture, temperature, retraction, and travel behavior in the right order.
Clean, dry, sand, and test the part; apply thin compatible primer coats, inspect defects, sand again if needed, then build colour in light layers.
Start with safe support cleanup, use progressive grits, keep heat and dust controlled, preserve edges, and apply filler or primer only after the surface is clea.
Increase continuous walls and bottom layers, correct under-extrusion and seams, orient to reduce leak paths, and pressure-test safely before using the part.
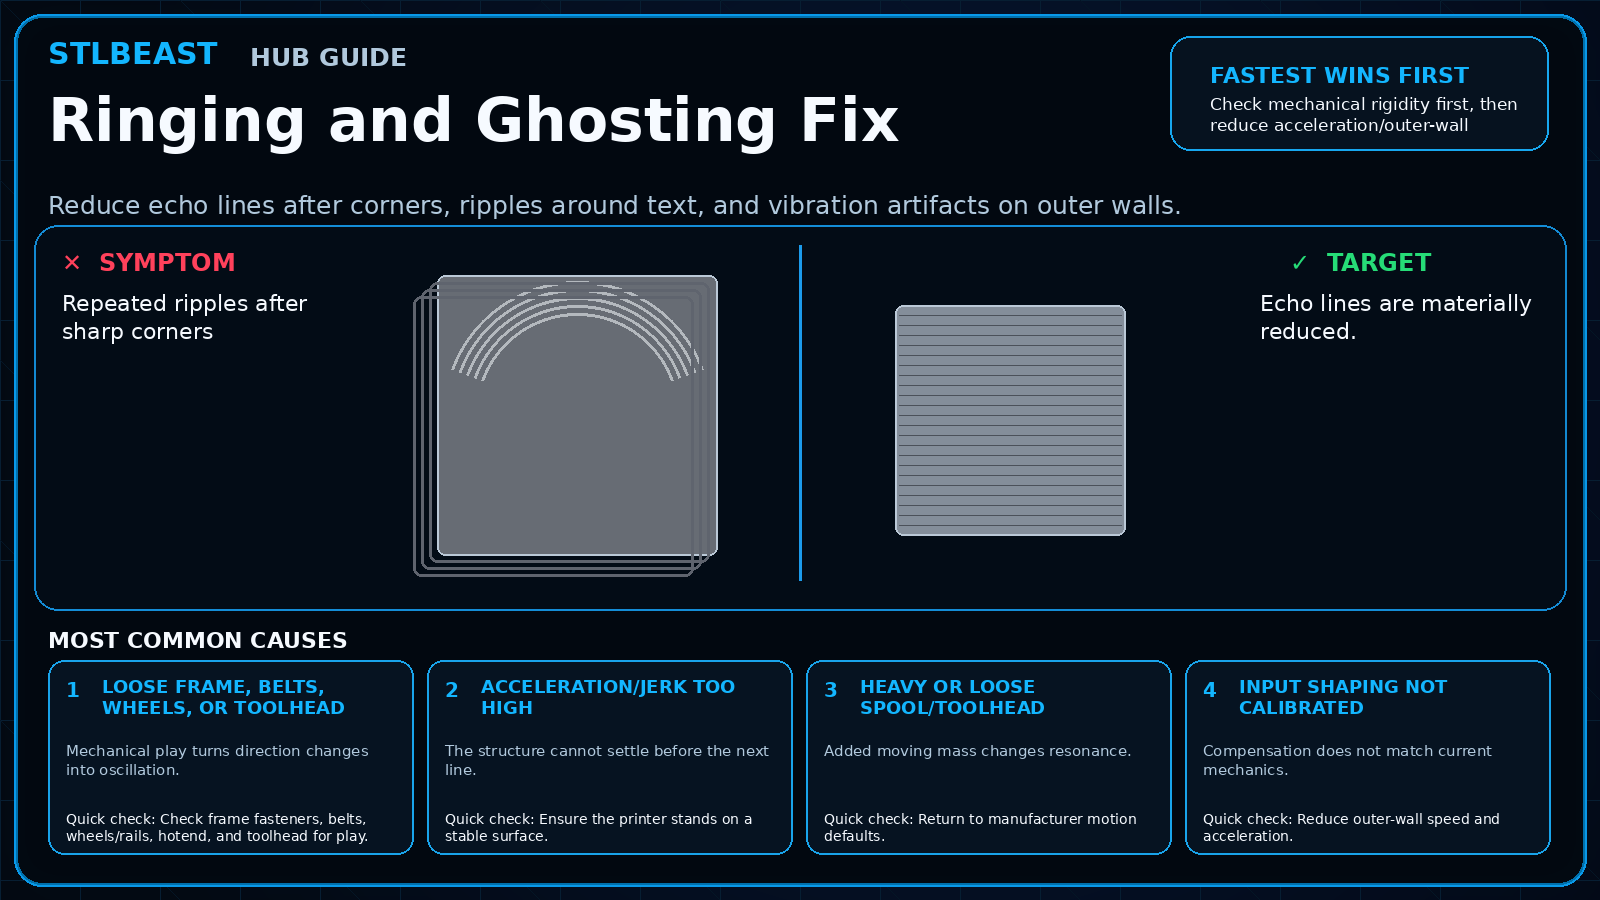
Reduce echo lines after corners, ripples around text, and vibration artifacts on outer walls.
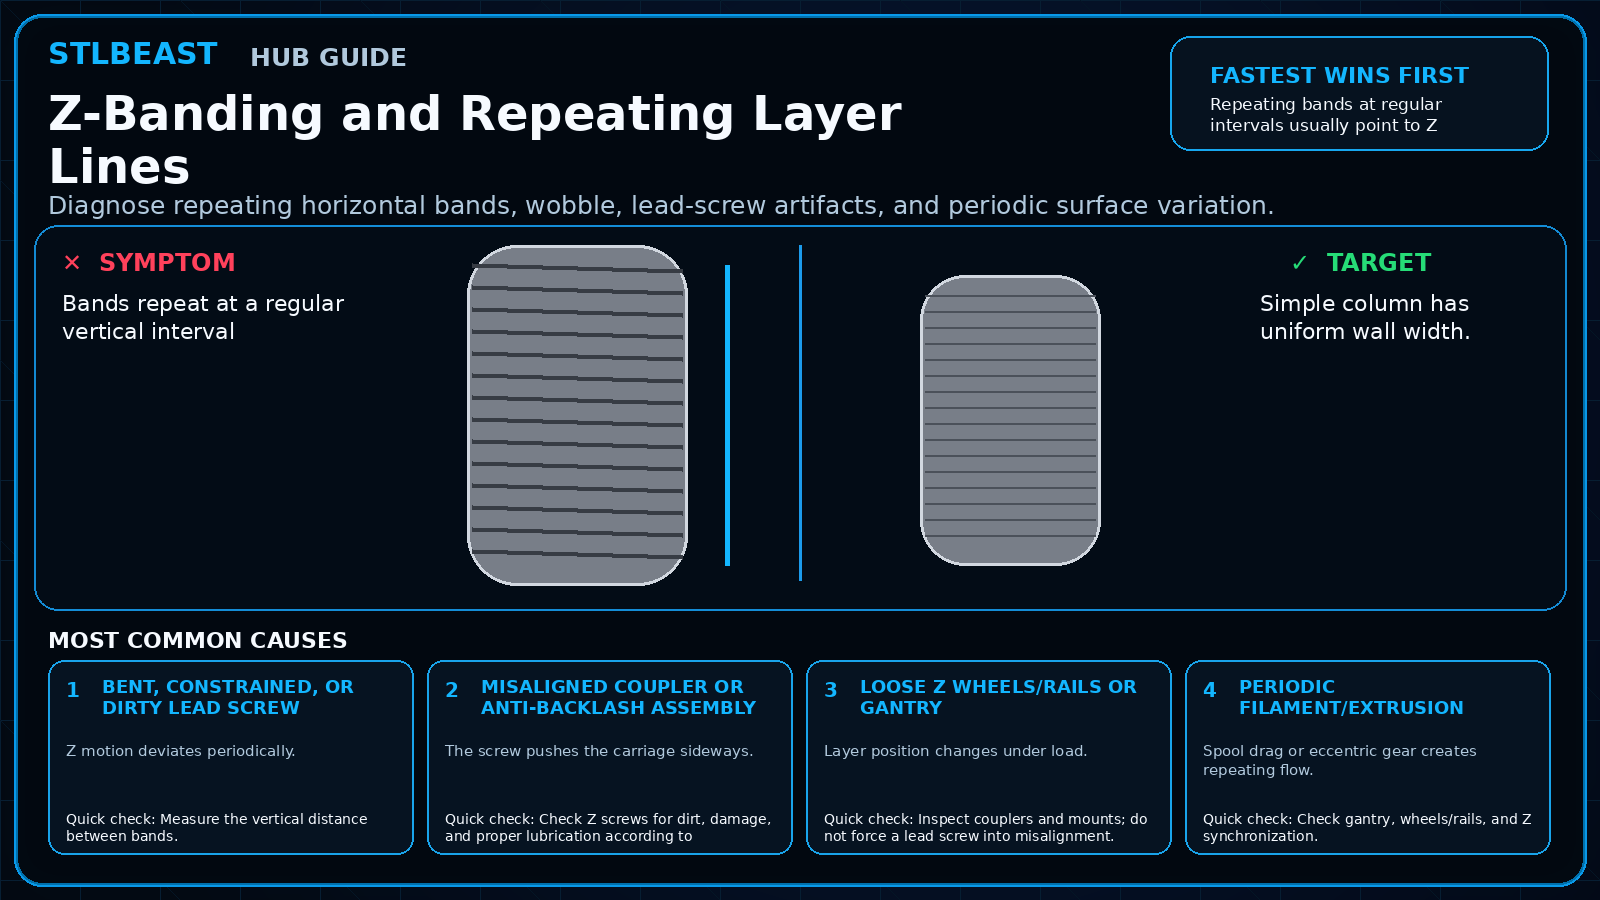
Diagnose repeating horizontal bands, wobble, lead-screw artifacts, and periodic surface variation.
A detailed STLBEAST repair guide to protect the nozzle while maintaining luminous surface quality. Learn how to recognize the symptom, rank the likely causes, apply safe fixes in order, verify the result, and prevent the failure from returning.
A detailed STLBEAST repair guide to stabilize heater control before tuning print quality. Learn how to recognize the symptom, rank the likely causes, apply safe fixes in order, verify the result, and prevent the failure from returning.
A detailed STLBEAST repair guide to separate normal motor tones from binding, driver, or current problems. Learn how to recognize the symptom, rank the likely causes, apply safe fixes in order, verify the result, and prevent the failure from returning.
A detailed STLBEAST repair guide to balance underside quality with easy removal. Learn how to recognize the symptom, rank the likely causes, apply safe fixes in order, verify the result, and prevent the failure from returning.
A detailed STLBEAST repair guide to tune modified PLA blends without assuming every brand behaves the same. Learn how to recognize the symptom, rank the likely causes, apply safe fixes in order, verify the result, and prevent the failure from returning.
A detailed STLBEAST repair guide to choose the lowest temperature that gives clean flow and strong bonding. Learn how to recognize the symptom, rank the likely causes, apply safe fixes in order, verify the result, and prevent the failure from returning.
Let the part cool, use the right cutters and direction, remove large branches first, support delicate features, and finish contact marks gradually instead of te.
Fix first-layer squish, flow, seam blobs, clearance, support intrusion, and cooling, then verify with a small print-in-place calibration model.
Run the manufacturer exposure test with the vat removed, inspect the screen and cable, separate protector damage from LCD failure, and replace only with a compa.
Use a short shielded data cable, disable computer sleep and USB power saving, isolate electrical noise, and prefer local or network printing when the printer su.
Separate removable-sheet, bed, magnet, mounting, and mesh errors; reseat components, remove debris, avoid over-constraining mounts, and replace permanently dist.
Trace the complete feed path, remove spool resistance and broken filament, inspect drive rollers and PTFE connections, then test one slot and one filament at a.
Inspect probe mounting, deployment, wiring, nozzle cleanliness, bed surface, offsets, and firmware configuration before repeating a homing or mesh cycle.
Clean the pin, verify free movement, inspect the mount and wiring, run the built-in self-test, and confirm the correct probe type and signal logic.
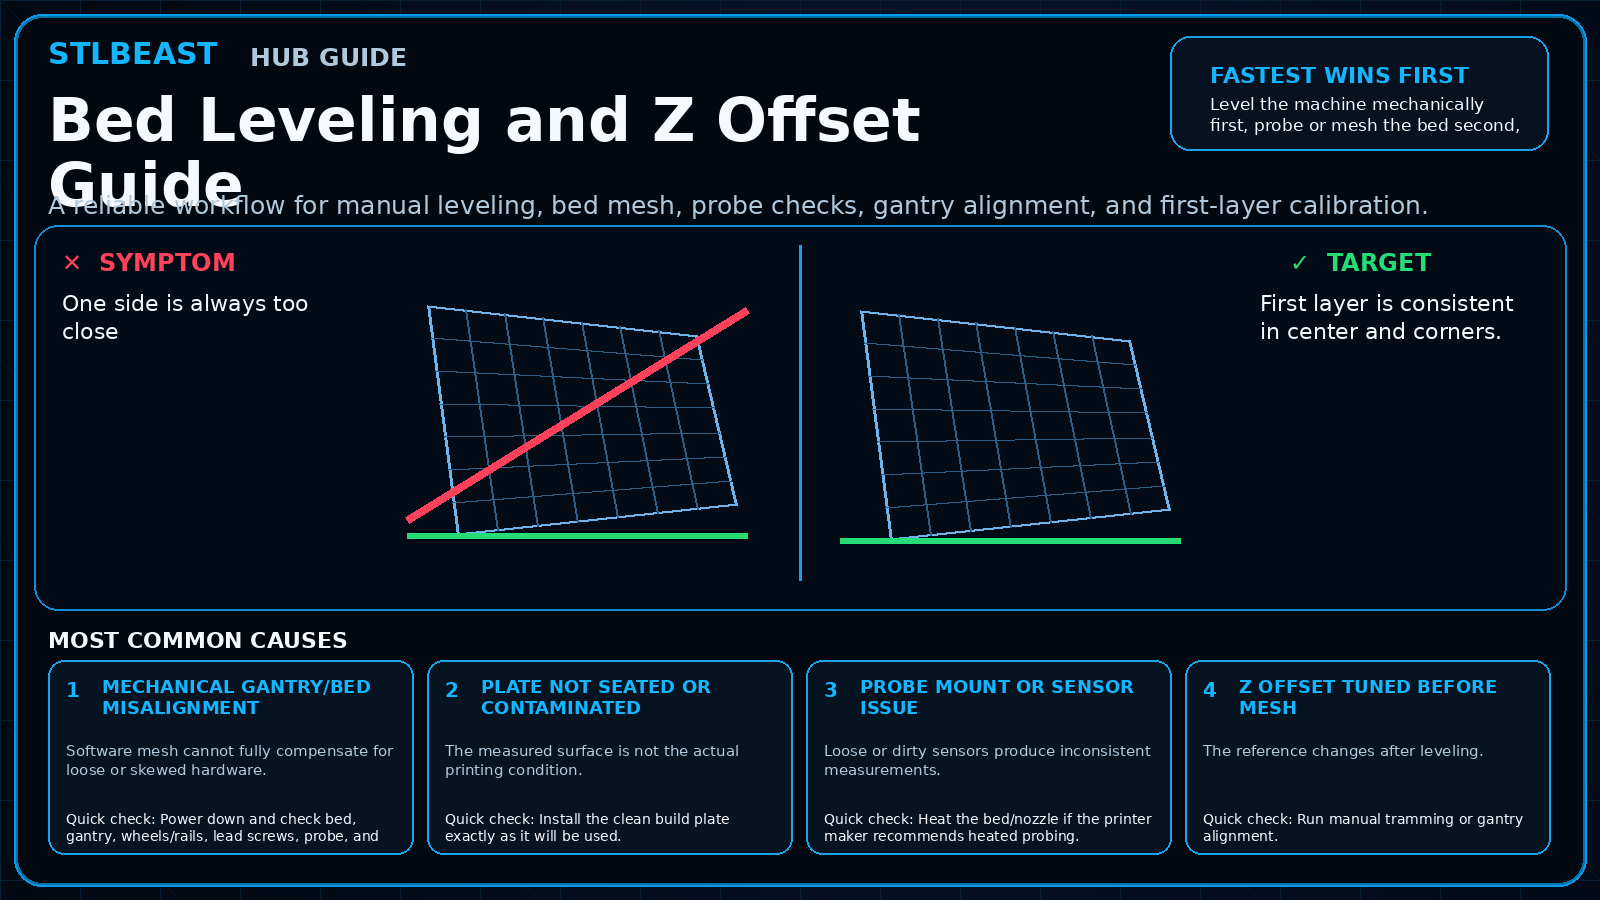
A reliable workflow for manual leveling, bed mesh, probe checks, gantry alignment, and first-layer calibration.
Confirm the mesh was saved, the correct profile is loaded after homing, start G-code does not clear it, and the Z axis visibly compensates during the first laye.
Replace worn coupler teeth or damaged PTFE, fully seat the tube against the internal stop, install the locking clip, and remove excessive feed resistance.
Increase purge only where needed, use suitable transition order, clean the nozzle, and separate heavily contrasting or translucent materials with a tuned purge.
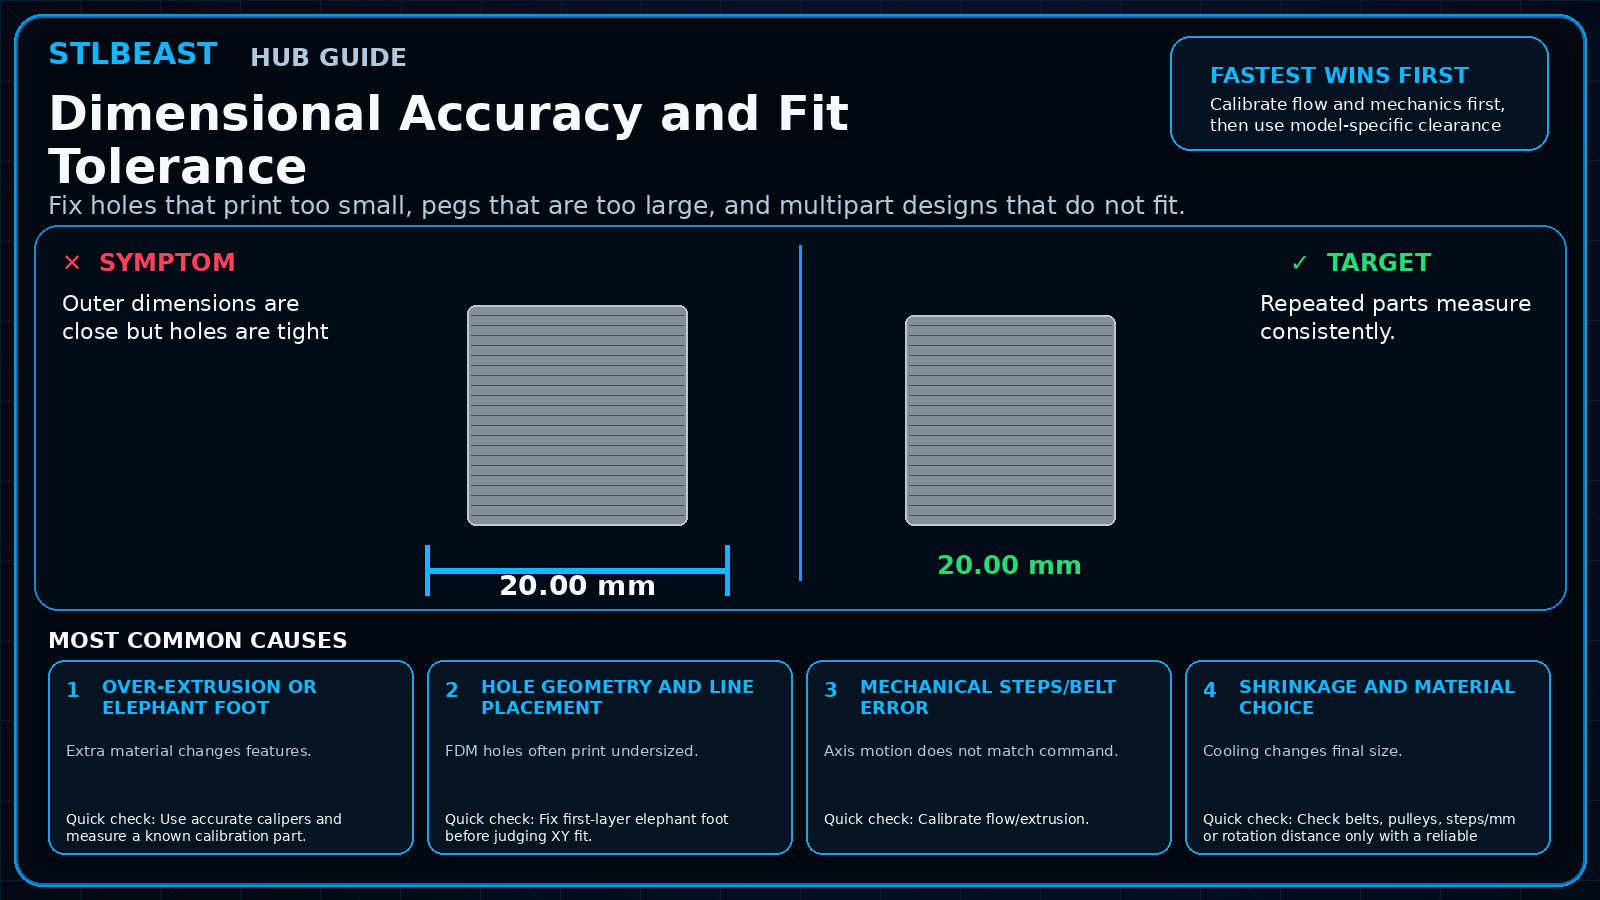
Fix holes that print too small, pegs that are too large, and multipart designs that do not fit.
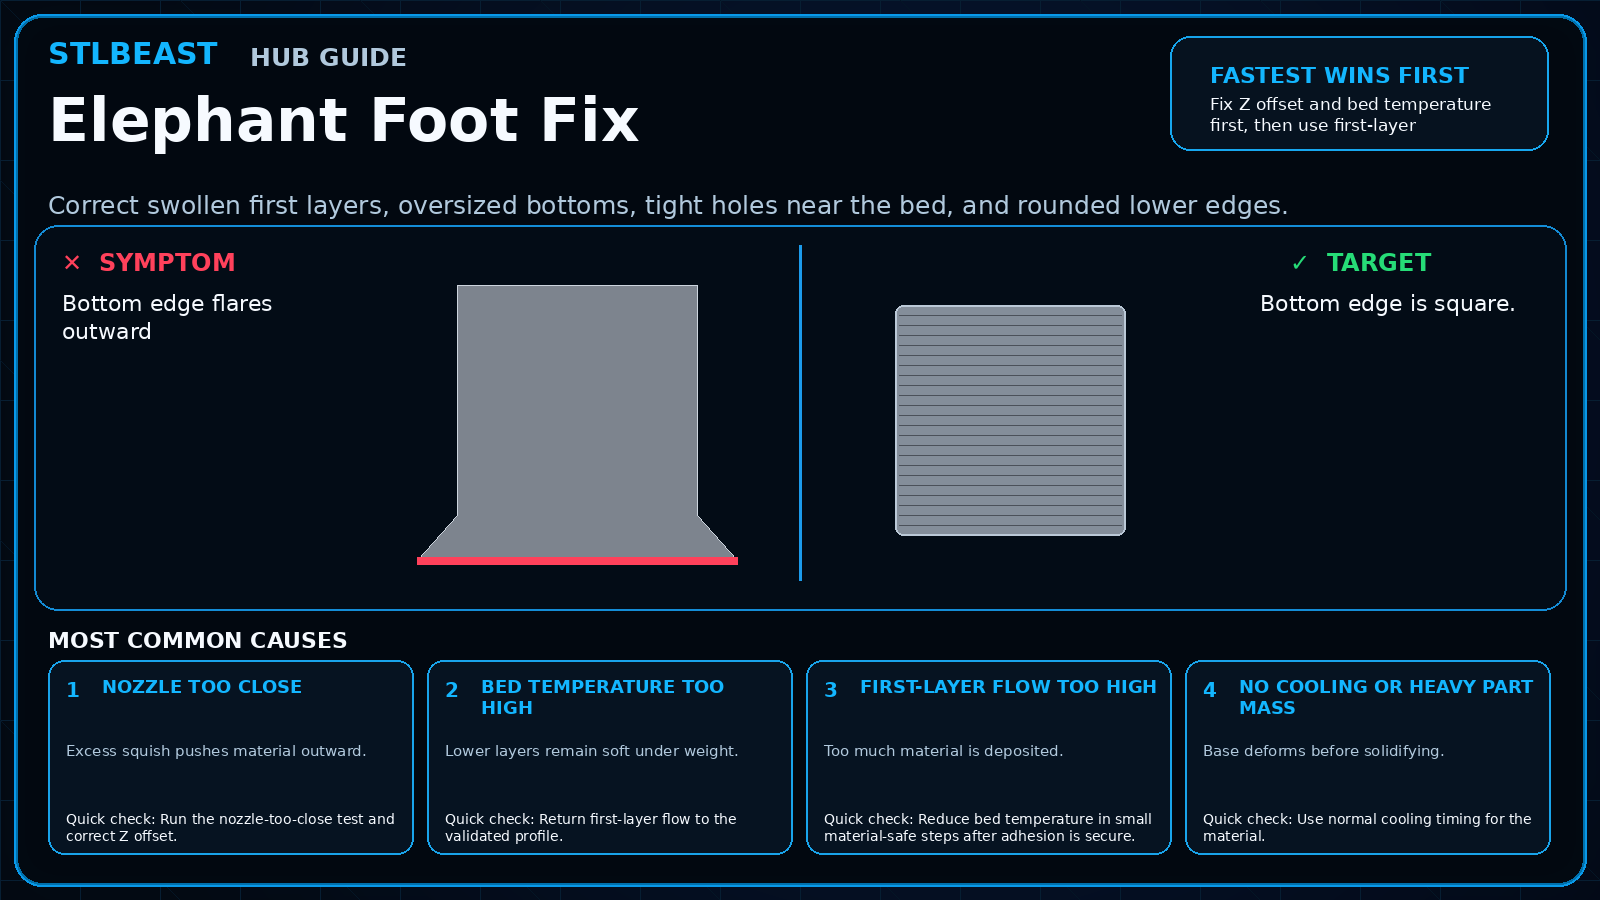
Correct swollen first layers, oversized bottoms, tight holes near the bed, and rounded lower edges.
Set enough idler pressure to feed consistently without crushing, flattening, or grinding the filament, then verify with a measured extrusion test.
Clean and align the sensor path, inspect its connector, confirm filament diameter and flexibility, and adjust debounce or sensitivity only within the manufactur.
Inspect the bed cable, connector, heater, thermistor, power delivery, mounting, and insulation before compensating with higher temperatures.
Stop long prints until the heatsink fan is restored; clean the fan, check its connector and voltage, confirm firmware control, and replace a noisy or stalled un.
Members can connect ranked answers to saved printers, previous failed repairs, full Printer Settings, AI Doctor case history and community-confirmed configurations.